Introduction
Cloning a phone can be a useful way to duplicate your device’s data, settings, and even apps onto a new device. Whether you’re getting a new phone and want to transfer everything seamlessly or you simply want a backup of your current device, cloning a phone with Android is a straightforward process.
Phone cloning involves creating an exact replica of your phone’s content, including contacts, messages, photos, apps, and more. With the advancements in mobile technology, there are now various cloning apps available that can make this process quick and efficient.
In this article, we will guide you through the step-by-step process of cloning a phone with Android. From installing a cloning app to completing the cloning process, we’ll cover all the necessary steps to ensure a successful phone cloning experience.
It’s important to note that phone cloning should be done ethically and with the consent of all parties involved. Cloning someone else’s phone without their permission is an invasion of privacy and is illegal. The information provided in this article is intended to be used for personal purposes or with the permission of the phone owner.
Now, let’s get started with the first step: installing a cloning app on your Android device.
Step 1: Install a Cloning App
The first step in cloning a phone with Android is to find and install a reliable phone cloning app. There are several apps available in the Google Play Store that can help you clone your phone’s data and settings. Here’s how to proceed:
- Open the Google Play Store on your Android device.
- Search for “phone cloning” or “device cloning” in the search bar.
- Review the different apps that appear and read the user reviews and ratings to identify the most reputable and trustworthy option.
- Select the app that best fits your needs and tap on the “Install” button.
- Wait for the app to download and install on your device.
It’s essential to choose a cloning app with positive reviews and a high rating. Reading reviews from other users can provide insights into the app’s reliability and usability. Additionally, check if the app is compatible with your Android version and device model.
Once the app is installed on your device, you’re ready to move on to the next step: granting the necessary permissions for the cloning process.
Step 2: Grant Permissions
After installing the cloning app, the next step is to grant it the necessary permissions on your Android device. These permissions allow the cloning app to access the required data and settings for a successful cloning process. Follow these instructions to grant the permissions:
- Open the cloning app on your Android device.
- You may be prompted to provide various permissions such as access to contacts, media files, call logs, etc.
- Read the permissions carefully to understand what data the app will have access to and how it will be used.
- To grant the permissions, tap on the “Allow” or “Grant” button when prompted.
- If you are concerned about certain permissions, you can adjust the app’s access levels in your device’s settings.
It’s crucial to be cautious when granting permissions to any app. Only provide the necessary permissions that are essential for the cloning process. If an app requests permissions that seem unnecessary or suspicious, it’s best to uninstall the app and find a more reputable alternative.
Once you have successfully granted the required permissions, you’re ready to proceed to the next step: setting up the phone cloning process.
Step 3: Setup Phone Cloning
Now that you have installed the cloning app and granted the necessary permissions, it’s time to set up the phone cloning process. Follow these steps to get started:
- Open the cloning app on your Android device.
- Depending on the app, you may be required to create an account or login using your existing credentials.
- Follow the on-screen instructions to set up the cloning process.
- You may be asked to select the type of data you want to clone, such as contacts, messages, photos, apps, etc.
- Choose the data you want to clone and proceed to the next step.
- In some cases, you may need to connect your device to a computer or another device using a USB cable.
The setup process may vary depending on the app you are using. It’s important to carefully read and follow the instructions provided by the app to ensure a smooth and successful setup.
During this step, make sure your device has enough battery power and a stable internet connection. A significant battery charge and a reliable internet connection will help ensure the cloning process completes without any interruptions.
Once you have set up the phone cloning process, you’re ready to move on to the next step: connecting the phones.
Step 4: Connect the Phones
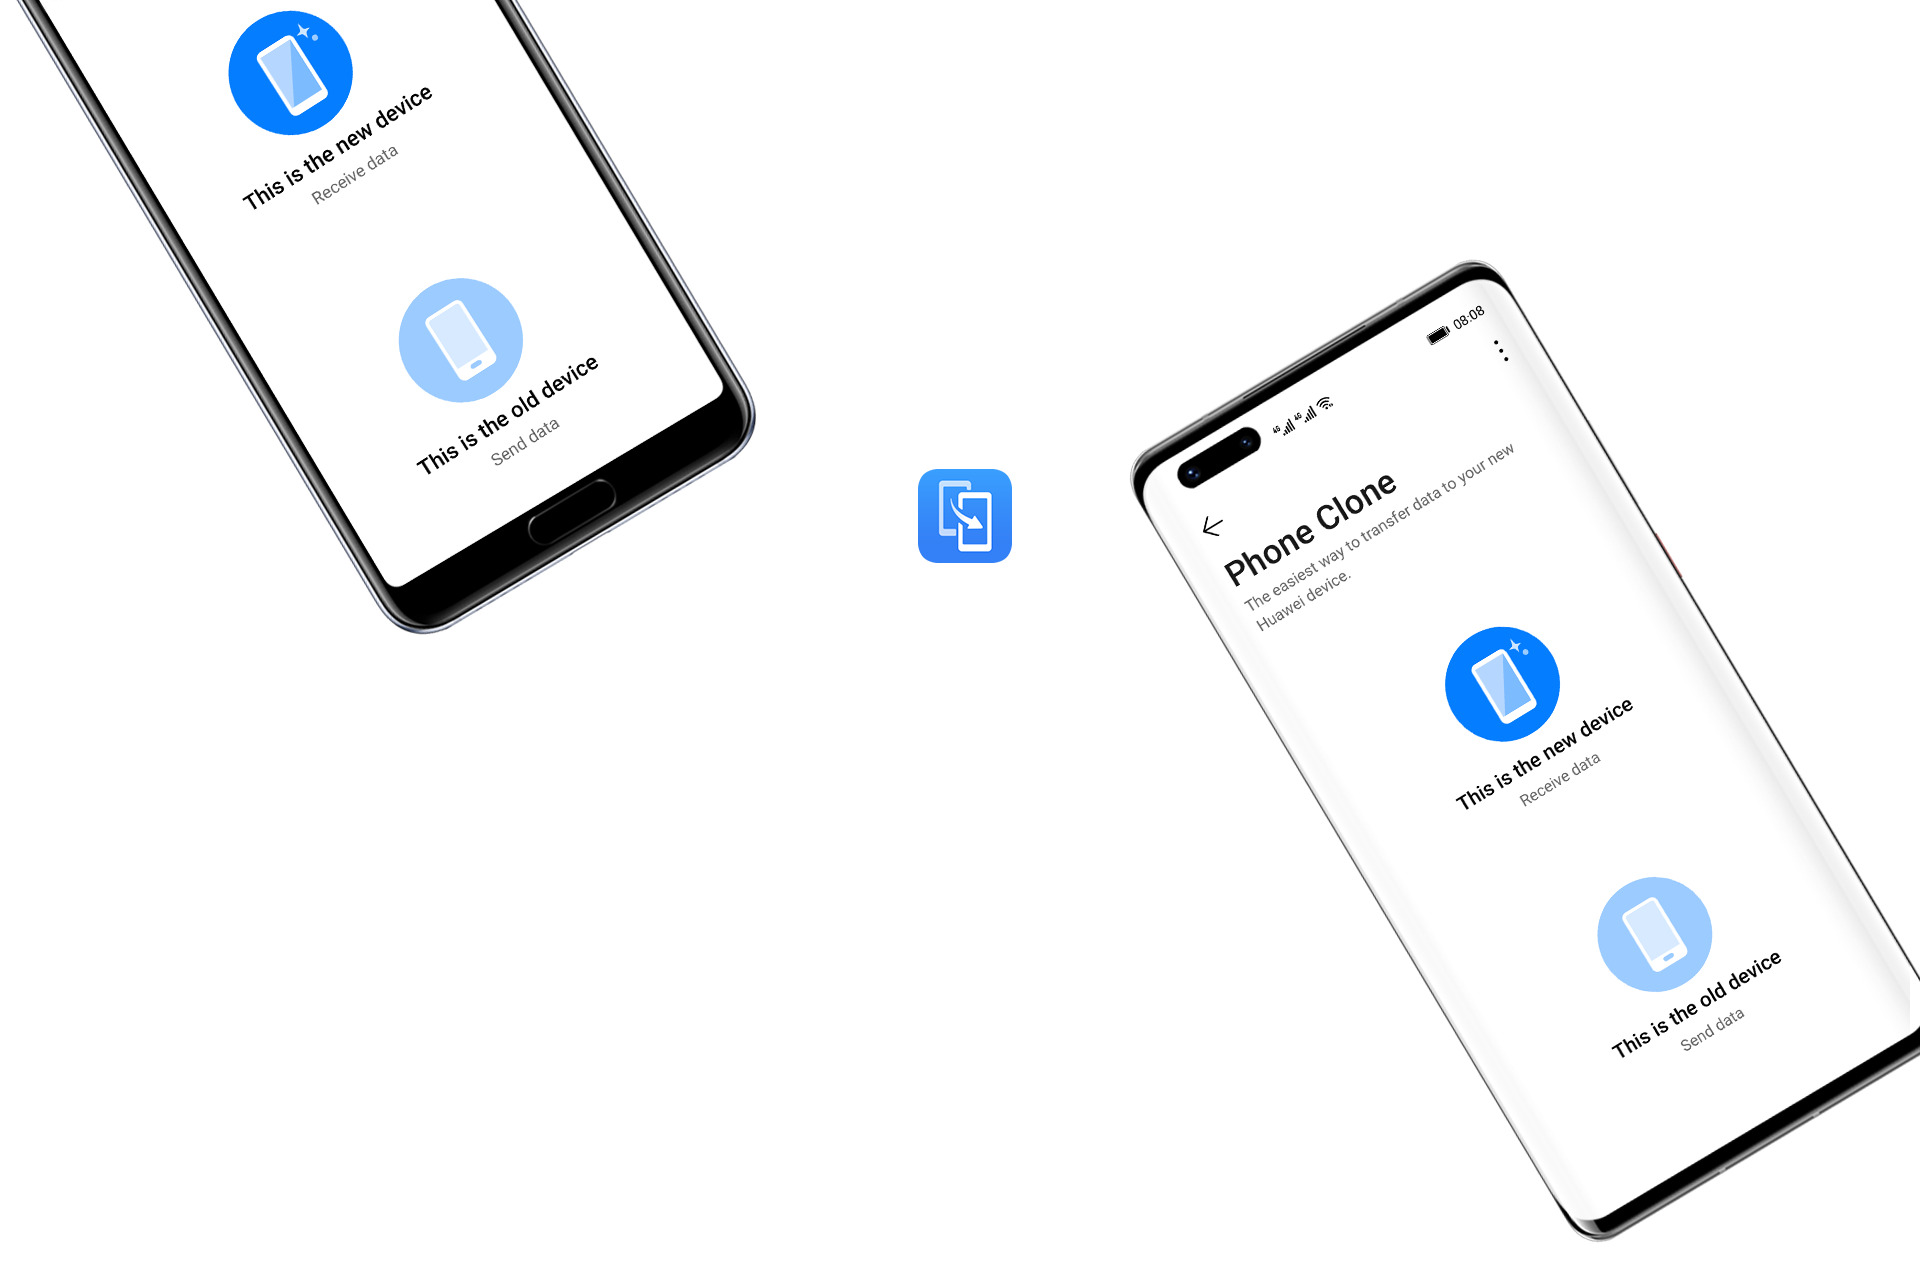
Now that you have set up the phone cloning process, it’s time to connect the phones involved in the cloning process. This step involves establishing a connection between the source phone (the one you want to clone) and the target phone (the one you want to clone onto). Follow these steps to connect the phones:
- Ensure that both phones have the cloning app installed and have completed the setup process.
- If both phones support Wi-Fi Direct, you can use this feature to establish a direct connection between them. Open the cloning app on both phones and look for the option to connect via Wi-Fi Direct.
- If Wi-Fi Direct is not an option, you can use a USB cable to connect both phones. Connect one end of the cable to the source phone and the other end to the target phone.
- Follow the on-screen instructions provided by the cloning app to establish the connection between the phones.
- Ensure that both phones are physically close to each other and that the cable, if used, is securely connected.
Establishing a stable connection between the phones is crucial for a successful cloning process. Ensure that both phones remain connected throughout the entire process and avoid any interruptions or disconnecting the cables.
Once the phones are connected, you’re ready to proceed to the next step: starting the cloning process.
Step 5: Start Cloning Process
With the phones connected and ready, it’s time to initiate the cloning process. This step involves transferring the selected data and settings from the source phone to the target phone. Follow these steps to start the cloning process:
- Open the cloning app on the source phone (the phone you want to clone).
- Select the option to start the cloning process or initiate the transfer.
- Wait for the app to analyze and transfer the selected data from the source phone to the target phone.
- Depending on the amount of data being transferred and the speed of the devices, the cloning process may take some time. Be patient and avoid interrupting the process.
- Ensure that both phones remain connected and powered on during the entire cloning process. Avoid using the phones or performing any actions that may disrupt the transfer.
Some cloning apps may provide a progress bar or status indicator to keep you informed about the cloning process. Monitor the progress and wait for the transfer to complete.
It’s important to note that the time required for the cloning process may vary depending on factors such as the size of data being transferred, the speed of the devices, and the efficiency of the cloning app being used.
Once the cloning process is complete, you’re ready to move on to the next step: completing the cloning.
Step 6: Complete the Cloning
After the data transfer is complete, it’s time to finalize the cloning process. This step involves ensuring that all the data and settings have been successfully replicated onto the target phone. Follow these steps to complete the cloning:
- Once the cloning process is finished, the cloning app will provide a notification or prompt indicating that the transfer is complete.
- Open the cloning app on the target phone (the phone you cloned onto) and verify that all the desired data, such as contacts, messages, photos, and apps, have been successfully transferred.
- Take some time to navigate through the different apps and settings on the target phone to confirm that everything is functioning as expected.
- If you notice any missing data or any issues with the cloned phone, consult the cloning app’s support or troubleshooting resources for assistance.
- Once you are satisfied that the cloning process is successful and all data is intact, you can disconnect the phones and proceed with using the cloned phone as desired.
It’s crucial to pay attention to any error messages or warnings that appear during the cloning process. If you encounter any issues or unexpected errors, consult the app’s documentation or seek assistance to troubleshoot and resolve them.
Remember to securely store and dispose of any sensitive data or personal information that may have been stored on the source phone to protect your privacy.
Now that the cloning process is complete, you can enjoy your new device with all the data and settings preserved from the original phone.
Step 7: Verify Cloned Phone
After completing the cloning process, it is essential to verify that the cloned phone is functioning correctly and that all the data and settings have been successfully transferred. Follow these steps to verify the cloned phone:
- Ensure that the cloned phone is powered on and functioning properly.
- Check if all the contacts, messages, photos, and apps that were cloned are present and accessible on the cloned phone.
- Test the functionality of the apps on the cloned phone to ensure they are working as expected.
- Make a test call or send a text message to ensure the communication features are functioning correctly.
- Verify that the settings on the cloned phone match the settings from the original phone.
- If any discrepancies or issues are found, consult the cloning app’s documentation or support resources for troubleshooting steps.
- Take some time to explore the cloned phone’s features and settings to familiarize yourself with the new device.
By thoroughly verifying the cloned phone, you can ensure that the transfer process was successful and that all data and settings have been accurately replicated. A successful verification process will give you confidence in using the cloned phone as your primary device.
If you encounter any issues or notice any missing data during the verification process, it is recommended to contact the cloning app’s customer support for further assistance.
Once you are satisfied with the clone phone and have successfully verified its functionality, you can begin using it as your primary device, enjoying all the benefits of having your previous phone’s data and settings seamlessly transferred.
Conclusion
Cloning a phone with Android can be a convenient and efficient way to transfer all your data and settings from one device to another. By following the step-by-step process outlined in this article, you can successfully clone your phone and ensure that all your important information is preserved.
From installing a reliable cloning app to granting necessary permissions, setting up the cloning process, connecting the phones, initiating the cloning process, and verifying the cloned phone, each step is crucial in ensuring a seamless and successful cloning experience.
Remember to choose a reputable cloning app, grant the necessary permissions carefully, and ensure a stable connection between the phones during the cloning process. Take the time to verify that all the data and settings have been accurately transferred to the cloned phone before using it as your primary device.
However, it’s essential to keep in mind that phone cloning should always be done ethically and with the consent of all parties involved. Cloning someone else’s phone without their permission is illegal and violates their privacy.
By following the guidelines provided in this article, you can confidently clone your phone and enjoy the convenience of seamlessly transferring your data and settings to a new device.
Now that you have a clear understanding of the phone cloning process with Android, you can proceed with confidence and make the most of your new device.


