Introduction
Welcome to our guide on how to clear storage on your Amazon Fire tablet. Over time, your tablet may become cluttered with apps, files, and downloads, resulting in limited available storage space and decreased performance. Fortunately, there are several methods you can use to free up storage and optimize your device’s functionality.
Whether you use your Fire tablet for work, entertainment, or both, it’s important to periodically organize and declutter your device to ensure it continues to perform at its best. By following the steps outlined in this article, you’ll be able to effectively manage your storage space, improve the tablet’s responsiveness, and avoid any potential storage-related issues.
In the sections that follow, we will walk you through various methods to clear storage on your Amazon Fire tablet. These methods include deleting unused apps and content, clearing cache, managing downloaded files, transferring files to cloud storage, removing unnecessary files and folders, utilizing a MicroSD card for additional storage, and factory resetting the tablet when necessary. By implementing these strategies, you’ll be able to create more space on your tablet and optimize its performance.
Are you ready to regain valuable storage space on your Amazon Fire tablet? Let’s dive into the step-by-step instructions and get your device running smoothly again!
Deleting Apps and Content
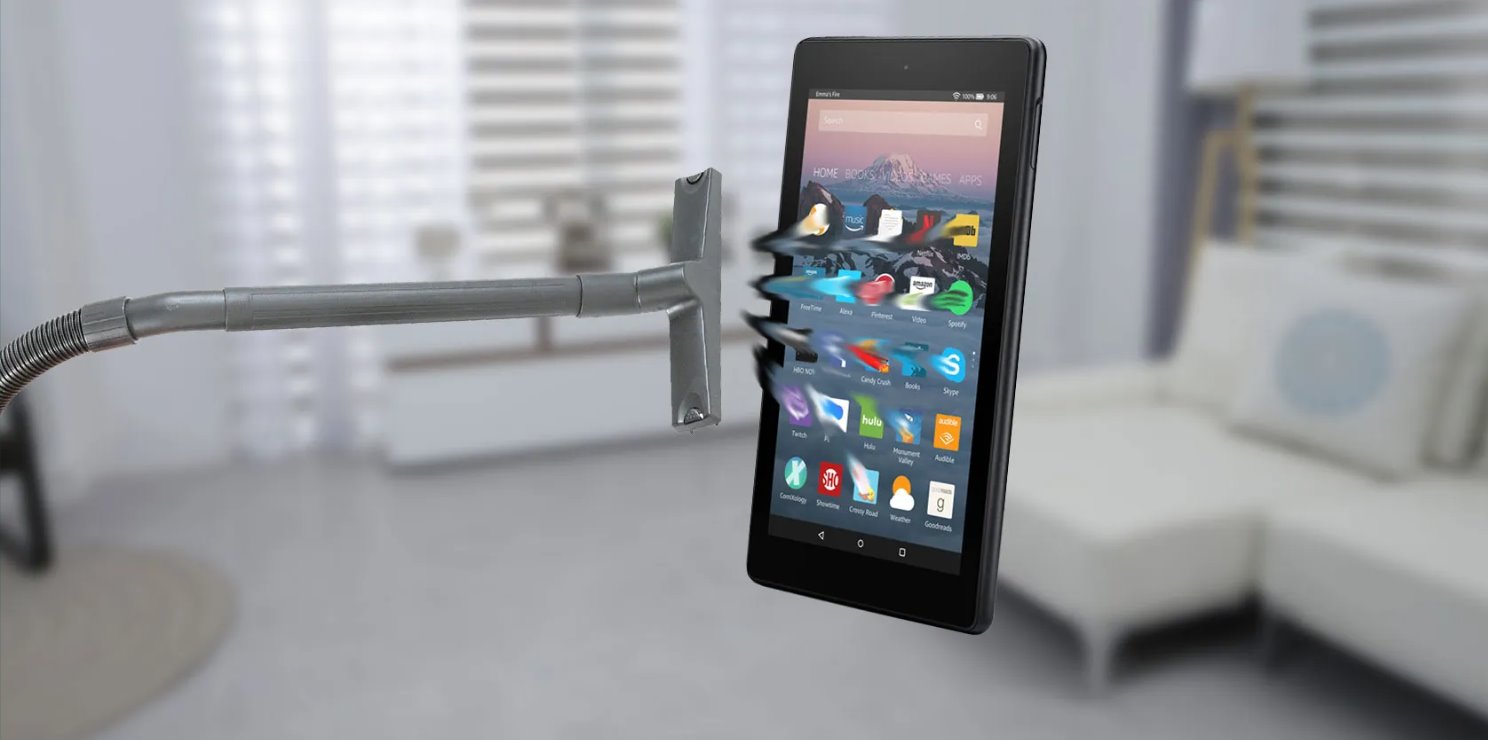
One of the most effective ways to clear storage on your Amazon Fire tablet is by deleting unused apps and content. Over time, you may accumulate a plethora of applications and files that take up valuable space.
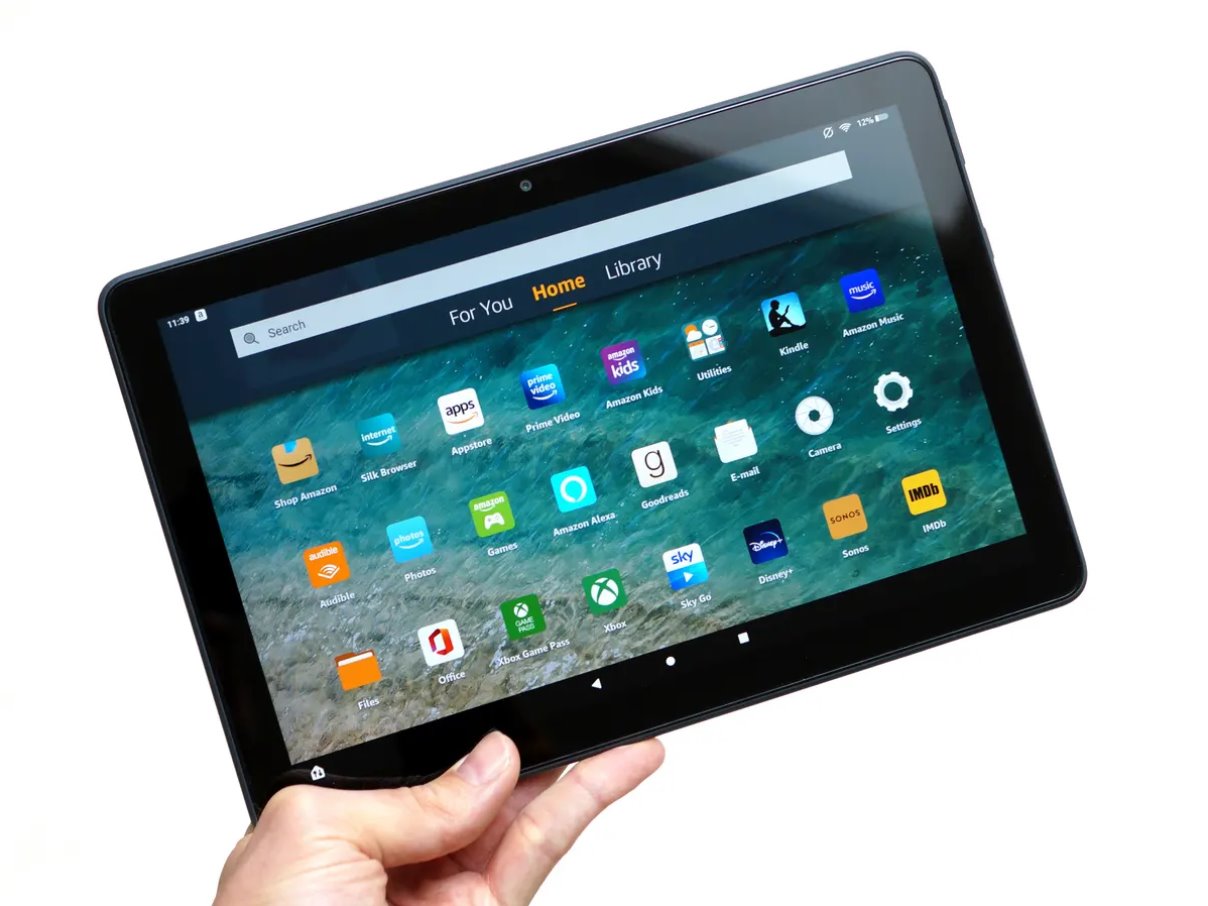
To begin, go to the home screen of your tablet and tap on the “Apps” tab located at the top of the screen. This will display all the apps installed on your device. Scroll through the list and identify the apps that you no longer use or need.
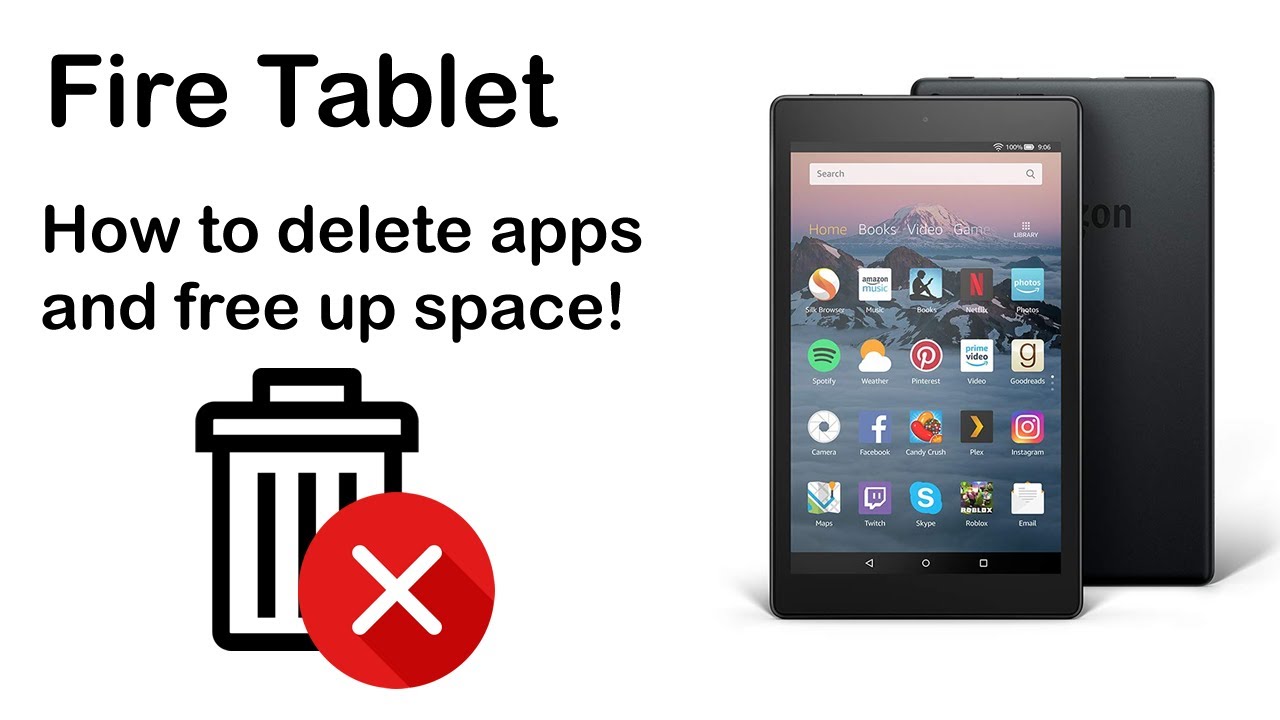
To delete an app, press and hold its icon until a menu appears. From the options, select “Uninstall” or “Remove from Device,” depending on the version of the Fire tablet you have. Confirm your choice by tapping “OK” when prompted. Repeat this process for each app you wish to delete.
In addition to apps, you can also remove unwanted content such as books, videos, music, and documents to free up space. To do this, navigate to the corresponding sections in your tablet’s library and select the items you want to delete. Tap on the options button (usually represented by three vertical dots) and choose the “Remove from Device” or “Delete” option.
Remember, if you have purchased content from Amazon, it will remain in your account and can be re-downloaded at a later time if needed. Removing the content from your device simply clears up storage space.
It’s essential to regularly assess and manage the content and apps on your tablet to ensure that you have enough space for new downloads and smooth operation. By removing unused apps and content, you’ll significantly improve your device’s performance and free up valuable storage.
Now that you’ve cleared some space by deleting unnecessary apps and content, let’s move on to the next method for clearing storage on your Amazon Fire tablet.
Clearing Cache
Clearing the cache on your Amazon Fire tablet is another effective method to free up storage and optimize your device’s performance. Cache is temporary data stored by apps and websites to load faster in the future. However, this cache can accumulate over time and take up valuable storage space.
To clear the cache on your Fire tablet, start by accessing the “Settings” menu. You can do this by swiping down from the top of the screen and tapping on the gear icon.
In the “Settings” menu, scroll down and select “Apps & Notifications” or “Applications”. This option may vary slightly depending on the version of the Fire tablet you have.
In the “Apps & Notifications” or “Applications” menu, you will see a list of all the installed apps on your tablet. Tap on the app you want to clear the cache for.
Inside the app’s settings, you will find various options related to the app, including storage usage. Tap on “Storage” or “Storage & Cache” to access the storage settings.
On the storage settings screen, you will see the option to “Clear Cache” or “Clear Data”. To free up space, choose the “Clear Cache” option. This will delete the cache files associated with the app without affecting your saved data or preferences.
Repeat these steps for other apps that you want to clear the cache for. Keep in mind that some apps, like web browsers and social media platforms, tend to accumulate larger caches compared to others.
By regularly clearing the cache on your Fire tablet, you can get rid of unnecessary temporary files and improve the performance of your apps and the overall responsiveness of your device.
Now that you’ve cleared the cache, let’s explore how to manage downloaded files on your Amazon Fire tablet to free up even more storage space.
Managing Downloaded Files
As you use your Amazon Fire tablet, you may accumulate a large number of downloaded files, such as documents, images, videos, and audio files. Over time, these files can eat up significant storage space. By organizing and managing your downloaded files, you can free up storage and ensure that your device operates smoothly.
To begin managing your downloaded files, go to the “Docs” app on your tablet. This app stores all the files you have downloaded or transferred to your device.
Inside the Docs app, you will see a list of all the files. You can tap on a file to open it, or perform various actions on the file such as deleting, moving, or sharing.
To delete a file, simply tap and hold on it until a menu appears. From the options provided, select “Delete” to remove the file from your tablet. Repeat this process for any other files you want to delete.
If you want to move a file to a different location, tap and hold on it and select “Move” from the menu. This will allow you to choose a new folder to move the file to, helping you to organize your files more effectively.
Alternatively, you can connect your Amazon Fire tablet to a computer using a USB cable and manage your downloaded files directly from your computer. By accessing the tablet’s file system, you can delete, move, or transfer files in bulk, which can be faster and more convenient for large file operations.
By regularly reviewing and managing your downloaded files, you can keep your storage in check and ensure that your Amazon Fire tablet runs smoothly without any storage-related issues.
Now that you’ve learned how to manage downloaded files, let’s explore another method to clear storage on your Amazon Fire tablet by transferring files to cloud storage.
Transferring Files to Cloud Storage
Transferring your files to cloud storage is a convenient way to free up storage space on your Amazon Fire tablet. Cloud storage allows you to store your files online, accessible from any device with an internet connection. By moving files to the cloud, you can access them whenever needed while reducing the storage burden on your tablet.
Amazon provides its users with free cloud storage through Amazon Drive. To transfer files to Amazon Drive, you first need to install the “Amazon Drive” app from the Amazon Appstore.
Once the app is installed, sign in with your Amazon account credentials. If you don’t have an Amazon account, you can create one for free.
After signing in, you can easily transfer files to Amazon Drive. Open the “Docs” app on your tablet and locate the files you want to transfer.
Tap and hold on a file to select it, then tap on the options button (usually represented by three vertical dots) and choose “Move to Amazon Drive” or a similar option. The file will be uploaded to your Amazon Drive account, and a copy will remain in your Docs app. You can repeat this process for multiple files or even entire folders.
Once your files are in Amazon Drive, you can access them from any device with the Amazon Drive app or by logging in to your Amazon Drive account through a web browser.
Additionally, other popular cloud storage services like Google Drive, Dropbox, and Microsoft OneDrive can also be used to transfer files from your Fire tablet and free up storage space. Simply install the respective app for the cloud storage service you prefer, sign in, and follow the same process to transfer files.
By utilizing cloud storage for your files, you can declutter your Amazon Fire tablet and ensure that your important documents, photos, and videos are safely stored and easily accessible from anywhere.
Now that you’ve learned how to transfer files to cloud storage, let’s explore another method to clear up storage on your Amazon Fire tablet by removing unnecessary files and folders.
Removing Unnecessary Files and Folders
Removing unnecessary files and folders is a crucial step in clearing storage on your Amazon Fire tablet. Often, there are files and folders that are no longer needed, taking up valuable space on your device.
To begin, open the “File Manager” or “Docs” app on your tablet. This app allows you to browse through the files and folders stored on your device.
Take some time to go through each folder and identify any files or folders that are no longer necessary. These could be old documents, duplicate files, or files that you have already backed up or transferred to cloud storage.
Tap and hold on a file or folder to select it, and then tap on the options button (usually represented by three vertical dots) to access the available actions. From the menu, choose “Delete” or “Remove” to remove the selected file or folder from your tablet.
If you come across folders that contain a large amount of data, such as videos or images, it’s a good idea to review the content inside and delete any files that are no longer needed. This can significantly free up storage space.
Make sure to double-check the files and folders you are deleting to avoid accidentally removing important documents or personal files. It’s always a good practice to back up your important files before deleting them to avoid any potential loss.
By regularly removing unnecessary files and folders, you can keep your storage clean and organized, ensuring that your Amazon Fire tablet has plenty of space for new downloads and operates smoothly.
Now that you’ve learned how to remove unnecessary files and folders, let’s explore another method to clear storage on your Amazon Fire tablet by using a MicroSD card for additional storage.
Using a MicroSD Card for Additional Storage
If your Amazon Fire tablet supports expandable storage, utilizing a MicroSD card is an excellent way to add more storage space to your device. With a MicroSD card, you can store apps, photos, videos, and other files without worrying about filling up the tablet’s internal storage.
To get started, ensure that your Amazon Fire tablet is turned off. Locate the MicroSD card slot on your device, which is typically located on the side or back of the tablet.
Insert the MicroSD card into the slot, making sure it is oriented correctly. Gently push the card in until it is seated securely in place.
Once the MicroSD card is inserted, turn on your tablet and go to the “Settings” menu. Scroll down and tap on “Storage” or “Storage & USB”. Depending on your tablet model, the options may slightly vary.
In the storage settings, you should see the option to “Format” the MicroSD card. Formatting the card will prepare it for use with your Fire tablet and erase any existing data.
After formatting, your tablet will recognize the MicroSD card as additional storage. By default, it will begin using the card to store downloaded files, such as apps, photos, and videos.
If you want to move existing files from your tablet’s internal storage to the MicroSD card, you can do so by navigating to the “Storage” settings and selecting the “Move Media” or “Move Apps” option. This will transfer the files to the MicroSD card and free up space on your tablet.
Keep in mind that not all apps can be moved to the MicroSD card, as some may require internal storage for proper functioning. However, most media files, such as photos and videos, can be easily moved to the MicroSD card.
By utilizing a MicroSD card, you can significantly increase your device’s available storage space and have more room to store your files and apps.
Now that you’ve learned how to use a MicroSD card for additional storage, let’s explore the last method to clear storage on your Amazon Fire tablet, which involves factory resetting the device.
Factory Resetting the Tablet
If you’ve tried all the previous methods and still need to clear storage on your Amazon Fire tablet, a factory reset can be a last resort. This process will restore the tablet to its original factory settings, removing all data, apps, and personal settings.
Before performing a factory reset, it’s essential to back up any important files or data that you want to keep. This includes photos, videos, documents, and any other files stored on your tablet. Transfer them to a computer, an external storage device, or upload them to a cloud storage service.
To begin the factory reset process, go to the “Settings” menu on your Amazon Fire tablet. Scroll down and tap on “Device Options” or a similar option.
In the “Device Options” menu, look for the “Reset to Factory Defaults” or “Reset” option. Tap on it to start the reset process.
You will be presented with a confirmation message that the factory reset will erase all data and settings. Read the message carefully and then proceed with the reset if you are sure.
The tablet will take a few moments to complete the factory reset. Once finished, it will reboot, and you will be greeted with the initial setup screen, as if you just unboxed the device.
Follow the on-screen instructions to set up your tablet again, including reconnecting to Wi-Fi, signing in with your Amazon account, and re-downloading any apps you need.
Keep in mind that a factory reset wipes all data from your tablet, so make sure to back up everything you want to keep beforehand. Once the reset is complete, you will need to reinstall apps, re-download files, and personalize your tablet settings again.
A factory reset should only be used as a last resort, as it erases all data and settings and cannot be undone. However, it can be an effective way to clear storage and start fresh if other methods have not provided adequate results.
Now that you know how to factory reset your Amazon Fire tablet, let’s wrap up this guide on clearing storage on your device.
Conclusion
Clearing storage on your Amazon Fire tablet is essential to maintain optimal performance and ensure that you have enough space for new apps, files, and media. By following the methods outlined in this guide, you can effectively manage your tablet’s storage and improve its functionality.
We started by deleting unused apps and content, freeing up space by removing what we no longer need. Clearing the cache helped us get rid of temporary files that take up storage. Managing downloaded files allowed us to organize and delete unnecessary files, while transferring files to cloud storage provided an efficient way to store files externally and access them from any device.
Using a MicroSD card for additional storage expanded our tablet’s capacity, while factory resetting the tablet became a last resort option to start fresh and reclaim storage space.
Remember to regularly assess and declutter your Amazon Fire tablet to maintain its performance. It’s crucial to back up important files before performing any major operations and to exercise caution when deleting or resetting your device.
We hope this guide has been helpful in guiding you through the process of clearing storage on your Amazon Fire tablet. By implementing these methods, you can keep your tablet running smoothly, enjoy more storage space, and have a more enjoyable experience.


