Introduction
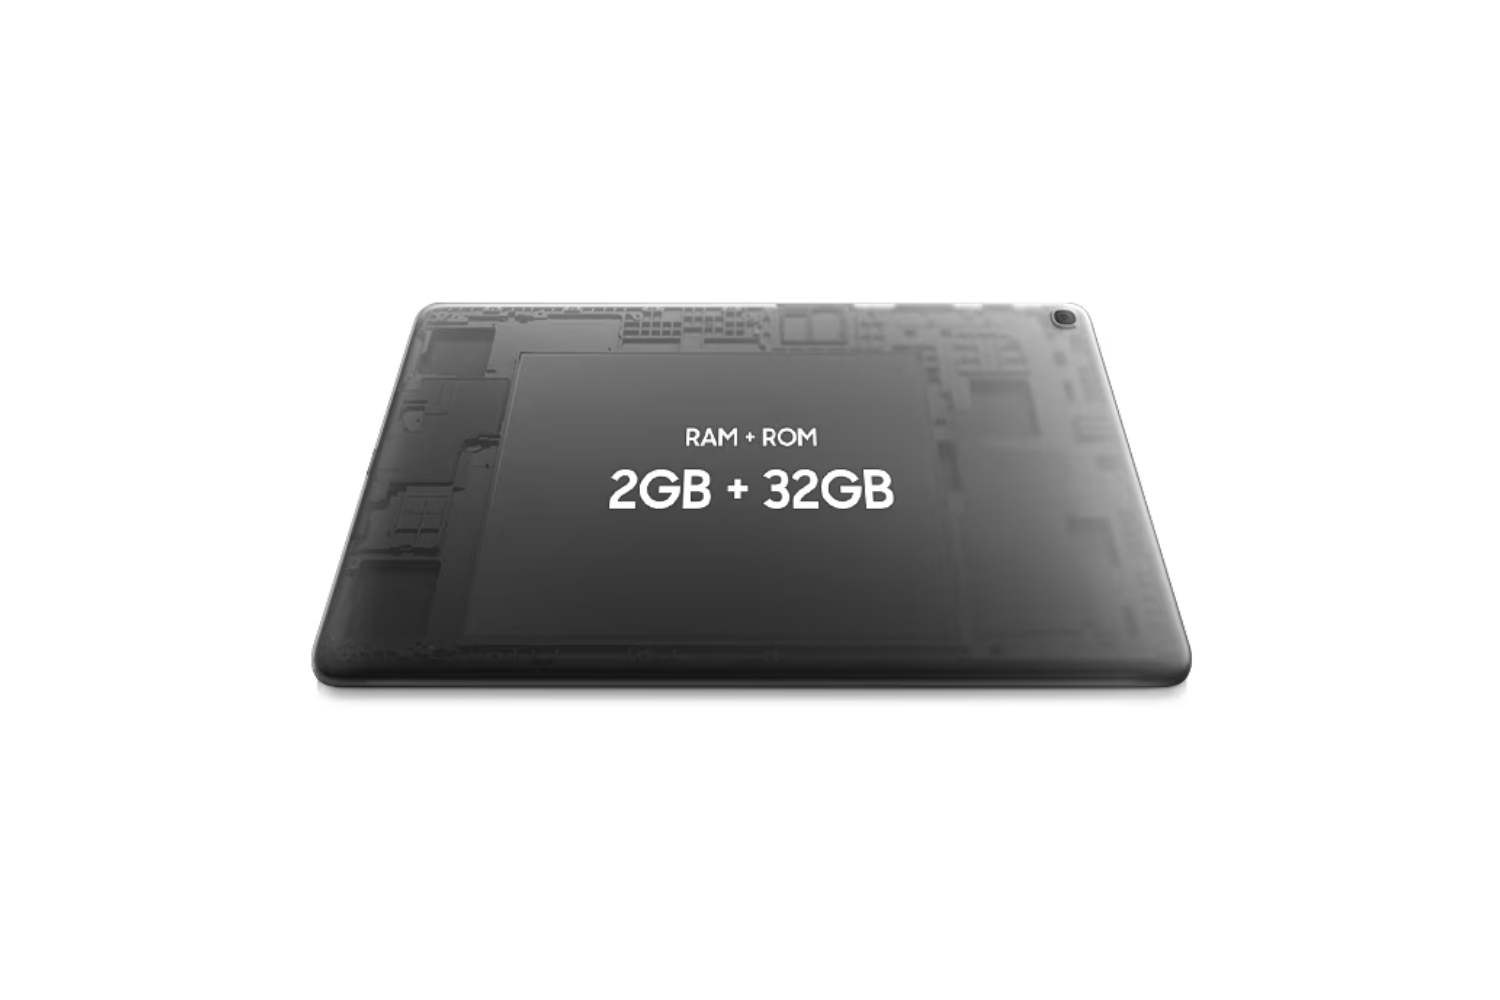
Welcome to our guide on how to check the RAM (Random Access Memory) in your Samsung tablet. RAM is a crucial component of the device that plays a vital role in its performance and multitasking capabilities. By checking the RAM, you can get an insight into how much memory is available for running applications and processes on your Samsung tablet.
Knowing the amount of RAM in your tablet is essential, especially if you are experiencing performance issues, lag, or running out of memory while using multiple apps. Fortunately, Samsung tablets provide various methods to check the RAM, and in this article, we will explore three different ways to do so.
In the following sections, we will explain each method step-by-step so that you can easily follow along, regardless of your technical expertise. Whether you are a tech-savvy user or a beginner, we’ve got you covered!
So, without further ado, let’s dive into the first method of checking the RAM in your Samsung tablet through the device’s settings.
Method 1: Checking RAM in Settings
One of the simplest ways to check the RAM on your Samsung tablet is by accessing the device’s settings. Here’s a step-by-step guide to help you through the process:
- Start by unlocking your Samsung tablet and navigating to the home screen.
- Swipe down from the top of the screen to reveal the quick settings menu, then tap on the gear icon to open the settings.
- In the settings menu, scroll down and find the “About device” or “About tablet” option. This may vary depending on the model and Android version of your Samsung tablet.
- Tap on “About device” or “About tablet” to access detailed information about your device.
- Look for the “Memory” or “RAM” section in the device information. The available RAM should be displayed here.
Once you’ve found the “Memory” or “RAM” section, you can check the amount of RAM available on your Samsung tablet. It will typically be displayed in megabytes (MB) or gigabytes (GB).
Keep in mind that the available RAM may vary depending on the specific model and any running applications or processes at the time of checking. If you notice that the available RAM is consistently low or near its maximum capacity, it may be worth considering closing unused apps or upgrading your device’s memory.
Now that you know how to check the RAM in your Samsung tablet through the device’s settings, let’s move on to the next method, which involves utilizing the developer options.
Method 2: Using Developer Options
If you’re familiar with the developer options on your Samsung tablet, you can use this method to check the RAM. Follow the steps below:
- Unlock your Samsung tablet and go to the home screen.
- Open the Settings app by tapping on the gear icon in the quick settings menu or finding it in your app drawer.
- Scroll down and locate the “About device” or “About tablet” option. Tap on it to open the device information.
- Look for the “Build number” or “Build version” entry and tap on it repeatedly (usually around 7 times) until a notification pops up, confirming that you have enabled developer options.
- Now, go back to the main settings menu and scroll down to find the newly enabled “Developer options.”
- Tap on “Developer options” to access the advanced settings.
- Scroll down and look for the “Memory” section, which will display the RAM usage and available RAM on your Samsung tablet.
By using the developer options, you can not only check the RAM but also explore other advanced settings and features on your Samsung tablet. Just be cautious when modifying any settings in this section, as they can affect the device’s performance or stability if improperly configured.
Now that you know how to check the RAM using the developer options, let’s move on to the third and final method – using third-party apps.
Method 3: Using Third-Party Apps
If you prefer a more user-friendly and comprehensive approach to check the RAM on your Samsung tablet, you can use third-party apps specifically designed for this purpose. Here’s how:
- Open the Google Play Store on your Samsung tablet.
- Tap on the search bar at the top of the screen and enter keywords like “RAM checker” or “memory manager.” Press the search icon or the Enter key.
- From the search results, browse through the available apps and choose one that suits your preferences. Look for apps with high ratings, positive reviews, and a reputable developer.
- Once you’ve found an app, tap on it to open its store page. Read the description, reviews, and check the screenshots to get an idea of the app’s features and interface.
- If you’re satisfied with the app, tap on the “Install” button to download and install it on your Samsung tablet.
- After the installation is complete, open the app from your app drawer or home screen.
- Follow the on-screen instructions of the specific app to check the RAM on your Samsung tablet. Most apps provide a clear and intuitive interface for monitoring RAM usage and available memory.
Using third-party apps can give you additional insights into your Samsung tablet’s RAM, such as real-time monitoring, memory optimization, and notifications for low memory conditions. These apps often provide more detailed information than the built-in settings options.
However, it’s important to note that using third-party apps may come with their own set of privacy and security considerations. Make sure to read the app’s permissions and reviews to ensure it’s trustworthy and safe to use.
With the third method, we’ve covered multiple ways to check the RAM on your Samsung tablet. Choose the method that suits you best based on your preferences and technical expertise.
Conclusion
Checking the RAM on your Samsung tablet is essential for understanding its performance and optimizing its usage. In this article, we explored three different methods to check the RAM of your Samsung tablet.
First, we learned how to check the RAM through the device’s settings. This method is simple and accessible to all users, providing basic information about the available RAM.
Next, we explored the option of using the developer options to check the RAM. This method is particularly useful for users familiar with these advanced settings on their Samsung tablets.
Lastly, we discussed the use of third-party apps to check the RAM. These apps offer more comprehensive features, including real-time monitoring, memory optimization, and advanced statistics.
Remember to choose the method that suits your preferences and technical expertise. It’s important to regularly monitor the available RAM on your Samsung tablet to ensure smooth performance and avoid running out of memory while using multiple apps.
By checking the RAM, you can gain valuable insights into the memory usage of your tablet and make informed decisions about app management and memory optimization. It can also help you identify any potential performance issues related to low memory and take appropriate actions to address them.
We hope this guide has assisted you in understanding how to check the RAM on your Samsung tablet. Enjoy a seamless and efficient experience with your device by keeping an eye on its memory usage!


