Introduction
Welcome to the guide on how to check the PSU (Power Supply Unit) of your Xbox One S. As an Xbox One S owner, it is crucial to ensure that your console’s power supply is functioning properly. The PSU is responsible for providing the necessary power to your Xbox One S, allowing it to turn on and function correctly.
Understanding how to check the PSU is essential because a faulty power supply can cause various issues with the console, such as random shutdowns, power surges, or even permanent damage to the internal components. By checking the PSU regularly, you can identify any potential problems early on and take appropriate action to rectify them.
Before we dive into the step-by-step guide, it’s essential to emphasize the significance of safety when dealing with electronic devices. Always ensure that you follow proper safety precautions, such as unplugging the console from the power source and being mindful of electrical components.
Now, let’s explore the step-by-step process of checking the PSU of your Xbox One S to ensure its proper functioning and avoid any potential issues that can disrupt your gaming experience.
Why is it important to check the PSU of your Xbox One S?
The power supply unit (PSU) is a critical component of your Xbox One S. It is responsible for converting the incoming electrical power from an outlet into the appropriate voltage and current required by the console. Checking the PSU regularly is essential for several reasons:
1. Preventing Unexpected Shutdowns: A faulty PSU can cause your Xbox One S to suddenly shut down while you are in the middle of a game or any other activity. This can lead to lost progress and frustration. By checking the PSU, you can identify any issues before they cause such interruptions, allowing you to enjoy uninterrupted gaming sessions.
2. Protecting Internal Components: A malfunctioning PSU can deliver unstable power to your console, which can damage sensitive internal components over time. This can result in various issues, including graphical glitches, freezing, or even permanent damage. Regularly checking the PSU ensures that the console receives stable and consistent power, protecting its internal components.
3. Preventing Power Surges: Power surges can occur due to fluctuations in the electrical supply. These surges can be harmful to electronic devices, including your Xbox One S. A faulty PSU might not be able to handle such surges, leading to potential damage. By checking the PSU, you can ensure that it is in good condition to handle any unexpected power fluctuations, safeguarding your console.
4. Identifying Faulty Capacitors: Capacitors within the PSU can degrade over time, causing issues such as overheating and failure to provide sufficient power. Regular inspection of the PSU allows you to identify any swollen, leaking, or burnt capacitors. By replacing faulty capacitors promptly, you can prevent further damage to the PSU and the console itself.
5. Extending the Lifespan of Your Console: A properly working PSU contributes to the longevity of your Xbox One S. By checking and ensuring the PSU’s health, you minimize the risk of potential failures that could permanently damage your console. This helps you get the most out of your gaming investment.
Now that you understand the importance of checking the PSU of your Xbox One S, let’s move on to the step-by-step guide to help you through the process.
Step-by-Step Guide to Checking the PSU of Xbox One S
Checking the PSU of your Xbox One S is a straightforward process. Just follow the steps below:
1. Prepare the necessary tools: Before you begin, gather the tools you’ll need, including a screwdriver, a multimeter, and an anti-static wrist strap. These tools will make the process easier and ensure your safety.
2. Power off and unplug your Xbox One S: Make sure your console is powered off and disconnected from the power source. This step is crucial to avoid any electrical accidents during the inspection.
3. Remove the top cover of the Xbox One S: Use a screwdriver to remove the screws holding the top cover in place. Carefully lift off the cover, exposing the internal components of the console.
4. Locate the PSU and disconnect its cables: The PSU is typically located near the back of the console. Identify the PSU and gently unplug its cables from the motherboard. Ensure that you remember the cable connections for reassembly later.
5. Inspect the PSU for any visible damage: Take a close look at the PSU for any signs of physical damage, such as melted connectors, frayed cables, or burnt components. If you notice any damage, it is a clear indication that your PSU needs to be replaced.
6. Testing the PSU with a multimeter: Set your multimeter to measure DC voltage. Connect the black probe to a grounding point on the console, and then connect the red probe to the corresponding connectors on the PSU. Check the voltage readings against the specifications provided by the manufacturer.
7. Analyzing the multimeter readings: Ensure that the voltage readings fall within the acceptable range. If the readings deviate significantly from the specified values, it indicates a faulty PSU that needs to be replaced.
8. If necessary, replacing the PSU: If you have determined that the PSU is faulty, you will need to replace it with a new one. Consult the Xbox One S user manual or reach out to official support for instructions on obtaining and installing a replacement PSU.
By following these steps and conducting regular checks, you can ensure that the PSU of your Xbox One S is in good condition, providing stable power and protecting your console from potential issues.
Prepare the necessary tools
Before you begin checking the PSU of your Xbox One S, it’s important to gather the necessary tools to ensure a smooth and safe process. Here are the tools you’ll need:
- Screwdriver: You’ll need a screwdriver to remove the screws that hold the top cover of your Xbox One S in place. Make sure you have a screwdriver that is suitable for the size of these screws.
- Multimeter: A multimeter is an essential tool for testing the voltage output of the PSU. It allows you to measure the direct current (DC) voltage and ensures that it falls within the acceptable range.
- Anti-static wrist strap: This strap helps to prevent electrostatic discharge (ESD) and protects the sensitive electronic components of your Xbox One S from potential damage. It is highly recommended to wear an anti-static wrist strap during the inspection process.
With these tools at your disposal, you’ll have everything you need to effectively check the PSU of your Xbox One S. Always ensure that your tools are in good working condition and appropriate for the task at hand. Using the right tools will make the process easier and help ensure accurate measurements.
Additionally, it’s worth mentioning that working with electronic devices like the Xbox One S requires caution and adherence to safety guidelines. Remember to unplug the console from the power source before starting the inspection, and always handle the components carefully to avoid any damage or injury.
Now that you have your tools ready, let’s move on to the next step in the process: powering off and unplugging your Xbox One S.
Power off and unplug your Xbox One S
Before you begin inspecting the PSU of your Xbox One S, it is crucial to ensure that the console is powered off and disconnected from the power source. This step is essential for your safety and to prevent any potential damage to the console or yourself. Follow these steps to power off and unplug your Xbox One S:
- Shut down your Xbox One S: If your console is currently powered on, navigate to the main menu and select the “Settings” option. From the settings menu, choose the “Power & Startup” section and select “Turn off console.” This will safely shut down the console.
- Unplug the power cord: Once the console is fully powered off, locate the power cord connected to the back of your Xbox One S. Gently but firmly grasp the plug and disconnect it from the power outlet. Ensure that you pull the plug by gripping it and not by tugging on the cord itself to avoid damage.
- Disconnect any additional cables: Apart from the power cord, your Xbox One S might have other cables connected, such as HDMI or Ethernet cables. Carefully unplug any additional cables as necessary. Take note of their positions and connections for reassembly later.
By following these steps, you have effectively powered off and disconnected your Xbox One S from the power source. This is an essential precautionary measure to ensure safety during the inspection process, as well as to prevent any potential electrical accidents or damage to the console.
Now that your Xbox One S is safely unplugged, you are ready to move on to the next step: removing the top cover of the console to access the PSU.
Remove the top cover of the Xbox One S
In order to access the PSU (Power Supply Unit) of your Xbox One S, you’ll need to remove the top cover of the console. This will allow you to examine the internal components and carry out the necessary inspections. Follow these steps to remove the top cover:
- Gather the required tools: To remove the top cover, you’ll typically need a screwdriver. Ensure that you have the appropriate screwdriver that fits the screws on your Xbox One S.
- Identify the screws: Carefully inspect the exterior of your Xbox One S and locate the screws that secure the top cover. The number of screws and their positions may vary depending on the specific model of your console. Commonly, there are several screws on the back and one or two on the sides of the console.
- Remove the screws: Using the appropriate screwdriver, gently unscrew each of the screws found in the previous step. Place the screws in a safe location so that they are not misplaced.
- Lift off the top cover: Once all the screws are removed, you can carefully lift off the top cover of your Xbox One S. Be cautious not to apply excessive force or put too much pressure on any specific area. Slowly lift the cover from the back of the console, ensuring that you maintain a steady grip.
- Set aside the top cover: Once the top cover is removed, set it aside in a safe and clean location. This will prevent any accidental damage or contamination while you inspect the PSU and other internal components.
By following these steps, you have successfully removed the top cover of your Xbox One S, providing access to the internal components of the console, including the PSU. Now you’re ready to proceed with the next step: locating and disconnecting the cables of the PSU.
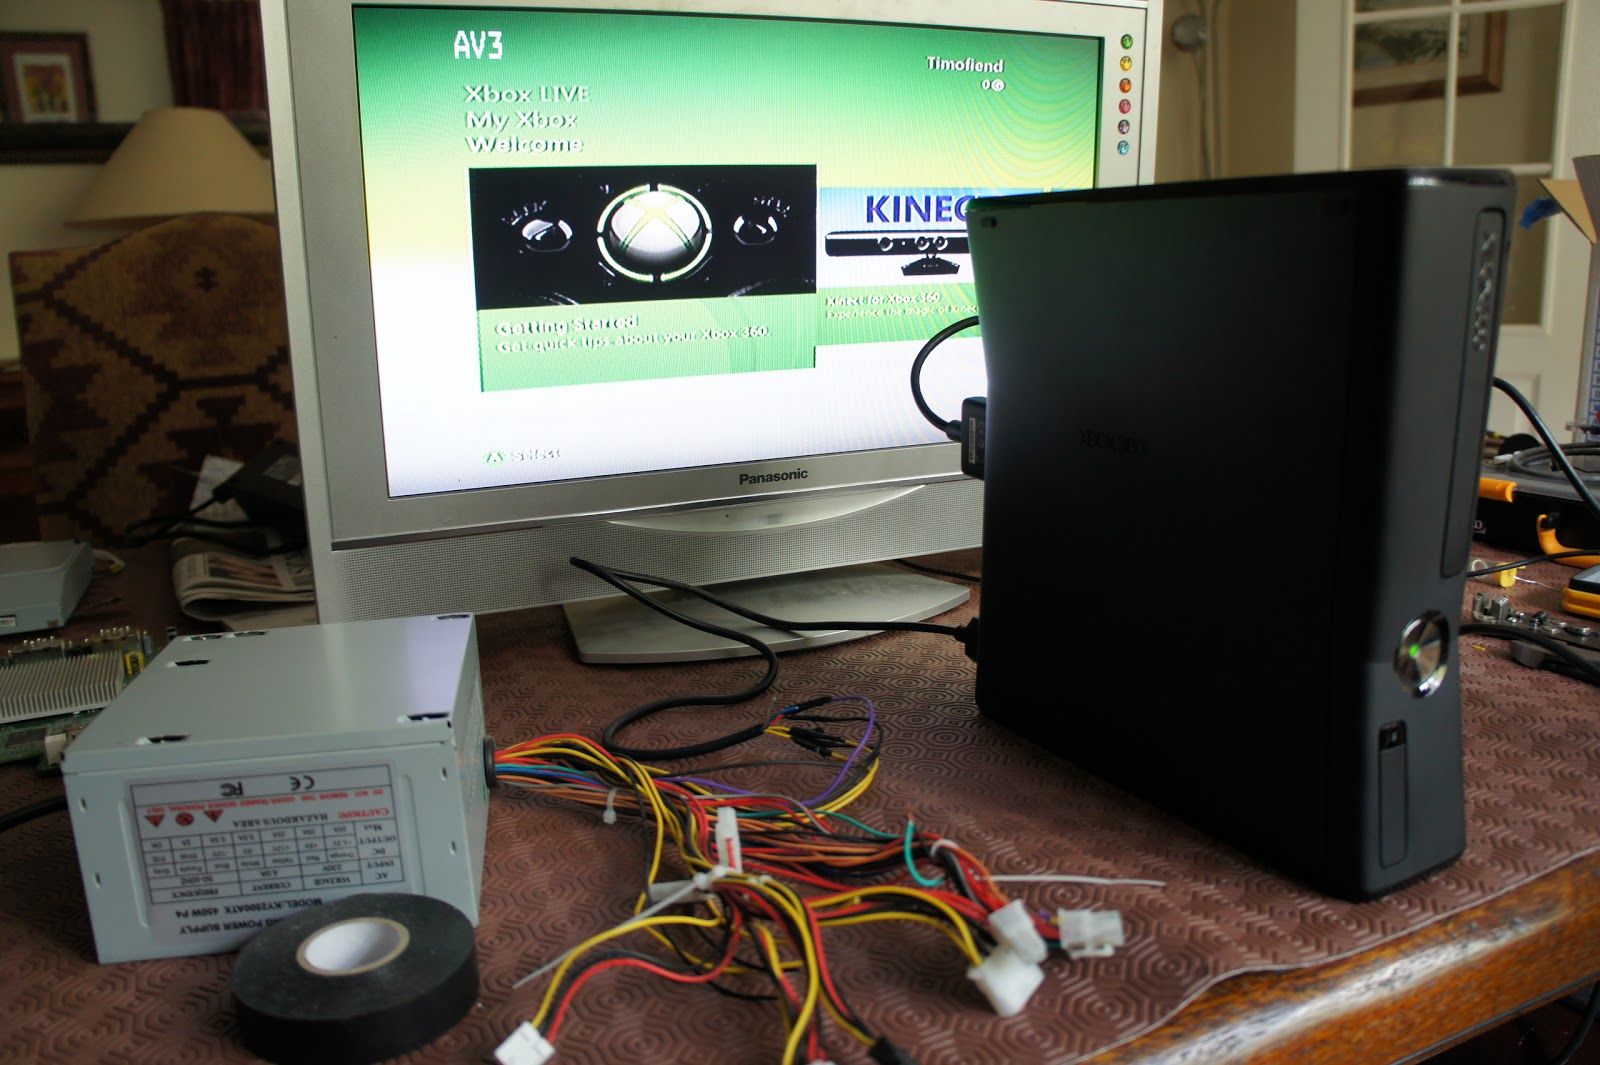
Locate the PSU and disconnect its cables
Once you have removed the top cover of your Xbox One S, it’s time to locate the PSU (Power Supply Unit) and disconnect its cables. The PSU is responsible for supplying power to the console, and disconnecting its cables will allow you to examine it closely for any potential issues. Follow these steps to locate the PSU and disconnect its cables:
- Identify the PSU: The PSU is typically located near the back of the Xbox One S. It is a rectangular component with cables connected to it. Take a moment to locate the PSU, ensuring that you have a clear view of it.
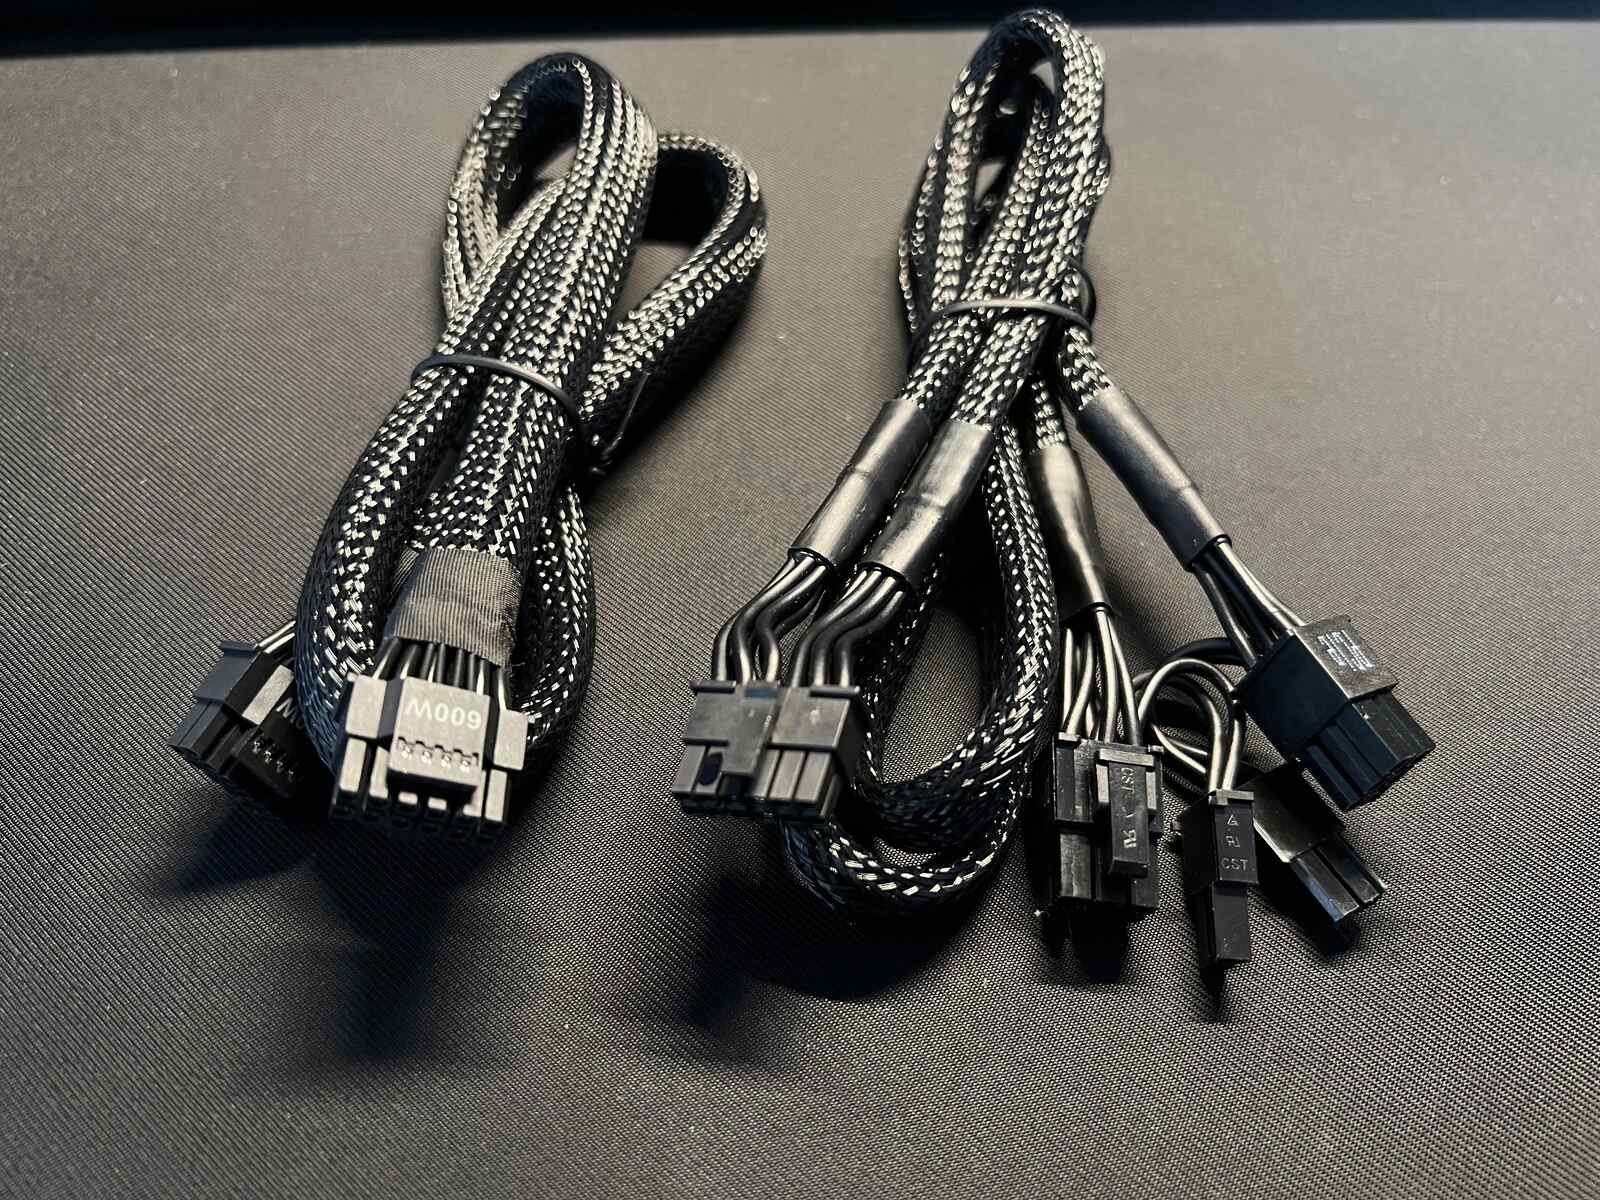
- Unplug the PSU cables: Carefully examine the cables connected to the PSU. These cables include the power cable from the console to the PSU and other cables that provide power to various components. Gently unplug each cable from the respective connectors on the PSU. Take note of the connections and positions of each cable to facilitate reassembly later.
- Handle cables with care: When disconnecting the PSU cables, make sure to handle them delicately. Avoid pulling or stressing the cables excessively, as this can cause damage to the connectors or the cables themselves. Take your time and be gentle during this process.
- Set cables aside: As you disconnect each cable from the PSU, set them aside in a safe and organized manner. This will prevent any confusion or tangling of the cables during the inspection and reassembly process.
By following these steps, you have successfully located the PSU of your Xbox One S and disconnected its cables. This will allow you to proceed with the next step, which involves inspecting the PSU for any visible damage.
Inspect the PSU for any visible damage
With the cables of the PSU disconnected, it’s time to visually inspect the Power Supply Unit (PSU) of your Xbox One S for any visible damage or abnormalities. By carefully examining the PSU, you can identify potential issues that may affect its performance and overall functionality. Follow these steps to inspect the PSU:
- Observe the exterior: Take a close look at the external casing of the PSU. Check for any signs of physical damage, such as cracks, dents, or scratches. Be thorough in your examination, ensuring that you inspect all sides of the PSU.
- Check for loose connections: Verify that all cables and connectors are securely in place. Ensure they are snugly connected to the PSU and free from any looseness or disconnection. Loose or improperly connected cables can cause power supply issues.
- Look for burnt or melted components: Examine the PSU for any signs of burnt or melted components. Burnt marks or discoloration are clear indications of a potential problem. Pay close attention to the connectors and cables, as they are common areas where such damage may occur.
- Inspect for swollen or leaking capacitors: Capacitors are cylindrical components typically found on the PSU board. Look for any capacitors that appear swollen, bulging, or leaking. These visual cues indicate capacitor failure, which can impact the performance of the power supply.
- Ensure cable integrity: Examine the cables connected to the PSU for any signs of fraying, kinks, or damage. Damaged cables can compromise the power supply’s efficiency and reliability.
If you notice any visible damage or abnormalities during the inspection, it is crucial to address the issue promptly. Depending on the severity of the damage, you might need to consider replacing the PSU. In such cases, referring to the Xbox One S user manual or reaching out to official support can provide guidance on obtaining a suitable replacement.
By inspecting the PSU for visible damage, you have taken an important step in ensuring the overall health and performance of your Xbox One S. Now, we will proceed to the next step, which involves testing the PSU using a multimeter.
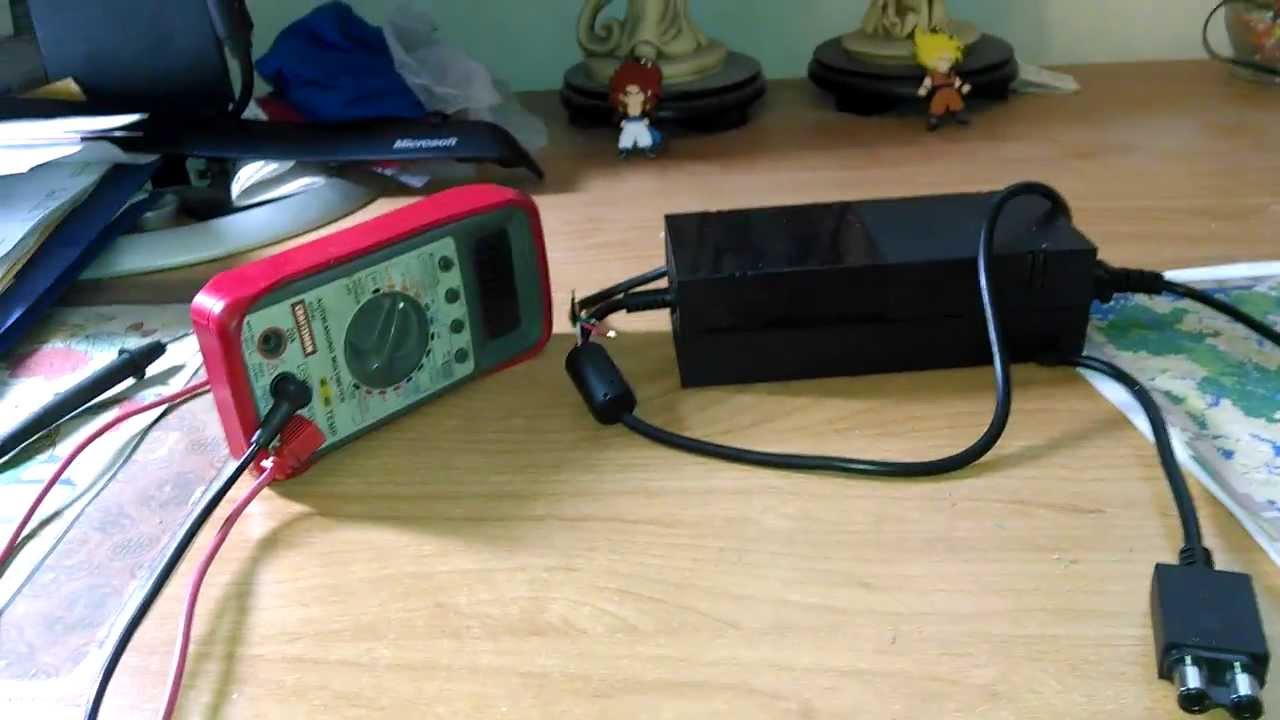
Testing the PSU with a multimeter
Now that you have inspected the external components of the Power Supply Unit (PSU) of your Xbox One S, it’s time to move on to the next step: testing the PSU using a multimeter. This step will help you determine if the PSU is delivering the correct voltage output. Follow these steps to test the PSU:
- Select the appropriate settings: Set your multimeter to measure DC (direct current) voltage. For most Xbox One S consoles, the PSU should provide a +12V DC output. Ensure that your multimeter is set to measure within this range.
- Attach the multimeter probes: Connect the black probe to the common (COM) port on the multimeter, and the red probe to the voltage (V) port.
- Ground the black probe: Locate a grounding point on the Xbox One S, such as a metal surface or a ground pin. Connect the black probe to this grounding point. Grounding the multimeter ensures accurate voltage readings.
- Measure the voltage output: With the multimeter properly set and grounded, touch the red probe to the appropriate connectors on the PSU. The specific connectors will depend on your Xbox One S model. Refer to the user manual or search online for the correct connectors.
- Read and record the voltage: Observe the measurement displayed on the multimeter and record the voltage reading. Ensure that the measured voltage falls within the acceptable range specified by the Xbox One S manufacturer. Typically, the reading should be around +12V DC.
It’s important to note that if the voltage reading significantly deviates from the specified range, it indicates a possible issue with the PSU. In such cases, it may be necessary to replace the PSU to ensure proper functionality.
Remember to take appropriate safety precautions while testing the PSU with a multimeter. Ensure that you are working in a safe and well-ventilated area, and avoid contact with any exposed electrical components.
Once you have completed testing the PSU, you can proceed to the next step, where we will analyze the multimeter readings to determine the health of the power supply.
Analyzing the multimeter readings
After testing the Power Supply Unit (PSU) of your Xbox One S using a multimeter, it’s time to analyze the readings you obtained. The readings will provide valuable information about the health and functionality of the PSU. Follow these steps to analyze the multimeter readings:
- Refer to the manufacturer’s specifications: Consult the Xbox One S user manual or search online to find the specified voltage range for the PSU. Typically, the voltage output should be around +12V DC. Compare the measured voltage reading obtained from the multimeter to this specified range.
- Check for voltage stability: In addition to the measured voltage value, assess the stability of the voltage output. A stable voltage should remain relatively constant with minimal fluctuations. If the measured voltage shows significant fluctuations or instability, it may indicate a problem with the PSU.
- Compare against known good values: If possible, compare the measured voltage reading against documented values for a known working PSU of the same model. This can provide a clearer understanding of whether the measured voltage is within an acceptable range.
- Consider the context of the issue: If you have been experiencing particular symptoms or issues with your Xbox One S, take into account how the multimeter readings align with those symptoms. For example, if the console has been randomly shutting down, a low voltage reading may be indicative of PSU problems.
- Take note of any abnormalities: If the multimeter readings deviate significantly from the specified range or exhibit instability, it is likely that there is an issue with the PSU. Make a record of these abnormalities to help guide your further actions, such as considering whether a PSU replacement is necessary.
By analyzing the multimeter readings, you gain valuable insight into the health of the PSU within your Xbox One S. The readings help you determine if the PSU is delivering the appropriate voltage and functioning as expected. If the readings indicate any abnormalities, it may be necessary to take further steps, such as replacing the PSU, to ensure proper performance of your console.
Now that you have analyzed the multimeter readings, you can proceed to the next step, which involves replacing the PSU if necessary. We will cover this step in detail in the following section.
If necessary, replacing the PSU
If your analysis of the multimeter readings or inspection of the PSU indicates that it is faulty or not functioning properly, it may be necessary to replace the Power Supply Unit (PSU) of your Xbox One S. Follow these steps to replace the PSU if necessary:
- Refer to the Xbox One S user manual: Consult the user manual or official support documentation provided by Microsoft to understand the specific requirements for replacing the PSU. This will ensure that you obtain the correct replacement part.
- Order a replacement PSU: Contact Xbox Support or visit the official Xbox website to obtain a genuine replacement PSU for your Xbox One S. It is crucial to use the appropriate replacement PSU to avoid compatibility issues and potential damage to your console.
- Disconnect the old PSU: After receiving the replacement PSU, follow the steps outlined earlier to power off and unplug your Xbox One S. Then, remove the top cover and locate the cables connected to the old PSU. Carefully disconnect the cables, taking note of their positions for reassembly.
- Install the new PSU: Take the replacement PSU and connect the cables in the same positions as the old one. Ensure that the connections are secure and properly aligned. Avoid forcing the cables or connectors to prevent damage.
- Reassemble your Xbox One S: Once the new PSU is installed, carefully place the top cover back on your Xbox One S. Secure it in place using the appropriate screws, ensuring they are tightened but not overly tightened.
- Power on your Xbox One S: Once everything is reassembled, connect the power cord to your console and plug it back into a power outlet. Power on your Xbox One S to test if the new PSU is functioning correctly.
- Monitor for proper operation: After replacing the PSU, keep an eye on your Xbox One S for any irregularities or issues. Ensure that it powers on smoothly and functions without any noticeable problems. If you continue experiencing issues, consider seeking assistance from Xbox Support.
Replacing the PSU should be done with careful attention to detail, following the manufacturer’s instructions and safety precautions. If you are uncertain or uncomfortable performing the replacement yourself, it is recommended to seek professional assistance to avoid potential damage to your console.
By following these steps, you can successfully replace the PSU of your Xbox One S if needed, ensuring that your console receives the necessary power supply for optimal performance.
Conclusion
Checking the Power Supply Unit (PSU) of your Xbox One S is a crucial step in maintaining the performance and longevity of your console. By following the step-by-step guide outlined in this article, you can ensure that your Xbox One S is receiving stable and adequate power, preventing potential issues that may disrupt your gaming experience.
We began by highlighting the importance of checking the PSU, emphasizing the prevention of unexpected shutdowns, protection of internal components, prevention of power surges, identification of faulty capacitors, and extension of the console’s lifespan.
We then proceeded to provide a detailed step-by-step guide, covering the preparation of necessary tools, powering off and unplugging the console, removing the top cover, locating and disconnecting the PSU cables, inspecting the PSU for visible damage, testing the PSU with a multimeter, analyzing the multimeter readings, and replacing the PSU if necessary.
Remember, always prioritize safety throughout the process by following safety guidelines, such as wearing an anti-static wrist strap and unplugging the console before starting any inspections or repairs.
It’s crucial to note that if you encounter any difficulties, it’s advisable to consult the Xbox One S user manual or seek support from official Xbox channels for accurate and specific guidance.
By regularly checking the PSU of your Xbox One S and taking appropriate action when needed, you can optimize the performance, longevity, and overall gaming experience of your beloved console.