Introduction
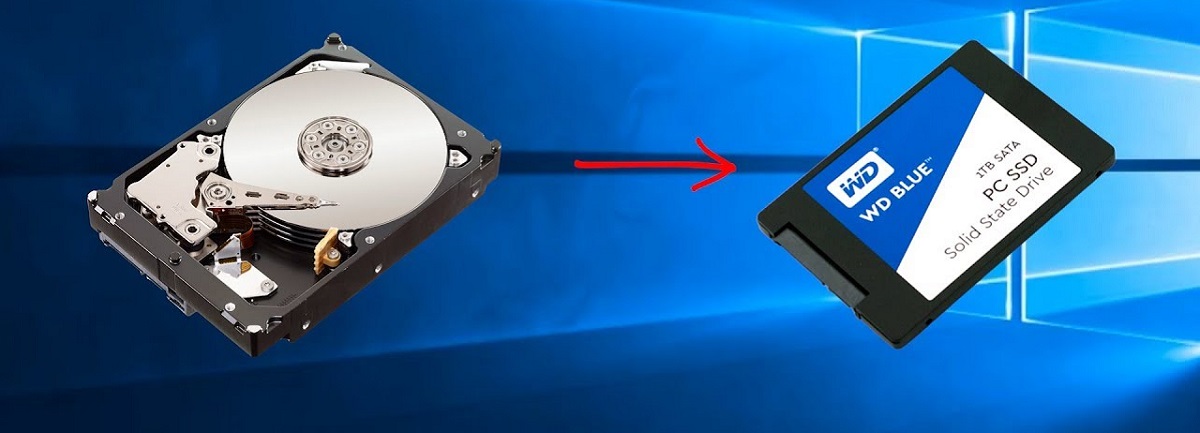
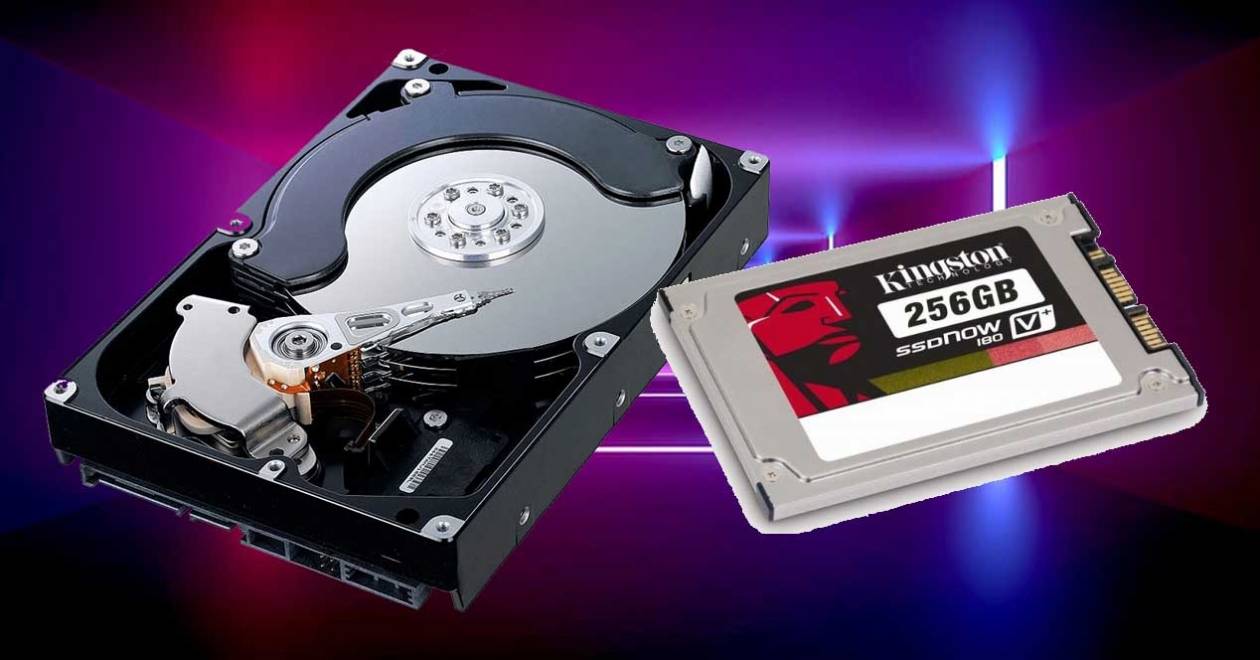
When it comes to computer hardware, the type of hard drive you have can significantly impact the performance and speed of your system. One of the most common types of hard drives is the Solid State Drive (SSD), which offers faster read and write speeds compared to traditional Hard Disk Drives (HDD).
If you are using a Windows 7 operating system and you’re not quite sure whether your computer’s hard drive is an SSD or HDD, you’re in the right place. In this article, we will walk you through various methods to check if your hard drive is an SSD or HDD on Windows 7.
Knowing the type of hard drive you have can be useful for several reasons. For starters, SSDs are known for their superior performance, quick boot times, and shorter loading times for applications. On the other hand, HDDs are typically cheaper and offer larger storage capacities.
Whether you’re looking to upgrade your storage options or simply curious about the components in your computer, it’s essential to determine if your hard drive is an SSD or HDD. Fortunately, there are several ways to check this without opening up your computer’s casing.
Below, we will outline five methods that you can use to check if your hard drive is an SSD or HDD on a Windows 7 system. Depending on your preference or familiarity with different tools, you can choose the method that suits your needs best.
Method 1: Checking Device Manager
One of the easiest ways to determine if your hard drive is an SSD or HDD on Windows 7 is by using the Device Manager utility. Here’s how you can do it:
- Open the Start menu and type “Device Manager” in the search bar.
- Click on the Device Manager application in the search results to open it.
- Once the Device Manager window is open, locate the “Disk Drives” category and click on the arrow beside it to expand the list.
- You should now see a list of the disk drives installed on your computer. Look for the name of your hard drive.
- Right-click on the name of your hard drive and select “Properties” from the context menu.
- A new window will open. Go to the “Details” tab.
- Look for the “Device Description” field, where it will display the type of hard drive you have, such as “Solid State Drive” or “Hard Disk Drive”.
By following these steps and checking the Device Manager, you can quickly determine if your hard drive is an SSD or HDD. If the Device Description states “Solid State Drive,” then you have an SSD. If it says “Hard Disk Drive,” then you have an HDD.
This method is convenient because it allows you to check the type of hard drive without the need for any additional software. However, keep in mind that the Device Manager may not always provide specific information about the model or manufacturer of the hard drive.
Now that you know how to check your hard drive using Device Manager, you can move on to the next method to confirm the type of hard drive in your Windows 7 system.
Method 2: Using System Information
Another straightforward method to determine the type of hard drive on your Windows 7 system is by using the System Information tool. Here’s how you can do it:
- Open the Start menu and type “System Information” in the search bar.
- Click on the System Information application in the search results to open it.
- In the System Information window, navigate to the “Components” section in the left-hand pane.
- Scroll down and click on the “Storage” category.
- On the right-hand side of the window, you will see a list of storage devices installed on your computer.
- Look for the “Media Type” column, which indicates the type of hard drive.
- If the Media Type is listed as “Solid State Disk,” then you have an SSD. If it is listed as “Fixed hard disk media,” then you have an HDD.
By using the System Information tool, you can quickly determine if your hard drive is an SSD or HDD without the need for third-party software. Keep in mind that this method may appear differently based on your system’s configuration, but the general process remains the same.
It’s important to note that the System Information tool provides additional detailed information about your system’s components, including the manufacturer, model, and firmware version of the hard drive. This can be useful if you’re looking for more specific details about your storage device.
Now that you’ve learned how to check your hard drive using System Information, you can proceed to the next method to further confirm the type of hard drive in your Windows 7 system.
Method 3: Running Command Prompt
If you prefer using command-line tools, you can check the type of hard drive on your Windows 7 system by running a few commands in the Command Prompt. Here’s how you can do it:
- Open the Start menu and search for “Command Prompt”.
- Click on the Command Prompt application to open it.
- In the Command Prompt window, type the following command and press Enter:
wmic diskdrive get MediaType - Wait for the command to execute. It will display information about your disk drives.
- Locate the line that says “MediaType” and check the value next to it.
- If the value is “Fixed hard disk media”, then you have an HDD. If it is “SSD”, then you have an SSD.
Running the above command in the Command Prompt allows you to retrieve the media type of your hard drive, which determines if it is an SSD or HDD.
The advantage of using the Command Prompt method is that it provides a quick and direct way to check the hard drive type, without the need for any additional tools or software.
Now that you’re familiar with the Command Prompt method for checking your hard drive type, let’s move on to the next method to explore another option for determining the type of hard drive in your Windows 7 system.
Method 4: Using Task Manager
Task Manager is a built-in utility in Windows that provides an overview of system resources and processes running on your computer. Surprisingly, Task Manager can also help you determine the type of hard drive on your Windows 7 system. Here’s how:
- Right-click on the taskbar and select “Task Manager” from the context menu.
- In the Task Manager window, click on the “Performance” tab.
- Look for the “Disk” section and click on it to expand the details.
- Under the “Model” or “Description” column, you should see the name of your hard drive.
- If the name includes “SSD”, then you have an SSD. If it includes “HDD” or “Hard Disk Drive”, then you have an HDD.
Task Manager provides a quick and easy way to check the type of hard drive you have, thanks to its inclusion of disk information in the Performance tab.
It’s worth noting that the Task Manager method does not provide as much detailed information as some of the other methods mentioned earlier. However, it can be useful for a quick check if you’re already using Task Manager for other purposes.
Now that you’ve learned how to check your hard drive type using Task Manager, let’s move on to the next method for another approach to confirm the type of hard drive in your Windows 7 system.
Method 5: Checking Drive Properties
Another method to determine the type of hard drive on your Windows 7 system is by checking the drive properties. Here’s how you can do it:
- Open “My Computer” or “This PC” on your Windows 7 system.
- Locate and right-click on your hard drive.
- From the context menu, click on “Properties”.
- A Properties window will appear. Navigate to the “General” or “Hardware” tab.
- Look for information related to the type of drive. This may include terms such as “Solid State Drive (SSD)” or “Hard Disk Drive (HDD)”.
By checking the drive properties, you can easily identify the type of hard drive based on the information displayed. If the properties mention “Solid State Drive (SSD)”, then you have an SSD. If it states “Hard Disk Drive (HDD)”, then you have an HDD.
This method is convenient and does not require any additional tools. However, keep in mind that the specific wording or location of the drive properties may vary depending on your system configuration or Windows version.
Now that you are familiar with the method of checking drive properties, you have a comprehensive set of techniques to determine the type of hard drive on your Windows 7 system.
Conclusion
In conclusion, determining whether your hard drive is an SSD or HDD on a Windows 7 system is essential for understanding its performance capabilities and making informed decisions regarding upgrades or replacements. We have explored five different methods to check the type of hard drive:
- Using Device Manager: This method involves checking the device properties in the Device Manager utility.
- Using System Information: The System Information tool provides detailed information about your system’s components, including the type of hard drive.
- Running Command Prompt: By executing specific commands in the Command Prompt, you can retrieve information about your hard drive.
- Using Task Manager: Task Manager surprisingly includes disk information that can help identify the type of hard drive.
- Checking Drive Properties: By examining the drive properties in “My Computer” or “This PC”, you can determine the type of hard drive.
Each method has its own advantages and can be easily performed without the need for additional software or tools. Depending on your preference and familiarity with different utilities, you can choose the method that suits you best.
Remember, the type of hard drive you have can impact your computer’s speed, storage capacity, and overall performance. SSDs offer faster read and write speeds, while HDDs are typically more cost-effective with larger storage capacities.
Whether you’re looking to optimize your system’s performance or simply satisfy your curiosity, now you have the knowledge and tools to determine if your hard drive is an SSD or HDD on a Windows 7 system.


