Introduction
Welcome to the world of Spotify, the music streaming platform that has revolutionized how we listen to music. With a vast collection of music from various genres and artists, Spotify gives you the power to create and curate your own personalized playlists. And what better way to make your playlists truly unique than by adding a custom playlist picture?
Changing the playlist picture on Spotify is not only a fun way to personalize your music collection but also serves as a visual representation of the mood or theme of your playlist. Whether you want to display a photo of your favorite artist, a picture that captures the essence of a particular genre, or simply an image that resonates with the vibe of your playlist, Spotify allows you to easily swap out the default playlist picture for something that speaks to you.
In this step-by-step guide, we will walk you through the process of changing the playlist picture on Spotify. Whether you’re using the Spotify app on your mobile device or desktop, you’ll find that the process is straightforward and user-friendly.
So, without further ado, let’s dive in and discover how to give your Spotify playlists a visually striking makeover!
Step 1: Open Spotify on your device
The first step, of course, is to open the Spotify application on your device. Whether you’re using a smartphone, tablet, or desktop computer, make sure you have the Spotify app installed and updated to the latest version.
If you’re using a mobile device, simply locate the Spotify app icon on your home screen or app drawer and tap on it to launch the app. For desktop users, click on the Spotify icon either on your desktop or in the taskbar to open the application.
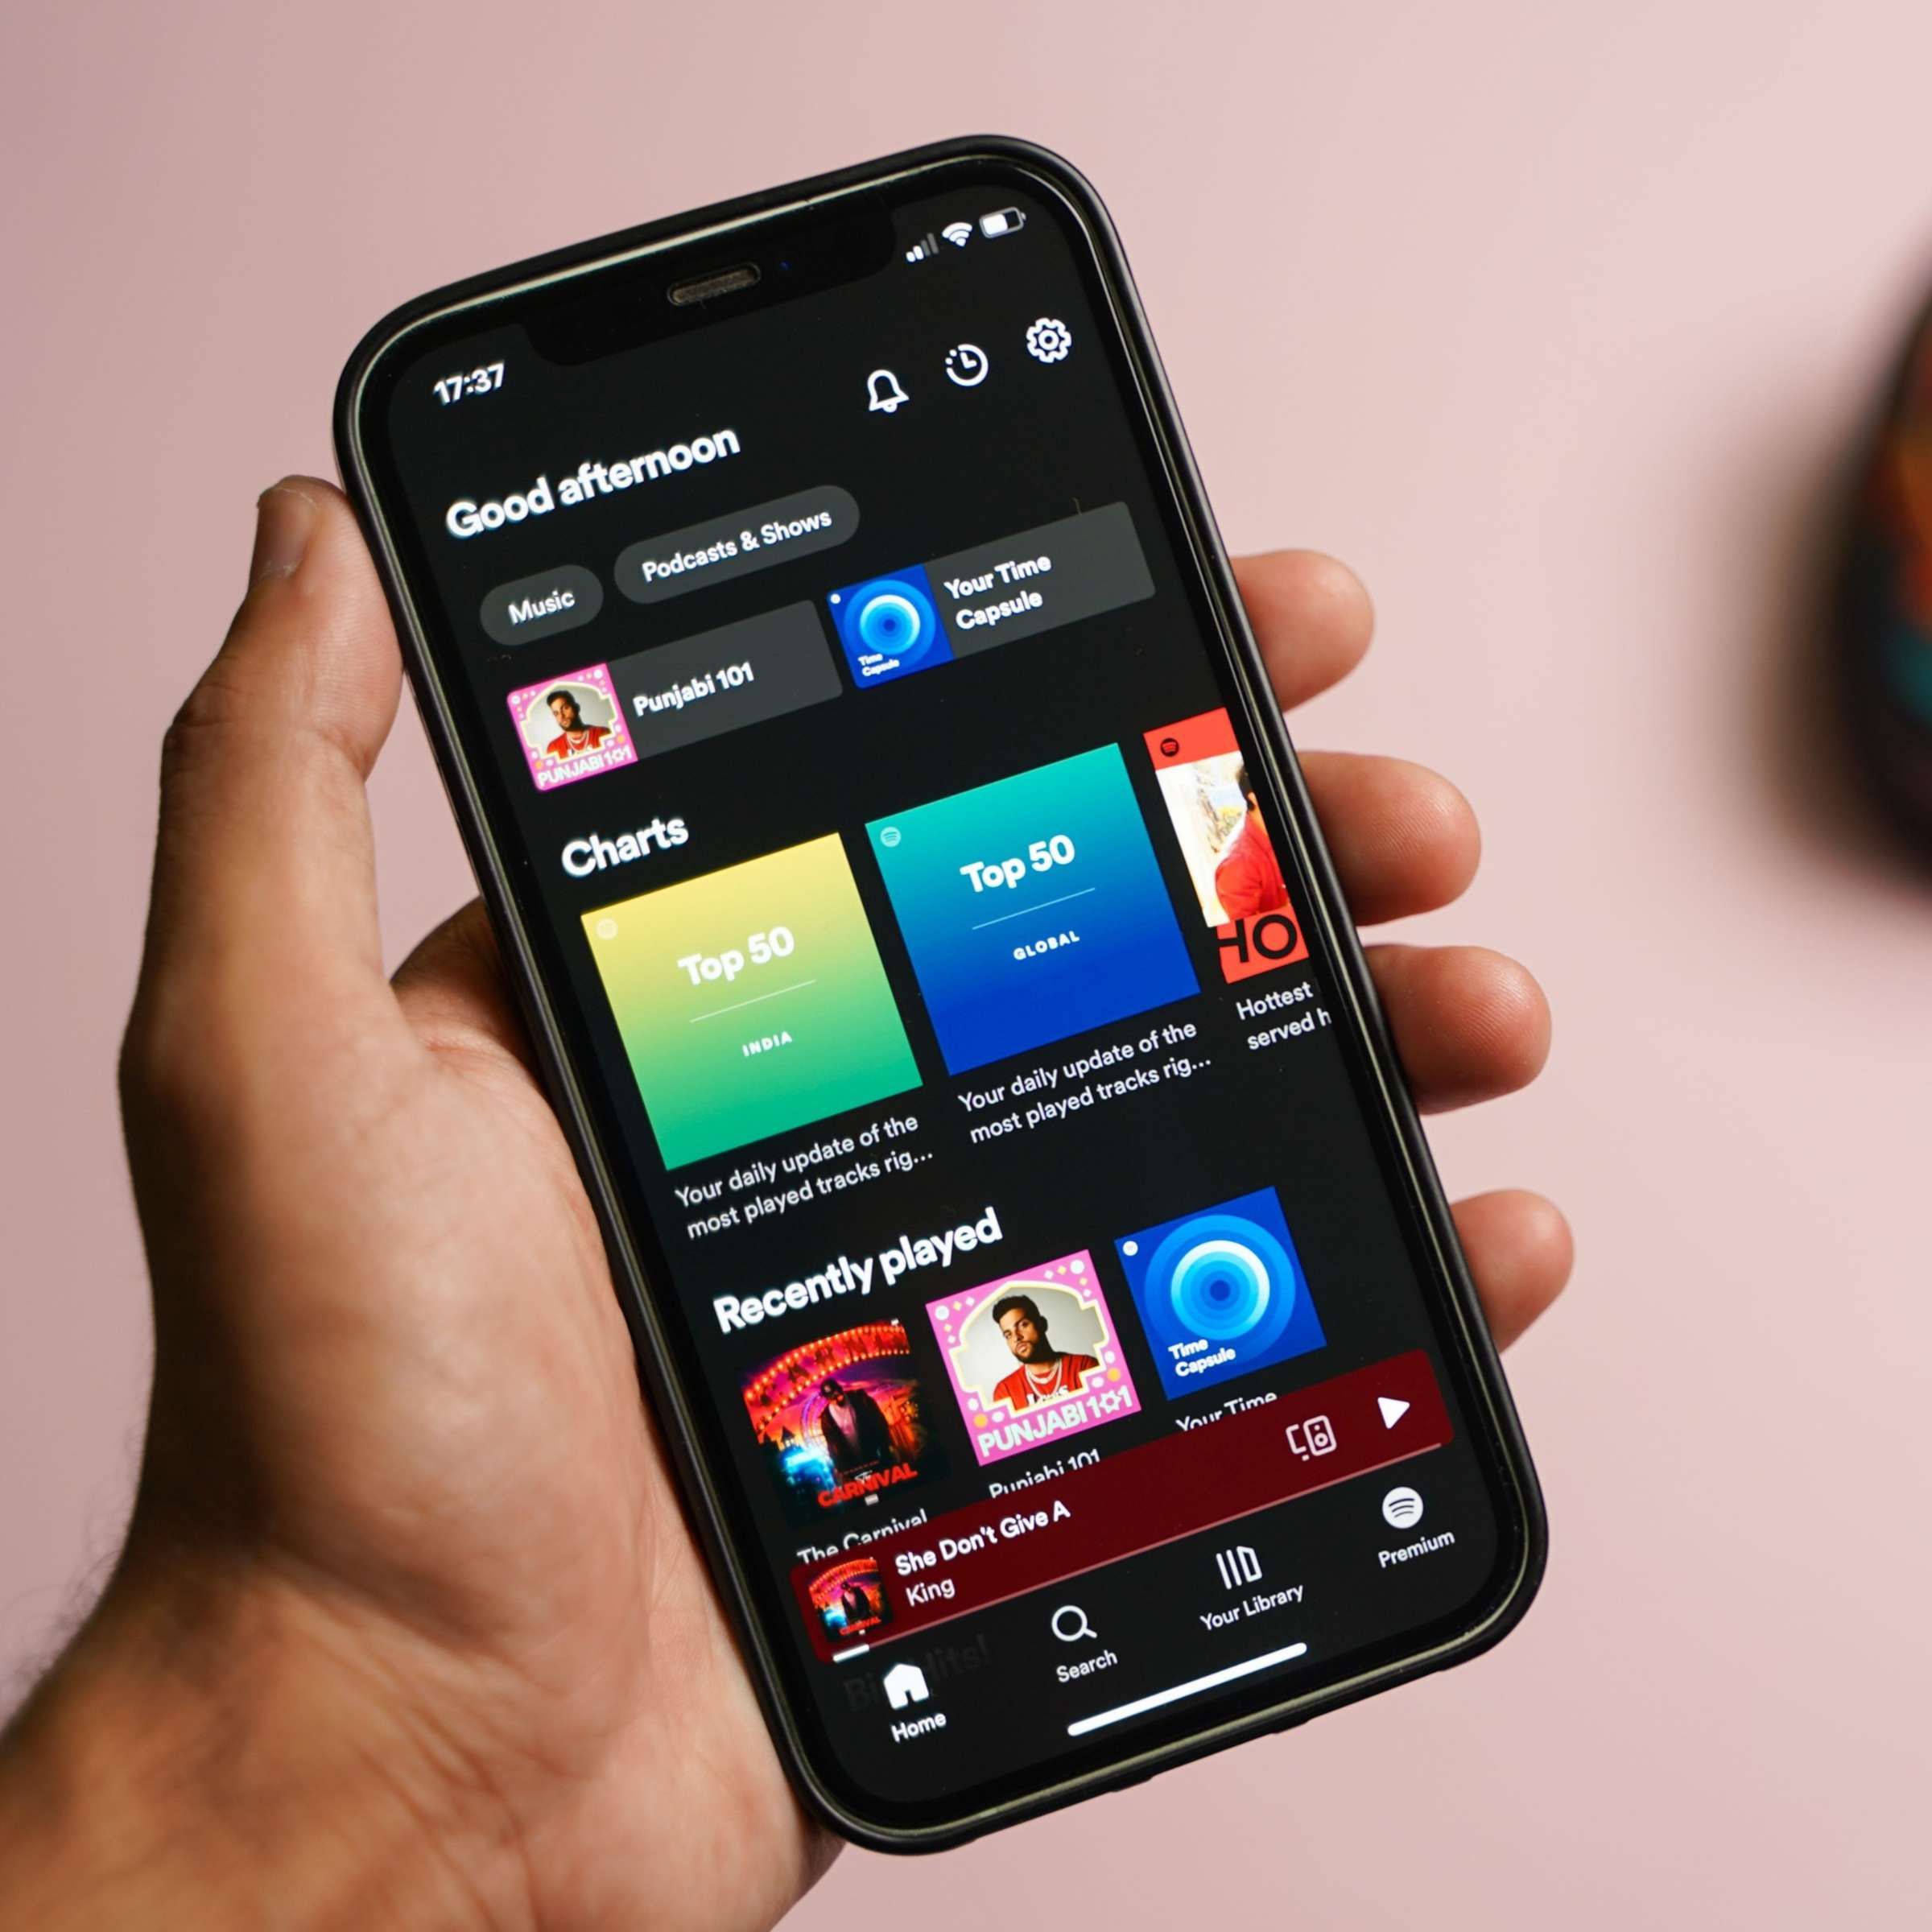
Once the Spotify app is open, you’ll be greeted with the home screen that showcases featured playlists, recommended music, and your recently played tracks. Take a moment to explore and discover new music, or proceed to the next step to change the playlist picture.
It’s important to note that if you don’t have a Spotify account, you’ll need to create one before you can proceed with changing the playlist picture. Signing up is free and allows you to access all the features and functionalities of Spotify.
Now that you have Spotify up and running, let’s move on to the next step and find out how to change the playlist picture.
Step 2: Go to Your Library
Once you have opened the Spotify app on your device, you’ll need to navigate to your library, where all your playlists are stored. To do this, locate and tap on the “Library” icon, usually found at the bottom of the screen for mobile users or in the left sidebar for desktop users.
In the “Library” section, you’ll find a collection of your recently played tracks, playlists, and saved music. This is where you can manage and customize your playlists, including changing the playlist picture.
If you have a long list of playlists, scroll through the library until you find the specific playlist for which you want to change the picture. Alternatively, you can use the search bar at the top of the screen and type in the name of the playlist to quickly find it.
Once you have located the desired playlist, it’s time to proceed to the next step and learn how to change the playlist picture.
Step 3: Find the Playlist You Want to Change the Picture For
After entering your library, you’ll need to locate the specific playlist for which you want to change the picture. This step is crucial as it ensures that you’re editing the correct playlist and not accidentally modifying a different one.
Scroll through your list of playlists until you find the one you wish to personalize with a new picture. If you have a long list of playlists, you can use the search bar at the top of the screen to quickly search for the playlist by name.
It’s worth noting that the search function is case-insensitive, so you don’t need to worry about capitalizing or lowercase specific letters. Simply type a few keywords from the playlist’s title, and Spotify will display the relevant results.
Take your time to browse through your playlists and locate the one that you want to customize. Whether it’s a playlist for workouts, relaxation, road trips, or specific artists, make sure to select the correct playlist before proceeding to the next step.
Now that you’ve found the playlist you want to change the picture for, let’s move on to the next step and learn how to access the playlist settings.
Step 4: Click on the Playlist
Once you have located the playlist you want to change the picture for, the next step is to click on the playlist itself. This will open the playlist page and allow you to access the various options and settings related to that specific playlist.
In the Spotify app, playlists are displayed with their respective titles and a small thumbnail image, usually representing the album or artist of the first track in the playlist. Find the playlist you want to modify and click directly on the playlist’s title or thumbnail image.
By clicking on the playlist, you will be directed to the playlist page where you can view the full tracklist, play the playlist, and make changes to its settings. This is where you can customize not only the playlist picture but also the name, description, and other details.
Take a moment to familiarize yourself with the playlist page and its layout. You’ll notice that the tracklist is organized, and you can easily scroll through it to see all the songs in your playlist. The playlist picture (thumbnail) will also be prominently displayed at the top, although this is the picture we’re going to change in the next steps.
Now that you’ve clicked on the playlist, let’s move on to the next step and access the options menu.
Step 5: Click on the Three Dots (More Options)
Once you’re on the playlist page, you’ll need to access the options menu to make changes to the playlist, including changing the playlist picture. To do this, look for the three dots icon (also known as the “More Options” icon) located near the top-right corner of the screen.
Clicking on these three dots will open up a dropdown menu with various options and settings for the playlist. This menu serves as a hub for customizing and managing your playlist, allowing you to modify not only the playlist picture but also the name, description, collaborative settings, and more.
When you click on the three dots icon, a dropdown menu will appear with a list of options. The specific placement and appearance of these options may vary slightly depending on the device you’re using, but you should see familiar options such as “Make Collaborative,” “Add to Queue,” and “Share.”
Scroll through the menu until you find the option that reads “Edit Playlist” or something similar. This is the option that will allow you to access the settings and customization options for the playlist.
Now that you’ve clicked on the three dots icon and opened the options menu, let’s proceed to the next step and learn how to access the playlist picture.
Step 6: Select “Edit Playlist”
After clicking on the three dots icon and opening the options menu, you’ll need to select the “Edit Playlist” option. This will allow you to access the settings and customization options specifically for the playlist, including changing the playlist picture.
Scroll through the dropdown menu until you find the “Edit Playlist” option. It might be labeled slightly differently, depending on the version of Spotify you’re using, but it should be clear that this is the option you need to select to make changes to the playlist.
Once you’ve found the “Edit Playlist” option, click on it to proceed. This will open up the playlist settings, where you can modify various aspects of the playlist to your liking.
It’s worth noting that some versions of Spotify might allow you to directly access the playlist settings by clicking on a different option, such as “Edit” or an icon that looks like a pencil. The key is to locate the option that allows you to make changes to the playlist.
Now that you’ve selected “Edit Playlist” and opened the playlist settings, let’s move on to the next step and explore how to change the playlist picture.
Step 7: Click on the Playlist Picture
After selecting “Edit Playlist” and accessing the playlist settings, you’ll need to click on the playlist picture to begin the process of changing it. The playlist picture, also known as the thumbnail image, is the visual representation of the playlist that appears when browsing or sharing it.
Look for the current playlist picture, which is typically displayed prominently at the top of the playlist settings page. It may be a default image assigned by Spotify or a custom picture that you’ve previously set for the playlist.
Once you’ve located the playlist picture, click directly on it. This action should prompt a change in appearance, indicating that you’ve successfully activated the ability to modify the playlist picture.
By clicking on the playlist picture, Spotify opens up a menu of options related to customizing the image, including the ability to select a new picture from your device or use an image from the Spotify library.
Now that you’ve clicked on the playlist picture and activated the customization options, let’s proceed to the next step and explore how to choose a new picture for the playlist.
Step 8: Choose a New Picture
After clicking on the playlist picture and opening the customization options, it’s time to choose a new picture for your playlist. Spotify provides you with a few different options to select a picture that best represents the mood, theme, or vibe of your playlist.
If you want to use a picture from your device’s photo gallery or camera roll, you can select the “Choose from Photos” or “Upload Photo” option, depending on your device. This will allow you to browse through your device’s photos and select an image to use as the new playlist picture. Simply follow the prompts to locate and choose your desired image.
If you prefer to use an image from the Spotify library, you can select the “Choose from Spotify Library” option. This will present you with a collection of pre-approved images that you can use for your playlist. You can explore different categories or search for specific terms to find the perfect picture for your playlist.
Whichever option you choose, whether it’s using a photo from your device or selecting an image from the Spotify library, make sure to select a picture that reflects the style and content of your playlist. A visually appealing and relevant picture can enhance the overall experience for yourself and others who come across your playlist.
Now that you’ve chosen a new picture for your playlist, let’s move on to the next step and learn how to crop the picture if necessary.
Step 9: Crop the Picture (if necessary)
After choosing a new picture for your playlist, it’s important to ensure that the image is properly framed and fits well within the playlist thumbnail. This is especially crucial if the picture you’ve selected doesn’t have the ideal dimensions or if certain parts of the image need to be cropped out.
If you find that the chosen picture needs cropping, Spotify offers a built-in cropping tool to help you adjust and frame the image to your liking. This ensures that the most visually appealing and relevant parts of the picture are prominently displayed.
To crop the picture, follow the on-screen prompts or instructions provided by Spotify. These may vary slightly depending on the version of the app you’re using, but the general process remains the same.
Typically, you’ll be able to drag and resize a rectangular overlay on top of the picture to select the desired portion of the image. The resizing handles allow you to adjust the width, height, and aspect ratio of the cropped area.
Make sure to preview the cropped image and ensure that it retains its clarity and visual appeal. Adjust the cropping as necessary until you’re satisfied with the final result.
Keep in mind that the exact cropping options and limits may vary depending on the device and version of Spotify you’re using. However, the overall process should be straightforward and intuitive, guiding you through the steps needed to perfect the playlist picture.
Once you’ve completed the cropping process, you’re almost there. Let’s move on to the final step and save the new playlist picture.
Step 10: Save the New Playlist Picture
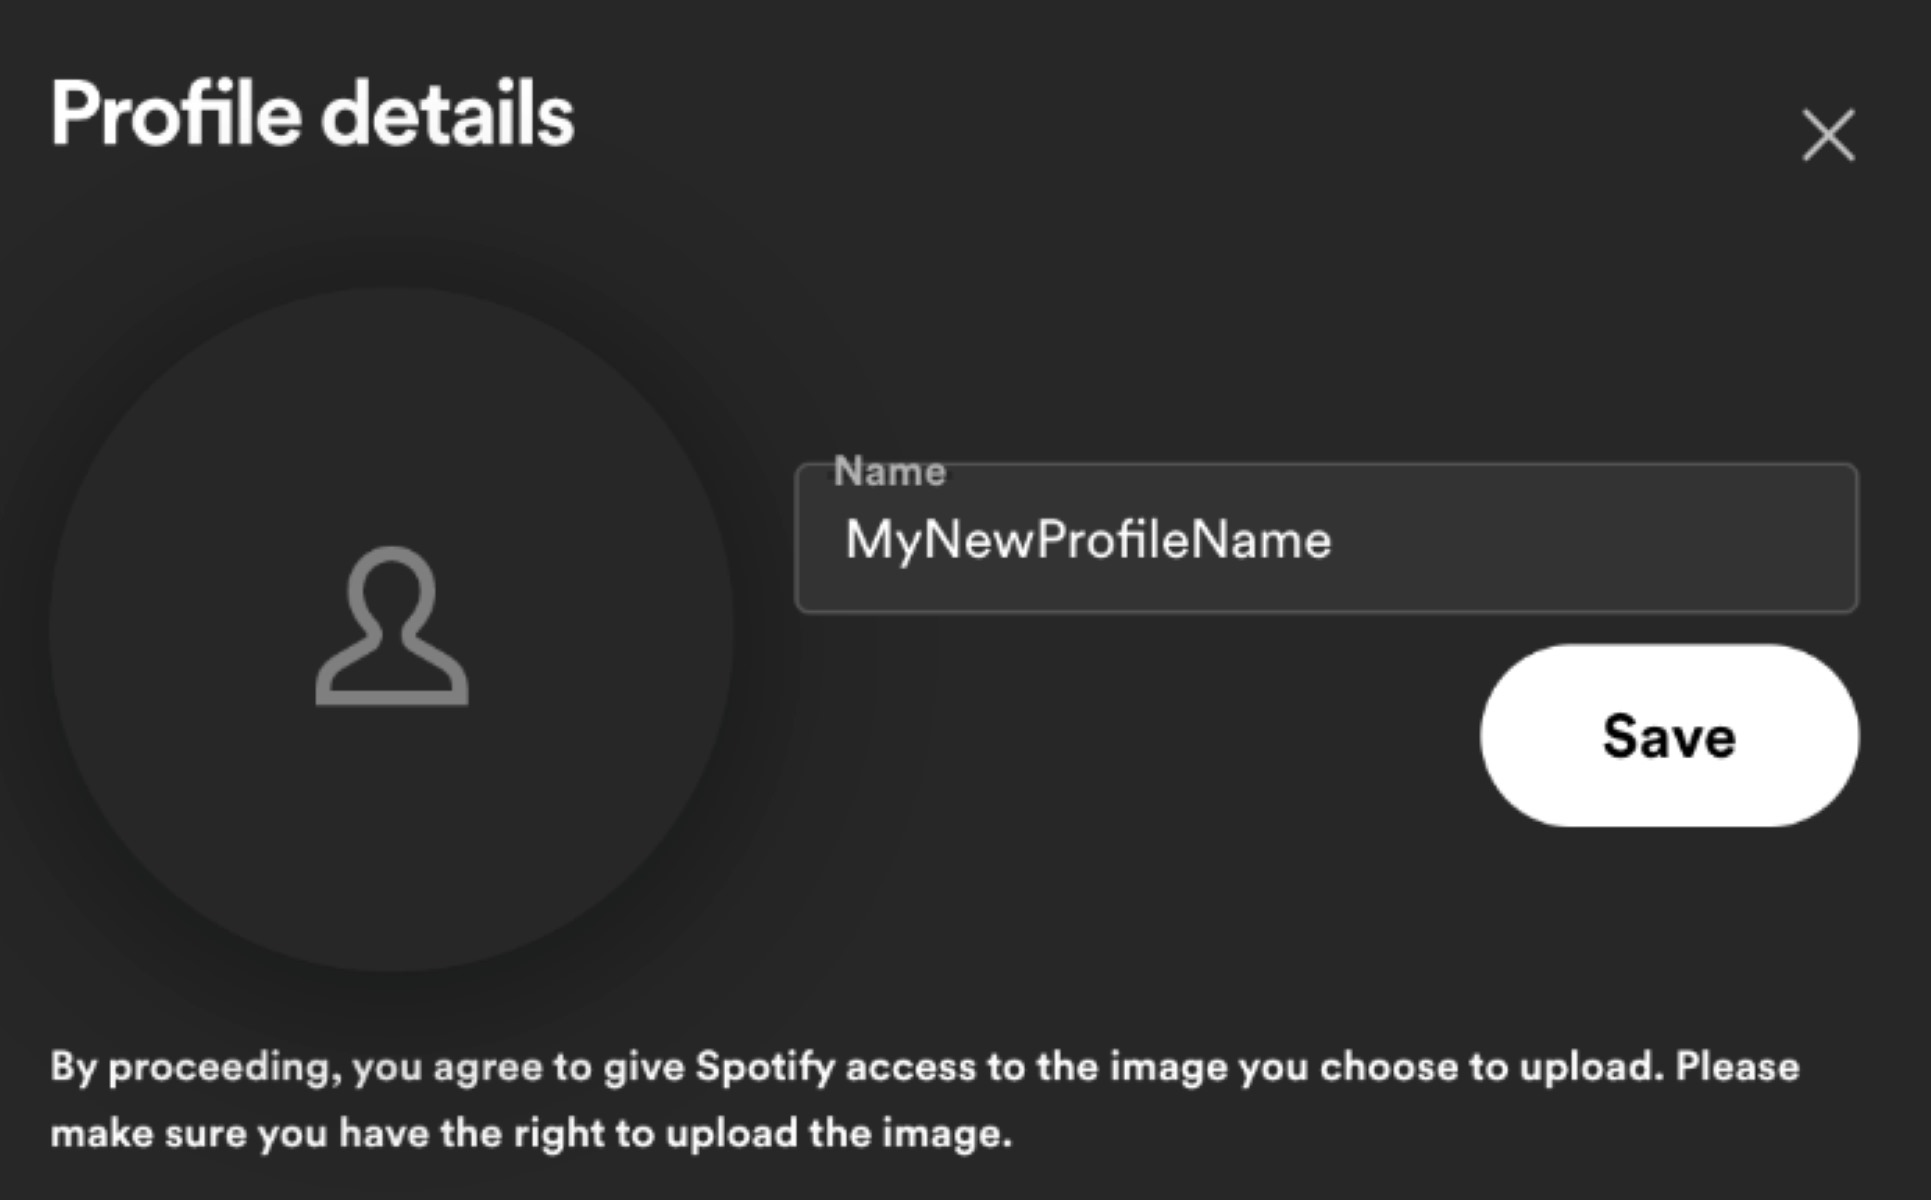
After cropping (if necessary) and finalizing your desired playlist picture, it’s time to save your changes and set the new image as the thumbnail for your playlist.
To save the new playlist picture, look for the “Save” or “Apply” button within the playlist settings. The exact placement and wording of this button may vary depending on the device and version of Spotify you’re using.
Click on the “Save” or “Apply” button to confirm your changes. Spotify will then process the new image and set it as the playlist’s thumbnail. Depending on the size of your picture and your internet connection, it may take a few moments for the changes to be applied.
Once the new playlist picture has been successfully saved, you can exit the playlist settings and return to your library or continue exploring other features of Spotify. You’ll now see the updated playlist thumbnail whenever you access or share the playlist.
It’s important to note that the new playlist picture may take some time to propagate across all devices and platforms. So, if you don’t see the updated thumbnail immediately, give it a little patience, and the change will most likely appear soon.
Now that you’ve saved the new playlist picture, you can confidently showcase your personalized playlist to the world. Whether it’s a vibrant image, an album cover, or a snapshot that encapsulates the playlist’s mood, your custom playlist picture will add a touch of personalization and flair to your music collection on Spotify.