Introduction
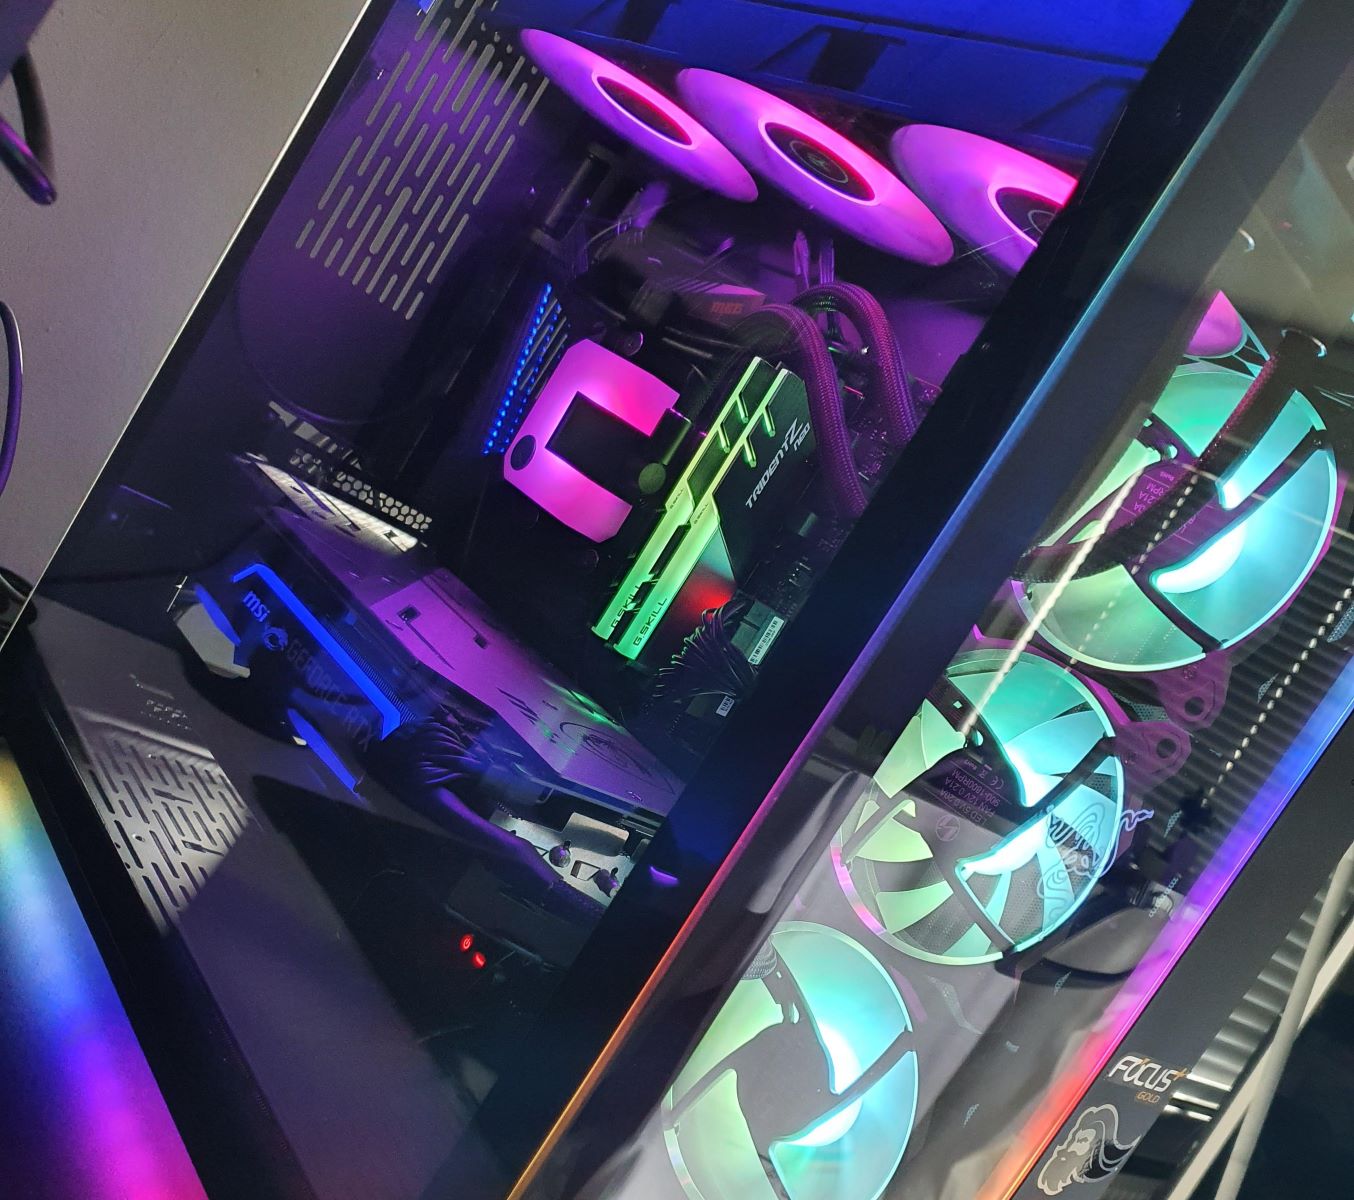
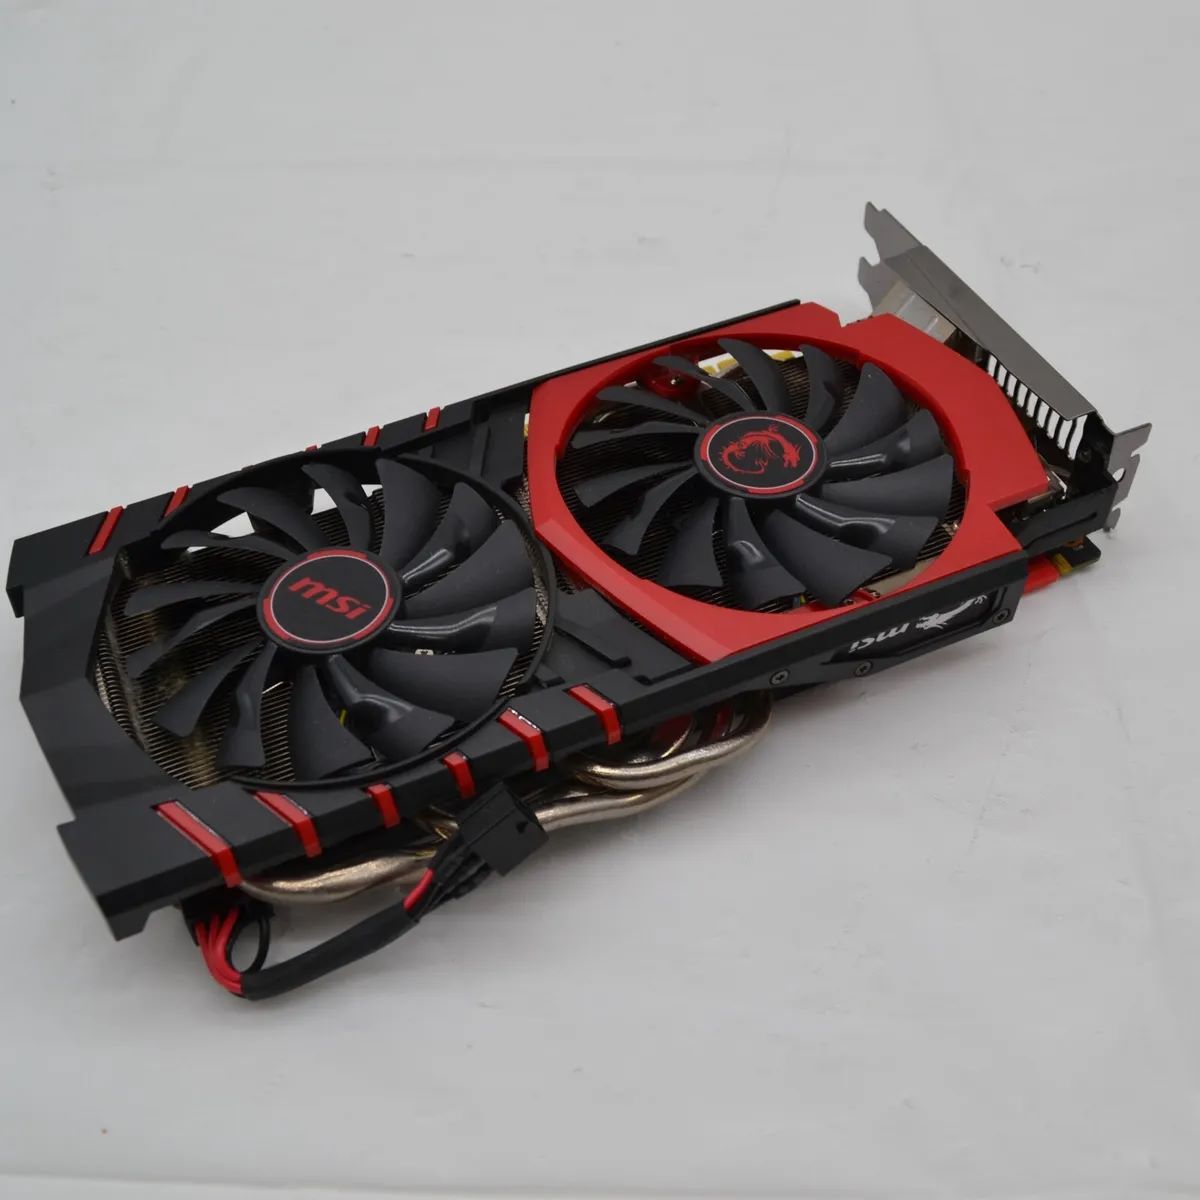
Welcome to our guide on how to change the RGB lighting on an MSI GPU! If you’re a gaming enthusiast or simply love customizing your computer setup, RGB lighting can add a unique and vibrant touch to your gaming rig. MSI, a renowned brand in the gaming industry, offers powerful GPUs with customizable RGB lighting options.
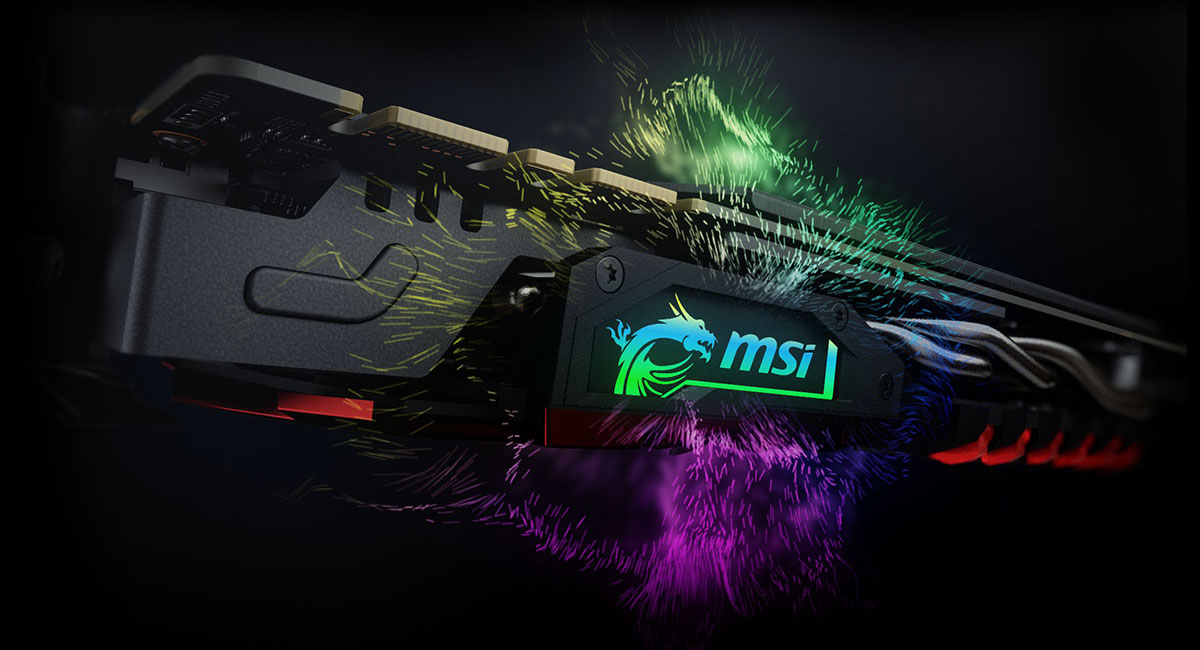
RGB, which stands for Red Green Blue, refers to the ability to adjust the colors of individual LED lights to create stunning lighting effects. With MSI’s software, you can easily change the color, brightness, and patterns of the RGB lighting on your GPU, allowing you to personalize your gaming setup and match it with your preferred aesthetics.
In this guide, we’ll take you through the step-by-step process of changing the RGB lighting on an MSI GPU. We’ll provide clear instructions on installing the necessary software, navigating the user interface, customizing the RGB effects, and troubleshooting common issues that may arise. Whether you’re a novice or have previous experience with RGB customization, this guide will help you make the most out of your MSI GPU’s RGB capabilities.
Keep in mind that different MSI GPU models may have variations in their software and RGB settings. For this guide, we’ll be focusing on the MSI Dragon Center software, which is commonly used to control the RGB lighting on MSI peripherals. So, let’s dive in and unleash the full potential of your MSI GPU’s RGB lighting!
What is RGB and why is it important?
RGB, short for Red Green Blue, is a color model that combines different intensities of these primary colors to create a wide range of color possibilities. In terms of computer hardware, RGB lighting refers to the ability to customize the color and effects of LED lights embedded in various components, such as GPUs, keyboards, and computer cases.
But why is RGB lighting important? Well, besides adding a visually stunning element to your gaming setup, RGB lighting offers several benefits:
- Personalization: RGB lighting allows you to personalize your gaming rig to match your style and preferences. With a vast array of colors and effects to choose from, you can create a unique lighting configuration that reflects your personality and enhances your gaming experience.
- Aesthetics: RGB lighting can transform a plain computer setup into a visually captivating masterpiece. The vibrant colors and dynamic lighting effects add a touch of excitement and sophistication to your gaming space.
- Mood enhancement: Different colors can evoke different moods and emotions. RGB lighting gives you the flexibility to choose a color scheme that sets the desired ambiance for your gaming sessions. Whether you want a calming blue hue or an intense red glow, RGB lighting allows you to create the perfect atmosphere.
- Game synchronization: Some gaming peripherals and software integrate RGB lighting with compatible games, enhancing immersion by syncing the lighting effects to in-game events. For example, if your character is low on health, the RGB lighting can change to red as a visual indication.
- Showcasing: RGB lighting is not just for personal enjoyment; it can also be used to showcase your gaming setup at events or on social media. The eye-catching lighting effects can grab attention and make your rig stand out from the crowd.
Overall, RGB lighting adds a layer of customization, aesthetics, and immersion to your gaming experience. It allows you to express your personality, create a visually appealing setup, and enhance your gaming environment. So, let’s take a closer look at how you can change the RGB settings on your MSI GPU and unleash the full potential of your gaming rig!
Step 1: Installing the MSI Software
Before you can begin customizing the RGB lighting on your MSI GPU, you’ll need to install the necessary software. MSI provides a user-friendly application called the MSI Dragon Center, which allows you to control various aspects of your MSI hardware, including the RGB lighting.
Here’s how you can install the MSI Dragon Center:
- Visit the official MSI website (www.msi.com) and navigate to the Support section.
- Search for your specific GPU model by entering the product name or using the provided filters.
- Once you’ve found the correct product page, locate the “Downloads” or “Support” tab.
- Under the Download section, look for the MSI Dragon Center software. Make sure to download the latest version compatible with your operating system.
- After the download completes, run the installer file and follow the on-screen instructions to install the MSI Dragon Center.
Once the installation is complete, you’re ready to move on to the next step and start customizing the RGB lighting on your MSI GPU.
Note: In some cases, the MSI Dragon Center may already be pre-installed on your computer if you purchased it as part of a pre-built MSI system. In such instances, ensure that you have the latest version of the software by checking for updates within the application.
Now that you have the MSI software installed, let’s proceed to the next step and open the MSI Dragon Center.
Step 2: Opening the MSI Dragon Center
With the MSI Dragon Center software now installed on your computer, it’s time to open it and access the RGB settings for your MSI GPU. Follow these steps to launch the MSI Dragon Center:
- Locate the MSI Dragon Center shortcut on your desktop or search for it in the Start menu.
- Double-click on the shortcut or click on the Start menu entry to launch the MSI Dragon Center.
- Once the MSI Dragon Center opens, you’ll be greeted with a sleek and intuitive user interface. Take a moment to familiarize yourself with the various features and options available within the software.
- Within the MSI Dragon Center, you’ll find several tabs or sections that correspond to different aspects of your MSI hardware. Look for the section dedicated to RGB lighting control.
It’s important to note that the specific location of the RGB lighting control may vary depending on the version of the MSI Dragon Center software and the GPU model you’re using. Refer to the software documentation or search for specific instructions related to your particular MSI GPU model if needed.
Once you’ve located the RGB lighting control section, you’re ready to move on to the next step and delve into customizing the RGB effects on your MSI GPU.
Now that you’ve successfully opened the MSI Dragon Center, let’s proceed to the next step and navigate to the RGB settings for your MSI GPU.
Step 3: Navigating to the RGB settings
Now that you have the MSI Dragon Center open, it’s time to navigate to the RGB settings for your MSI GPU. Follow these steps to locate the RGB settings:
- Within the MSI Dragon Center, look for the section or tab that specifically mentions RGB lighting or customization. This section may have a different name depending on the version of the software you’re using.
- Click on the RGB lighting section to access the RGB customization options. Here, you’ll find various controls and settings that allow you to customize the colors, effects, and brightness of the RGB lighting on your MSI GPU.
- Depending on your GPU model and the MSI Dragon Center version, you may have different options for RGB customization. Look for options such as selecting individual zones or groups of LEDs, adjusting color intensity, choosing pre-defined lighting patterns, or even creating your own custom lighting effects.
- Take your time to explore and experiment with the different settings and controls available in the RGB section of the MSI Dragon Center. This will allow you to familiarize yourself with the capabilities of your MSI GPU’s RGB lighting and find the perfect configuration that suits your preferences.
It’s worth mentioning that the MSI Dragon Center may offer additional features and controls beyond RGB lighting, such as fan speed control, overclocking tools, and system monitoring. Feel free to explore these features as well, but for now, let’s focus on the RGB settings for your MSI GPU.
Now that you’ve successfully navigated to the RGB settings, let’s move on to the next step and start customizing the RGB effects on your MSI GPU.
Step 4: Customizing RGB effects
Now that you’ve accessed the RGB settings in the MSI Dragon Center, it’s time to unleash your creativity and start customizing the RGB effects on your MSI GPU. Follow these steps to personalize the RGB lighting to your liking:
- Start by selecting the specific zone or group of LEDs that you want to customize. Depending on your MSI GPU model, you may have options to control different zones, such as the logo, the outlying strips, or individual fans.
- Once you’ve chosen the zone, you can now select the desired color. The MSI Dragon Center typically provides a color picker or a range of pre-defined colors to choose from. Click on the color picker and select the hue that appeals to you the most.
- If you want to go beyond a static color, you can explore the different lighting effects available. The MSI Dragon Center offers various effects like breathing, flashing, color cycling, and more. Experiment with these effects to find the one that suits your gaming setup.
- Adjust the brightness of the RGB lighting to your preference. Some GPU models may allow you to control the intensity of the lighting, allowing you to create a subtle and ambient glow or a vibrant and eye-catching display.
- Take advantage of any additional customization options available, such as syncing the RGB lighting with other MSI peripherals or system events like temperature or CPU load. This can enhance the overall gaming experience and create a synchronized ambiance.
- Continue to fine-tune the settings until you achieve the desired RGB effect on your MSI GPU. Feel free to experiment with different color combinations, effects, and brightness levels to create a unique and visually stunning display.
Remember, customization is all about personal preference and creativity. Play around with the settings until you’re satisfied with the RGB effects on your MSI GPU.
Now that you’ve successfully customized the RGB effects, let’s move on to the final step: saving and applying the RGB settings to your MSI GPU.
Step 5: Saving and Applying RGB Settings
After you’ve personalized the RGB effects on your MSI GPU using the MSI Dragon Center, it’s time to save and apply those settings. This ensures that your preferred RGB configuration is applied every time you start your computer. Follow these steps to save and apply the RGB settings:
- Once you’re satisfied with the RGB effects you’ve customized, look for a “Save” or “Apply” button within the RGB settings section of the MSI Dragon Center.
- Click on the “Save” or “Apply” button to store your RGB settings. This will ensure that your preferred color, effects, and brightness are applied each time you power on your computer.
- Some versions of the MSI Dragon Center may also provide options to save different profiles or presets for your RGB settings. This allows you to switch between different configurations easily, depending on your mood or preferences.
- Once you’ve saved your RGB settings, you can close the MSI Dragon Center. The settings will be automatically applied the next time you start your computer or power on your MSI GPU.
Congratulations! You have successfully saved and applied the customized RGB settings on your MSI GPU. Every time you start your computer or use your MSI GPU, you’ll experience the vibrant and personalized RGB effects you’ve set.
It’s worth mentioning that if you ever want to change or update your RGB settings in the future, you can simply open the MSI Dragon Center, make the desired modifications, and save or apply the changes again.
Now that you’ve completed the final step, you’re ready to enjoy your customized RGB lighting on your MSI GPU. Have a great gaming experience!
Troubleshooting Common Issues
While customizing the RGB lighting on your MSI GPU is an exciting process, you might encounter some common issues along the way. Don’t worry! We’ve got you covered with some troubleshooting tips to help you resolve these issues:
- RGB Control Unavailable: If you can’t find the RGB control options or they are grayed out in the MSI Dragon Center, make sure that you have installed the latest version of the software compatible with your GPU model. You can also check for any driver updates or reinstall the MSI Dragon Center if necessary.
- RGB Lighting Not Working: If the RGB lighting on your MSI GPU is not functioning, ensure that the LED connection is secure. Make sure that all cables are properly connected and the power supply to your GPU is not disrupted. You can also try restarting your computer and ensuring that the RGB settings are properly saved and applied in the MSI Dragon Center.
- Colors Not Displaying Correctly: If the colors on your MSI GPU’s RGB lighting are incorrect or inaccurate, verify that your display settings are calibrated correctly. Adjust the color settings on your monitor if necessary. Additionally, check the RGB settings in the MSI Dragon Center to ensure that the desired colors are selected and applied.
- Software Compatibility Issues: If you’re experiencing compatibility issues between the MSI Dragon Center and other software on your computer, try updating all relevant software to their latest versions. You can also consult the MSI support forums or contact MSI customer support for further assistance.
- Overheating or Fan Issues: In some cases, customizing the RGB settings may affect the fan speed or temperature control on your MSI GPU. If you notice that your GPU is overheating or experiencing fan issues after modifying the RGB settings, ensure that you haven’t inadvertently adjusted any fan control settings in the MSI Dragon Center. Additionally, check for adequate cooling and airflow in your system.
- Incompatibility with Third-Party Software: If you have other software installed that controls RGB lighting, such as motherboard software or peripheral management software, conflicts may occur. Disable or uninstall any conflicting software and rely solely on the MSI Dragon Center for RGB customization.
If the troubleshooting tips above don’t resolve your issue, it’s always a good idea to consult the official MSI support resources. Visit the MSI website, search the knowledge base, or reach out to their customer support for further assistance tailored to your specific GPU model and software version.
Now that you’re equipped with troubleshooting knowledge, you can tackle any common issues that may arise during RGB customization on your MSI GPU.
Conclusion
Congratulations! You’ve reached the end of our guide on how to change the RGB lighting on your MSI GPU. We hope this step-by-step tutorial has helped you unleash the full potential of your MSI GPU’s RGB capabilities and allowed you to personalize your gaming setup to your liking.
By installing the MSI Dragon Center, navigating to the RGB settings, customizing the RGB effects, and saving your preferences, you’ve transformed your GPU into a vibrant centerpiece that adds an extra layer of immersion and personality to your gaming experience.
Throughout this guide, we’ve highlighted the importance of RGB lighting and its benefits, such as personalization, aesthetics, mood enhancement, game synchronization, and showcasing. RGB lighting allows you to express your unique style, create a visually stunning setup, and set the desired ambiance for your gaming sessions.
We’ve also provided troubleshooting tips to help you overcome common issues that may arise during the RGB customization process. Whether you encounter problems with RGB control, lighting not working, color inaccuracies, software compatibility, fan issues, or third-party software conflicts, we’ve offered guidance to help you resolve these challenges.
If you ever need to make changes to your RGB settings in the future, simply open the MSI Dragon Center, modify the colors, effects, or brightness to suit your preferences, and save or apply the changes. It’s an ongoing process of exploration, customization, and enjoyment!
Remember to stay up-to-date with the latest software versions, check for driver updates, and maintain adequate cooling and airflow in your system to ensure optimal performance and longevity of your MSI GPU.
Thank you for following our guide on how to change the RGB lighting on your MSI GPU. We hope you’re now equipped with the knowledge and skills to create a visually captivating and personalized gaming setup that truly reflects your style and enhances your gaming experience. Enjoy your gaming adventures with stunning RGB lighting!