Introduction
Welcome to the world of Razer keyboards, where you can bring your gaming and typing experience to a whole new level with dazzling keyboard color customization. With Razer’s innovative Synapse software, you have the power to transform the look and feel of your keyboard by changing the colors and lighting effects.
Whether you are a passionate gamer aiming to match your keyboard’s colors with your game’s aesthetics or a professional seeking a personalized workspace, Razer’s keyboard color adjustment feature allows you to express your creativity and add a touch of uniqueness to your setup.
This article will guide you through the process of changing the color of your Razer keyboard step-by-step. From downloading and installing the essential software to customizing the lighting effects and saving your preferences, we’ll cover all the necessary details to help you achieve the perfect keyboard color scheme.
Ready to dive into the world of customizable keyboard colors? Let’s get started!
Step 1: Downloading Razer Synapse Software
The first step in changing the color of your Razer keyboard is to download the Razer Synapse software. This software acts as a hub for managing and customizing your Razer peripherals, including your keyboard.
To begin, open your preferred web browser and visit the official Razer website. Navigate to the “Support” or “Downloads” section of the website, where you’ll find a list of available software and drivers for Razer devices.
Locate the Razer Synapse software and click on the download link. Make sure to choose the version that is compatible with your operating system. Whether you’re using Windows or macOS, Razer has you covered.
Once the file is finished downloading, locate the setup file in your designated download folder. Double-click on it to start the installation process. Follow the on-screen instructions to install the Razer Synapse software on your computer.
After the installation is complete, you may be prompted to create a Razer account or log in to an existing one. This step is essential for enabling cloud storage and syncing your preferences across different devices.
Voila! You now have the Razer Synapse software installed on your computer, ready to unlock a whole new world of keyboard customization possibilities.
Step 2: Connecting the Razer Keyboard to Your Computer
Now that you have the Razer Synapse software installed, it’s time to connect your Razer keyboard to your computer. The connection process may vary slightly depending on the model of your keyboard, but here are some general guidelines to help you get started.
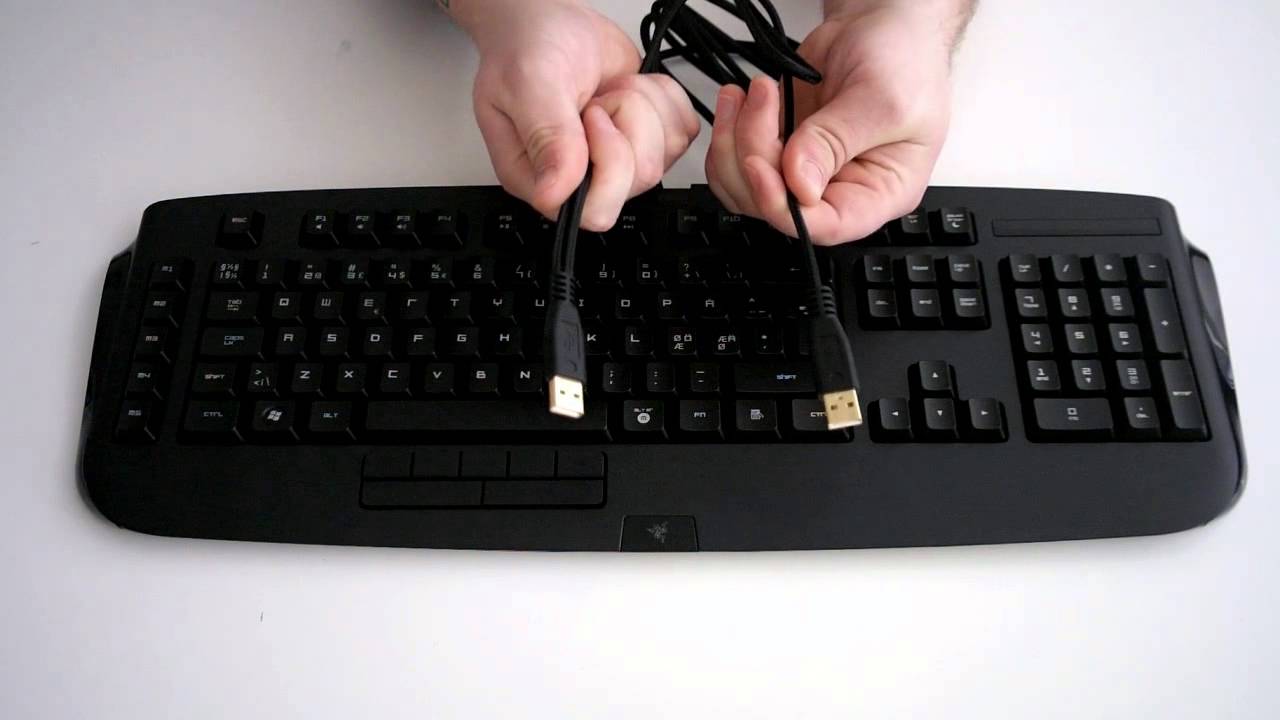
Start by locating the USB cable that came with your Razer keyboard. Plug the USB end of the cable into an available USB port on your computer. Ensure that the USB port can provide sufficient power to the keyboard.
Next, take the other end of the USB cable and connect it to the USB port on your Razer keyboard. The USB port is usually located at the back of the keyboard. Gently insert the USB plug into the port until it is securely in place.
If your Razer keyboard has additional ports, such as a USB pass-through or audio jacks, you can connect your other peripherals to these ports as well. These additional ports can be useful for connecting your mouse, headset, or other devices conveniently.
Once the keyboard is connected, your computer should automatically recognize it and install the necessary drivers. This process may take a few moments, so be patient.
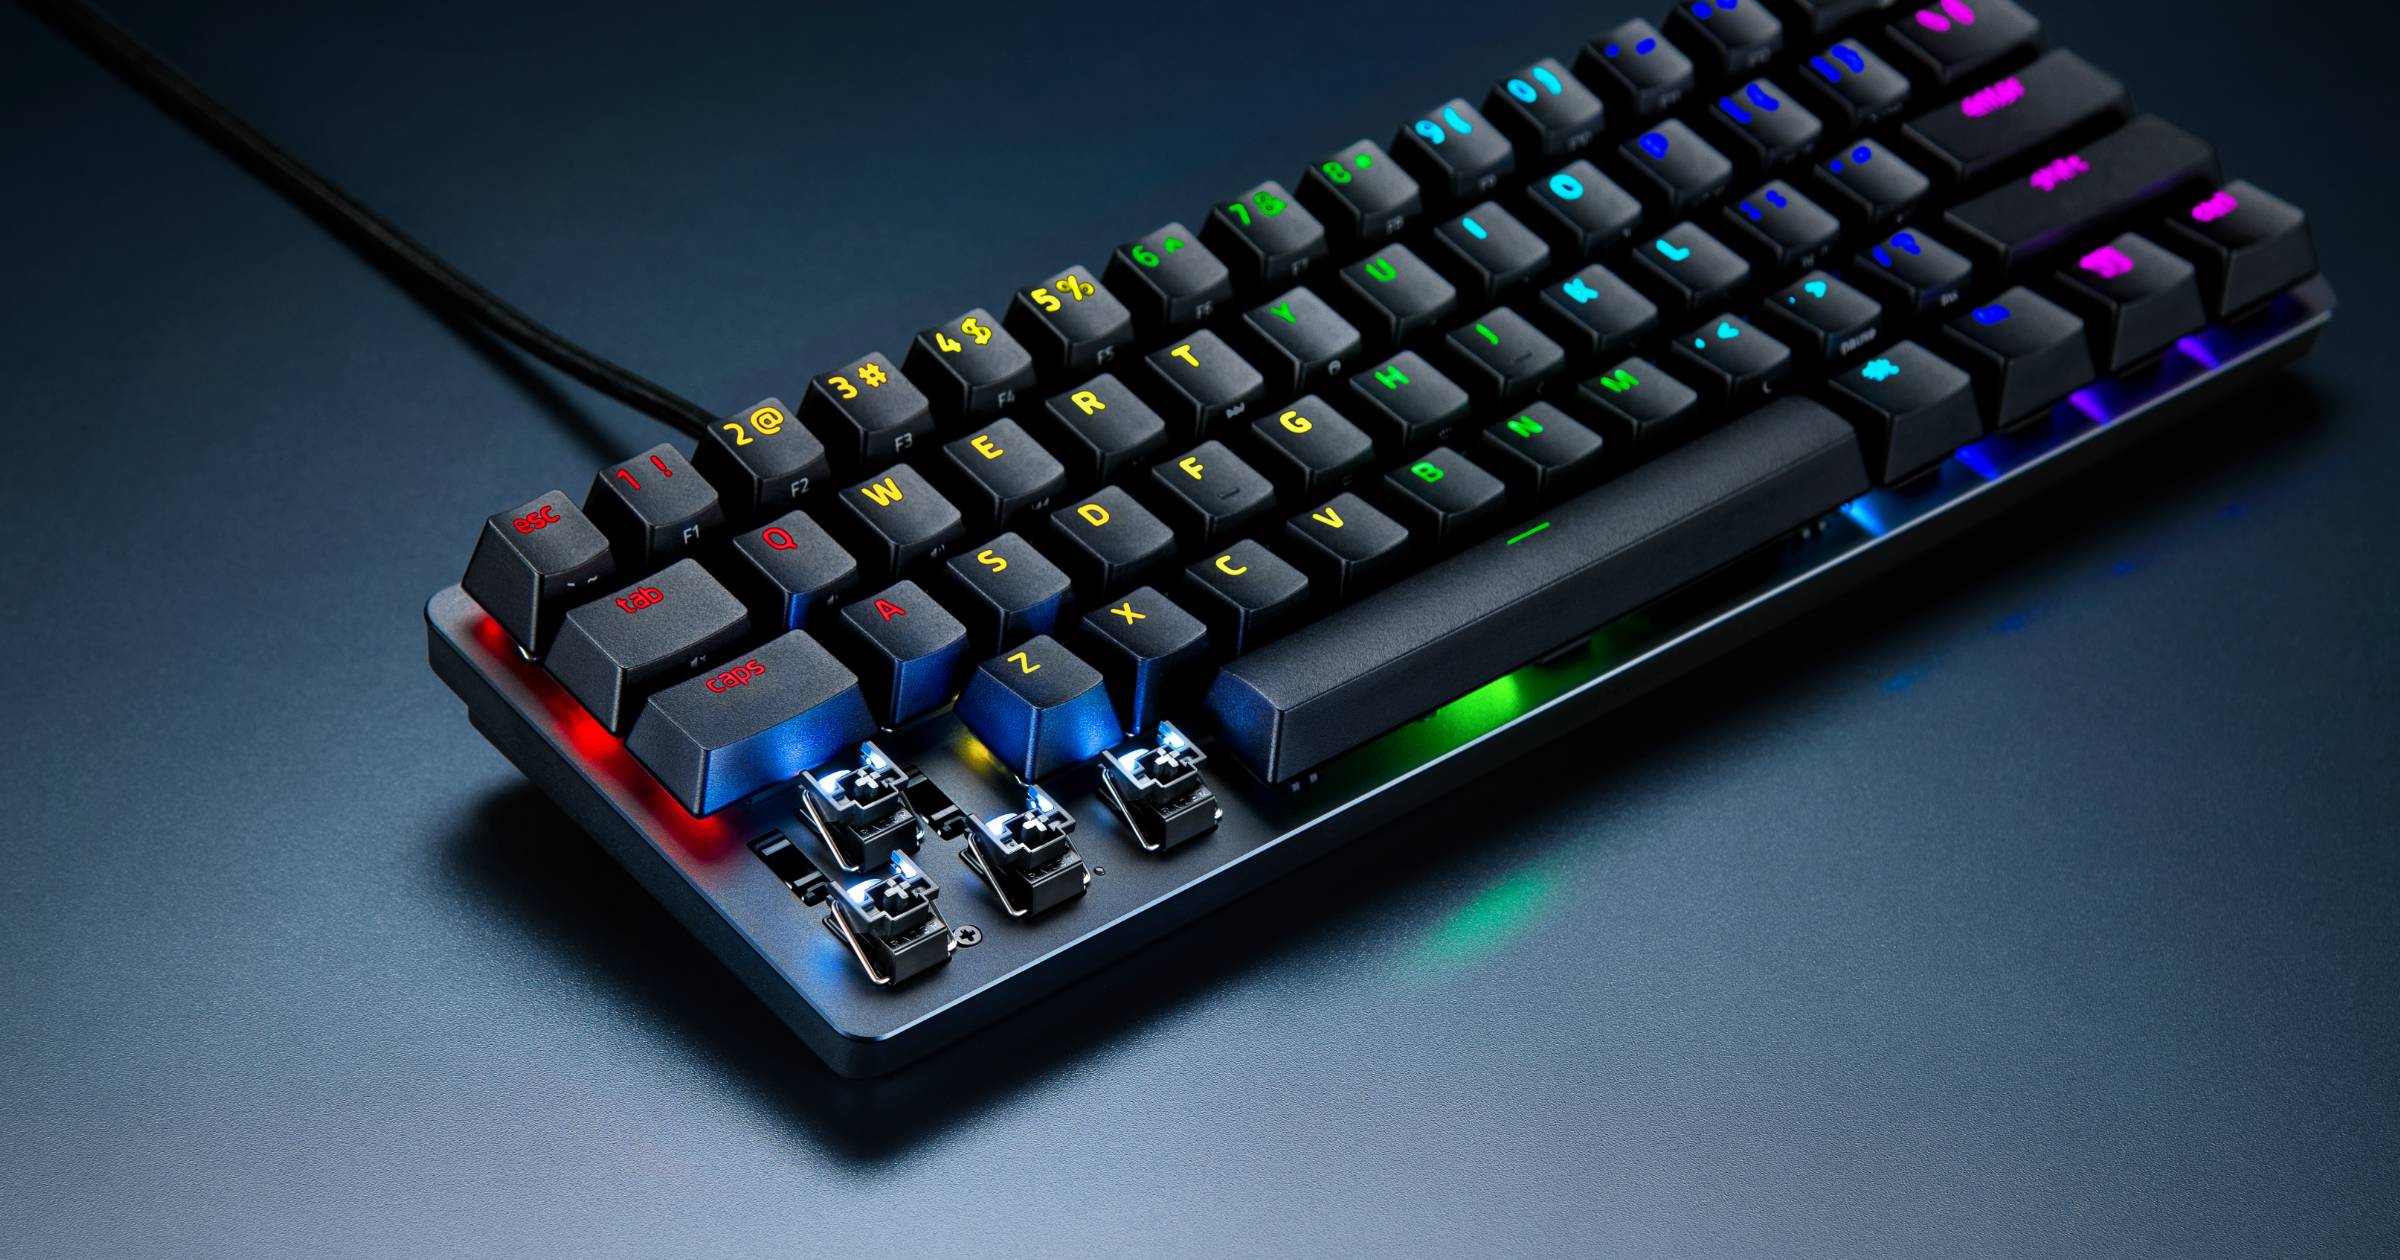
If your Razer keyboard features RGB lighting, you may notice that the default lighting effects are active upon connection. These effects are typically preset and will be replaced once you customize the lighting using the Razer Synapse software.
With your Razer keyboard successfully connected and recognized by your computer, you’re one step closer to unleashing the full potential of its customization capabilities.
Step 3: Opening Razer Synapse and Navigating to the Keyboard Settings
Now that your Razer keyboard is connected to your computer, it’s time to open the Razer Synapse software and explore the keyboard settings. Follow these simple steps:
- Locate and open the Razer Synapse software on your computer. You can usually find it in your list of installed programs or by searching for “Razer Synapse” in the Start menu or Spotlight search.
- Upon launching Razer Synapse, you may be prompted to log in to your Razer account if you haven’t already done so. Enter your login credentials to proceed.
- Once you’re logged in, the Razer Synapse interface will appear. Look for the “Keyboard” tab or option in the main menu and click on it. This will allow you to access the keyboard settings.
- Within the keyboard settings, you’ll find various customization options to personalize your Razer keyboard. This includes lighting effects, colors, macros, and more. Take some time to familiarize yourself with the different options available.
- To access the lighting settings, click on the “Lighting” or “Chroma” tab. Here, you’ll find a wide range of lighting effects and presets that you can apply to your keyboard. You can also create custom lighting profiles tailored to your preferences.
- Explore the different tabs and options within the keyboard settings to discover even more customization features. Razer Synapse offers extensive control over your keyboard’s functionality and aesthetics.
By following these steps and navigating to the keyboard settings in the Razer Synapse software, you’re now ready to unleash your creativity and start customizing the lighting effects and colors on your Razer keyboard.
Step 4: Selecting the Desired Lighting Effect
With the Razer Synapse software open and the keyboard settings accessible, it’s time to choose the desired lighting effect for your Razer keyboard. Follow these steps to get started:
- In the Razer Synapse software, navigate to the “Lighting” or “Chroma” tab within the keyboard settings.
- Here, you’ll find a variety of preconfigured lighting effects that you can choose from. These may include effects such as Spectrum Cycling, Wave, Breathing, Static, and more.
- To preview a lighting effect, simply click on its name in the list. Your Razer keyboard will display the effect in real-time, allowing you to see how it looks before making a selection.
- Take some time to explore the different lighting effects and find one that suits your style. You can also experiment with combining multiple effects or customizing the colors to achieve a unique look.
- If you prefer a more customized lighting effect, you can create your own by clicking on the “Create” or “Customize” button. This will open up advanced customization options, allowing you to set specific colors and patterns.
- Play around with the available options to achieve the desired lighting effect. You can adjust the speed, intensity, and color palette to create a lighting scheme that truly stands out.
Remember that Razer Synapse offers numerous possibilities for lighting customization, so take your time to explore and experiment with different effects until you find the perfect one that enhances your gaming or work setup.
Step 5: Customizing the Colors on Your Razer Keyboard
Once you have selected your desired lighting effect, it’s time to customize the colors on your Razer keyboard. Follow these steps to bring your chosen lighting effect to life:
- In the Razer Synapse software, navigate to the “Lighting” or “Chroma” tab within the keyboard settings.
- Click on the color palette or color wheel icon to access the color customization options.
- Razer Synapse provides various color customization tools, allowing you to choose from a wide range of colors. You can select a color manually by clicking on it or use the color picker tool to choose a color from your screen or an image.
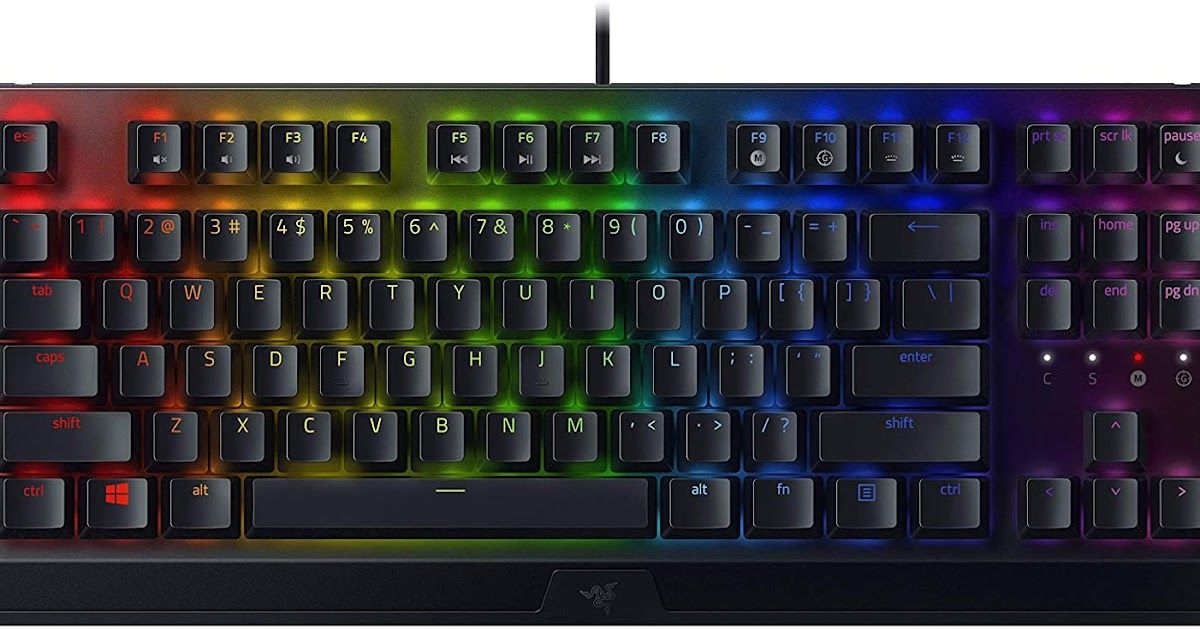
- Experiment with different color combinations to create a unique and visually appealing lighting scheme. You can choose a single color, multiple colors, or even apply gradients for a more dynamic effect.
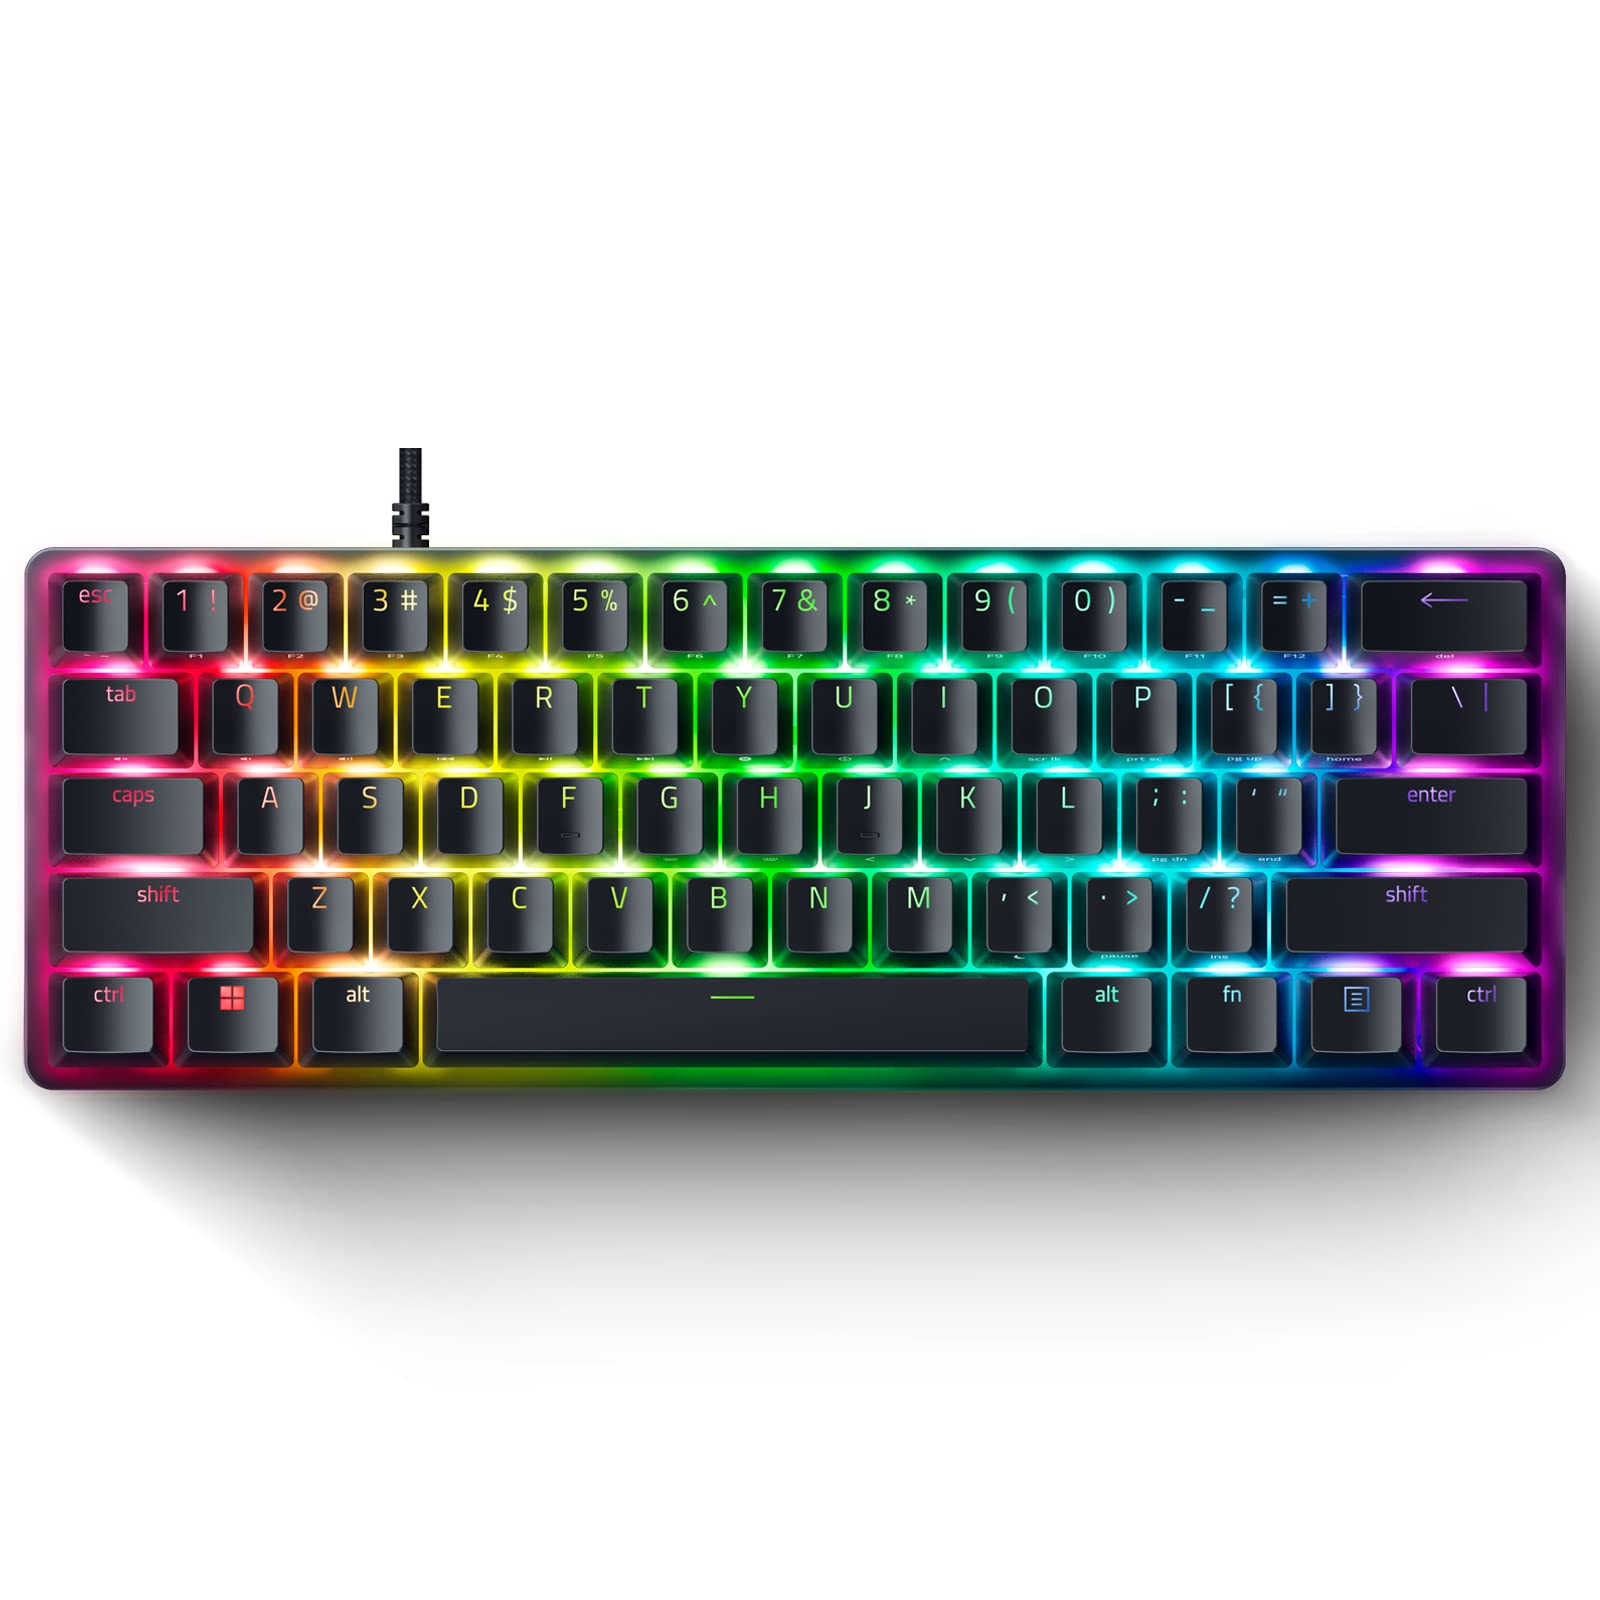
- If you want to take customization to the next level, some Razer keyboards offer per-key RGB lighting. This means you can assign different colors to individual keys for a truly personalized look. To do this, click on the option to customize the individual keys and select the desired colors.
- Feel free to save multiple color profiles, as Razer Synapse allows you to create and switch between different profiles depending on your preferences or activities.
- Don’t forget to experiment with different brightness levels as well. Adjust the brightness slider to increase or reduce the overall intensity of the lighting effects.
By following these steps, you can unleash your creativity and customize the colors on your Razer keyboard to create a visually stunning and personalized setup that matches your unique style.
Step 6: Saving and Applying Your Changes
After customizing the lighting effects and colors on your Razer keyboard to your satisfaction, it’s time to save and apply your changes. Follow these final steps to ensure your settings are preserved:
- In the Razer Synapse software, review your customized lighting effect and color settings to ensure they are set to your liking.
- Once you are happy with your customization, click on the “Save” or “Apply” button. This will save your changes and apply them to your Razer keyboard.
- Some Razer keyboards may allow you to create different profiles for different applications or games. If you wish to assign specific lighting effects or colors to certain applications, take advantage of the profile settings within Razer Synapse.
- Remember to give your custom profile a unique name to easily identify it in the future. This will allow you to switch between different customizations effortlessly.
- If your Razer keyboard supports onboard memory, your customized settings will be stored directly on the keyboard. This means your preferences will be maintained even if you use the keyboard on a different computer or without the Razer Synapse software.
- To ensure your settings are always synced and up to date, make sure to log in to your Razer account within the Razer Synapse software. This will enable cloud storage and synchronization across multiple devices.
- Now, sit back and enjoy your newly customized Razer keyboard! The vibrant colors and dynamic lighting effects will enhance your gaming or work experience.
By following these steps and saving your changes, you can enjoy a fully customized Razer keyboard that reflects your unique style and preferences.
Conclusion
Congratulations, you have successfully learned how to change the color of your Razer keyboard using the powerful Razer Synapse software. By following the step-by-step guide outlined in this article, you now have the ability to personalize your keyboard’s lighting effects and colors, allowing you to create a visually stunning and unique setup.
The Razer Synapse software offers a wide range of lighting effects and customization options, giving you the freedom to express your creativity. Whether you’re a dedicated gamer looking to match your keyboard with your game’s aesthetics or a professional seeking a personalized workspace, the ability to customize your Razer keyboard’s colors is a game-changer.
Remember to explore all the available settings and experiment with different lighting effects and colors to find the perfect combination that suits your style. Whether you prefer a subtle and elegant look or a bold and vibrant display, the Razer Synapse software has you covered.
Furthermore, by utilizing the profile settings, you can create different lighting configurations for various applications or games, adding a whole new level of immersion to your experience.
So, don’t be afraid to unleash your creativity and let your Razer keyboard shine with personalized colors and lighting effects. It’s time to elevate your gaming or work setup to new heights and make a statement with your Razer keyboard.
Now, go ahead and enjoy the mesmerizing color and lighting customization available at your fingertips with Razer Synapse!


![Is The Razer Pro Type Ultra A Gamechanger? [REVIEW]](https://robots.net/wp-content/uploads/2022/06/razer-pro-type-ultra-featured-2-300x175.jpg)