Introduction
Welcome to this guide on how to change permissions on an external hard drive. External hard drives are a popular storage option for users to store and back up important files, making them accessible and portable. However, there may be instances where you need to modify the permissions on your external hard drive, such as when sharing it with others or troubleshooting access issues.
Understanding how permissions work on external hard drives is crucial to managing and controlling access to your stored data. Permissions determine who can read, write, or execute files and folders on the hard drive. By changing these permissions, you can grant or restrict access to specific users or user groups.
In this article, we will take you through a step-by-step process to change permissions on your external hard drive. Whether you’re using a Windows system and accessing the drive through File Explorer or a Mac system and utilizing Finder, this guide will help you navigate the process with ease.
Please note that modifying permissions on an external hard drive requires administrative rights or ownership of the drive. If you don’t have the necessary permissions to make changes, you may need to contact the drive owner or consult your IT department for assistance.
Understanding Permissions on External Hard Drives
Before diving into the process of changing permissions on an external hard drive, it’s important to grasp the concept of permissions and how they function on these storage devices.
Permissions dictate the level of access that different users or groups have to the files and folders stored on an external hard drive. There are three main types of permissions:
- Read: This permission grants users the ability to view and open files on the hard drive, but they cannot make any changes or modifications.
- Write: With write permissions, users have the ability to create, delete, and modify files and folders on the external hard drive.
- Execute: Execute permissions allow users to run executable files, such as programs or scripts, stored on the hard drive.
Furthermore, these permissions can be assigned to different entities:
- Owner: The owner is typically the user who initially formatted the hard drive or the one with administrative rights. They have full control and can modify permissions for other users.
- Group: Users can be grouped together, and group permissions can be assigned. For example, you can create a group for your colleagues or family members and assign specific permissions to that group.
- Other: The “other” category encompasses all remaining users who are not the owner or a part of any assigned group. Different permissions can be set for this category as well.
When working with permissions, it’s important to understand that they can be set on both individual files and folders. This allows for more granular control over access to specific items stored on the external hard drive.
By comprehending how permissions work on external hard drives, you can effectively manage and secure your data, ensuring that only authorized individuals can access, modify, or execute the files and folders stored on the drive.
Step 1: Connect the External Hard Drive
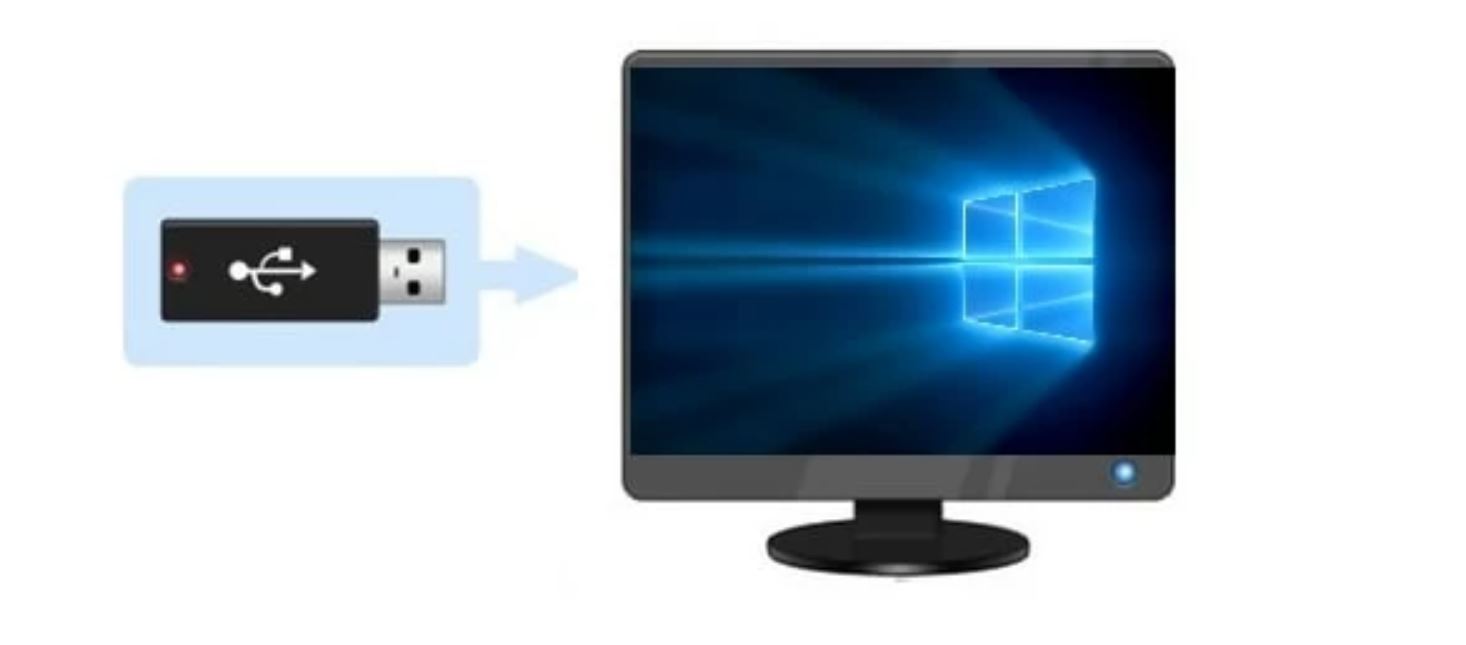
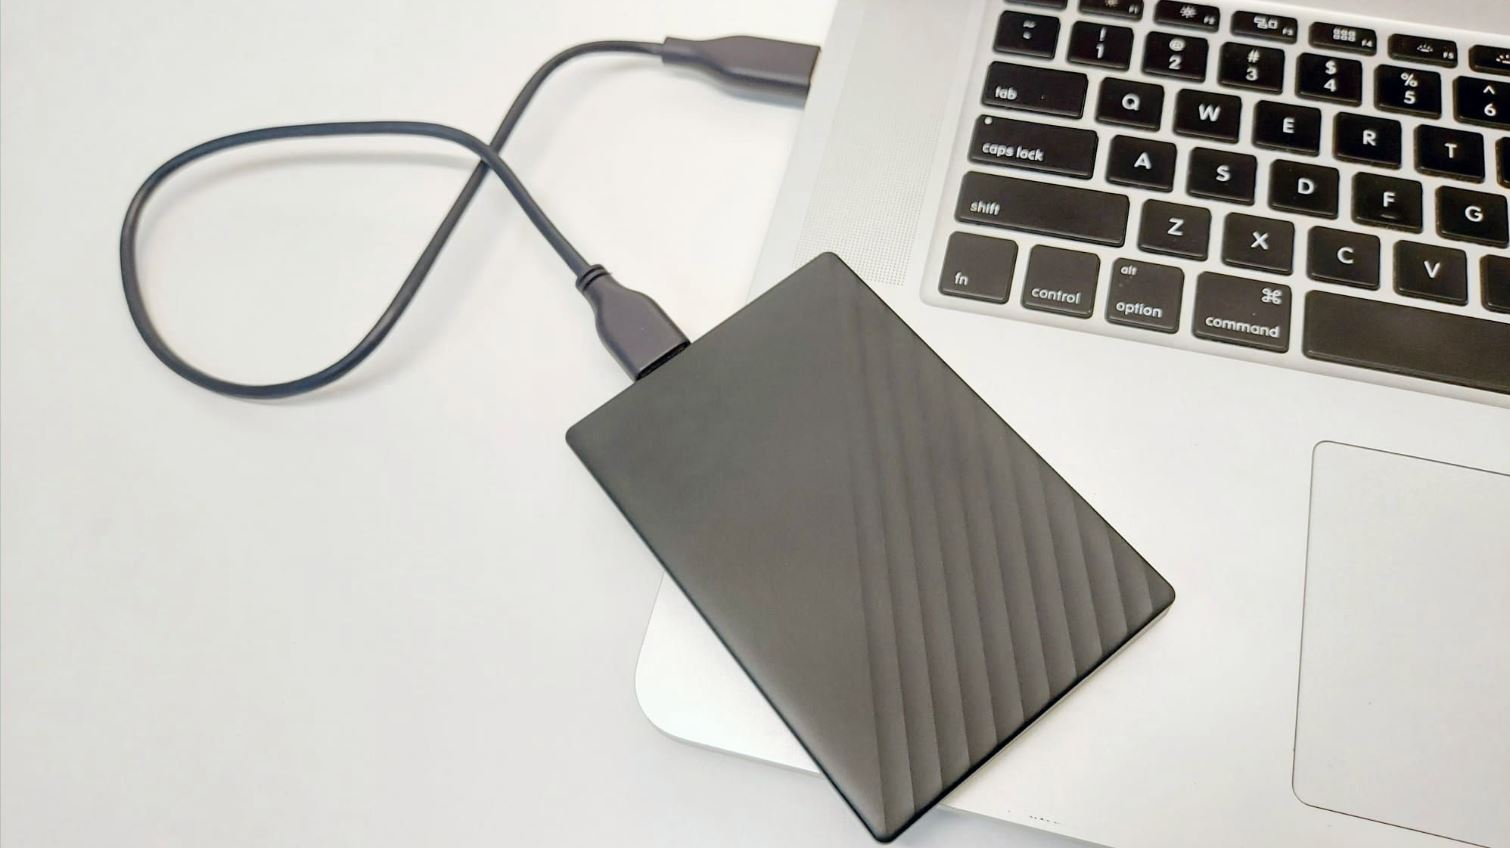
The first step in changing permissions on an external hard drive is to ensure that it is properly connected to your computer. Depending on the type of external hard drive you have, the connection method may vary. Most external hard drives use USB or Thunderbolt connections.
Here’s how to connect your external hard drive:
- Locate the appropriate cable for your external hard drive. This may be a USB cable, USB-C cable, Thunderbolt cable, or another type of connection cable.
- Connect one end of the cable to the external hard drive.
- Connect the other end of the cable to an available USB or Thunderbolt port on your computer.
- Ensure that the connection is secure and that the external hard drive is properly powered on.
Once the external hard drive is connected to your computer, it should be recognized and appear as a separate storage device in your operating system’s file management system.
Please note that if you are using a Windows computer, the external hard drive may need to be formatted in a compatible file system, such as NTFS or exFAT, in order to be recognized. If your external hard drive is not being detected, you may need to format it to the appropriate file system. However, be aware that formatting will erase all data on the drive, so make sure to back up any important files before proceeding.
Now that your external hard drive is properly connected, you can move on to the next steps in changing permissions to better manage access to your files and folders stored on the drive.
Step 2: Open File Explorer or Finder
After connecting your external hard drive to your computer, the next step is to open the file management system specific to your operating system. On Windows, this is called File Explorer, while on Mac, it is known as Finder. These file management systems allow you to navigate and access the files and folders on your computer, including the external hard drive.
Here’s how to open File Explorer or Finder:
- Windows:
- Click on the “Start” menu or press the Windows key on your keyboard.
- In the search bar, type “File Explorer”.
- Click on the “File Explorer” application when it appears in the search results.
- Mac:
- Click on the “Finder” icon located in the dock at the bottom of your screen. It resembles a blue and white face.
Once you have opened File Explorer or Finder, you will be able to see a list of your computer’s storage devices, including the external hard drive you connected in the previous step. The external hard drive may be listed under “Devices”, “My PC”, or “This PC” on Windows, or under “Devices” or “External Drives” on Mac.
By opening File Explorer or Finder, you now have access to navigate to and manage the files and folders contained on your external hard drive. You are now ready to proceed to the next steps in changing the permissions on the drive.
Step 3: Locate the External Hard Drive
Now that you have File Explorer (Windows) or Finder (Mac) open, the next step is to locate your external hard drive within the file management system. This will allow you to access the files and folders stored on the external hard drive and make the necessary changes to the permissions.
Follow these steps to locate the external hard drive:
- In File Explorer (Windows):
- Look for the “Devices and Drives” section on the left-hand side of the File Explorer window.
- Locate and click on the name of your external hard drive. It is usually labeled with the manufacturer’s name or the name you assigned to it when you initially set it up.
- If you are unsure which drive corresponds to your external hard drive, look for the drive with a familiar storage capacity that matches your external hard drive.
- In Finder (Mac):
- Look for the “Devices” section in the left-hand sidebar of the Finder window.
- Find and click on the name of your external hard drive. It will typically be labeled with the manufacturer’s name or the name you gave it.
- If you’re unsure which drive is your external hard drive, check the storage capacity to verify that it matches your external hard drive.
Once you have successfully located your external hard drive, you will see its contents displayed within File Explorer or Finder. At this point, you can proceed to the next steps to change the permissions on the external hard drive and manage access to the files and folders stored on it.
Step 4: Right-Click or Control-Click on the External Hard Drive
Now that you have located your external hard drive in File Explorer (Windows) or Finder (Mac), the next step is to right-click (Windows) or control-click (Mac) on the external hard drive. This will open a context menu with various options for managing the drive.
Follow these steps to right-click or control-click on the external hard drive:
- In File Explorer (Windows):
- Locate the name of your external hard drive in the “Devices and Drives” section of the File Explorer window.
- Position your mouse cursor over the name of the external hard drive.
- Right-click on the external hard drive. A context menu will appear.
- In Finder (Mac):
- Find the name of your external hard drive in the sidebar of the Finder window.
- Press the “Control” key on your keyboard.
- While holding down the “Control” key, click on the name of the external hard drive. A context menu will appear.
The context menu that appears after right-clicking or control-clicking on the external hard drive will provide you with various options for managing the drive, including options to change permissions, view properties or information, and more.
With the context menu now open, you are ready to proceed to the next steps, where we will explore how to change the permissions on the external hard drive to customize access to the files and folders stored on it.
Step 5: Select “Get Info” or “Properties”
After right-clicking (Windows) or control-clicking (Mac) on the external hard drive, a context menu appears with several options. The next step is to select the option that allows you to access the information and properties of the external hard drive. This will provide you with the necessary tools to modify the permissions.
Follow these steps to select “Get Info” (Mac) or “Properties” (Windows):
- In File Explorer (Windows):
- From the context menu that appears after right-clicking on the external hard drive, select the “Properties” option. A new window will open, displaying the properties and information of the external hard drive.
- In Finder (Mac):
- From the context menu that appears after control-clicking on the external hard drive, select the “Get Info” option. A new window will open, displaying the information and properties of the external hard drive.
The “Properties” or “Get Info” window provides details about the external hard drive, such as its capacity, file system, and other relevant information. This window is also where you can access the necessary tools to change the permissions of the files and folders stored on the drive.
By selecting the “Get Info” (Mac) or “Properties” (Windows) option, you have now accessed the information and properties of the external hard drive. In the next steps, we will explore how to modify the permissions to better manage who can access, modify, and execute the files and folders on the drive.
Step 6: Change the Permissions
With the properties or information window of the external hard drive open, you are now ready to modify the permissions and customize access to the files and folders stored on the drive. Depending on your operating system, the process for changing permissions may vary slightly.
Follow these steps to change the permissions:
- In File Explorer (Windows):
- In the “Properties” window of the external hard drive, navigate to the “Security” tab. This tab contains all the permissions settings.
- Click on the “Edit” button to modify the permissions. This will open the “Permissions for [drive name]” window.
- In the “Permissions for [drive name]” window, you can see a list of users and groups. You can either choose an existing user or group to modify their permissions or add a new user or group.
- Select the user or group whose permissions you want to change and then click on the “Edit” button.
- Check or uncheck the desired permissions for the selected user or group. You can grant or deny read, write, and execute permissions.
- Click “Apply” and then “OK” to save the changes.
- In Finder (Mac):
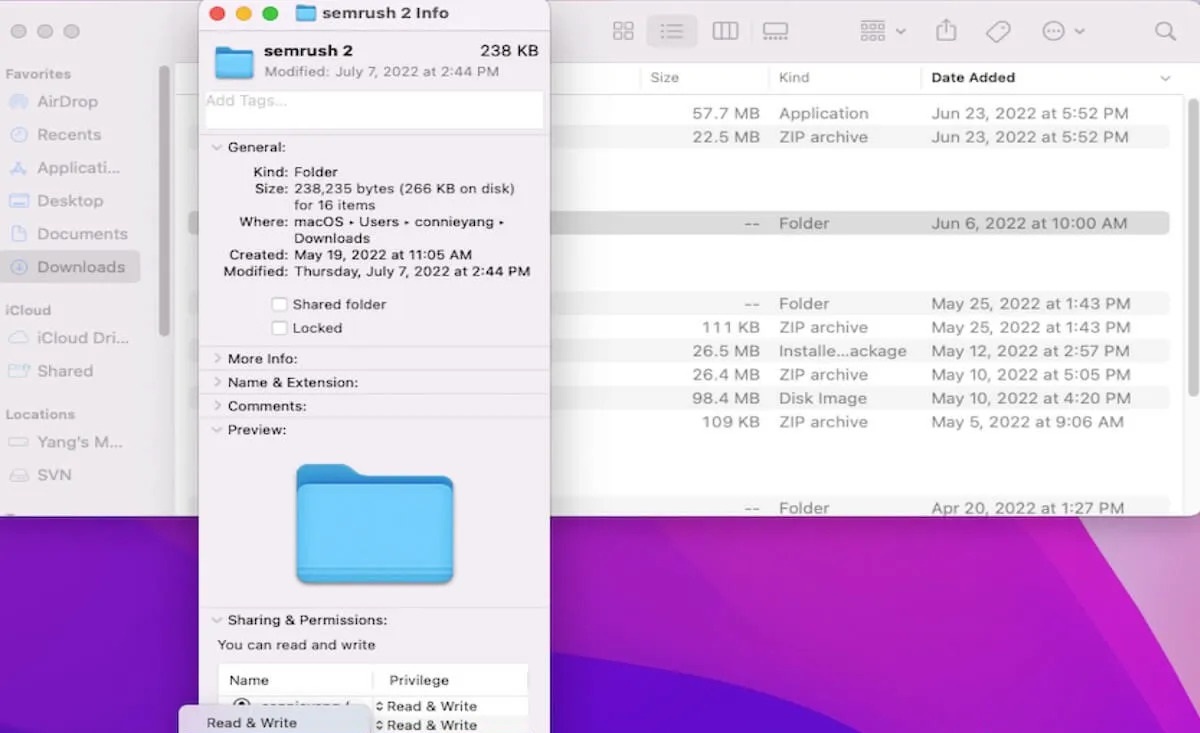
- In the “Get Info” window of the external hard drive, navigate to the “Sharing & Permissions” section.
- Click on the lock icon at the bottom right corner and enter your administrator password, if prompted.
- Click on the “+” icon to add a new user or group, or select an existing user or group to modify their permissions.
- Choose the desired privilege level for the selected user or group from the drop-down menu. Options include “Read Only”, “Read & Write”, or “No Access”.
- Click on the gear icon and select “Apply to enclosed items” if you want to apply the same permissions to all the files and folders within the external hard drive.
- Click on the lock icon again to securely save the changes.
By following these steps, you can effectively change the permissions on your external hard drive, granting or restricting access to specific users or groups. The changes you make will help you ensure the security and privacy of your files and folders.
Step 7: Apply Changes
After modifying the permissions of the files and folders on your external hard drive, it is important to apply the changes to make them effective. Both Windows and Mac provide options to apply the changes you made to the permissions.
Follow these steps to apply the changes:
- In File Explorer (Windows):
- Once you have finished modifying the permissions in the “Permissions for [drive name]” window, click “Apply” to apply the changes.
- Click “OK” to close the “Permissions for [drive name]” window.
- Click “OK” again to close the “Properties” window.
- In Finder (Mac):
- After making the necessary changes in the “Get Info” window, click on the lock icon again to securely save the changes.
- Close the “Get Info” window.
Applying the changes ensures that the modified permissions take effect immediately. This means that the selected users or groups will now have the adjusted access privileges (read, write, execute) that you assigned to them.
By applying the changes to the permissions, you have successfully customized access to the files and folders on your external hard drive. The next step involves verifying the new permissions to ensure they were applied correctly.
Step 8: Verify the New Permissions
After applying the changes to the permissions on your external hard drive, it is essential to verify that the new permissions have been implemented correctly. Verifying the permissions ensures that the desired access levels have been granted or restricted as intended.
Follow these steps to verify the new permissions:
- In File Explorer (Windows):
- Locate the external hard drive in the “Devices and Drives” section of the File Explorer window.
- Right-click on the external hard drive and select “Properties”.
- Navigate to the “Security” tab and click on the “Advanced” button.
- Check the “Effective Access” tab to see the effective permissions for a particular user or group.
- Verify that the permissions match the changes you made.
- In Finder (Mac):
- Locate the external hard drive in the sidebar of the Finder window.
- Press the “Command” key and click on the external hard drive.
- Select “Get Info” from the context menu that appears.
- Scroll down to the “Sharing & Permissions” section and verify the privileges assigned to different users or groups.
- Make sure the permissions align with the changes you made.
By verifying the new permissions, you can ensure that the access levels for users or groups on your external hard drive are correctly set. This step is crucial in maintaining the desired level of privacy and security for your files and folders.
If you find any discrepancies or need to make further adjustments to the permissions, you can always revisit the previous steps and modify the permissions accordingly.
Step 9: Safely Eject the External Hard Drive
Once you have verified the new permissions on your external hard drive and ensured that everything is in order, it is important to safely eject the drive before physically disconnecting it from your computer. Ejecting the external hard drive properly helps prevent data corruption and ensures that all files are closed and saved correctly.
Follow these steps to safely eject the external hard drive:
- In File Explorer (Windows):
- Locate the external hard drive in the “Devices and Drives” section of the File Explorer window.
- Right-click on the external hard drive and select “Eject” from the context menu.
- Wait for a notification to appear, indicating that it’s safe to remove the external hard drive.
- In Finder (Mac):
- Locate the external hard drive in the sidebar of the Finder window.
- Click on the eject icon (an upward-pointing arrow) next to the name of the external hard drive.
- Wait for a notification to appear, indicating that it’s safe to remove the external hard drive.
It’s important to note that the process of ejecting may take a few seconds. Do not disconnect the external hard drive until you receive confirmation that it has been safely ejected.
By safely ejecting the external hard drive, you minimize the risk of data loss and protect the integrity of your files. It’s a good practice to follow each time you disconnect an external storage device from your computer.
Now that you have safely ejected the external hard drive, you can physically disconnect it from your computer and store it securely or connect it to another device as needed.
Conclusion
Changing permissions on an external hard drive is a crucial step in managing access to your stored files and folders. Whether you need to grant specific users or groups the ability to read, write, or execute files, or restrict certain permissions for added security, following the steps outlined in this guide will allow you to customize the access levels effectively.
Throughout this guide, we covered the process of changing permissions on an external hard drive for both Windows and Mac operating systems. We discussed understanding permissions, connecting the external hard drive, opening the file management system, locating the drive, right-clicking or control-clicking on the drive, selecting “Get Info” or “Properties”, changing the permissions, applying the changes, verifying the new permissions, and finally, safely ejecting the external hard drive.
By following these steps, you can ensure that your files and folders are secure and that only authorized users have access to them. Modifying permissions gives you greater control over who can view, modify, or execute files on your external hard drive, protecting sensitive information and maintaining the integrity of your data.
Remember to always maintain caution when modifying permissions, ensuring that you have the necessary rights and permissions to make changes. It’s also a good practice to regularly review and update the permissions on your external hard drive as needed, especially if there are changes in user access or security requirements.
We hope that this guide has been helpful in assisting you with the process of changing permissions on your external hard drive. With this newfound knowledge, you can confidently manage and control access to your important files and folders, ensuring the highest level of privacy and security.