Introduction
Welcome to this helpful guide on how to change the language on your Amazon tablet! Whether you have recently purchased a new tablet or simply want to explore different language options, modifying the language settings can provide you with a more personalized and user-friendly experience. By following the step-by-step instructions outlined in this article, you will be able to easily change the language on your Amazon tablet and navigate through its features with ease.
Your Amazon tablet comes with a default language setting, typically based on the region where it was purchased. However, some users may prefer to use their tablet in a different language due to personal preference, accessibility needs, or language learning purposes. Fortunately, Amazon tablets offer a wide range of language options, allowing you to select the one that best suits your needs.
Changing the language on your Amazon tablet not only alters the system texts and menus but also affects the language used for apps, e-books, and other content. Whether you want to switch to a language you are more comfortable with or want to challenge yourself with a new language, this guide will walk you through the steps to change the language settings on your Amazon tablet.
Before we dive into the step-by-step process, it’s important to note that the exact steps and options may vary slightly depending on the model and version of your Amazon tablet. However, the general process remains the same across different devices. So, let’s get started and learn how to change the language on your Amazon tablet!
Step 1: Access the Settings Menu
The first step in changing the language on your Amazon tablet is to access the settings menu. The settings menu allows you to modify various aspects of your tablet’s functionality, including the language settings.
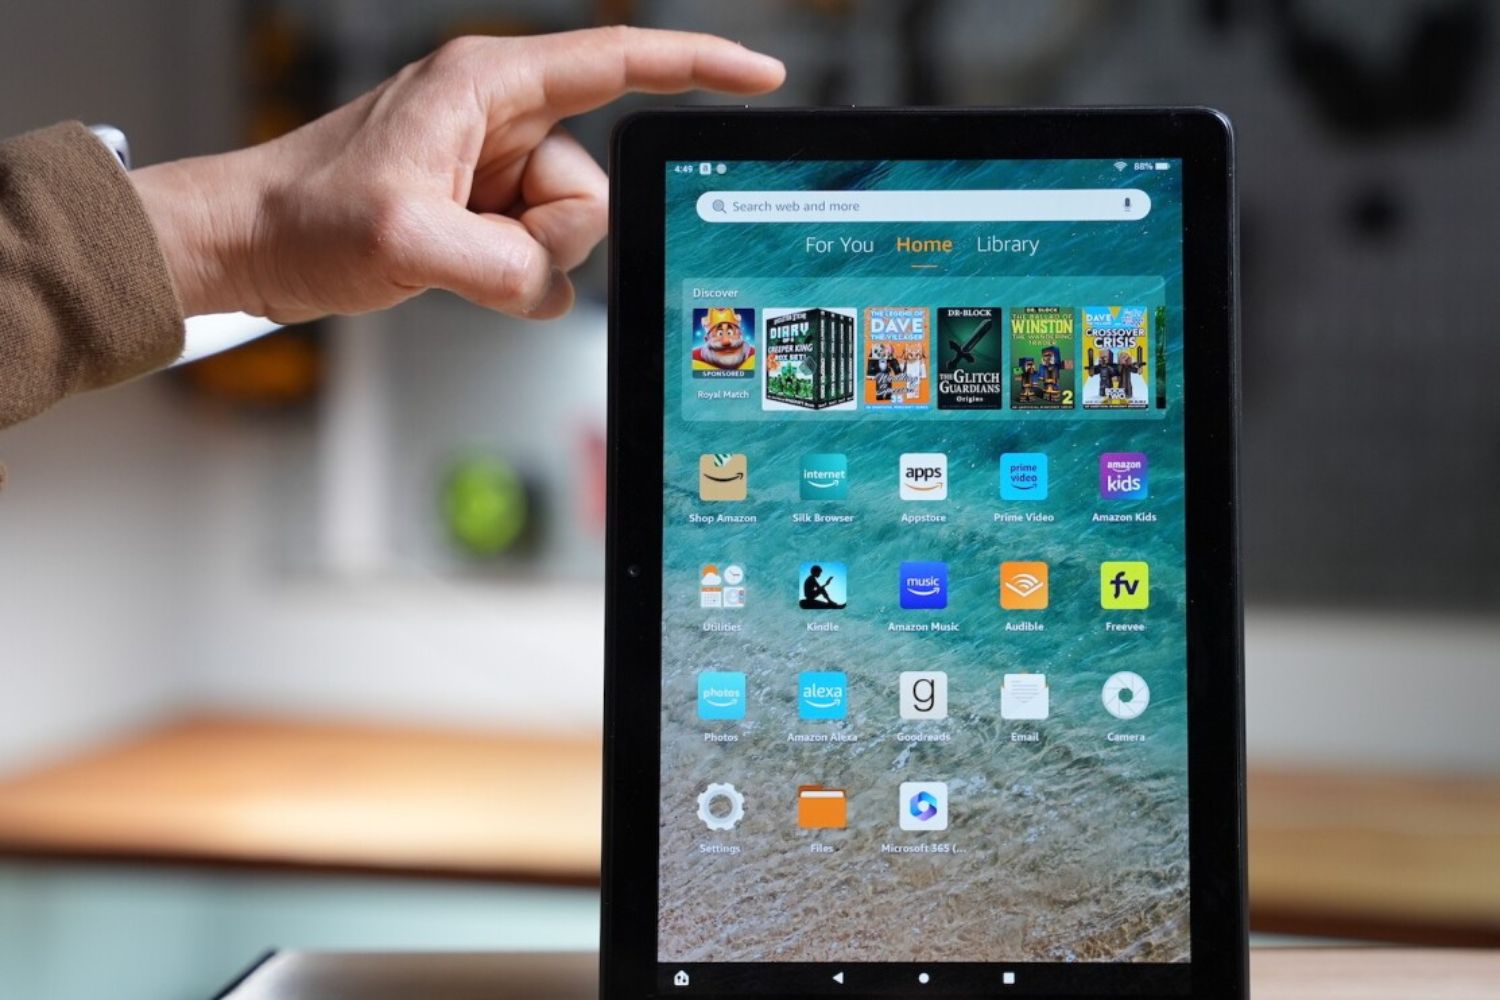
To access the settings menu, start by unlocking your Amazon tablet and navigating to the home screen. Look for the “Settings” app, which is represented by a gear icon. The location of the settings app may vary depending on your tablet model and the layout of your home screen.
Once you locate the “Settings” app, simply tap on it to open the settings menu. This will take you to the main settings screen, where you can make changes to different aspects of your tablet’s configuration.
If you are unable to find the settings app on your home screen, you can also access it by swiping down from the top of the screen to open the notifications panel. Then, tap on the gear icon located in the top right corner. This will directly take you to the settings menu.
Once you have successfully accessed the settings menu, you are ready to move on to the next step and change the language preference on your Amazon tablet. Keep reading to find out how!
Step 2: Select Language & Input
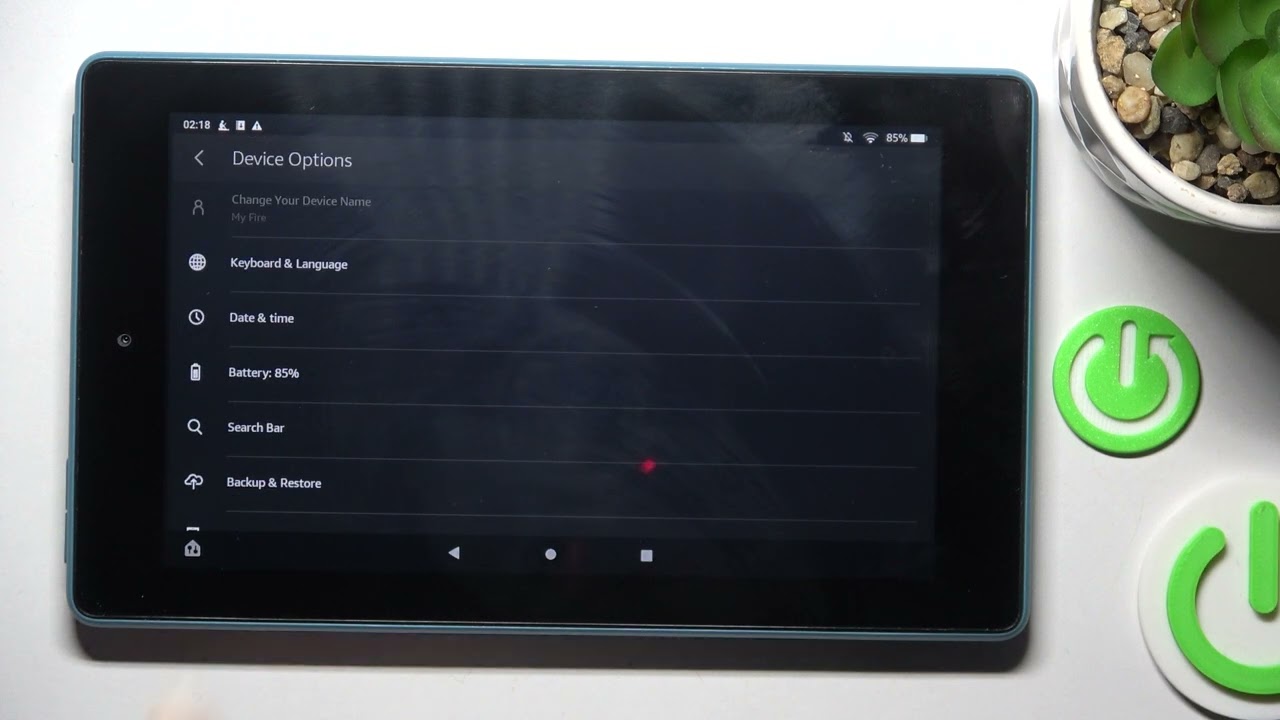
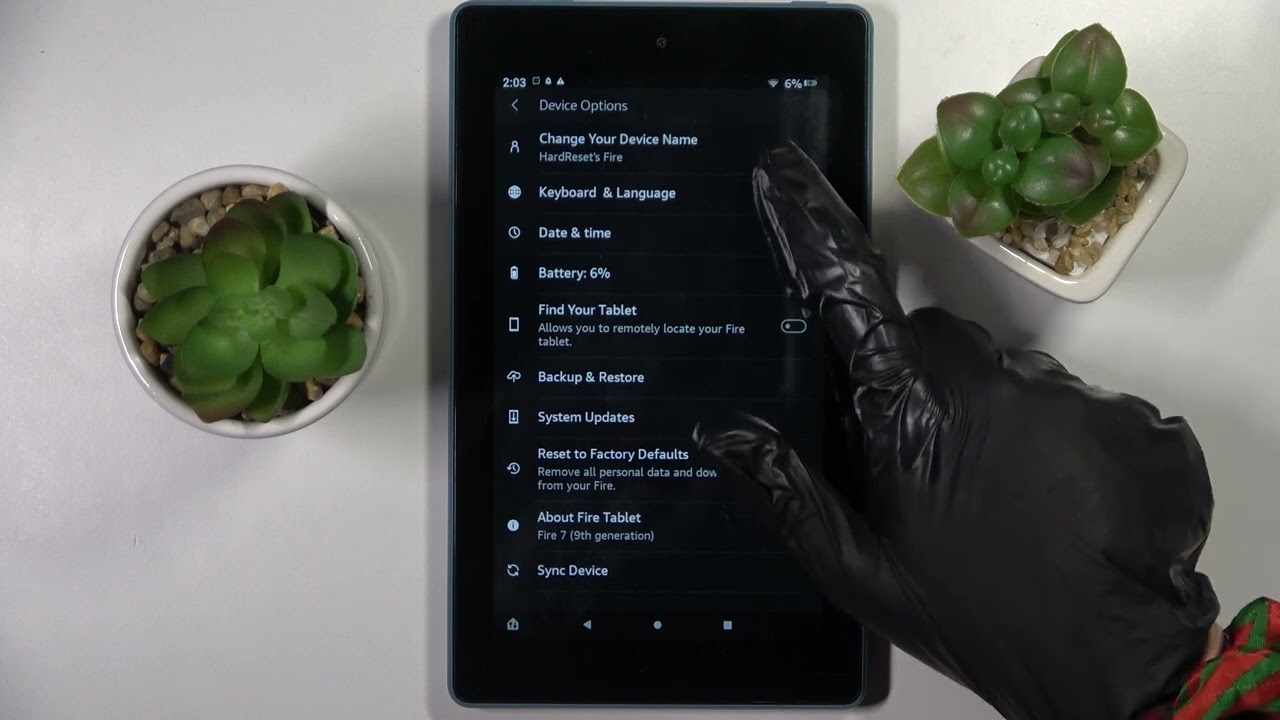
After accessing the settings menu on your Amazon tablet, it is time to navigate to the language settings. To do this, you need to locate the “Language & Input” option within the settings menu.
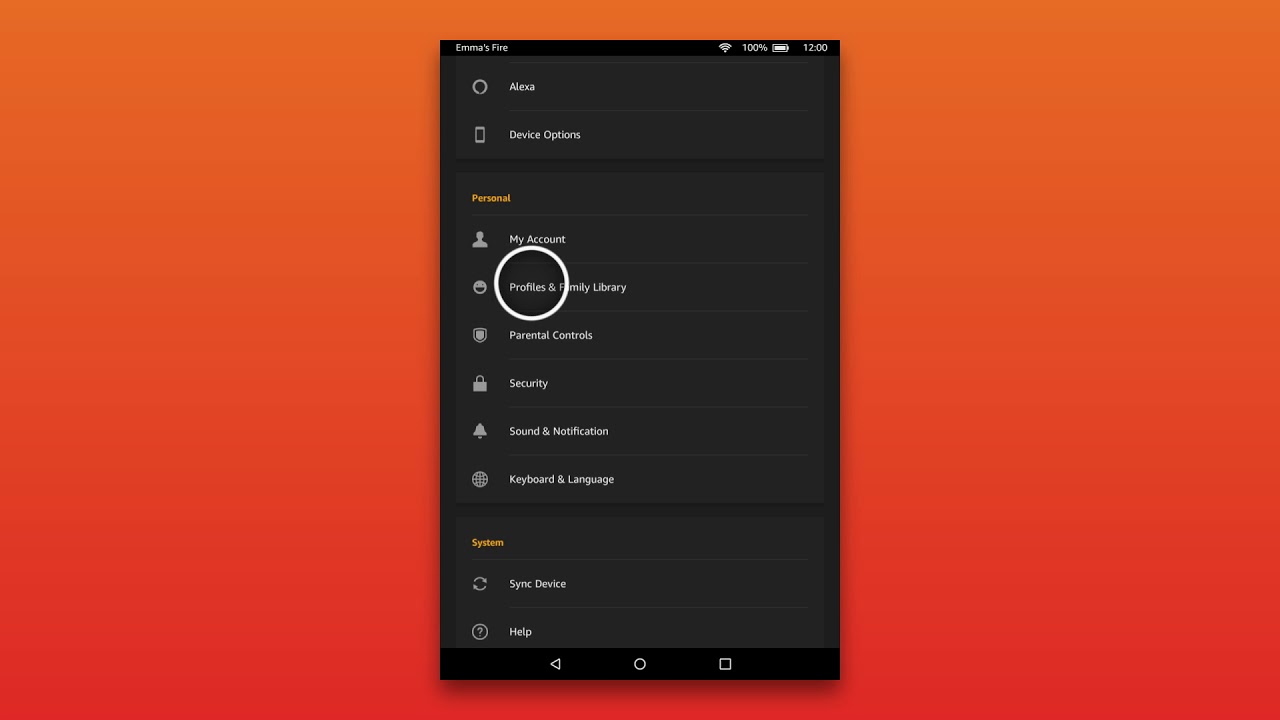
Scroll down the settings menu until you find the “Language & Input” option. The location of this option may vary depending on your tablet model and the version of the operating system you are using.
Once you locate the “Language & Input” option, tap on it to open the language settings. This section allows you to customize the language preferences on your Amazon tablet and choose the language you want to use.
Within the language settings, you may also find additional options related to keyboards, input methods, and spell-checking. These settings allow you to further personalize your typing experience according to your language preferences.
It is worth noting that some Amazon tablets may have a slightly different name for the language settings. In such cases, look for terms like “Language & Region,” “Language & Keyboard,” or “Language & Locale.” Regardless of the specific wording, the function remains the same – to modify the language settings on your tablet.
Once you have successfully entered the language settings, you are ready to proceed to the next step and change the language preference on your Amazon tablet. Read on to learn how to do it!
Step 3: Change Language Preference
Now that you have accessed the language settings on your Amazon tablet, it’s time to change the language preference to your desired option. Follow the steps below to make the necessary changes:
- Within the language settings, you will see a list of available languages. Scroll through the list and locate the language you want to switch to. The languages are typically listed in alphabetical order, making it easier to find a specific language.
- Tap on the desired language to select it. This will highlight your selection and indicate that it is now the new language preference for your Amazon tablet.
- Some models of Amazon tablets may require an additional step to confirm the language change. If prompted, follow the on-screen instructions or confirm the language switch by tapping on the “OK” or “Confirm” button.
- After confirming the language change, your Amazon tablet will update the system texts, menus, and other elements to reflect the new language preference. This process may take a few moments, so be patient.
- Once the language change is complete, you will be able to navigate your Amazon tablet in the newly selected language. All system texts, menus, and even pre-installed apps will now be displayed in your chosen language.
It’s important to note that changing the language preference on your Amazon tablet does not affect the language settings for individual apps or content. Some apps may have their language settings that need to be modified separately. Additionally, not all apps or content may be available in your chosen language.
If you wish to revert to the original language or switch to a different language in the future, simply follow the same steps outlined in this guide to access the language settings and make the desired changes.
Now that you have successfully changed the language preference on your Amazon tablet, let’s move on to the final step to ensure that the language change is properly applied. Continue reading to find out what to do next!
Step 4: Confirm Language Change
After changing the language preference on your Amazon tablet, it is important to confirm that the language change has been successfully applied. Follow the steps below to ensure that your tablet is now operating in the new language:
- Exit the language settings and return to the home screen of your Amazon tablet.
- Take a moment to navigate through various menus and system texts to see if they are displayed in the newly selected language. This will help you verify that the language change has taken effect.
- Open a few pre-installed apps or access some content to see if their texts and interfaces are also displayed in the correct language. This will ensure that the language change has been applied consistently across your tablet.
- If you encounter any issues or inconsistencies in the displayed language, return to the language settings and double-check that you have selected the correct language. Make any necessary adjustments or restart your tablet to ensure that the language change is properly applied.
Confirming the language change is an essential step to ensure that your Amazon tablet is now operating in your chosen language. By verifying that all system texts, menus, apps, and content are displayed correctly, you can be confident that the language change has been successfully implemented.
It’s worth mentioning that if you have changed the language to a language you are not familiar with, navigating through the menus and settings may require some exploration and trial and error. However, with time, you will become more accustomed to the new language and feel at ease using your Amazon tablet.
Congratulations! You have successfully changed the language on your Amazon tablet and confirmed that the language change has been applied. Your tablet is now ready to provide you with a user-friendly experience in the language of your choice.
Enjoy exploring your Amazon tablet in the new language and take full advantage of its features and functionalities!
Conclusion
Changing the language on your Amazon tablet is a simple process that allows you to personalize your device and enhance your user experience. By following the steps outlined in this guide, you can easily switch to your preferred language and navigate through menus, system texts, and apps in a language that is comfortable for you.
We began by accessing the settings menu on your Amazon tablet, which serves as the gateway to various configuration options. From there, we moved on to the language settings, where you can customize your language preferences.
Next, we explored the process of changing the language preference. By selecting your desired language from the provided list, you can easily update your tablet to display texts and menus in the new language.
After changing the language preference, it is crucial to confirm that the language change has been successfully applied. By navigating through the home screen, menus, apps, and content, you can ensure that all elements are displayed consistently in the newly selected language.
Remember that changing the language preference on your Amazon tablet does not impact the language settings for individual apps or content. Some apps may require separate language adjustments within their settings.
Now that you know how to change the language on your Amazon tablet, you have the freedom to use your device in a language that best suits your needs and preferences. Enjoy exploring your tablet’s features, make the most of its functionalities, and immerse yourself in a seamless and user-friendly experience!