Introduction
Changing the language setting on your Amazon Fire Tablet back to English is a simple and straightforward process. Whether you accidentally changed the language or purchased a device with a different language setting, there’s no need to worry. In just a few easy steps, you’ll have your Amazon Fire Tablet back to displaying everything in English.
The language setting is important because it affects not only the display language, but also the keyboard input, voice commands, and other system features. By following the steps outlined in this guide, you’ll be able to navigate your Fire Tablet with ease and enjoy your device in a language that you’re most comfortable with.
In this tutorial, we’ll walk you through the process of changing the language back to English on your Amazon Fire Tablet. Whether you’re using an Amazon Fire 7, Fire HD 8, or any other model, the steps to change the language are generally the same. So, let’s get started and get your device back to its original language.
Step 1: Access the Settings Menu
The first step to change the language back to English on your Amazon Fire Tablet is to access the settings menu. To do this, you will need to unlock your device and navigate to the home screen. From there, follow these simple steps:
- Swipe down from the top of the screen to open the notification panel.
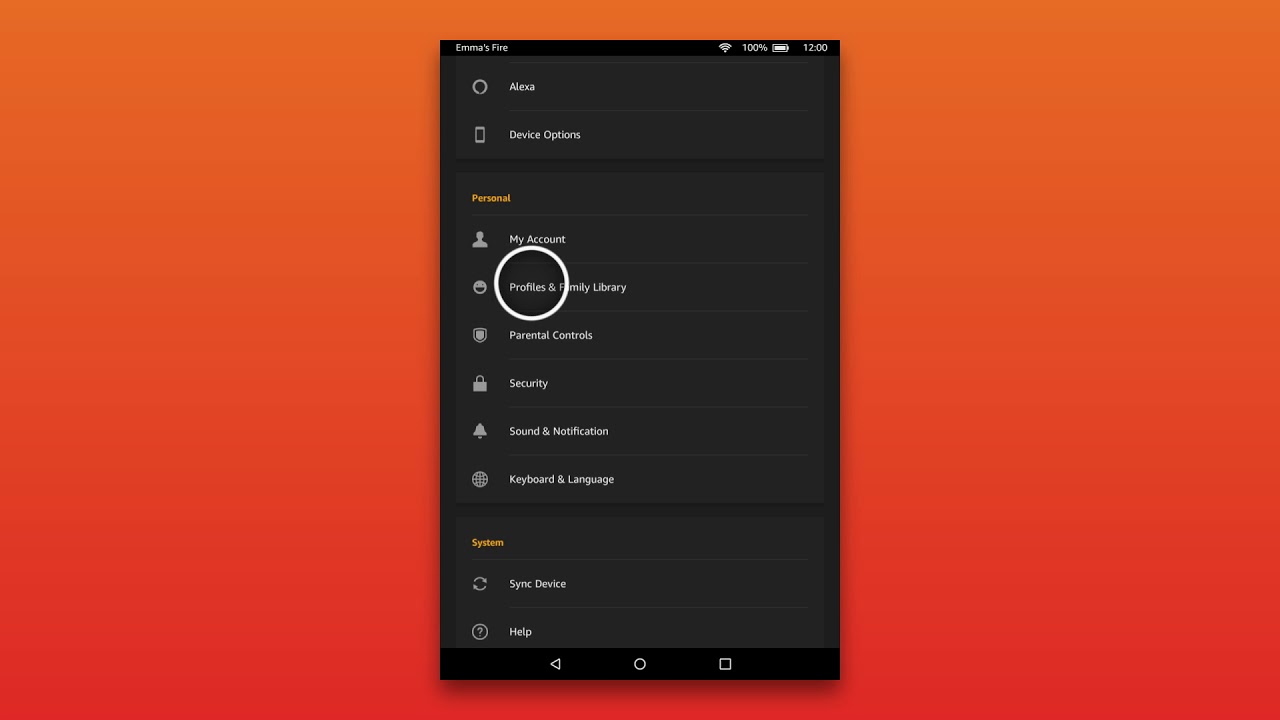
- Tap the gear icon in the upper right corner to open the Settings menu.
Once you tap the gear icon, you will be directed to the Settings menu, where you can make various adjustments and customization to your device. This is where you will find the language settings to change the display language back to English.
If you are unable to locate the gear icon or the Settings menu, keep in mind that the exact steps may vary slightly depending on your Amazon Fire Tablet model and the version of the operating system. However, the general process remains the same across all devices, so you should be able to find the necessary options by exploring the Settings menu.
Now that you have successfully accessed the Settings menu, you’re ready to move on to the next step and change the language settings of your Amazon Fire Tablet.
Step 2: Select Language & Input Options
Once you have accessed the Settings menu on your Amazon Fire Tablet, the next step is to locate the Language & Input options. Here’s how you can do it:
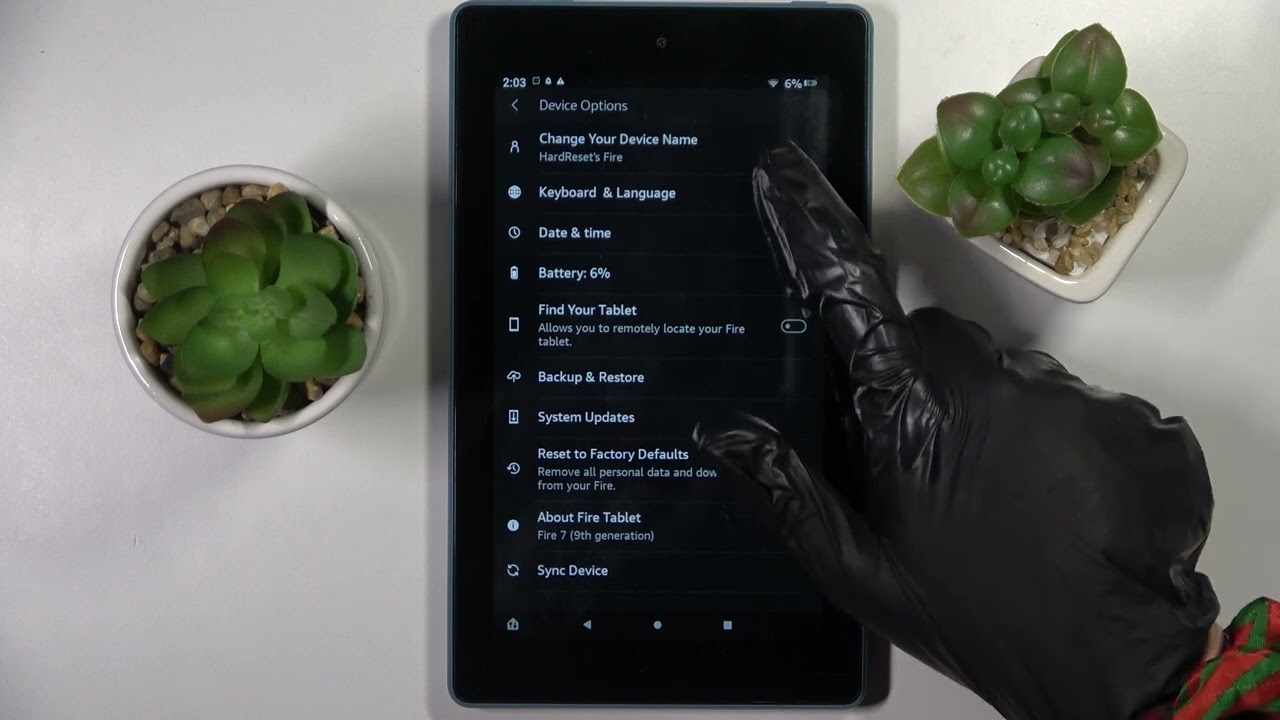
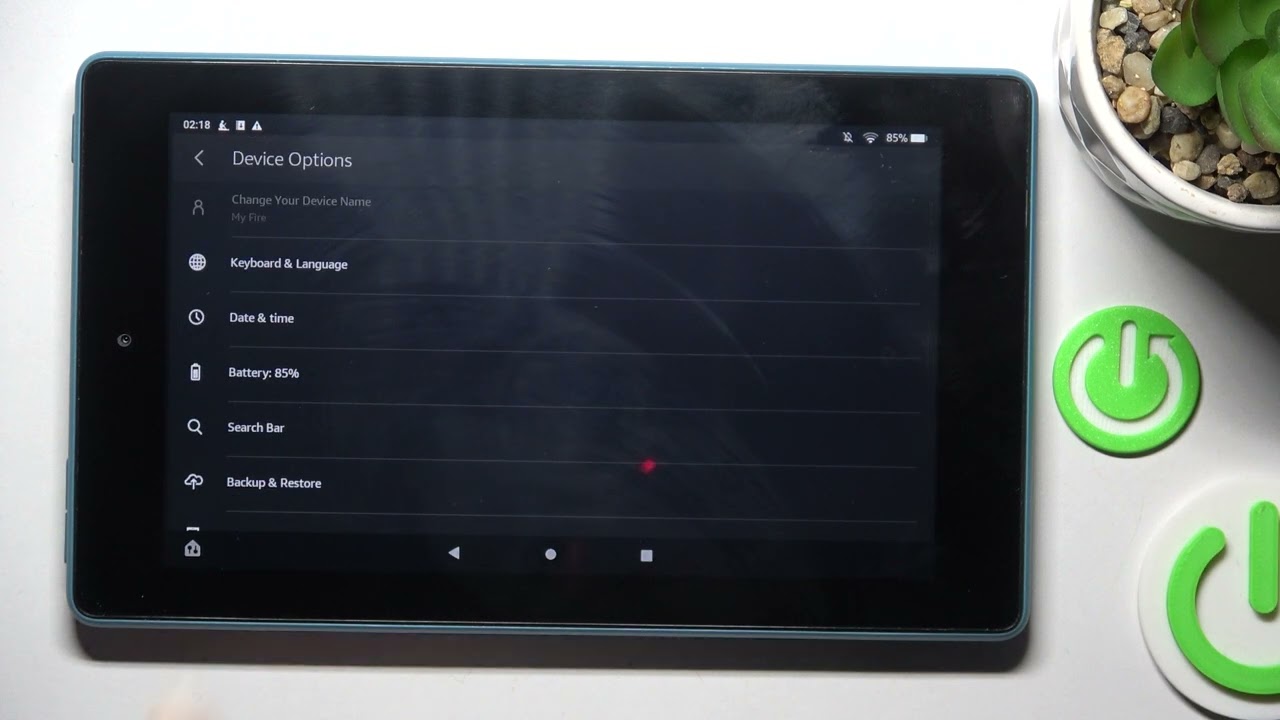
- Scroll down the Settings menu until you find the “Device Options” section.
- Tap on “Device Options” to expand the menu.
- Look for the “Language & Input” option and tap on it.
By selecting the “Language & Input” option, you will open a submenu that contains all the language-related settings, including the ability to change the display language of your device.
In some cases, the “Language & Input” option might be located directly in the main settings menu, without the need to navigate through submenus. However, on most Amazon Fire Tablet models, it can be found within the “Device Options” section.
If you are unable to locate the “Language & Input” option in the Settings menu, keep in mind that the appearance and organization of the settings may vary slightly depending on your device model and software version. In such cases, refer to the device’s user manual or visit the Amazon support website for specific instructions tailored to your device model.
Once you have successfully accessed the “Language & Input” options, you’re ready to proceed to the next step and change the language settings of your Amazon Fire Tablet.
Step 3: Change the Language
Now that you have accessed the “Language & Input” options on your Amazon Fire Tablet, you can proceed to change the language to English. Follow these straightforward steps to do so:
- Tap on the “Language” option.
- You will see a list of available languages. Scroll down the list or use the search bar to find “English.”
- Select “English” from the list of languages.
Once you have selected “English” as the desired language, your Amazon Fire Tablet will update the display language accordingly. You may notice that the device’s interface and menus will now be shown in English, making it easier for you to navigate and understand.
It’s worth noting that changing the language setting will not affect any personal data or files stored on your device. It only modifies the language displayed throughout the user interface. Therefore, you can change the language as often as you like without worrying about data loss or any other consequences.
If you’re experiencing difficulties finding the “English” language option in the list, try using the search bar provided within the “Language” submenu. By typing “English” in the search bar, the device will filter the options and show you the relevant language to choose from.
Congratulations! You have successfully changed the language on your Amazon Fire Tablet to English. Now, you can enjoy using your device in your preferred language.
Step 4: Confirm Language Change
After changing the language on your Amazon Fire Tablet, it’s important to confirm that the language change has been applied successfully. Here’s how you can do it:
- Exit the Settings menu by pressing the home button or swiping up from the bottom of the screen.
- Navigate through your device and observe the changes in the language.
- Check various apps, menus, and settings to ensure that everything is displayed in English.
By navigating through your device and using various apps and settings, you can confirm that the language has been changed to English. Pay attention to the system messages, app names, and any other text displayed on the screen.
If you notice that some parts of the system or specific apps are still displayed in the previously selected language, try restarting your device. Sometimes, a restart is required to fully apply the language changes across all aspects of the system.
In addition to confirming the language change, it’s beneficial to check the keyboard input and voice commands. Try typing or using voice input in various apps to ensure that they are also set to English.
If you encounter any difficulties or unexpected behavior after changing the language, consult the device’s user manual or visit the Amazon support website for further assistance. They can provide guidance based on your specific device model and software version.
Once you have confirmed the language change and ensured that everything is displayed in English, you can now enjoy using your Amazon Fire Tablet in your preferred language!
Conclusion
Changing the language back to English on your Amazon Fire Tablet is a simple process that can be done in just a few steps. By accessing the Settings menu, selecting the Language & Input options, changing the language to English, and confirming the language change, you can easily navigate your device in your preferred language.
The language setting affects not only the display language but also the keyboard input, voice commands, and other system features. By setting the language to English, you can ensure a seamless and user-friendly experience while using your Amazon Fire Tablet.
If you ever need to change the language again in the future, you can easily navigate back to the Language & Input options in the Settings menu and select your desired language. Feel free to explore and customize your device to suit your language preferences and needs.
Remember, the steps outlined in this guide may vary slightly depending on your specific device model and software version. Consult the user manual or visit the Amazon support website for device-specific instructions if you encounter any difficulties during the language change process.
We hope this guide has helped you successfully change the language back to English on your Amazon Fire Tablet. Enjoy using your device in the language you’re most comfortable with!