Introduction
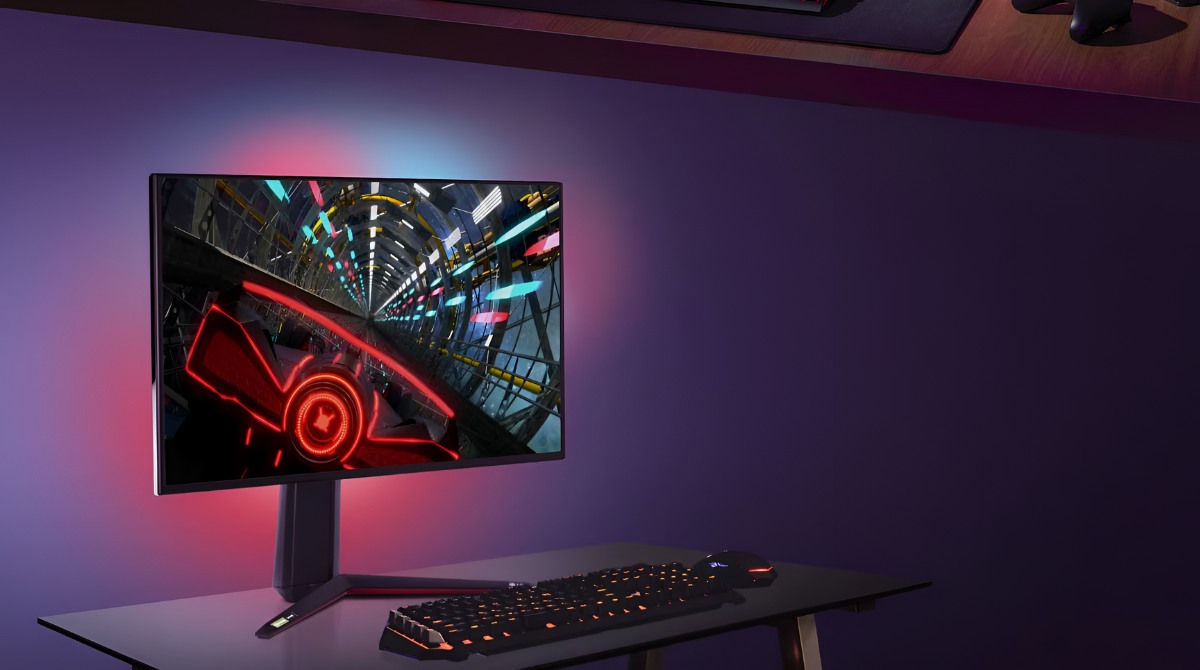
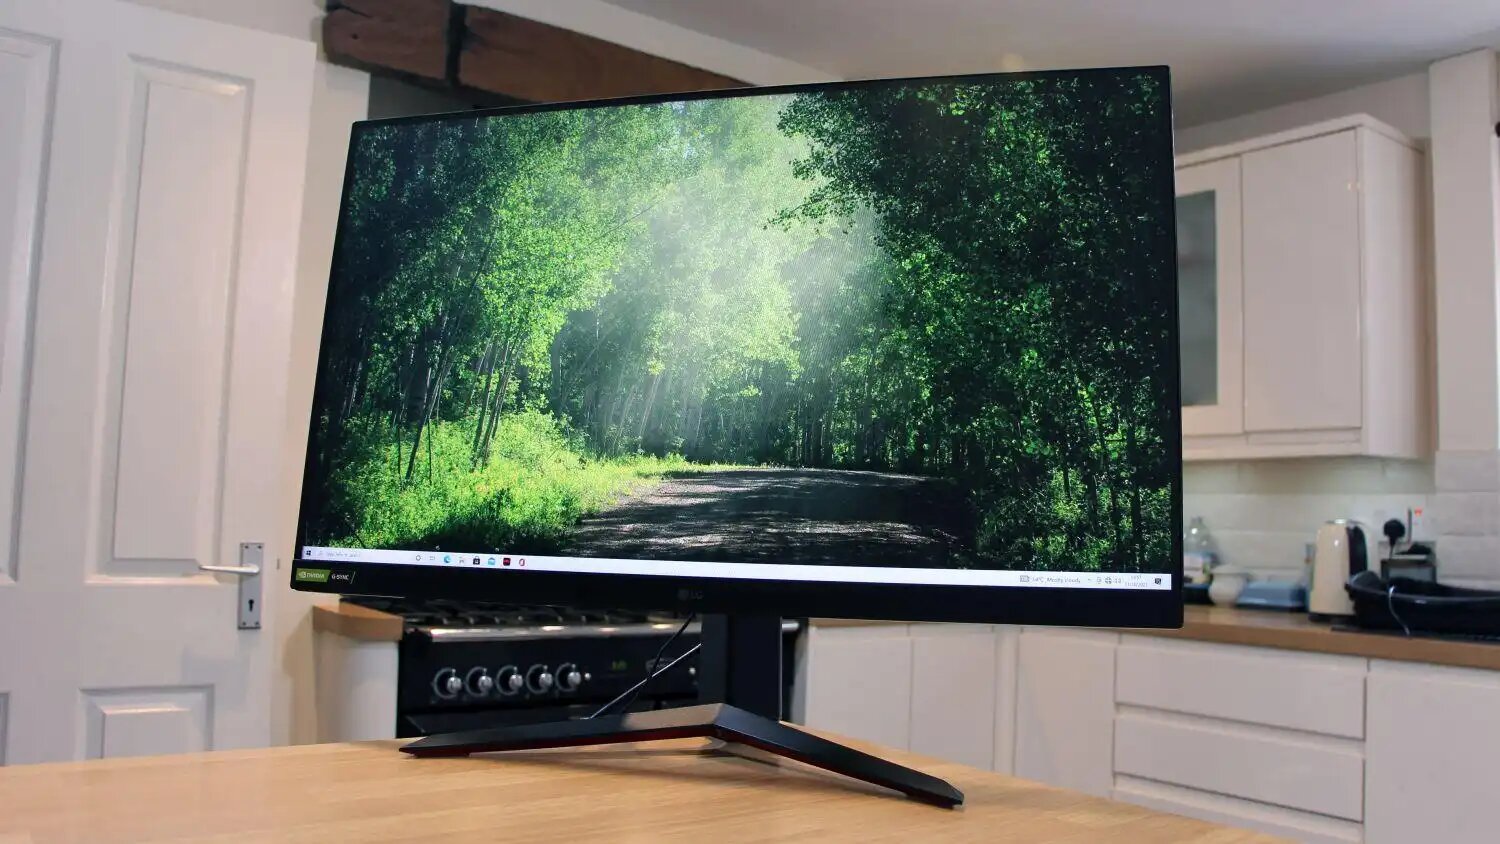
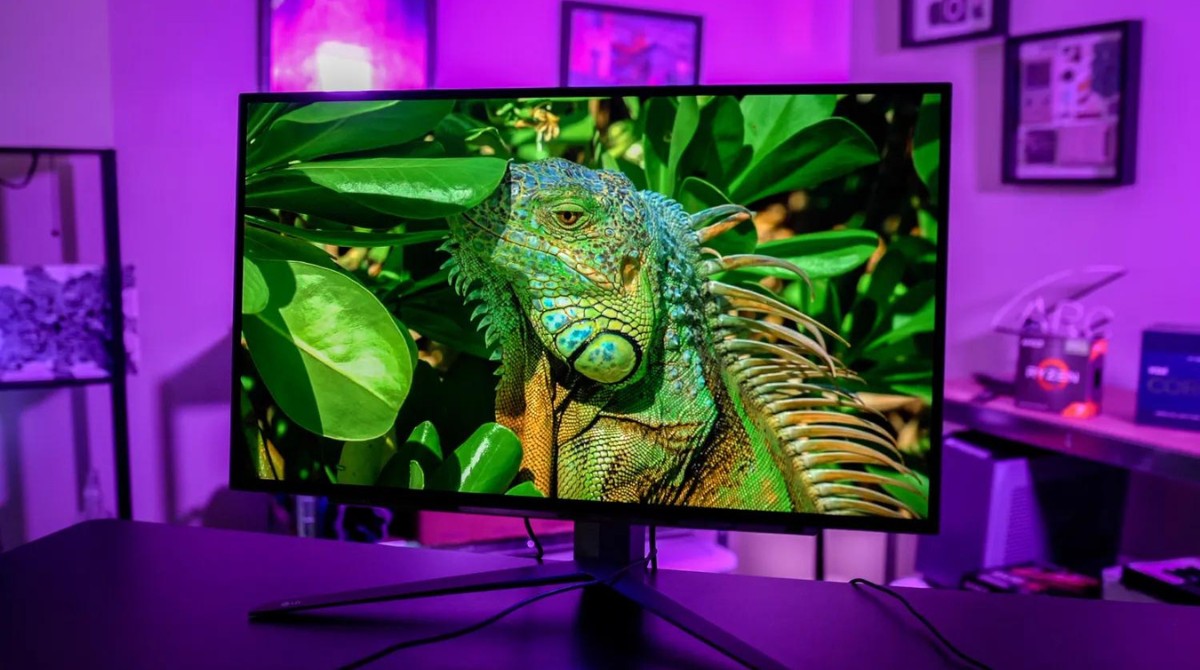
Welcome to the world of gaming monitors, where every detail matters for an immersive gaming experience. One crucial aspect that can significantly impact your gameplay is the refresh rate, commonly measured in Hertz (Hz). In this article, we will explore how to change the Hz on an LG Ultragear gaming monitor to ensure that you are getting the smoothest and most responsive visuals possible.
Understanding the refresh rate is essential before diving into the process of changing it. The refresh rate refers to the number of times the monitor updates the image on the screen per second. A higher refresh rate means smoother motion and reduced motion blur, resulting in a more fluid and enjoyable gaming experience.
However, it is important to note that not all monitors support high refresh rates. Before attempting to change the Hz on your LG Ultragear gaming monitor, you must confirm that the monitor is compatible with the desired refresh rate. Trying to push the monitor beyond its capabilities may result in screen tearing or other visual artifacts.
Now, let’s delve into the steps for changing the Hz on your LG Ultragear gaming monitor. It’s important to keep in mind that the specific steps can vary slightly depending on your monitor model and the software you are using, so be sure to consult the user manual or LG’s official support documentation for your monitor for the most accurate instructions.
Understanding Hz
Hertz (Hz) is a unit of frequency used to measure the refresh rate of a monitor. In the context of gaming, the refresh rate determines how many frames the monitor can display per second. The higher the refresh rate, the smoother the motion on the screen.
Generally, most monitors have a standard refresh rate of 60Hz, which means they refresh the image on the screen 60 times per second. However, gaming monitors often come with higher refresh rates, such as 120Hz, 144Hz, or even 240Hz. These higher refresh rates provide a more fluid and responsive gaming experience, especially during fast-paced and action-packed games.
When the refresh rate is low, the image on the screen can appear choppy or have noticeable motion blur. This can make it difficult to track fast-moving objects or react quickly in games. On the other hand, a higher refresh rate reduces motion blur and provides clearer, smoother motion, allowing for better gameplay and faster visual feedback.
It’s important to note that the benefits of a higher refresh rate are most noticeable when paired with a capable gaming rig that can consistently deliver high frame rates. If your PC is not capable of achieving high frame rates in games, you may not fully utilize the benefits of a high refresh rate monitor.
In addition, not all games are optimized to take advantage of high refresh rates. Some older games or less-demanding titles may not benefit substantially from a refresh rate higher than 60Hz. However, many modern games are designed to support higher refresh rates and can offer a smoother and more immersive gaming experience when played on a monitor with a higher refresh rate.
Overall, understanding how Hz affects your gaming experience is crucial in optimizing your setup. By selecting a gaming monitor with a higher refresh rate and ensuring your PC can handle the demands, you can enjoy a more fluid, responsive, and visually stunning gameplay experience.
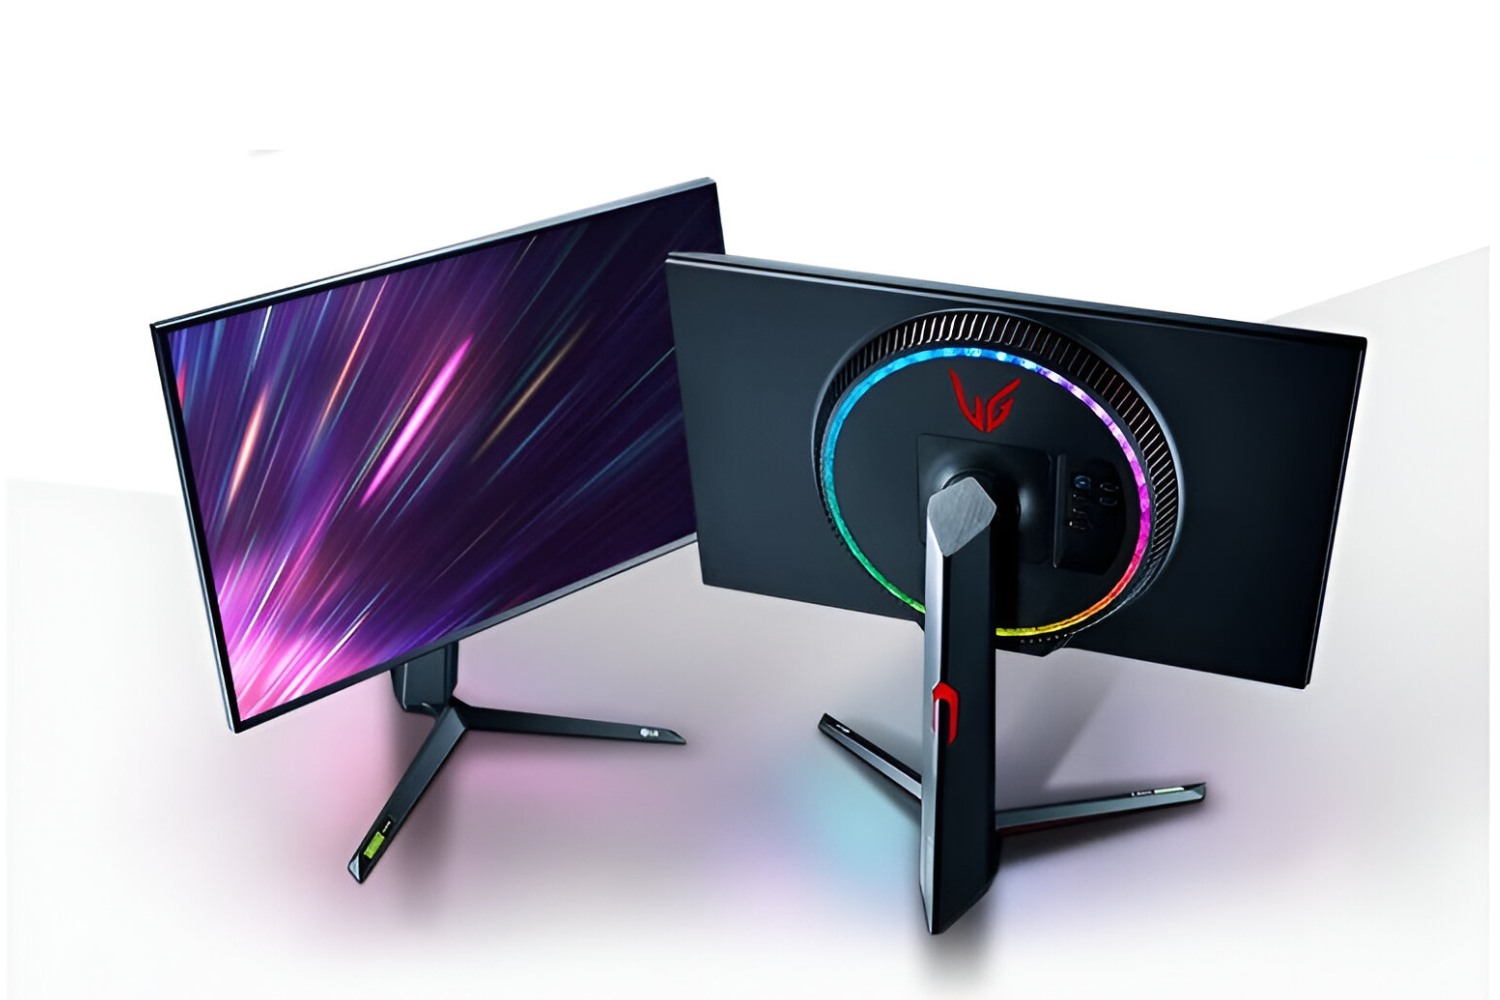
Checking Monitor Compatibility
Before attempting to change the Hz on your LG Ultragear gaming monitor, it is crucial to verify if the monitor supports the desired refresh rate. Not all monitors are capable of operating at high refresh rates, and trying to set a refresh rate beyond the monitor’s capabilities can lead to visual issues or even damage the monitor.
To check if your LG Ultragear gaming monitor supports a specific refresh rate, start by consulting the user manual that came with the monitor. The manual usually provides detailed specifications, including the supported refresh rates for different resolutions.
If you can’t find the user manual, you can visit the LG website or search for the specific model of your monitor to find the official specifications. On the LG website, navigate to the product page for your monitor model and look for the technical specifications section. It should list the supported refresh rates for different display resolutions.
Additionally, you can use the monitor’s display settings menu to check the available refresh rate options. Right-click anywhere on your desktop and select “Display Settings” (or “Screen Resolution” depending on your operating system). In the display settings, locate the monitor you want to check and click on “Advanced Display Settings” or “Display Adapter Properties.”
In the advanced display settings or display adapter properties, click on the “Monitor” tab. Here, you should see a drop-down menu with available refresh rate options. If your desired refresh rate is not listed in the drop-down menu, it means that your monitor does not support that specific refresh rate.
Remember, it is important to only select a refresh rate that is within the supported range of your monitor. Exceeding the supported range can lead to issues such as screen flickering, image distortion, or even hardware damage.
If your preferred refresh rate is not supported by your LG Ultragear gaming monitor, you might need to consider upgrading to a monitor that can handle higher refresh rates to fully enjoy the benefits of smooth and responsive gameplay.
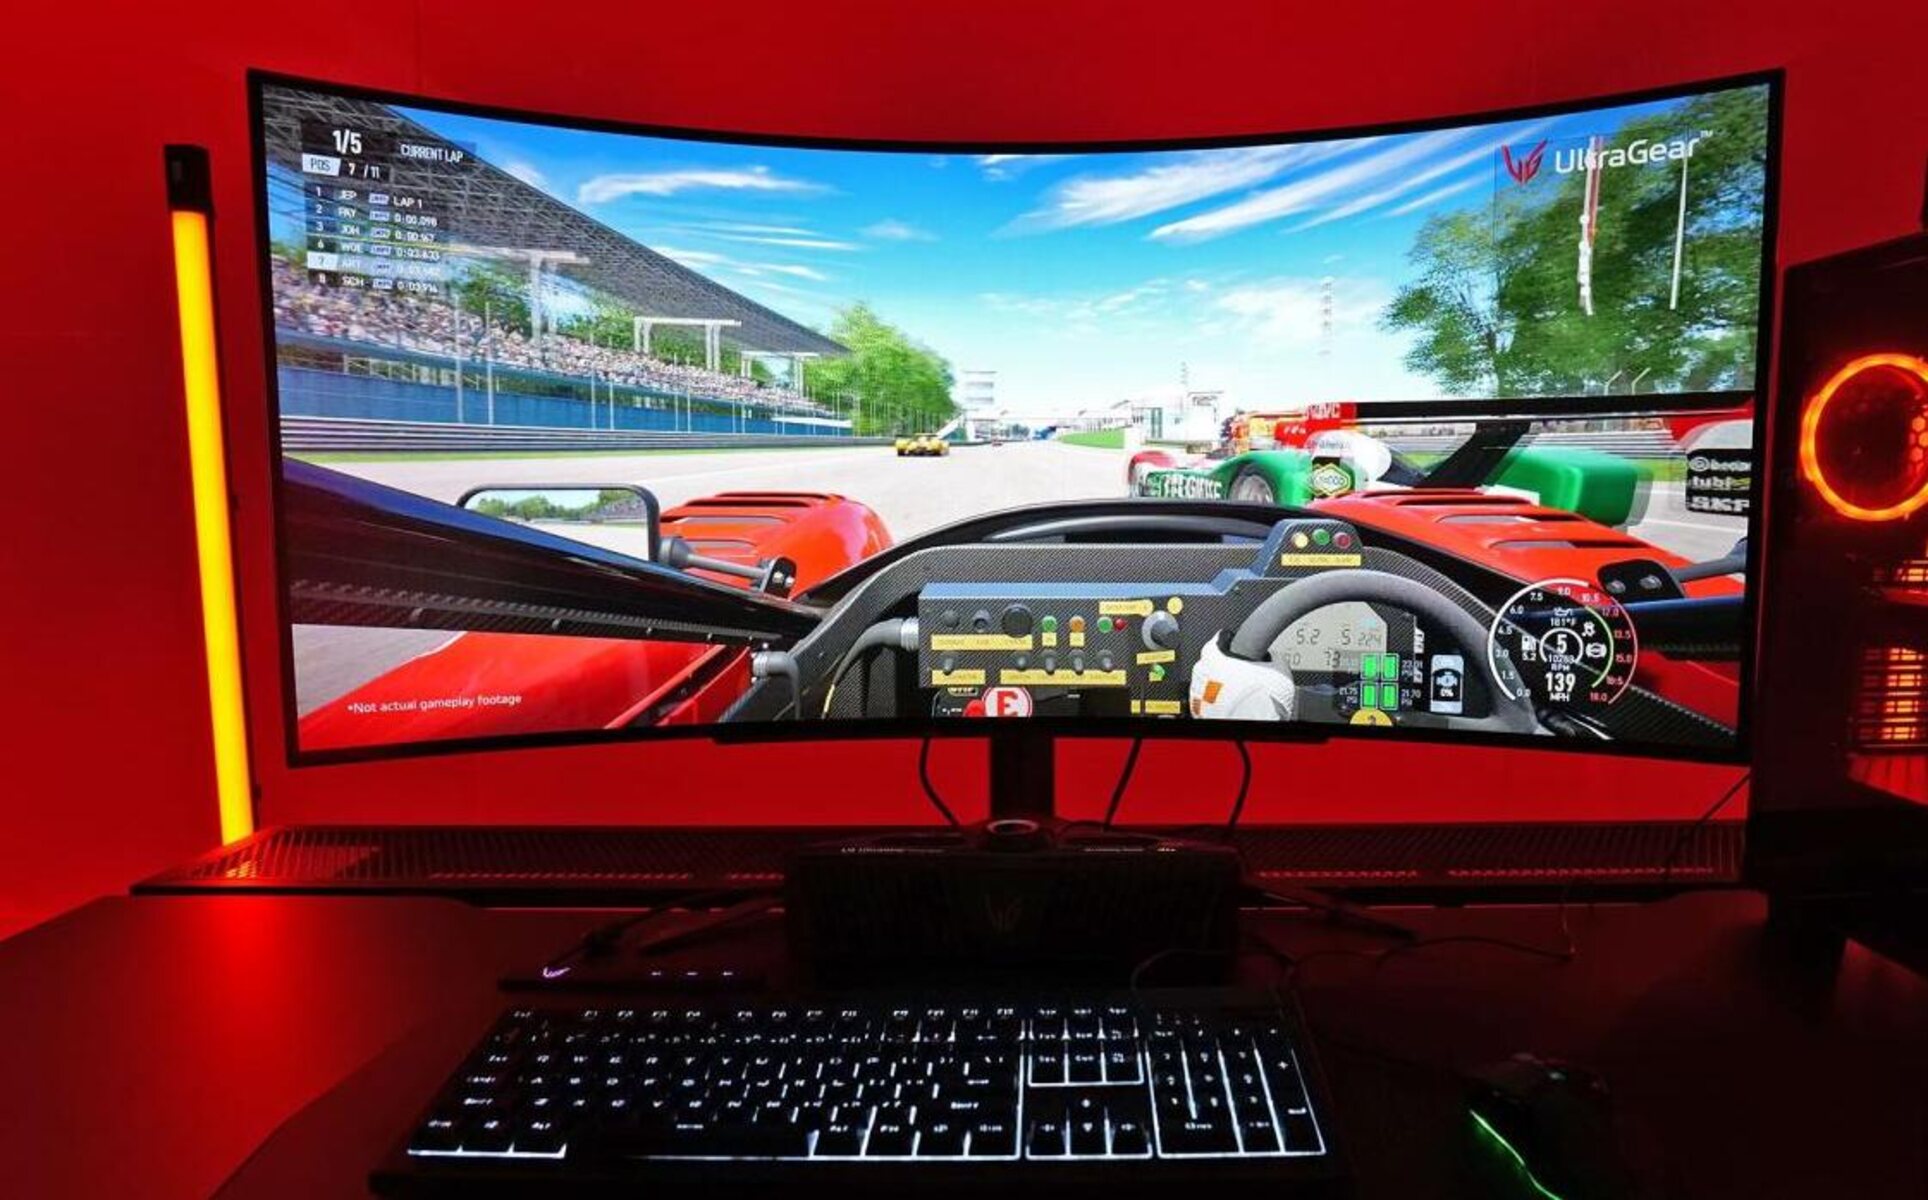
Changing Hz on LG Ultragear Gaming Monitor
Now that you have verified the compatibility of your LG Ultragear gaming monitor with the desired refresh rate, let’s dive into the steps for changing the Hz on your monitor:
- Access the monitor settings: First, ensure your monitor is connected to your computer and turned on. Use the navigation buttons on the monitor or the included remote control to access the monitor settings. The exact buttons or menu options may vary depending on your specific LG Ultragear monitor model.
- Navigate to the display settings: Once you are in the monitor settings menu, look for an option related to display settings or picture settings. This is where you can make changes to various display parameters, including the refresh rate.
- Select the desired refresh rate: Within the display settings, locate the refresh rate or Hz option. Depending on your monitor model and software, you may be presented with a drop-down menu or a list of predefined options. Select the desired refresh rate from the available options.
- Apply the changes: After selecting the desired refresh rate, save or apply the changes. The monitor will adjust its refresh rate accordingly. Keep in mind that some monitors may require you to confirm the changes before they take effect.
- Verify the new refresh rate: Once the changes are applied, it is essential to verify that the desired refresh rate has indeed been set. Right-click on your desktop and go to the display settings as mentioned earlier. Check the monitor properties to ensure that the refresh rate matches the one you selected. If the new refresh rate is displayed correctly, you have successfully changed the Hz on your LG Ultragear gaming monitor.
Remember, the specific steps may vary depending on your LG Ultragear monitor model and the software you are using. It is always recommended to consult the user manual or official support documentation for your monitor for the most accurate and up-to-date instructions.
Enjoy your newly adjusted refresh rate, and get ready to experience smoother, more responsive visuals in your gaming sessions with your LG Ultragear gaming monitor.
Adjusting PC Settings
Changing the refresh rate on your LG Ultragear gaming monitor is just one part of the equation. To ensure that your system is optimized for the new refresh rate, it’s important to adjust the settings on your PC as well. Here are some steps you can take to optimize your PC settings:
- Graphics card settings: Open the graphics card control panel on your PC. This can usually be done by right-clicking on your desktop and selecting the graphics card control panel option. Look for settings related to refresh rate or display properties and ensure that they align with the new refresh rate you have set on your monitor.
- Game settings: Many games have their own graphics settings that allow you to adjust the refresh rate. Launch your games and navigate to the graphics settings or display options. Look for the refresh rate setting and select the same value as the one you have set on your monitor. This ensures that the game and monitor are in sync, delivering a smoother gaming experience.
- Driver updates: Ensure that you have the latest graphics card drivers installed on your system. Visit the manufacturer’s website for your graphics card, such as NVIDIA or AMD, and download the latest drivers for your specific model. Regular driver updates often bring performance improvements and better compatibility with different refresh rates.
- Disable V-Sync: Vertical Sync (V-Sync) is a feature that syncs the frame rate of a game with the refresh rate of the monitor to avoid screen tearing. However, enabling V-Sync can introduce input lag, which hampers responsiveness. Consider disabling V-Sync in games that you play competitively to reduce input lag and improve responsiveness.
- System performance: Ensure that your PC is capable of delivering high frame rates to fully utilize the benefits of a higher refresh rate monitor. Optimize your system by closing unnecessary background processes, updating system drivers, and ensuring that your PC meets or exceeds the recommended system requirements for the games you play.
By adjusting these PC settings, you can maximize the benefits of your newly adjusted refresh rate and achieve smoother, more responsive gameplay on your LG Ultragear gaming monitor.
Troubleshooting Common Issues
While changing the refresh rate on your LG Ultragear gaming monitor is a straightforward process, you may encounter some common issues along the way. Here are a few troubleshooting tips to help resolve any potential problems:
- Black screen or no signal: If you encounter a black screen or a “no signal” message after changing the refresh rate, the monitor may not be receiving a compatible signal from your PC. Firstly, double-check that the refresh rate you have set on your PC matches the one on your monitor. If that doesn’t work, try connecting the monitor to a different port on your graphics card or using a different cable. You can also try restarting your PC to see if it resolves the issue.
- Screen flickering or artifacts: In some cases, setting a refresh rate that is too high for your monitor or incompatible with your graphics card can result in screen flickering or visual artifacts. To address this issue, lower the refresh rate to a value that your monitor and graphics card can handle. If screen flickering persists at lower refresh rates, it may indicate an issue with the monitor or graphics card itself, and you should consider seeking further assistance.
- Driver conflicts: Occasionally, conflicts between graphics card drivers and the monitor’s firmware or software can lead to issues with the refresh rate. Ensure that both your graphics card drivers and the monitor’s firmware are up to date. If issues persist, try uninstalling and reinstalling the graphics card drivers or consult the respective support channels for your graphics card and LG Ultragear monitor.
- Operating system limitations: Some older operating systems or outdated drivers may have limitations on the maximum supported refresh rate. Make sure your operating system and drivers are up to date to ensure compatibility with higher refresh rates. If your setup still does not support the desired refresh rate, consider upgrading your operating system or graphics card to fully utilize your monitor’s capabilities.
- Monitor-specific troubleshooting: If you’re experiencing issues exclusive to your LG Ultragear monitor, it is always recommended to consult the user manual or visit the official support website for troubleshooting steps and specific guidance. The manufacturer may offer specific software or firmware updates to address known issues or provide additional troubleshooting instructions.
Remember, troubleshooting steps can vary depending on your specific hardware and software configurations. If you’re unable to resolve the issue on your own, don’t hesitate to reach out to LG’s customer support or consult online forums where fellow users may have encountered similar issues and found solutions.
By following these troubleshooting tips, you can overcome common issues and enjoy a smooth and seamless gaming experience on your LG Ultragear gaming monitor with the desired refresh rate.
Conclusion
Changing the Hz on your LG Ultragear gaming monitor can significantly enhance your gaming experience by providing smoother, more responsive visuals. Understanding the importance of Hz and ensuring monitor compatibility are crucial first steps. By following the steps outlined in this article, you can easily adjust the refresh rate on your LG Ultragear gaming monitor.
Remember to consult the user manual or official support documentation specific to your monitor model for accurate instructions. Additionally, optimizing your PC settings, including graphics card settings and game settings, is essential to fully utilize the benefits of a higher refresh rate.
If you encounter any issues, troubleshooting common problems such as a black screen, flickering, or driver conflicts can help you find solutions. It’s always advisable to consult the user manual, reach out to customer support, or participate in online communities for assistance.
With the proper understanding and adjustment of refresh rates, you can elevate your gaming experience to new heights of visual fluidity and responsiveness. Get ready to immerse yourself in your games with a seamless and enjoyable experience on your LG Ultragear gaming monitor!