Introduction
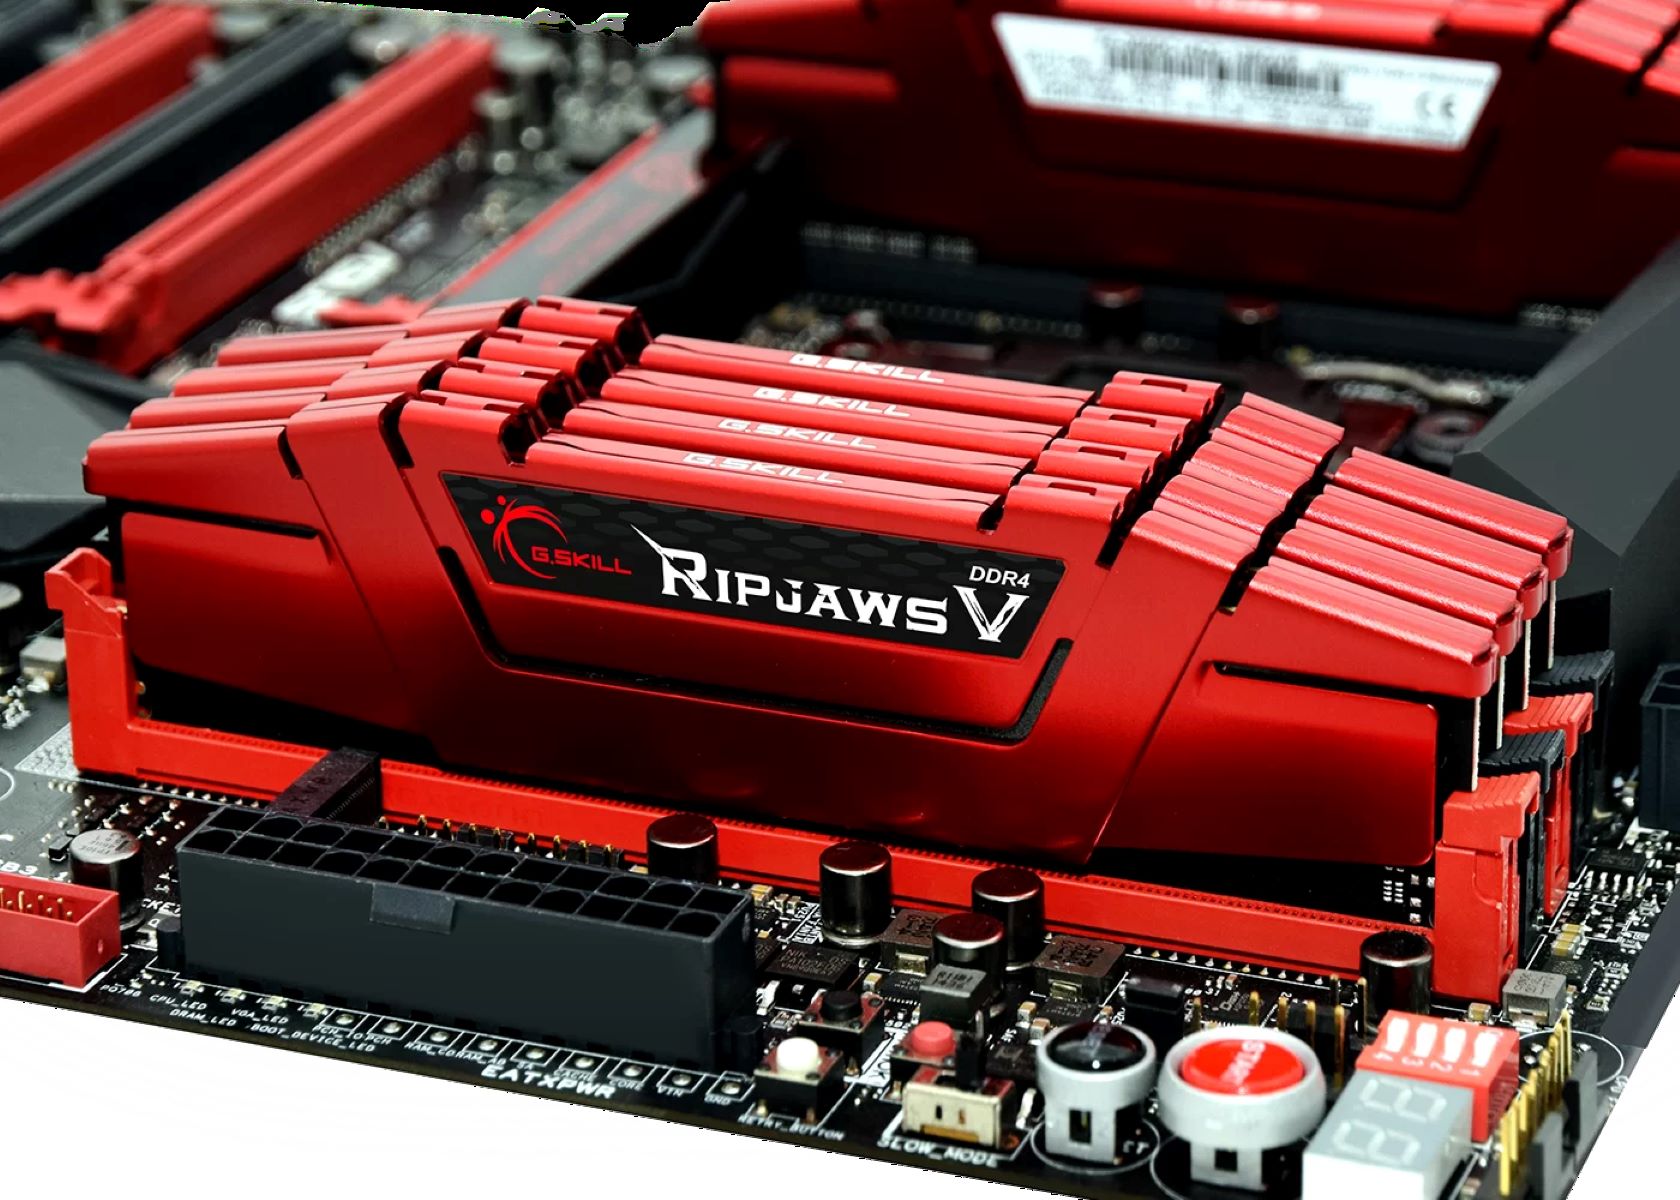
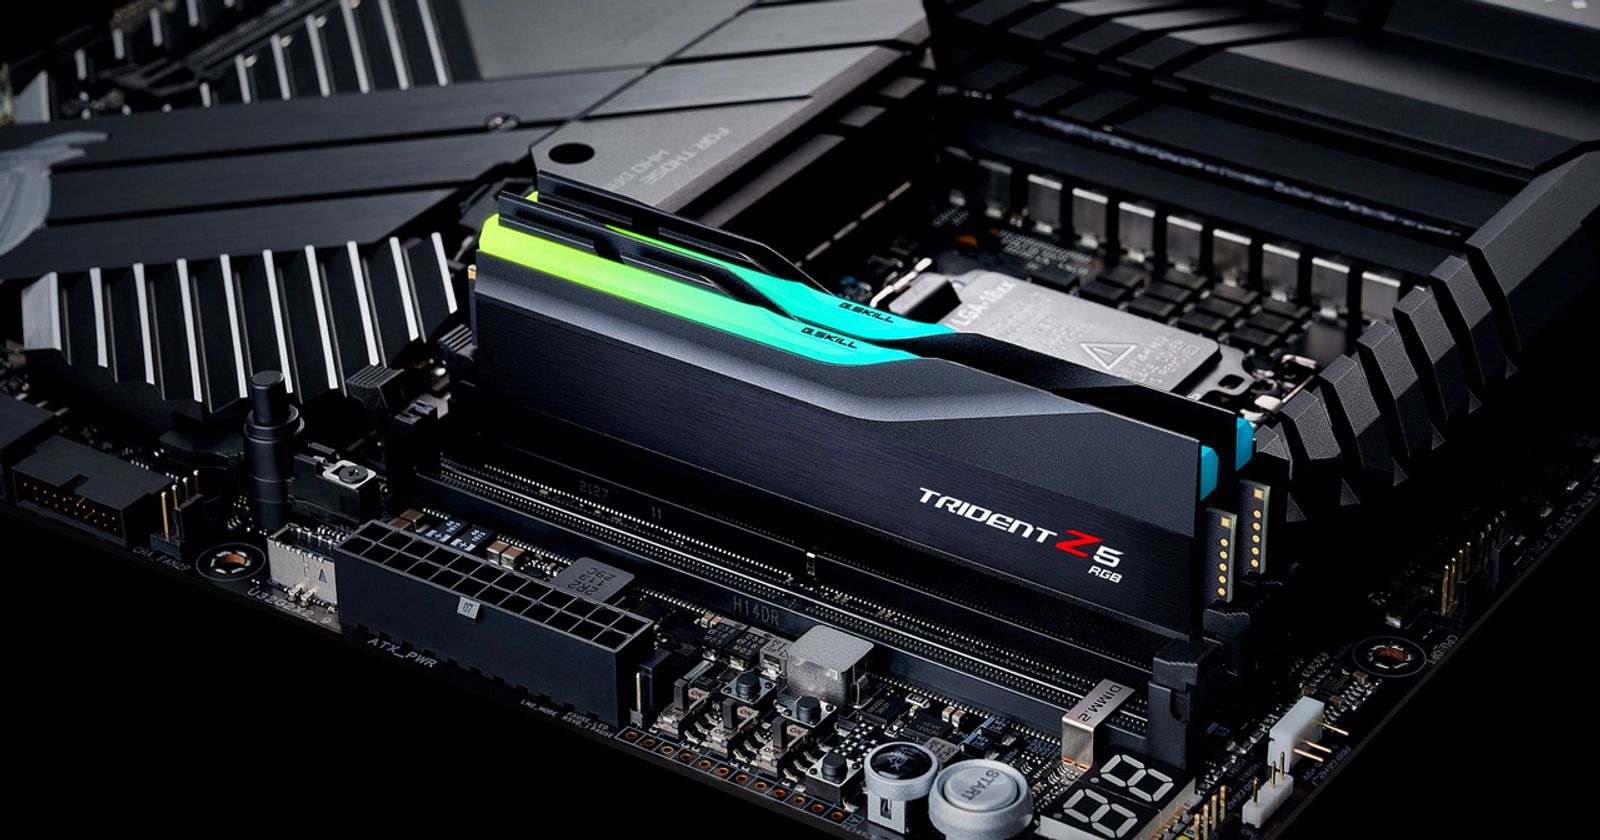
G.Skill RAM is known for its high-quality performance and sleek design, but did you know that you can also customize the color of your G.Skill RAM modules? Whether you want to match your RAM color with your gaming setup, create a personalized look, or simply add a touch of flair, changing the color of your G.Skill RAM is a fun and easy process.
In this step-by-step guide, we will show you how to change the color of your G.Skill RAM using the official G.Skill software. With just a few simple clicks, you can transform the appearance of your RAM modules and create a visual experience that reflects your unique style.
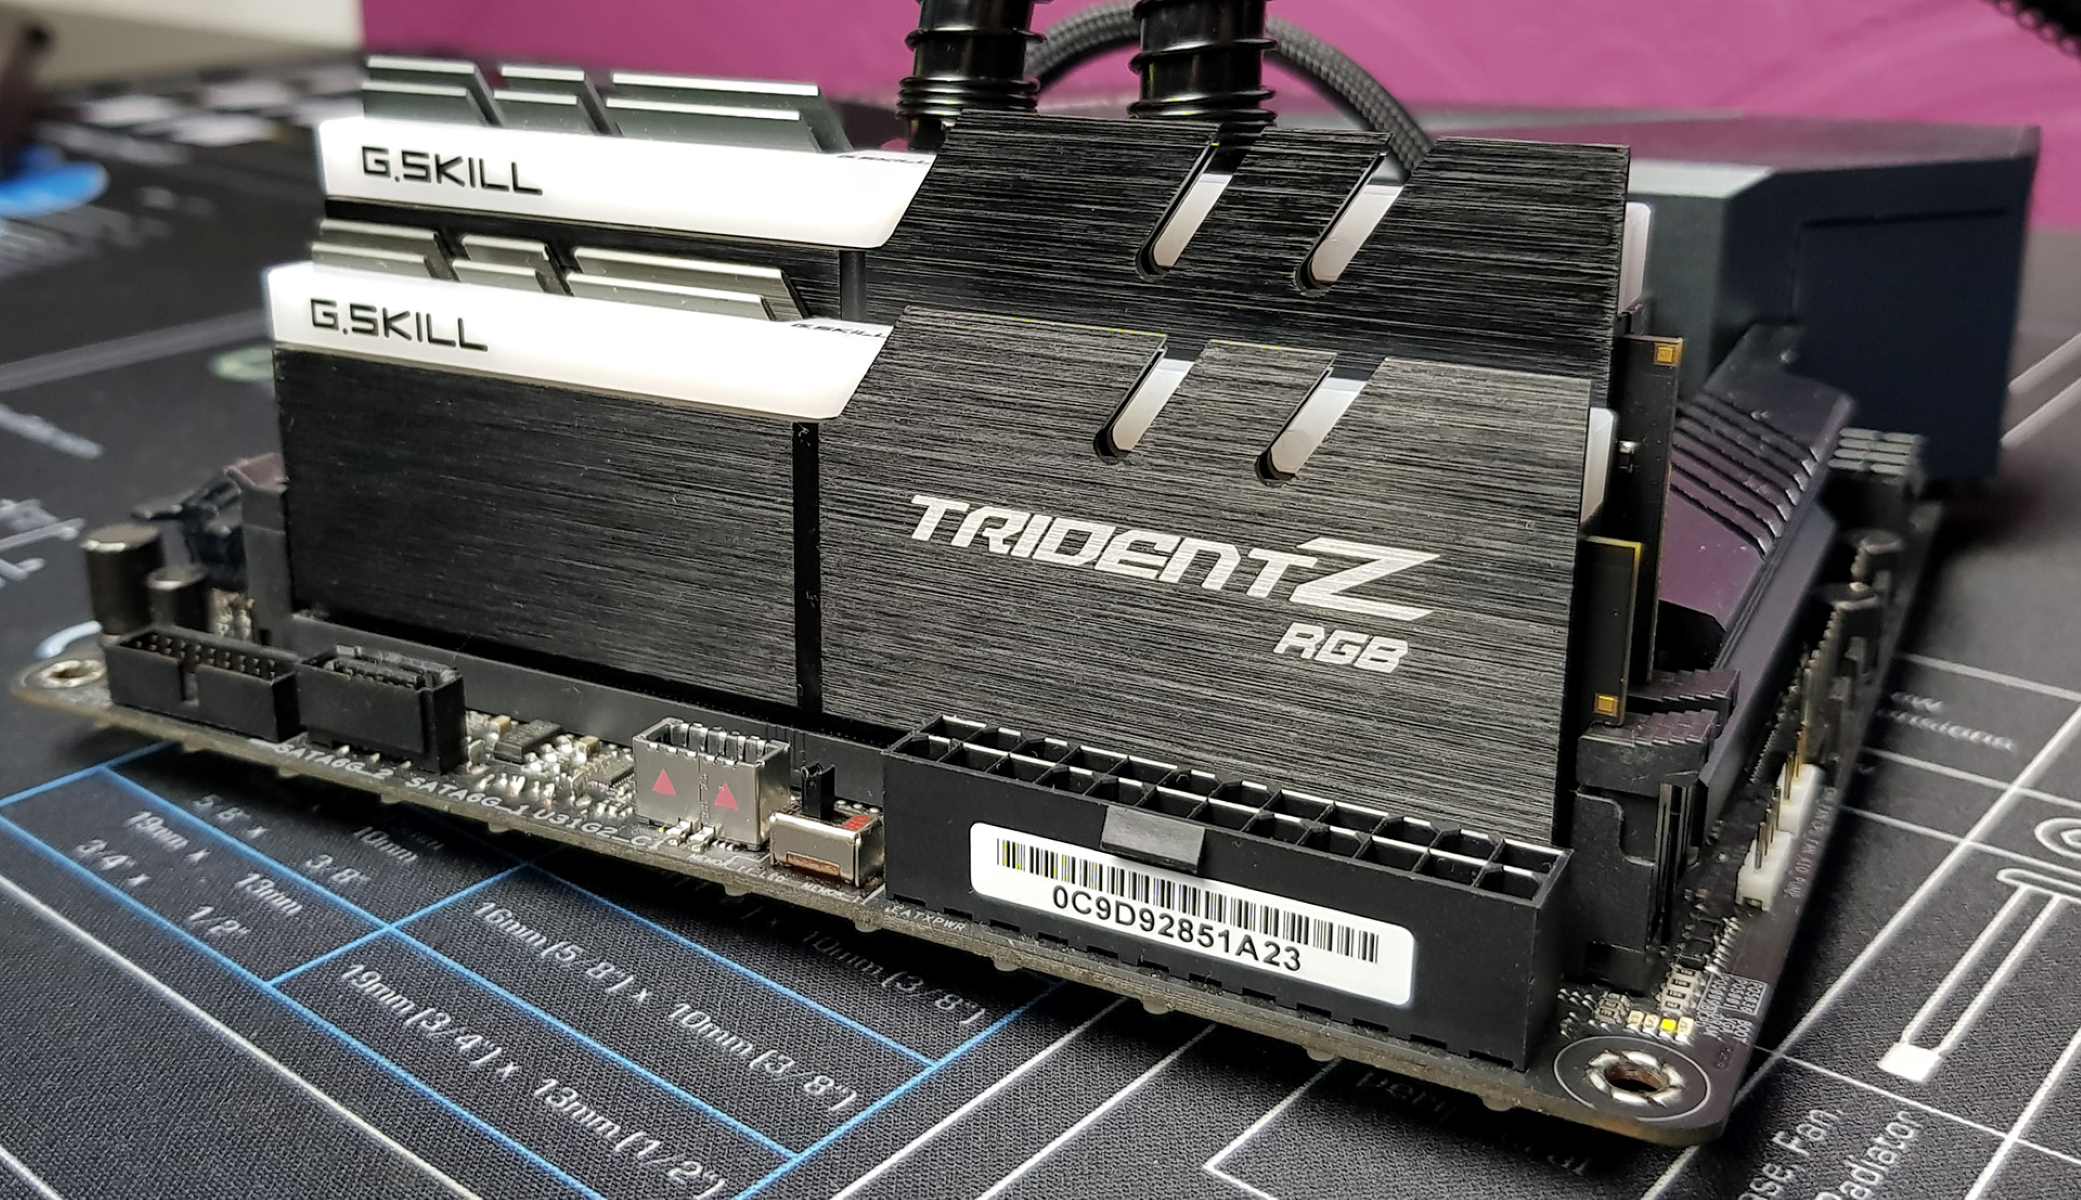
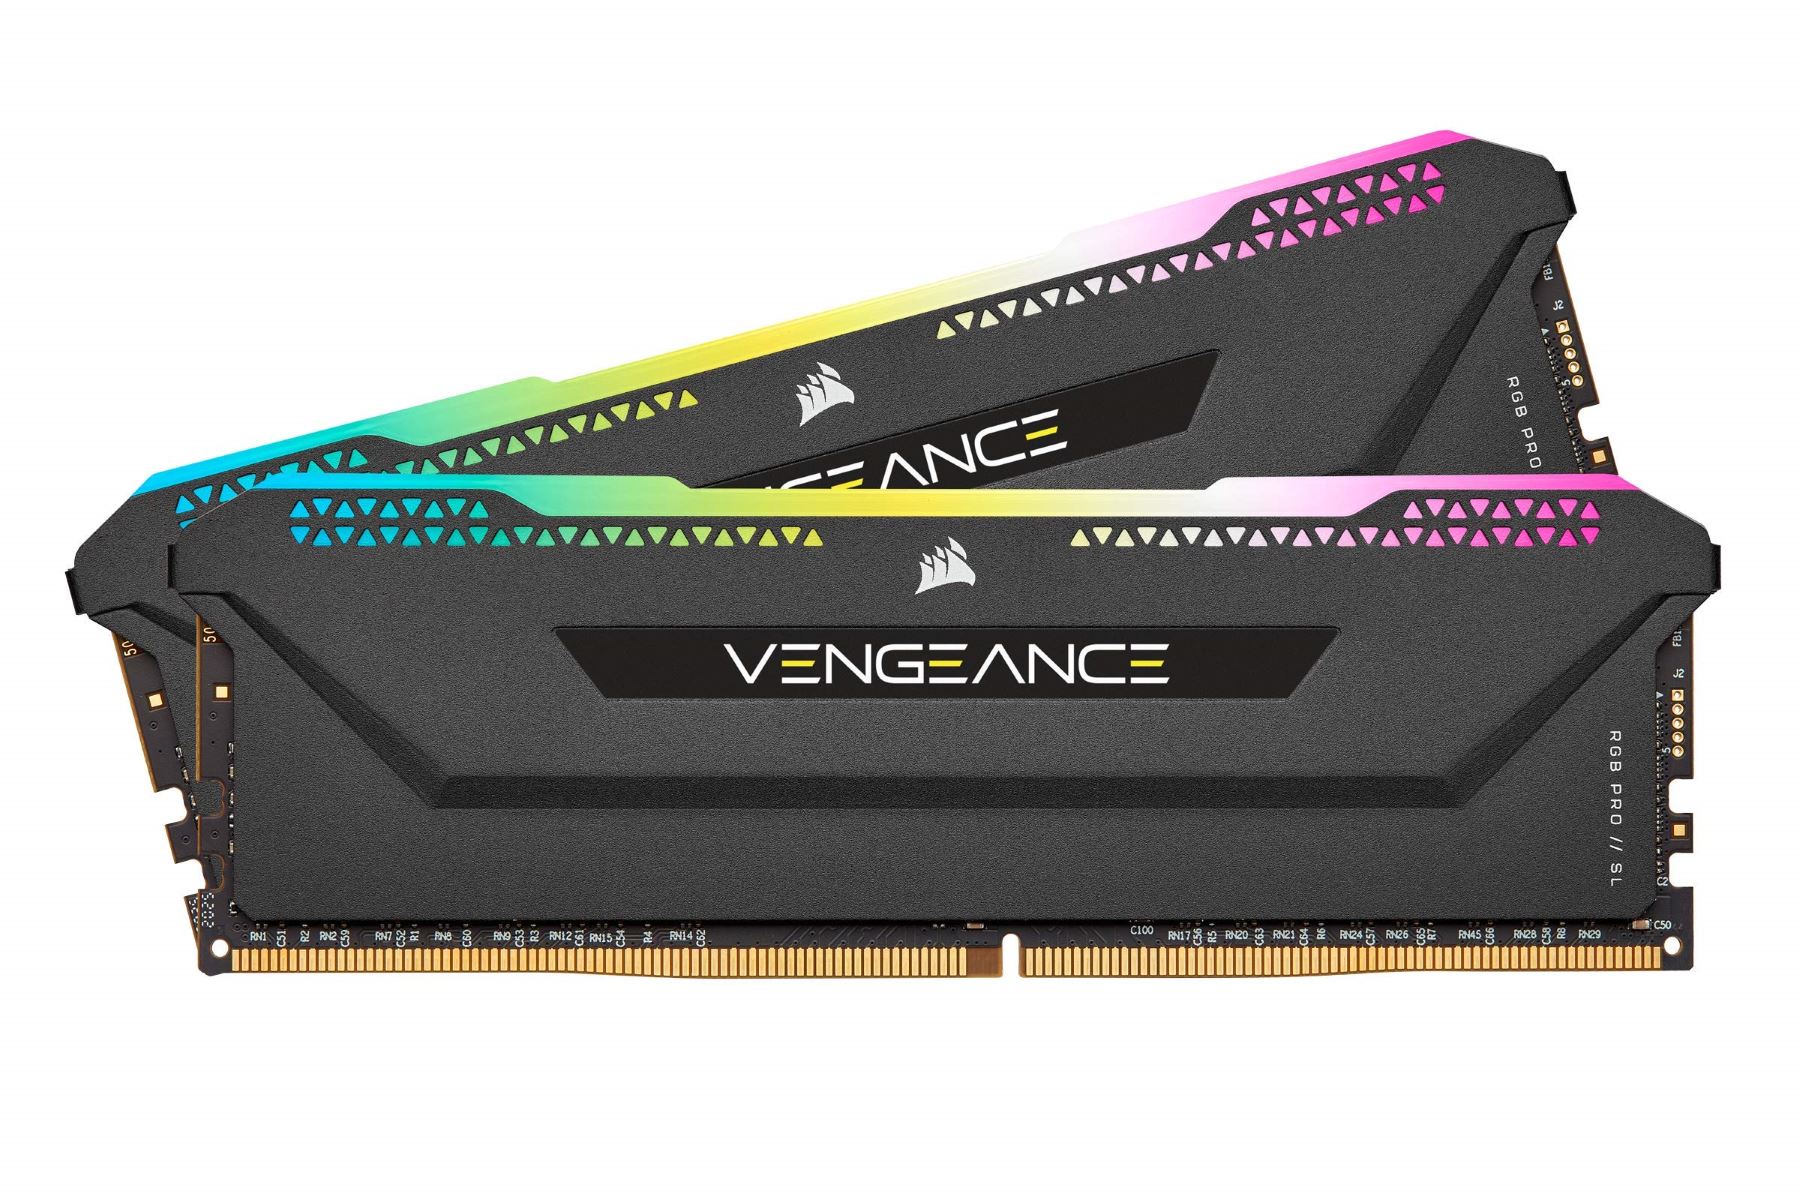
Before we dive into the process, it’s important to note that changing the RAM color using the official G.Skill software is only compatible with specific G.Skill RAM models that come with RGB lighting capabilities. Make sure to check your RAM specifications to ensure that it supports color customization.
So, if you’re ready to add a vibrant touch to your PC setup, let’s get started with the color-changing journey for your G.Skill RAM!
Step 1: Downloading the G.Skill software
The first step in changing the color of your G.Skill RAM is to download the official G.Skill software. This software is specifically designed to control and customize the RGB lighting of your G.Skill RAM modules.
To begin, open your preferred web browser and visit the official G.Skill website. Look for the “Downloads” or “Support” section, where you can find the appropriate software for your RAM model. Make sure to select the software that is compatible with your specific G.Skill RAM model.
Once you’ve located the correct software, click on the download link to initiate the download process. The software package will typically be in the form of an executable file (.exe) or a compressed archive (.zip).
Once the download is complete, locate the downloaded file on your computer and double-click on it to start the installation process. Follow the on-screen instructions to install the G.Skill software on your system.
It’s worth mentioning that some G.Skill RAM models may come with their own specific software, so make sure to check the documentation or the product page on the G.Skill website for any additional software requirements or instructions.
After the installation is complete, you’re ready to move on to the next step of the process, which is installing the G.Skill software. This software will serve as your control panel for customizing the color of your G.Skill RAM.
Step 2: Installing the G.Skill software
Once you have downloaded the G.Skill software onto your computer, the next step is to install it. The installation process is simple and straightforward, taking only a few minutes.
Locate the downloaded software file on your computer. If it is in a compressed archive format, such as a .zip file, extract the contents to a convenient location on your system.
Double-click on the software installer file to initiate the installation process. A setup wizard will appear on your screen, guiding you through the installation steps.
Read and accept the terms and conditions of the software license agreement, then choose an installation location for the software. The default location is usually fine, but you can choose a different directory if you prefer.
Click on the “Install” or “Next” button to start the installation process. The G.Skill software will be installed onto your computer, and you may need to wait for a few moments for the installation to complete.
After the installation is finished, you may be prompted to restart your computer. If so, save any unsaved work and click on the “Restart” button to complete the installation.
Once your computer has restarted, you can proceed to the next step of launching the G.Skill software and begin customizing the color of your G.Skill RAM.
It is important to note that the installation process may vary slightly depending on your operating system, but the general steps should remain the same. If you encounter any issues during the installation, consult the documentation or support resources provided by G.Skill for further assistance.
Step 3: Launching the G.Skill software
After successfully installing the G.Skill software, it’s time to launch the software and access its features. The G.Skill software provides a user-friendly interface that allows you to control and customize the color settings of your G.Skill RAM modules.
To launch the G.Skill software, navigate to your desktop or the installation directory where the software is located. You should be able to find a shortcut icon or executable file with the G.Skill logo.
Double-click on the G.Skill software icon or executable file to open the program. Depending on your operating system and settings, you may be prompted with system security warnings. Click on “Run” or “Allow” to proceed with launching the software.
Once the G.Skill software is successfully launched, you will be greeted with the main interface. The software may feature different tabs or sections, but the primary focus will be on controlling the RGB lighting and color settings of your G.Skill RAM modules.
Take a moment to familiarize yourself with the different options and settings available in the software. You may find options such as choosing from preset color profiles, creating your own custom color settings, and adjusting the brightness or lighting effects of the RAM modules.
Before proceeding to the next step, ensure that the G.Skill software recognizes and detects your G.Skill RAM modules. If your RAM modules are not detected, make sure they are properly installed on your motherboard and try restarting the software.
Now that you have successfully launched the G.Skill software, you are ready to move on to the next step of selecting your desired color and applying the changes to your G.Skill RAM.
Step 4: Selecting your desired color
With the G.Skill software launched and your RAM modules detected, it’s time to select your desired color. The G.Skill software provides various options for customizing the color of your RAM modules.
On the main interface of the G.Skill software, you will find color selection options. This can include a color wheel, color sliders, or a selection of preset color profiles. Take a moment to explore the different options and find the one that best suits your preferences.
If you prefer a specific color, you can manually select it using the color wheel or sliders. Simply click and drag on the color wheel to choose your desired hue, and use the sliders to adjust the saturation and brightness. This allows for a wide variety of color combinations to match your personal style or gaming setup.
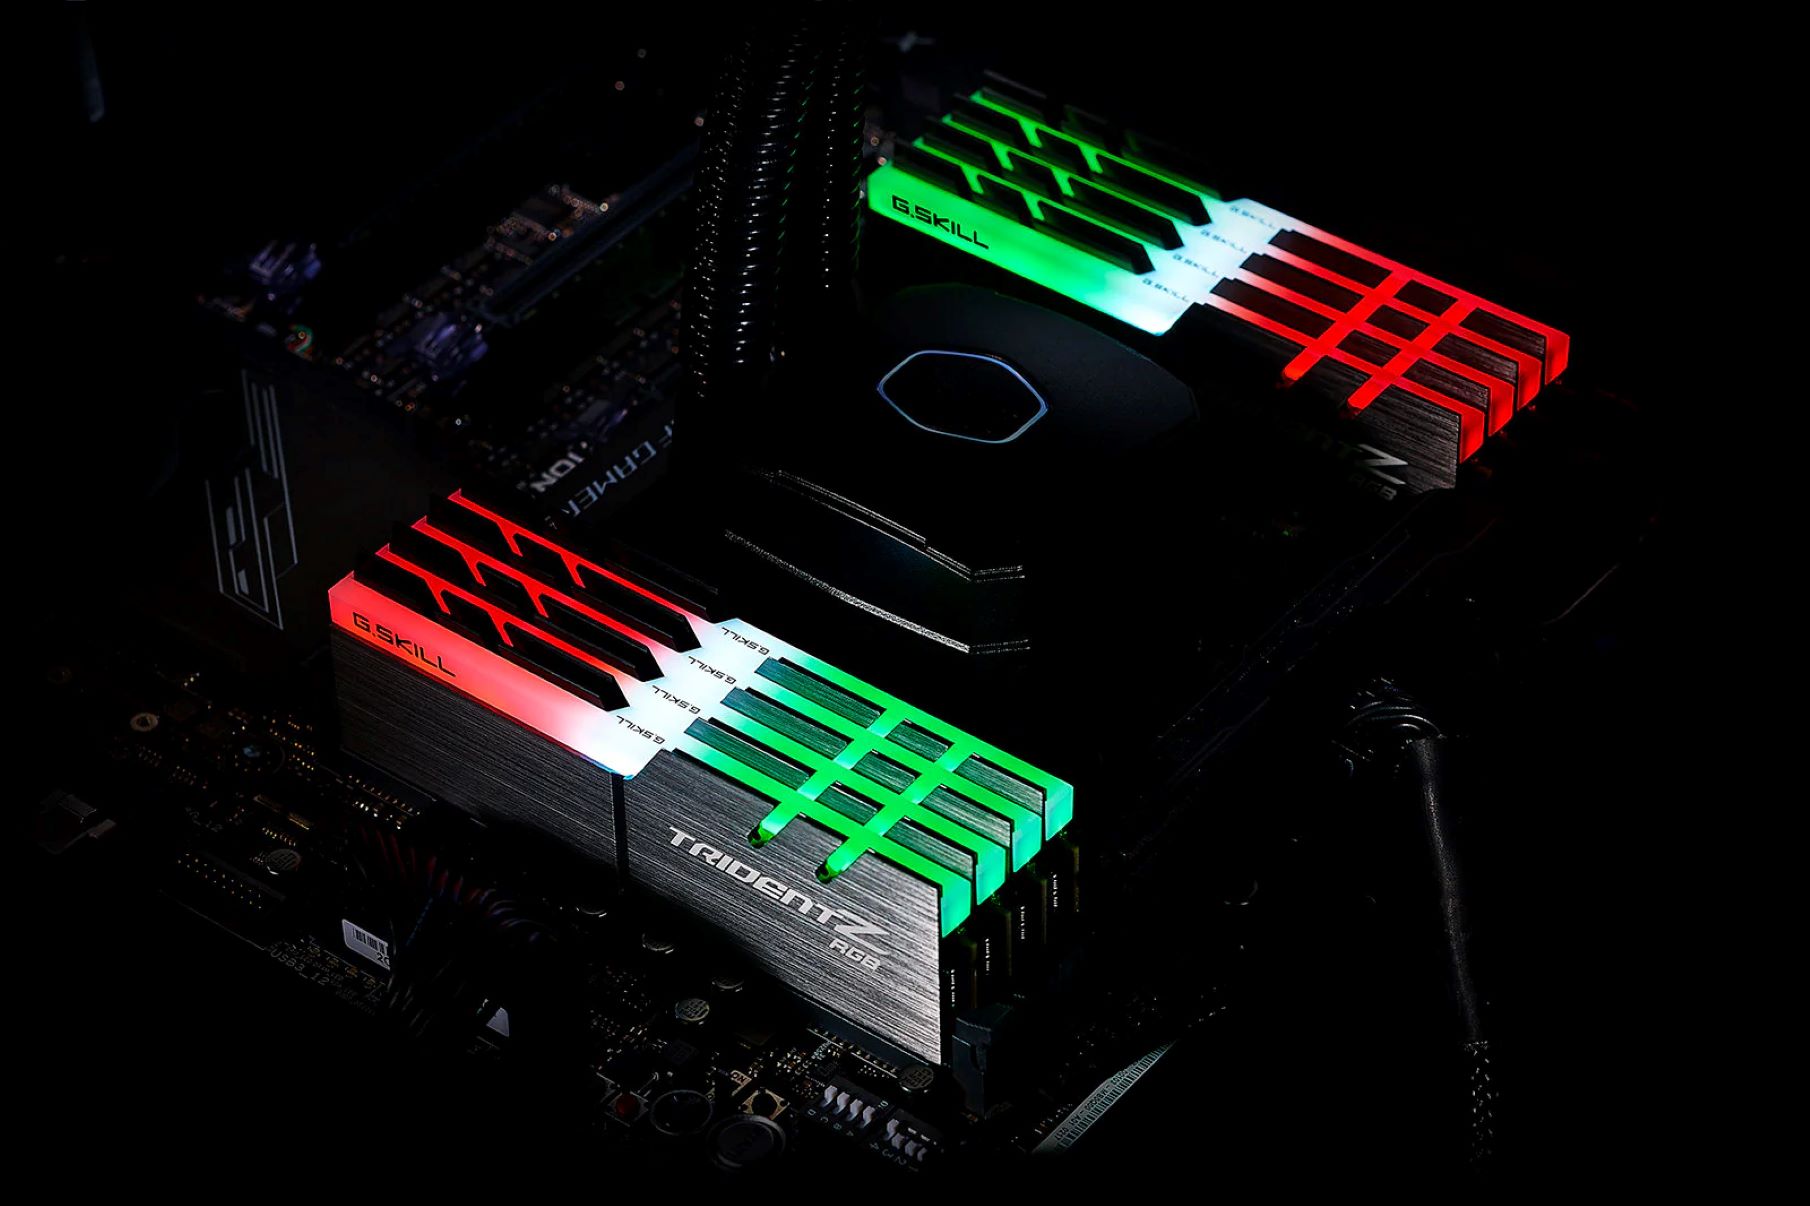
Alternatively, if you’re looking for some inspiration or prefer a more straightforward approach, you can choose from the available preset color profiles. These profiles offer preconfigured color schemes that are designed to create visually appealing effects, including fading, pulsing, and flashing patterns.
Once you have selected your desired color or color profile, take a moment to preview how it will appear on your RAM modules. Some G.Skill software versions provide a real-time preview, allowing you to see how the color changes will look on your actual RAM modules before applying them.
Keep in mind that the customization options may differ depending on the G.Skill software version and the specific model of your RAM modules. However, the general process of selecting your desired color should be similar across different versions.
Once you are satisfied with your color selection, it’s time to apply the changes to your G.Skill RAM modules. In the next step, we will guide you through the process of applying the color changes and verifying the RAM color change.
Step 5: Applying the color changes
Now that you have selected your desired color or color profile for your G.Skill RAM modules, it’s time to apply the changes and see the transformation in action. The G.Skill software makes it easy to apply and customize the color settings of your RAM modules.
On the G.Skill software interface, you will find an “Apply” or “Save” button, typically located near the color selection options. Click on this button to apply the changes and update the color of your RAM modules.
Once you click the “Apply” button, the software will communicate with your RAM modules and send the new color information. You may notice a brief delay as the changes are applied. During this process, make sure to refrain from closing the software or turning off your computer.
After the changes have been successfully applied, take a moment to admire the new color of your G.Skill RAM modules. You can customize the color settings anytime by relaunching the G.Skill software and making further adjustments as desired.
If you’re not seeing the changes reflected on your RAM modules, ensure that they are properly connected and powered. Double-check your connections and make sure the RAM modules are seated securely in their slots. You may also want to consult the G.Skill software documentation or support resources for troubleshooting assistance.
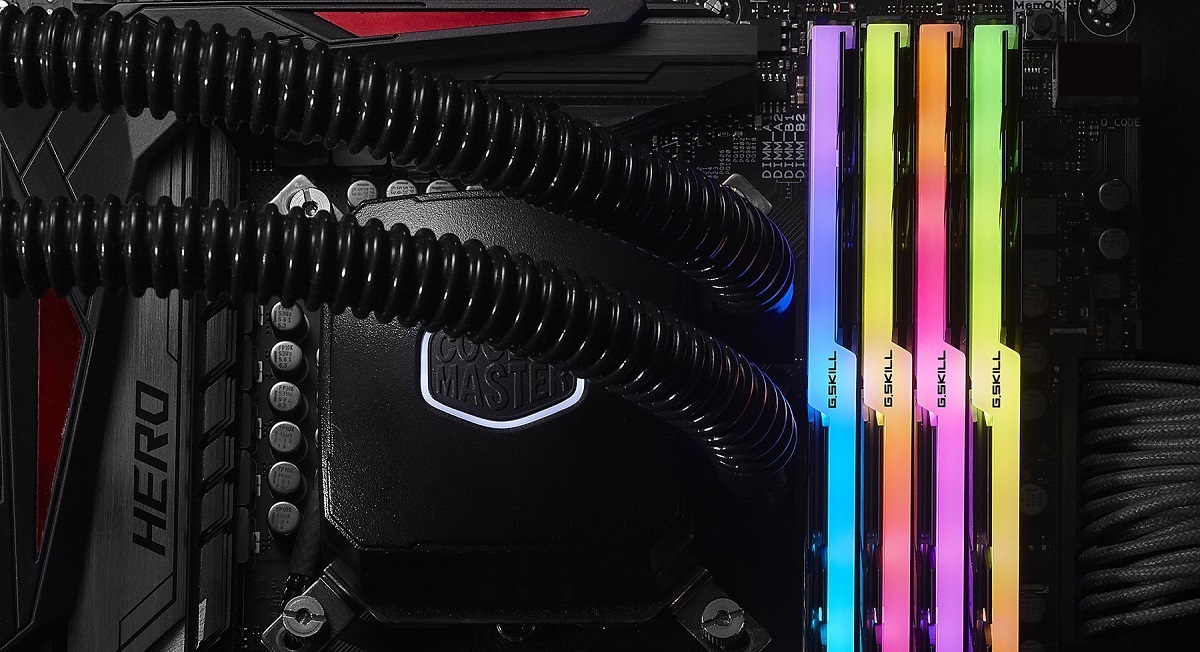
Once you have applied the color changes, you can enjoy the customized appearance of your G.Skill RAM modules and showcase your unique style to others. The vibrant colors can add a visually appealing element to your gaming setup or overall PC aesthetics.
Now that you have successfully applied the color changes to your RAM modules, it’s time to move on to the next step and verify the RAM color change to ensure everything is functioning as expected.
Step 6: Verifying the RAM color change
After applying the color changes to your G.Skill RAM modules, it’s important to verify that the color has indeed been updated. Verifying the RAM color change ensures that the customization process was successful and that your RAM modules are displaying the desired color.
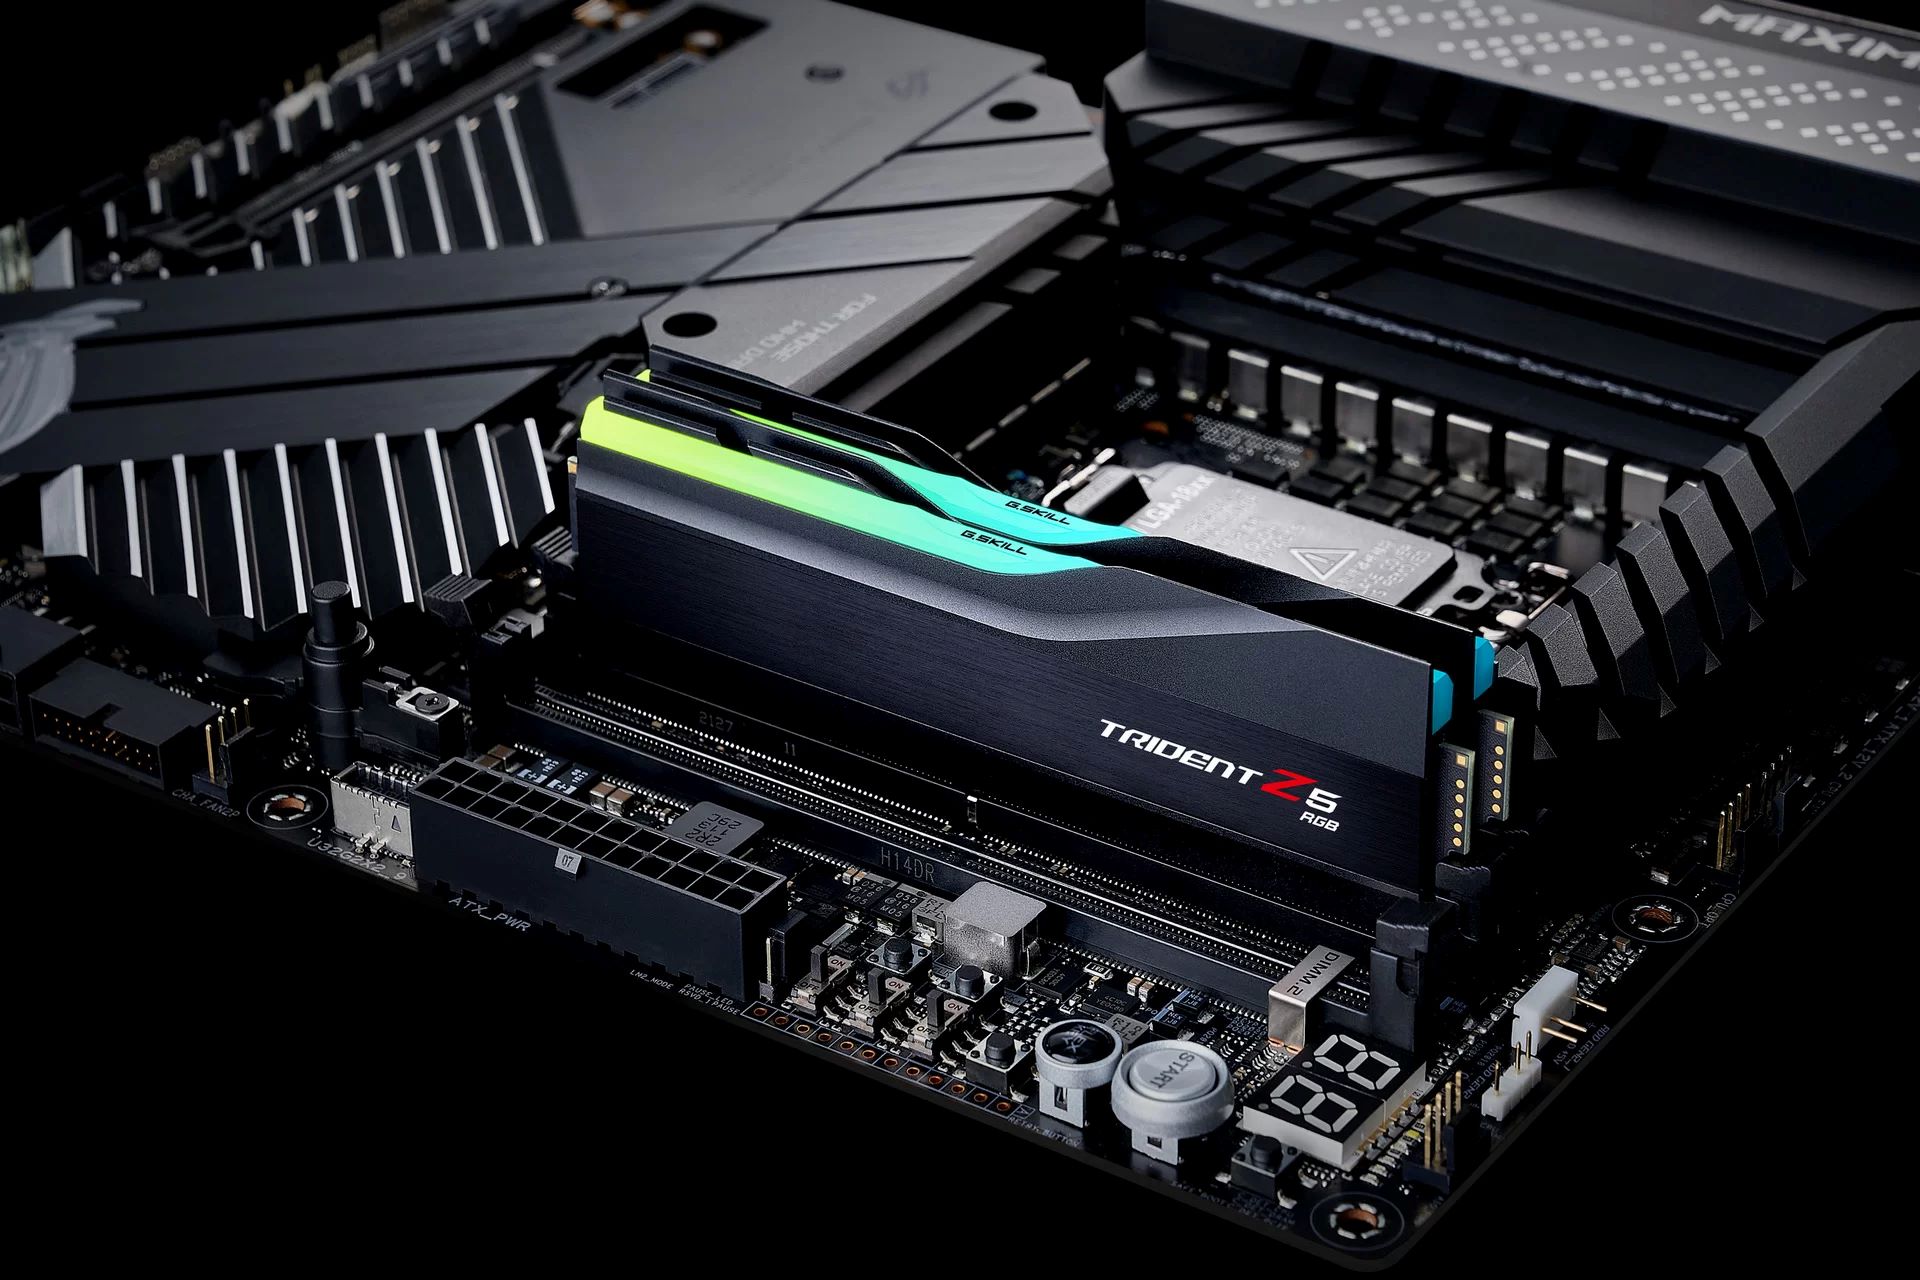
To verify the RAM color change, take a look at your computer’s hardware. The RAM modules are typically visible on the motherboard and can be easily identified by their distinctive design and placement.
Observe the RAM modules and check if the new color or color profile is reflected on them. If you selected a solid color, ensure that the RAM modules are illuminated with the chosen hue. If you chose a color profile with dynamic effects, observe the animation or pattern displayed on the RAM modules.
If the RAM color change is not as expected or if the RAM modules are not displaying any color at all, there are a few troubleshooting steps you can try:
- Restart your computer: Sometimes, a simple restart can resolve any software or connectivity issues.
- Check the software settings: Open the G.Skill software and verify that the color settings are properly saved and applied.
- Ensure proper physical connections: Double-check that the RAM modules are securely installed in their slots and that all connections are snug.
- Update software and firmware: Check for any available software or firmware updates for both the G.Skill software and your motherboard’s BIOS.
- Consult customer support: If the issue persists, reach out to G.Skill’s customer support for further assistance and troubleshooting guidance.
By going through these troubleshooting steps, you can identify and resolve any issues that may prevent the RAM color change from being displayed correctly.
Once you have verified that the RAM color change is successfully reflected on your G.Skill RAM modules, you can proceed with enjoying the personalized and vibrant appearance of your PC setup.
In the next step, we will explore optional advanced settings that you can customize to further enhance your G.Skill RAM lighting experience. These settings allow for greater control over the lighting effects and provide additional options to fine-tune your desired visual aesthetics.
Step 7: Customizing advanced settings (optional)
If you’re looking to take your G.Skill RAM lighting experience to the next level, you have the option to customize advanced settings. These settings provide additional control over the lighting effects and allow you to fine-tune your RAM modules’ visual aesthetics.
Depending on the G.Skill software version and your specific RAM model, you may have access to various advanced settings. Here are some commonly available options:
- Advanced Lighting Effects: Explore advanced lighting effects beyond simple color changes. Some G.Skill software versions allow you to choose from a selection of dynamic effects, such as breathing, strobing, or color cycling. Experiment with different effects to find the one that suits your preferences.
- Syncing with Other RGB Components: If you have other RGB components in your PC setup, such as RGB fans or RGB strips, you may have the option to sync the lighting effects of your G.Skill RAM with those components. Consider enabling this feature to create a cohesive and synchronized lighting experience.
- Custom Color Profiles: Create and save your own custom color profiles. This allows you to precisely choose the desired hue, saturation, and brightness levels for your RAM modules. Experiment with different color combinations to match your personal style or complement your gaming setup.
- Timing and Animation Control: Some G.Skill software versions provide additional control over the timings and animations of the lighting effects. This allows you to adjust the speed or duration of certain effects, giving you even more flexibility in crafting your desired lighting display.
- Game Integration: Explore if the G.Skill software supports game integration features. This option enables your RAM modules to synchronize their lighting effects with supported games, creating an immersive and visually engaging experience during gameplay.
Keep in mind that the availability of these advanced settings may vary depending on your RAM model and the specific software version. Refer to the software documentation or G.Skill support resources for more detailed instructions on accessing and customizing these advanced settings.
By customizing the advanced settings, you can further personalize the appearance of your G.Skill RAM modules and create a unique lighting experience that complements your style and preferences.
With the advanced settings customized to your liking, sit back and enjoy the enhanced visual aesthetics brought by your G.Skill RAM. Its vibrant colors and dynamic lighting effects will not only add flair to your PC setup but also enhance your overall computing experience.
Congratulations! You have now completed the process of changing the color of your G.Skill RAM. Enjoy the personalized visual journey that your customized RAM brings.
Conclusion
Changing the color of your G.Skill RAM is a fantastic way to add a personalized touch to your PC setup. With the help of the official G.Skill software, you can easily customize the color of your RAM modules and create a visual experience that matches your unique style.
In this step-by-step guide, we have covered the entire process of changing the color of your G.Skill RAM. From downloading and installing the G.Skill software to selecting your desired color, applying the changes, and verifying the RAM color change, we’ve walked you through each crucial step.
Just remember, before getting started, ensure that your G.Skill RAM modules are compatible with the color customization feature and that you have downloaded the appropriate software.
Once you have successfully changed the color of your G.Skill RAM, take the time to admire and appreciate your newly customized PC setup. The vibrant colors and dynamic lighting effects will not only enhance the visual appeal but also add a touch of personalization to your gaming or work environment.
Don’t forget to explore the advanced settings offered by the G.Skill software to further enhance the lighting experience and create a truly immersive display. Custom color profiles, advanced lighting effects, and game integration features can take your RAM lighting to the next level.
Now it’s time to enjoy your personalized G.Skill RAM and showcase your unique style to others. With just a few clicks, you have transformed your RAM modules into a visual masterpiece that enhances your overall computing experience and reflects your individuality.
Thank you for following this guide, and we hope you find joy in your newly customized G.Skill RAM. Happy gaming and computing!