Introduction
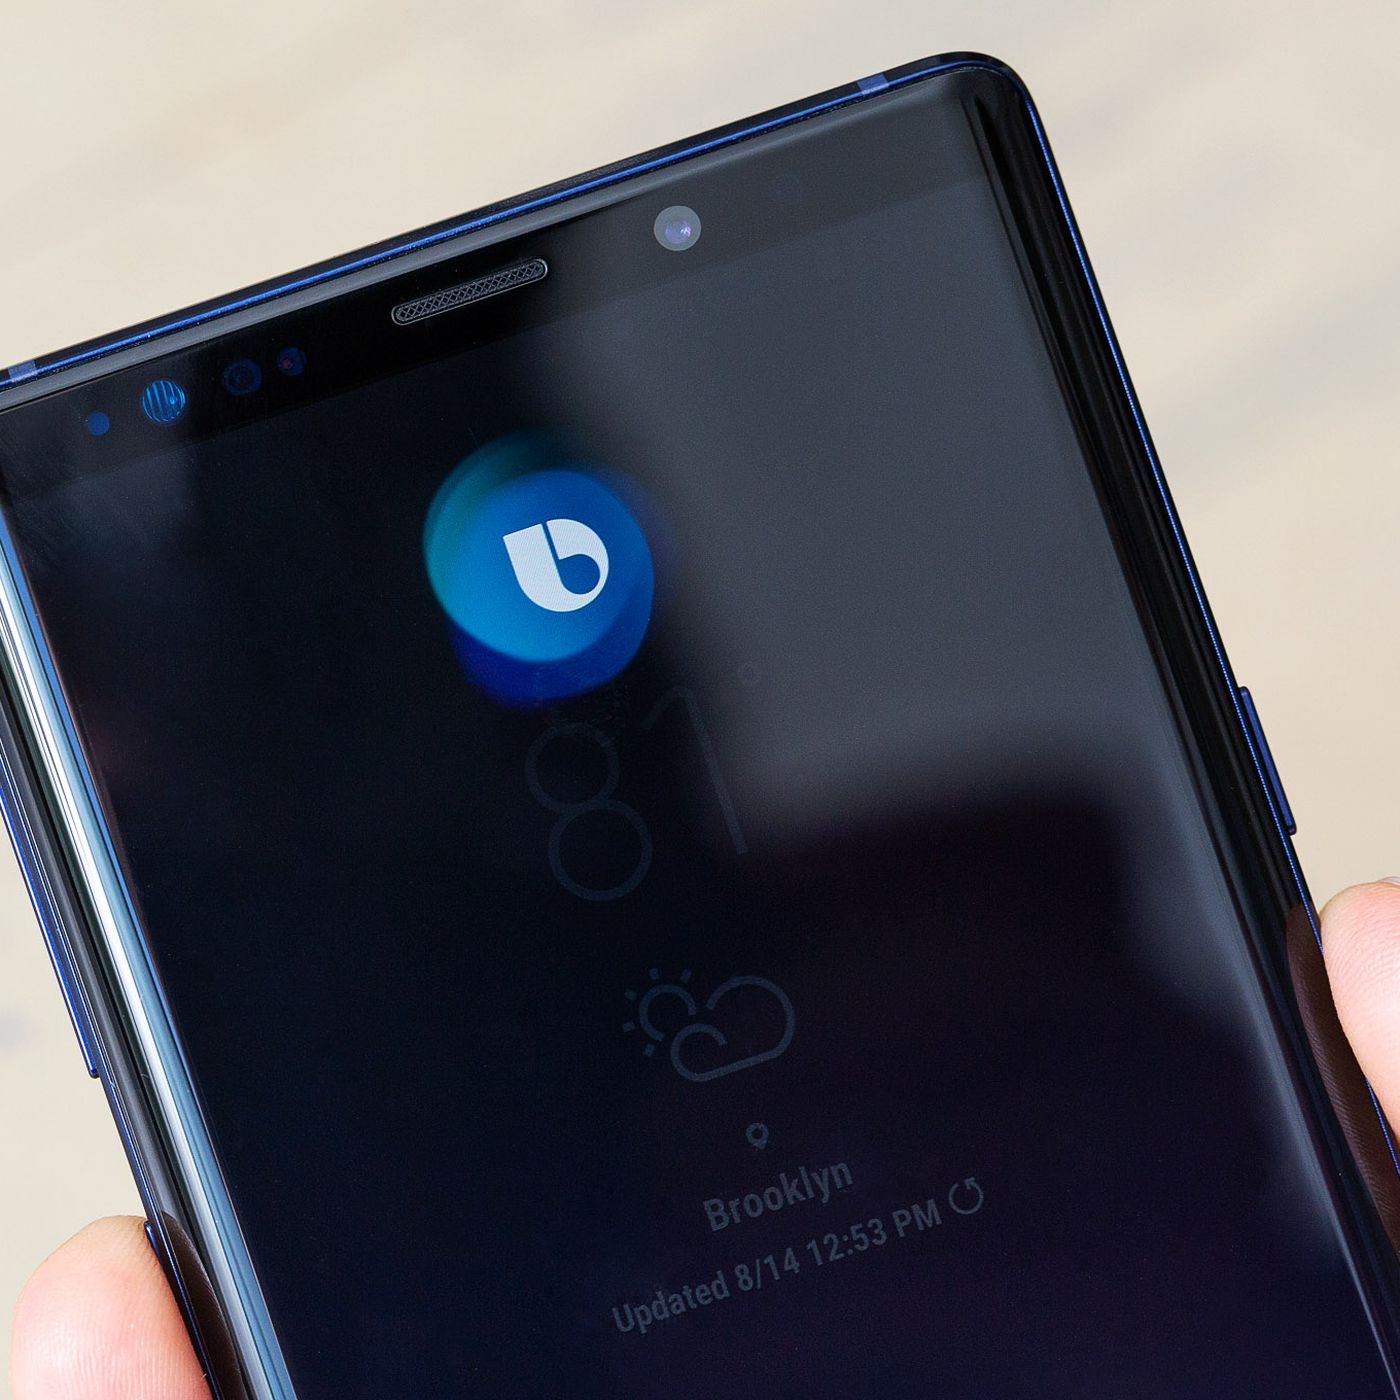
The Bixby button on the Samsung S8 can be quite a handy feature, allowing users to quickly access the Bixby virtual assistant. However, not everyone finds Bixby to be useful or wants to use it. If you’re one of those people who would like to change the functionality of the Bixby button, you’re in luck. In this article, we’ll guide you through the steps to change the Bixby button on your Samsung S8 and remap it to a different function.
By customizing the Bixby button, you can make it more useful for your specific needs. Whether you want to launch a different app, toggle a setting, or perform a specific action, remapping the Bixby button allows you to take control of your device and tailor it to your preferences.
We’ll walk you through the process step by step, from accessing the Bixby settings to choosing a custom action and testing the new functionality. So if you’re ready to make the most out of the Bixby button on your Samsung S8, let’s dive in!
Step 1: Access Bixby Settings
The first step in changing the functionality of the Bixby button on your Samsung S8 is to access the Bixby settings. Here’s how you can do it:
- Unlock your Samsung S8 and go to the home screen.
- Swipe right on the home screen to access the Bixby Home page.
- In the top right corner of the Bixby Home page, you’ll find three vertical dots. Tap on them to open the Bixby settings.
- From the Bixby settings, scroll down and look for the option called “Bixby key”. Tap on it.
- Now, you’ll see two options:
- “Press once for Bixby”
- “Press twice for Bixby”
- To disable the Bixby button entirely, select the option “Don’t open anything”.
- If you want to keep Bixby functionality intact but change the behavior of the button, select “Open Bixby” for either the single press or double press option.
Once you’ve made your selection, you have successfully accessed the Bixby settings on your Samsung S8. Now, let’s move on to the next step where we’ll explore how to disable the Bixby button entirely.
Step 2: Disable Bixby Button
If you’re not a fan of the Bixby assistant and want to disable the Bixby button completely, follow these steps:
- Open the Bixby settings by following the instructions mentioned in Step 1.
- From the Bixby settings, select the option “Don’t open anything” for both the “Press once for Bixby” and “Press twice for Bixby” options.
Once you’ve disabled the Bixby button, it will no longer activate the Bixby assistant when pressed. This means you can repurpose the button for another function that you find more useful.
Disabling the Bixby button gives you more control over your device and allows you to customize it according to your preferences. Whether you want to launch a specific app, perform a quick action, or toggle a setting, the next steps will guide you on how to remap the Bixby button to your desired function.
Now, with the Bixby button disabled, let’s proceed to the next step and learn how to remap it.
Step 3: Remap the Bixby Button
Now that you have disabled the Bixby button, it’s time to remap it to a different function. Follow these steps to remap the Bixby button on your Samsung S8:
- Download and install a third-party app that allows you to remap buttons. There are several apps available on the Google Play Store, such as “Button Mapper,” “Bixbi Button Remapper,” or “bxActions.”
- Open the remapping app and grant the necessary permissions.
- Choose the Bixby button as the button you want to remap.
- Select the desired function or action you want to assign to the Bixby button. You can choose from a list of pre-defined actions or create a custom action.
- Follow the instructions in the remapping app to complete the remapping process.
- Once the remapping is done, you should now be able to use the Bixby button for the newly assigned function.
Remember, the specific steps may vary depending on the remapping app you choose, so make sure to follow the instructions provided by the app itself.
With the Bixby button successfully remapped, you can now enjoy the convenience of accessing your preferred function with just a press of the button.
Next, let’s move on to the next step where we’ll guide you on how to choose a custom action for the remapped Bixby button.
Step 4: Choose a Custom Action
After remapping the Bixby button, you have the freedom to choose a custom action that suits your needs and preferences. Here’s how you can choose a custom action for the remapped Bixby button:
- Open the remapping app that you installed in Step 3.
- Navigate to the settings or options section of the app.
- Look for the option to customize or assign an action to the remapped Bixby button.
- Tap on the option to choose a custom action.
- Depending on the remapping app you are using, you will have different choices for custom actions. Some common options include launching a specific app, opening a shortcut, toggling a system setting, or executing a specific command.
- Select the custom action that you want to assign to the remapped Bixby button.
- Save the settings and exit the remapping app.
By choosing a custom action, you can make the remapped Bixby button perform a wide range of functions that better suit your needs. Whether it’s opening your favorite messaging app, activating the flashlight, or initiating a voice command, the choice is entirely up to you.
With the custom action set, you’re now ready to try out the newly assigned functionality. Let’s move on to the next step to learn how to test the new functionality of the remapped Bixby button.
Step 5: Test the New Functionality
Now that you have remapped the Bixby button and chosen a custom action, it’s time to test the new functionality and ensure that everything is working as expected. Follow these steps to test the remapped Bixby button on your Samsung S8:
- Exit the remapping app and go back to your home screen.
- Locate the remapped Bixby button, which is now assigned to the custom action you chose.
- Press the remapped Bixby button once or twice, depending on the configuration you made.
- Observe the new function or action that takes place as a result of pressing the remapped Bixby button.
- Make sure that the custom action is executed smoothly and without any issues.
If the remapped Bixby button performs the desired custom action successfully, congratulations! You have successfully changed the functionality of the Bixby button on your Samsung S8.
However, if you encounter any issues or the custom action doesn’t work as intended, you may need to revisit the remapping app and double-check your settings. Make sure that the app is properly configured and that the custom action is assigned correctly.
By testing the new functionality, you can ensure that the remapped Bixby button enhances your overall user experience and provides the convenience you were looking for.
Now that you’ve successfully tested the new functionality of the remapped Bixby button, you can enjoy using your Samsung S8 with a customized button that aligns with your preferences and needs.
Conclusion
Changing the functionality of the Bixby button on your Samsung S8 provides a great opportunity to tailor your device to your specific needs. By following the steps outlined in this article, you can disable the Bixby button, remap it to a different function, choose a custom action, and test the new functionality. This customization gives you more control over your device, allowing you to launch your favorite apps, perform quick actions, and toggle system settings with ease.
Keep in mind that there are numerous third-party apps available on the Google Play Store that offer Bixby button remapping functionality. Some apps may require additional permissions, so be sure to review the app’s instructions and settings carefully.
Remapping the Bixby button not only increases the convenience of using your Samsung S8 but also enhances your overall user experience. By personalizing your device and adapting it to your preferences, you can optimize its functionality to better suit your workflow and lifestyle.
So, take control of your Samsung S8 and make the Bixby button work for you. Customize it to perform the actions that matter most to you and enjoy a more personalized and efficient user experience.