Introduction
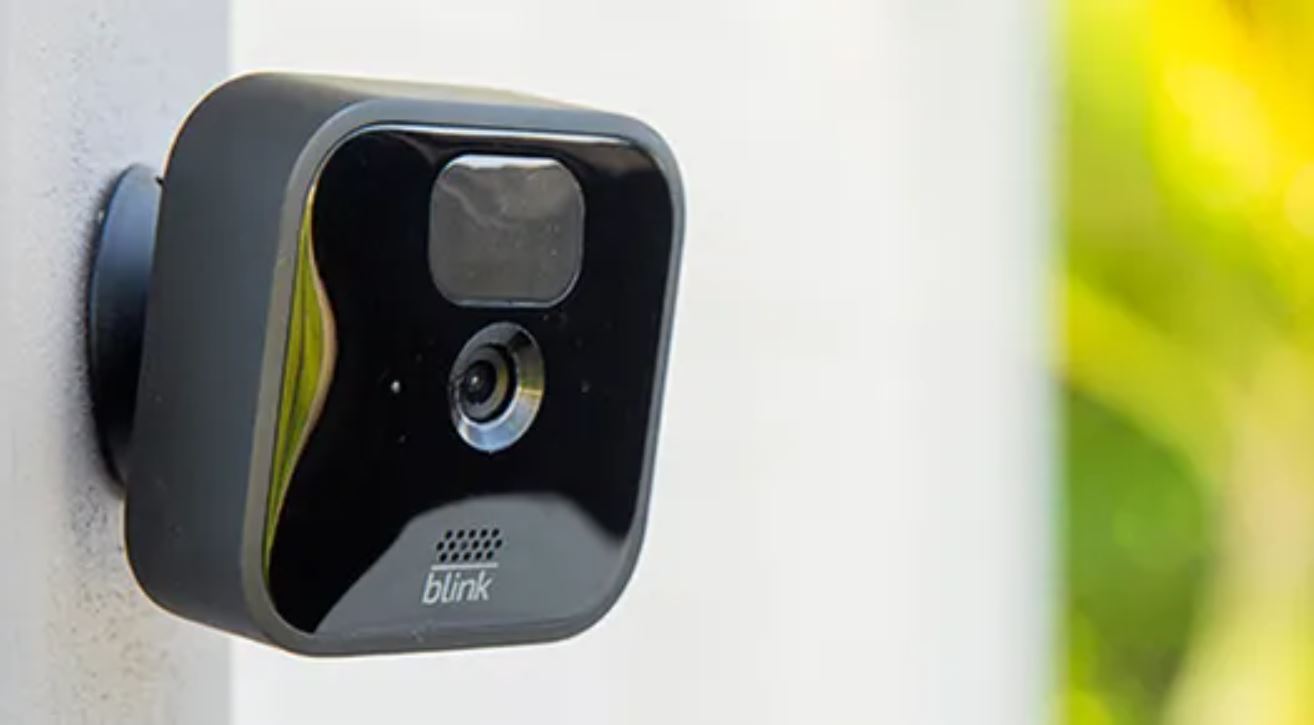
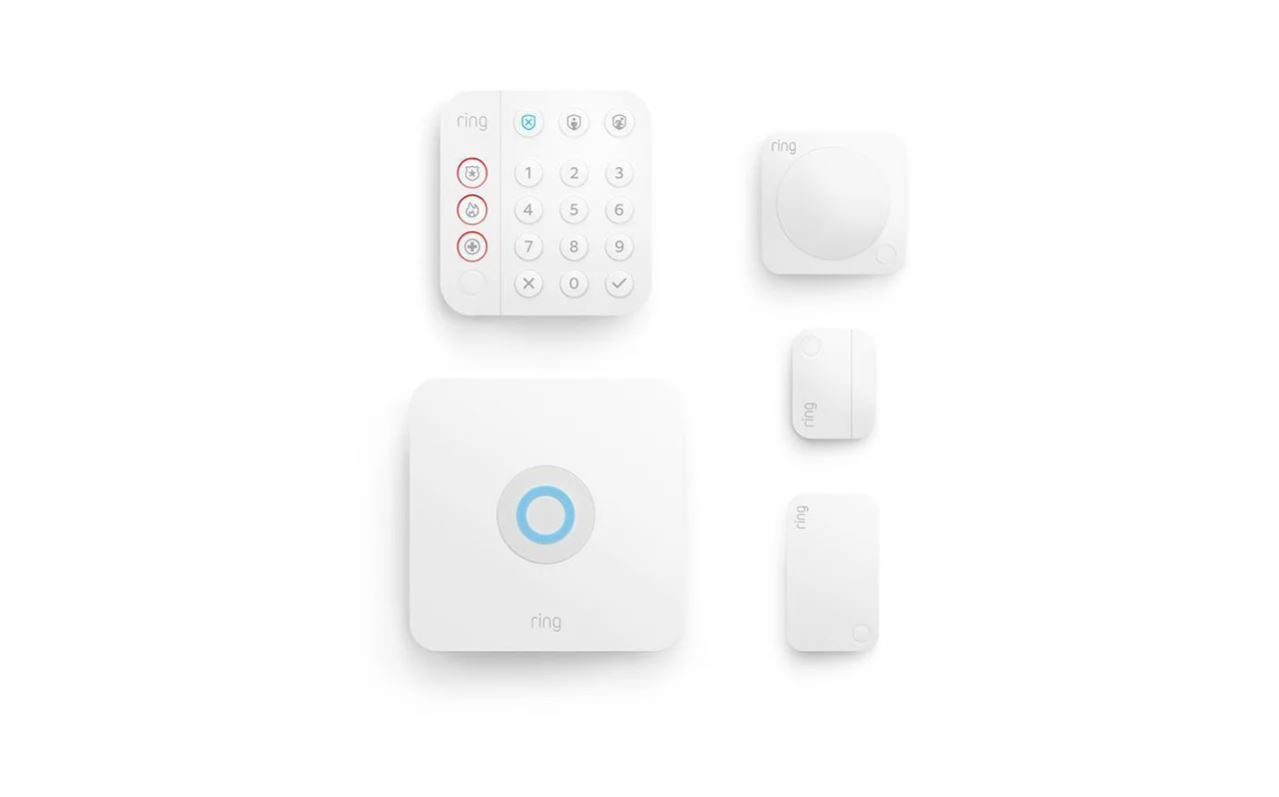
Having a reliable home security system is crucial for the safety and protection of your property and loved ones. One vital component of these systems is the battery that powers them. Over time, the battery in your home security system will begin to lose its charge and will eventually need to be replaced. Knowing how to change the battery in your home security system is an essential skill that every homeowner should possess.
In this step-by-step guide, we will walk you through the process of changing the battery in your home security system. Whether you have a wireless or wired system, the battery replacement process is relatively similar. By following these instructions, you can ensure that your security system continues to function optimally and provides the protection and peace of mind you need.
Before we delve into the detailed steps, it’s important to gather the necessary tools and materials to complete the battery replacement.
Tools and Materials Needed:
- Replacement battery (consult your security system’s manual for the specific battery type)
- Phillips-head screwdriver
- Cleaning cloth
Now that we have the necessary tools and materials, let’s proceed to the first step of the battery replacement process
Tools and Materials Needed
Before you begin the process of changing the battery in your home security system, it’s essential to gather the necessary tools and materials. Here is a list of items you will need:
- Replacement battery: The first and most crucial item you will need is a replacement battery for your specific security system model. Consult your system’s manual or contact the manufacturer to identify the correct battery type. It is important to ensure that you have the appropriate battery to maintain the optimal functionality of your security system.
- Phillips-head screwdriver: In order to access the battery compartment of your security system, you will likely need a Phillips-head screwdriver. This tool will allow you to remove any screws or panels that are securing the battery in place. Make sure you have the right size of screwdriver to fit the screws used in your specific system.
- Cleaning cloth: It is always a good idea to have a cleaning cloth on hand when working with electronic devices. Cleaning the battery compartment and removing any dust or debris can prevent potential issues and ensure a secure connection with the new battery. A soft, lint-free cloth will be suitable for this purpose.
By preparing these tools and materials in advance, you will have everything you need to successfully replace the battery in your home security system. Once you have gathered these items, you can move on to the next steps of the battery replacement process.
Step 1: Identify the Battery Type
The first step in changing the battery in your home security system is to identify the specific battery type that your system requires. Different security systems may have different battery models and specifications, so it’s crucial to ensure you have the correct replacement battery.
To identify the battery type, you can refer to your security system’s manual, which typically includes information about the recommended battery or batteries. Additionally, you can contact the manufacturer of your security system to obtain the accurate battery information.
Once you have identified the correct battery type for your system, make sure to acquire the replacement battery. It’s recommended to purchase a high-quality battery from a reliable source to ensure its longevity and compatibility with your security system.
It’s important to note that some security systems may use multiple batteries. In such cases, you will need to identify and replace each battery individually. Take note of the specific locations and configurations of the batteries in your system, as this information will be helpful when proceeding with the replacement process.
By correctly identifying the battery type for your home security system, you can ensure that the replacement battery will provide the necessary power and maintain the functionality of your system. With this information in hand, you’re ready to proceed to the next step: powering off the system and disconnecting it.
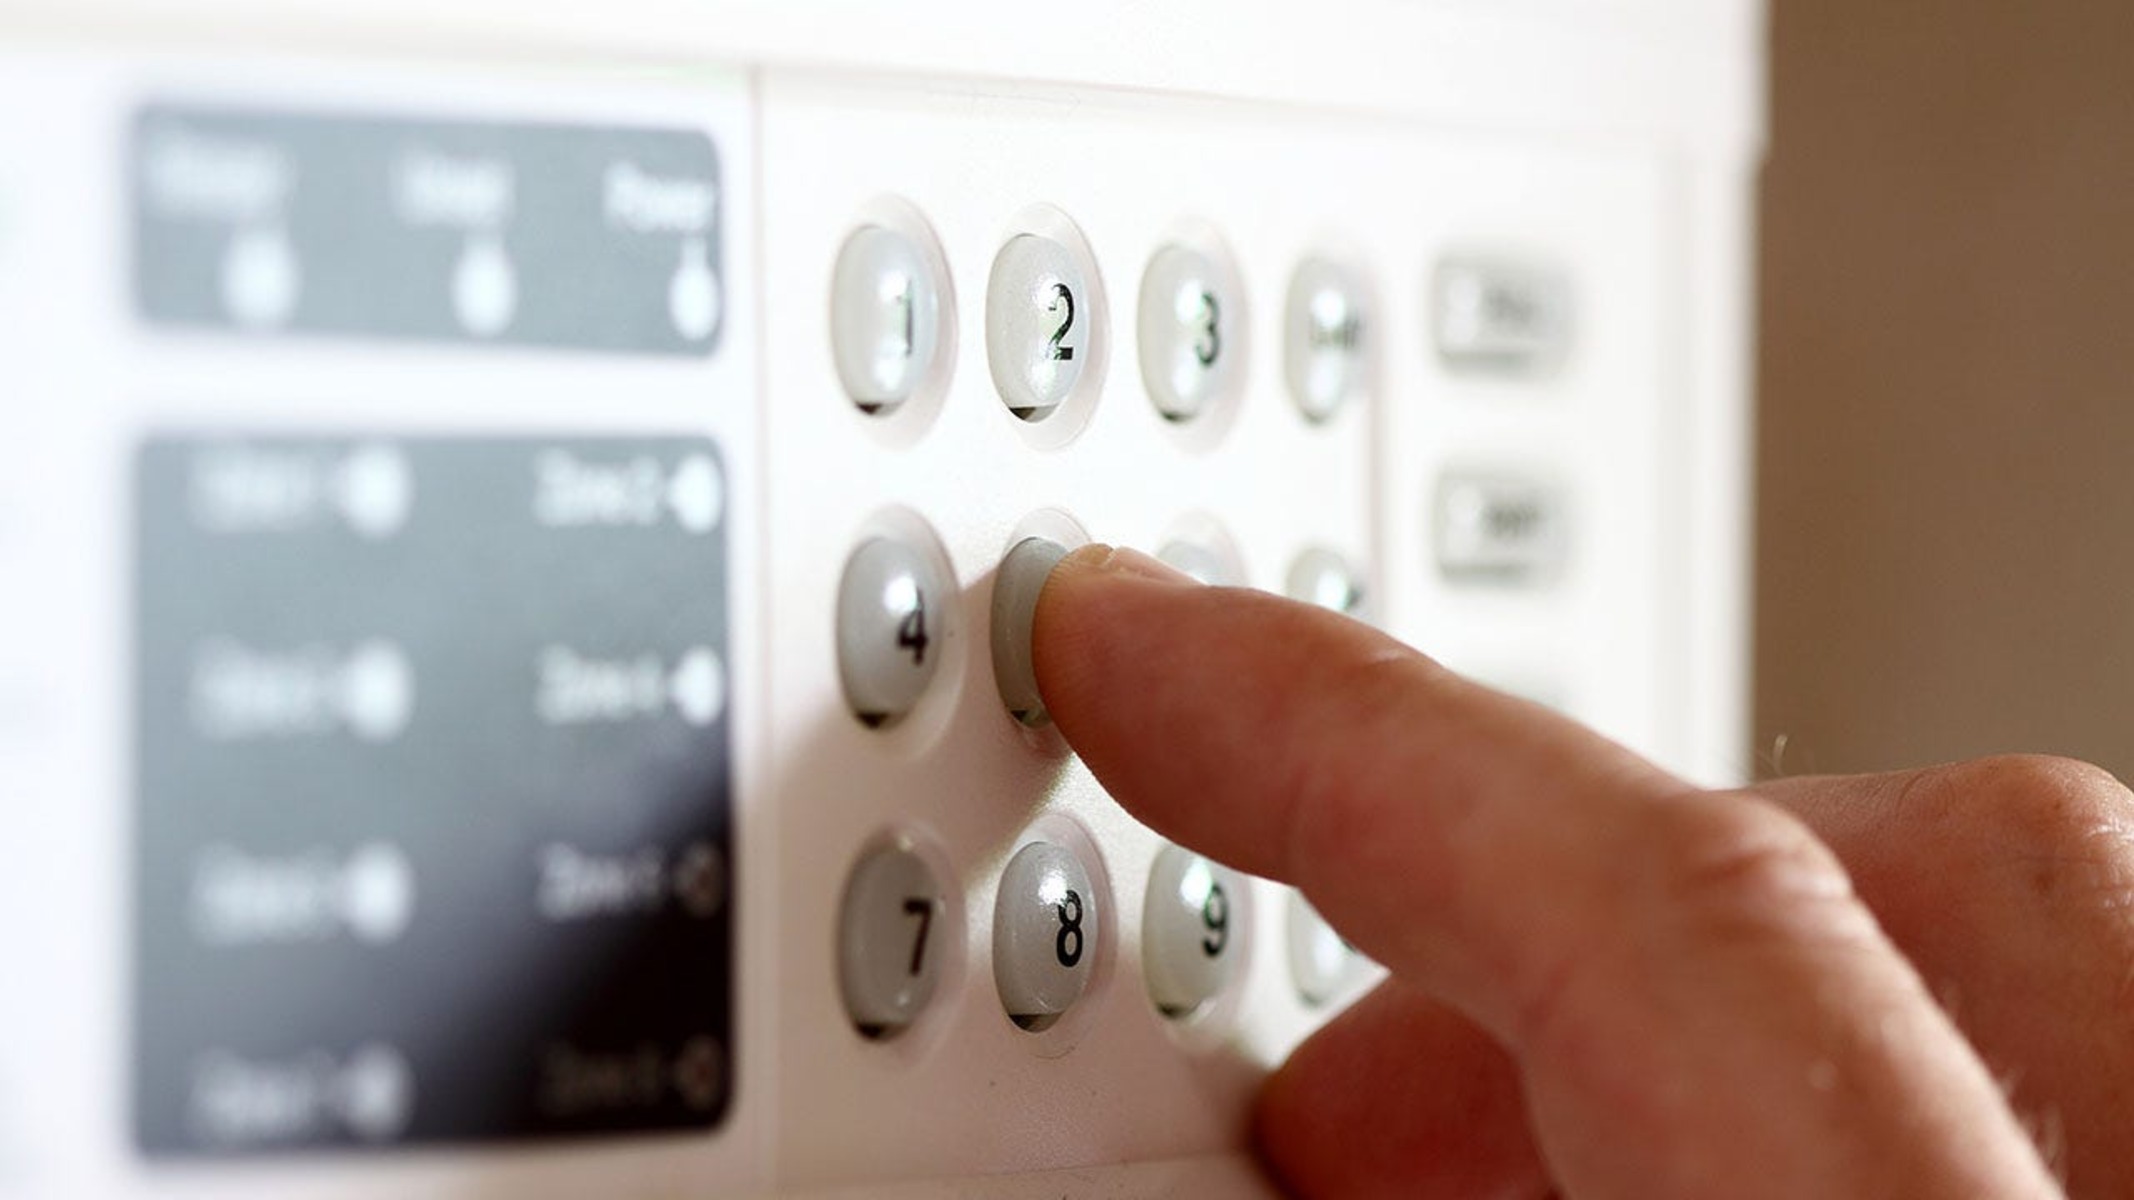
Step 2: Power Off the System and Disconnect
Before removing the old battery from your home security system, it’s crucial to power off the system and disconnect it from any power sources. This step ensures your safety and prevents any potential damage to the system or yourself during the battery replacement process.
Here’s how to power off the system and disconnect it:
- Locate the power source of your security system. This is typically an electrical outlet or a power switch near the control panel.
- Turn off the power source by either unplugging the system from the electrical outlet or flipping the power switch to the off position. This will cut off the electrical supply to the system and ensure that it is fully powered down.
- If your security system is connected to a backup battery, such as to provide continuous functionality during a power outage, you may need to disconnect the backup battery as well. Check your system’s manual or consult the manufacturer for specific instructions on disconnecting the backup battery.
By properly powering off the system and disconnecting it from any power sources, you reduce the risk of electric shock and prevent any potential damage to the system components. It’s important to take these precautionary measures before proceeding with the battery replacement process.
Once you have successfully powered off the system and disconnected it, you’re now ready to move on to the next step: removing the old battery from the security system.
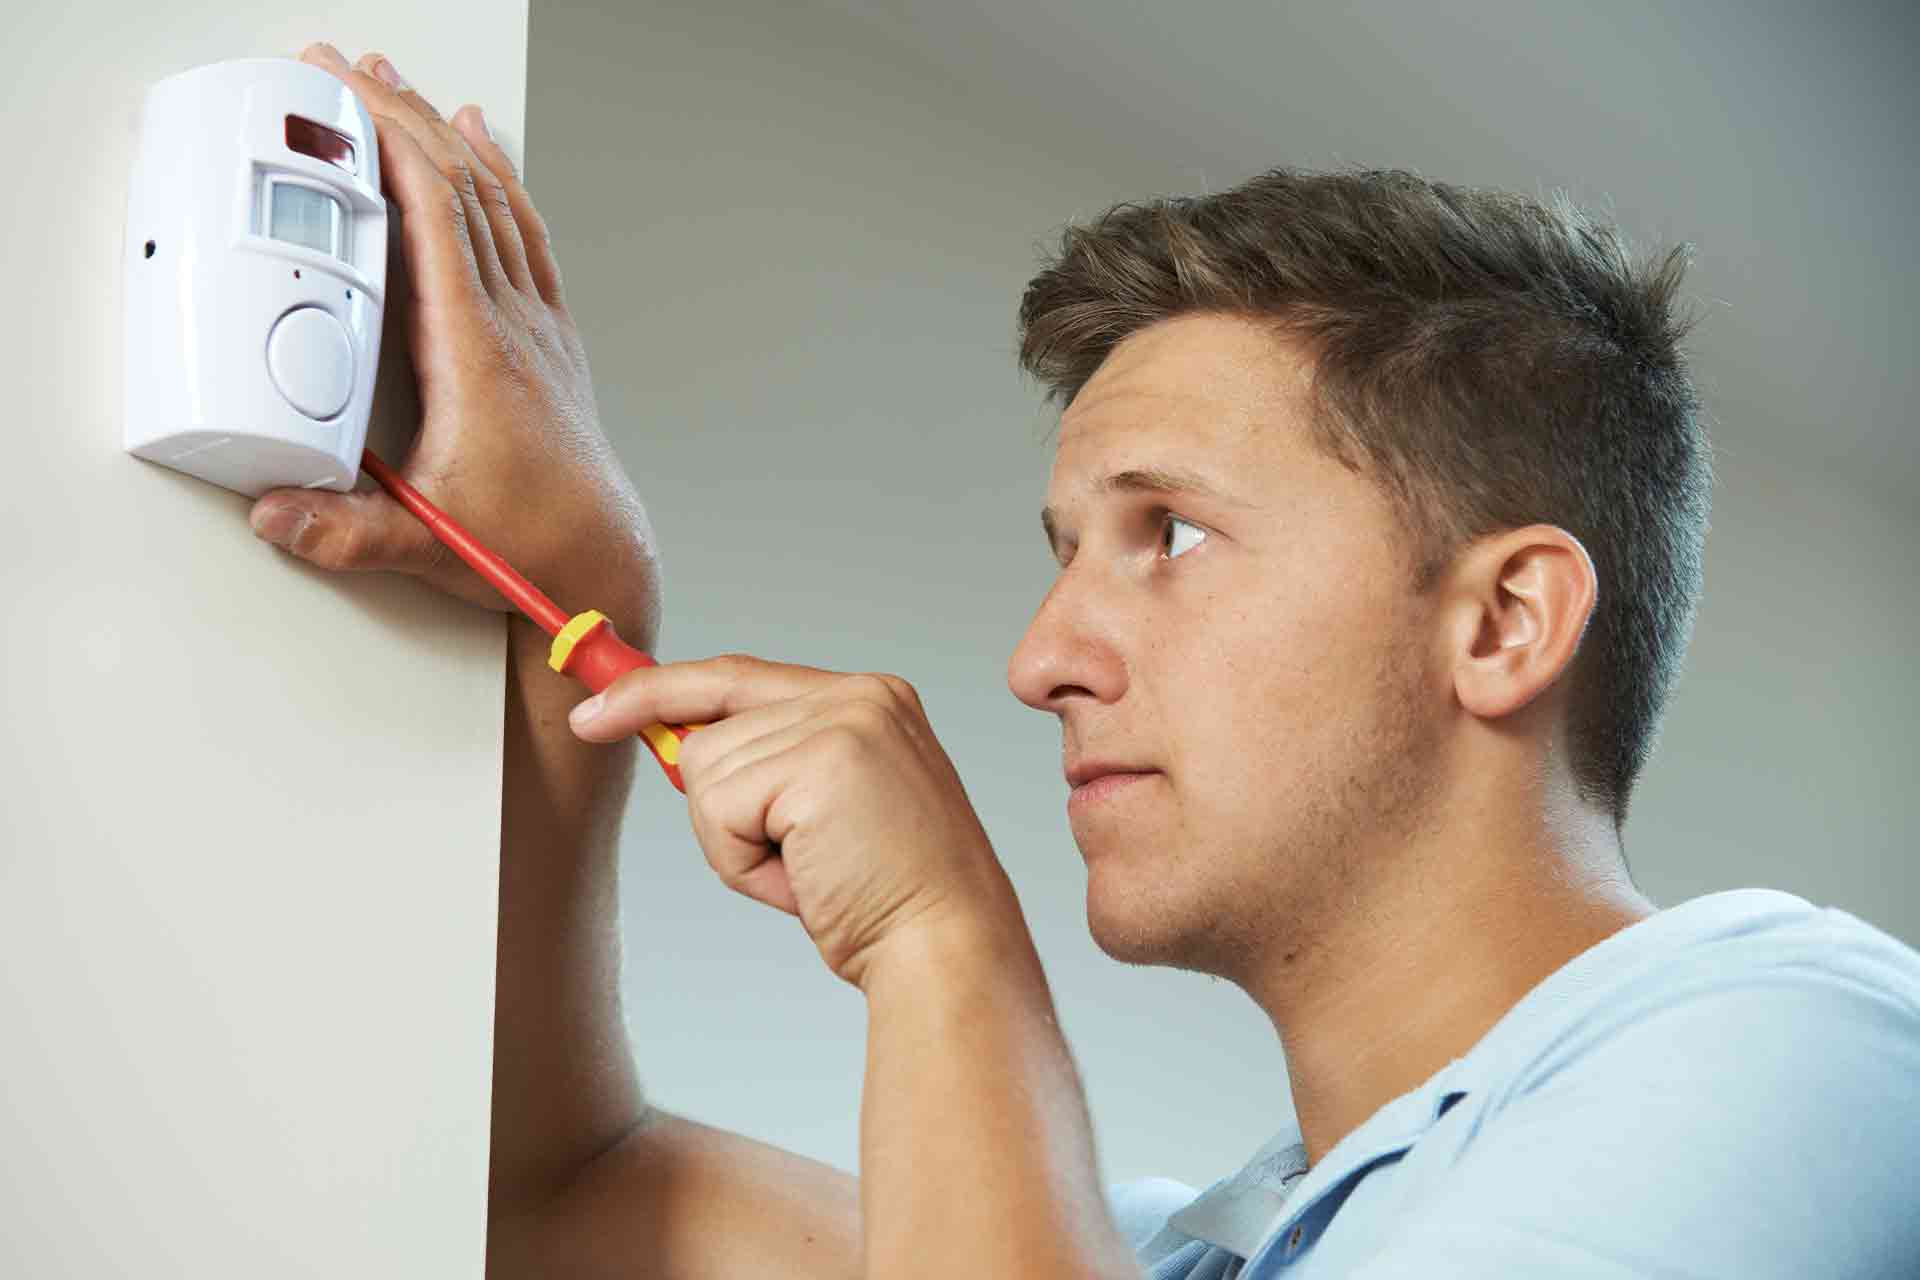
Step 3: Remove the Old Battery
With the power off and the system disconnected, it’s now time to remove the old battery from your home security system. Removing the old battery is a relatively straightforward process, but it’s important to handle it with care to avoid any damage or injury.
Follow these steps to remove the old battery:
- If your security system has an external battery compartment, locate it and open it. This compartment is usually located on the main control panel or in close proximity to it. Some systems may require removing a panel or unscrewing screws to access the battery compartment.
- Once you have access to the battery compartment, visually inspect the old battery to familiarize yourself with its placement and orientation.
- Depending on the design of the battery compartment, you may need to unscrew a cover, lift a latch, or gently push on a release button to remove the old battery. Take your time and double-check for any securing mechanisms specific to your system.
- Once any securing mechanisms are released, carefully lift the old battery out of the compartment. Be mindful of any cables or connectors that may be attached to the battery and disconnect them if necessary. Handle the old battery with care, as it may still contain a charge.
- Place the old battery in a safe and appropriate location for disposal or recycling. It’s important to dispose of batteries properly to minimize environmental impact and comply with local regulations.
By following these steps, you can safely remove the old battery from your home security system. Properly disposing of the old battery is essential, as it reduces the risk of environmental pollution and promotes sustainability.
Now that the old battery has been removed, it’s time to move on to the next step: cleaning the battery compartment before inserting the new battery.
Step 4: Clean the Battery Compartment
Before inserting the new battery into your home security system, it’s important to ensure that the battery compartment is clean and free from any debris or dust. A clean battery compartment provides a secure connection for the new battery and helps maintain its optimal performance.
Follow these steps to clean the battery compartment:
- Inspect the battery compartment for any visible dirt, dust, or residue. Use a flashlight if necessary to get a clear view.
- If you notice any buildup or debris, take a clean, soft cloth and gently wipe the inside of the battery compartment. Be careful not to apply excessive pressure or use any liquid cleaners, as this may damage the system.
- Pay close attention to the terminals and connectors inside the battery compartment. These areas may accumulate dirt or corrosion over time. If you notice any corrosion, you can use a cotton swab dipped in a mixture of water and baking soda to gently clean the affected areas. Make sure to dry the compartment thoroughly before proceeding.
- Once you have cleaned the battery compartment, visually inspect it again to ensure that it is free from any dirt or debris. This will help ensure a proper connection and optimal performance for the new battery.
By taking the time to clean the battery compartment, you are setting the stage for a successful battery replacement. A clean compartment promotes a secure and reliable connection, which is essential for the smooth functioning of your home security system.
With the battery compartment now clean and prepared, you can proceed to the next step: inserting the new battery into your security system.
Step 5: Insert the New Battery
Now that the battery compartment is clean and ready, it’s time to insert the new battery into your home security system. Properly inserting the new battery ensures a secure and reliable power source for your security system’s functionality.
Follow these steps to insert the new battery:
- Take the new battery that matches the specifications required by your security system. Verify that it matches the type and size recommended by your system’s manual or the manufacturer.
- Ensure that the new battery is oriented correctly by aligning the positive (+) and negative (-) terminals with the corresponding markings in the battery compartment. Typically, the positive terminal is indicated with a plus sign (+), and the negative terminal is indicated with a minus sign (-).
- Gently place the new battery into the compartment, making sure it is securely seated. Avoid applying excessive force and ensure that the battery is not loose or wobbly within the compartment.
- If the new battery has connectors or cables attached, carefully reattach them to their respective terminals inside the battery compartment. Ensure a firm and secure connection, as loose connections can affect the performance of your security system.
It’s important to follow these steps diligently to prevent any damage to the new battery or the security system components. By properly inserting the new battery, you can ensure a stable power supply for your home security system.
With the new battery securely inserted, you’re now ready to move on to the next step: reconnecting and powering on the security system.
Step 6: Reconnect and Power On the System
After successfully inserting the new battery into the home security system, it’s time to reconnect the system and power it back on. Reestablishing the connection and restoring the power supply will allow your security system to function optimally.
Follow these steps to reconnect and power on the system:
- If you disconnected any cables or connectors during the battery replacement process, carefully reattach them to their respective terminals inside the battery compartment. Make sure the connections are secure, as loose connections can prevent the system from functioning correctly.
- If your security system has a backup battery or any secondary power sources, such as a power adapter, ensure that they are also reconnected properly.
- Once all the connections are secured, restore the power supply by plugging the system back into the electrical outlet or flipping the power switch to the on position.
- Wait for the system to power up and initialize. This may take a few moments, depending on your specific security system model. Be patient and allow the system enough time to complete its startup process.
- Monitor the system’s display or indicator lights to ensure that it has successfully powered back on and is functioning as expected. Refer to the system’s manual for any specific instructions on verifying its operational status.
By following these steps, you can safely reconnect and power on your home security system after replacing the battery. It’s important to take the time to verify that the system is functioning as expected to ensure the ongoing security of your home.
Now that your home security system is reconnected and powered on, you can proceed to the final step: testing the new battery to ensure its performance.
Step 7: Test the New Battery
After replacing the battery in your home security system, it’s crucial to test the new battery to ensure that it is functioning properly. Testing the new battery verifies its performance and ensures the reliability of your security system.
Follow these steps to test the new battery:
- Activate your security system’s testing mode or follow the specific instructions provided in the system’s manual for testing the battery. This may involve entering a code or using the system’s control panel.
- Observe the system’s behavior during the testing phase. Pay attention to any warning messages or error indications that may be displayed on the system’s control panel or interface.
- Check the battery status on the system’s display or panel. If the battery level is displaying as fully or nearly fully charged, it indicates that the new battery is functioning correctly.
- Perform a simulated alarm or trigger event to assess the system’s response. This can involve activating a door/window sensor or motion detector, simulating a break-in scenario. Ensure that the security system responds promptly and operates as expected. If there are any issues or malfunctions, consult the system’s manual or contact the manufacturer for troubleshooting assistance.
- Monitor the battery life and performance over the next few days or weeks. Ensure that the new battery maintains a stable charge and that the system functions properly during normal usage. If you notice any significant drops in battery level or recurring issues with the system, it may be necessary to consult a professional technician for further inspection and maintenance.
By thoroughly testing the new battery, you can ensure that your home security system is operating at its optimal level. Regular battery testing and maintenance are essential to keep your security system reliable and ready to protect your home.
With the battery successfully tested and your home security system fully operational, you can have peace of mind knowing that your property and loved ones are safeguarded. Regularly monitor the battery status and promptly replace it when needed to maintain the effectiveness of your security system.
Conclusion
Changing the battery in your home security system is a crucial maintenance task that ensures the continued protection and functionality of your property. With the step-by-step guide provided in this article, you now have the knowledge and confidence to successfully replace the battery in your system.
Remember to start by identifying the specific battery type required for your security system. Gather the necessary tools and materials, such as a replacement battery, Phillips-head screwdriver, and cleaning cloth, to complete the task efficiently.
Power off the system and disconnect it from any power sources before proceeding. Carefully remove the old battery from the battery compartment, taking note of any connectors or cables attached to it. Ensure the battery compartment is clean and free from dirt or debris before inserting the new battery.
Properly insert the new battery, ensuring a secure connection, and then reconnect and power on the system. Follow the manufacturer’s instructions for testing the new battery to verify its performance and the system’s proper functioning. Regularly monitor the battery life and system performance to ensure ongoing reliability.
By taking these steps, you can maintain a properly functioning home security system that provides the safety and peace of mind you need. Don’t neglect the importance of regular battery replacement and testing to keep your security system in optimal condition.
Remember, if you ever encounter difficulties or have concerns about replacing the battery in your home security system, it’s advisable to consult the manufacturer’s manual or seek assistance from a professional technician. They can provide guidance and ensure that the battery replacement is done correctly.
With a well-functioning and properly maintained home security system, you can rest assured that your property and loved ones are protected. Stay proactive in maintaining your security system and be proactive in replacing the battery when necessary to ensure continuous and reliable security for your home.