Introduction
Welcome to the world of smart homes, where technology is transforming the way we live and interact with our living spaces. Imagine being able to control your lights, thermostat, security system, and other household appliances all from the convenience of your smartphone or voice command. With a smart home hub, this futuristic vision becomes a reality.
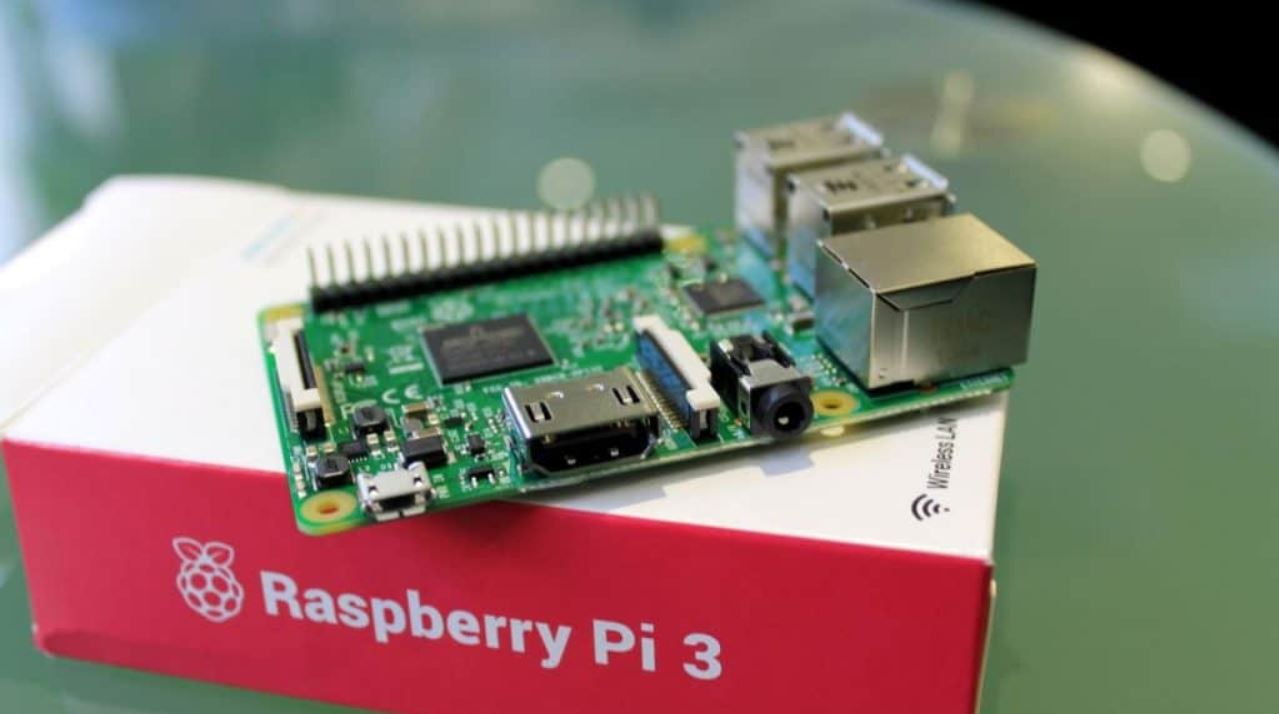
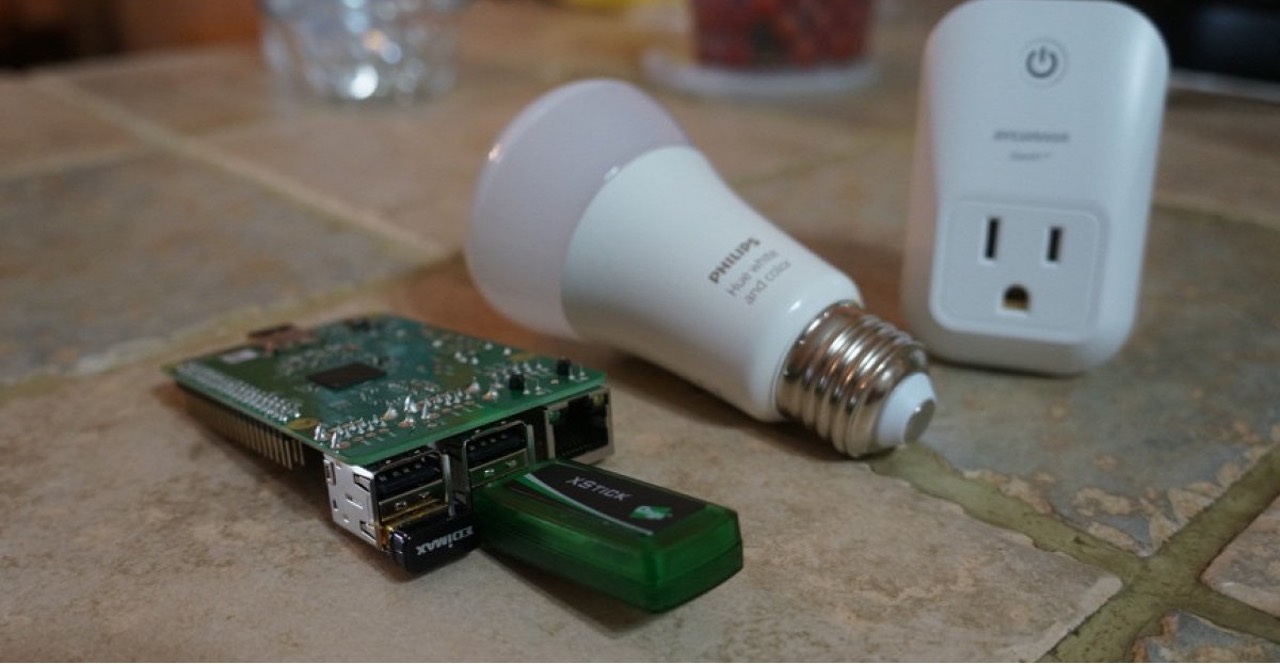
A smart home hub is the central control system that allows you to seamlessly connect and manage all your smart devices. It acts as the brains of your smart home, enabling you to automate and monitor various aspects of your home environment. A popular choice for building your own smart home hub is the Raspberry Pi.
The Raspberry Pi is a credit card-sized computer that offers impressive computing power and versatility at an affordable price. It can be transformed into a powerful smart home hub, capable of integrating with a wide range of smart devices and offering endless possibilities for customization.
In this guide, we will take you through the process of building your own smart home hub using a Raspberry Pi. We will walk you through the necessary steps of setting up the hardware, installing the operating system, and configuring the software to create a central hub for your smart home. Whether you are a tech enthusiast or a DIY enthusiast, this guide is designed to help you unleash the full potential of your smart home.
So, let’s get started on your journey to creating your very own smart home hub with a Raspberry Pi.
What is a Smart Home Hub?
A smart home hub is a central device or system that connects and controls all the smart devices in your home. It acts as a bridge between your smart devices and allows you to manage, monitor, and automate various aspects of your home environment.
Think of a smart home hub as the brain of your smart home. It is responsible for coordinating the communication between different devices, allowing them to work together seamlessly. With a smart home hub, you can control your devices using a single interface, whether it’s a smartphone app, a voice assistant, or a dedicated control panel.
One of the key advantages of a smart home hub is its ability to bring all your devices together into a unified ecosystem. Instead of managing each device individually, you can create scenes and routines that trigger multiple devices with a single command. For example, you can create a “Goodnight” scene that turns off the lights, adjusts the thermostat, and locks the doors at bedtime.
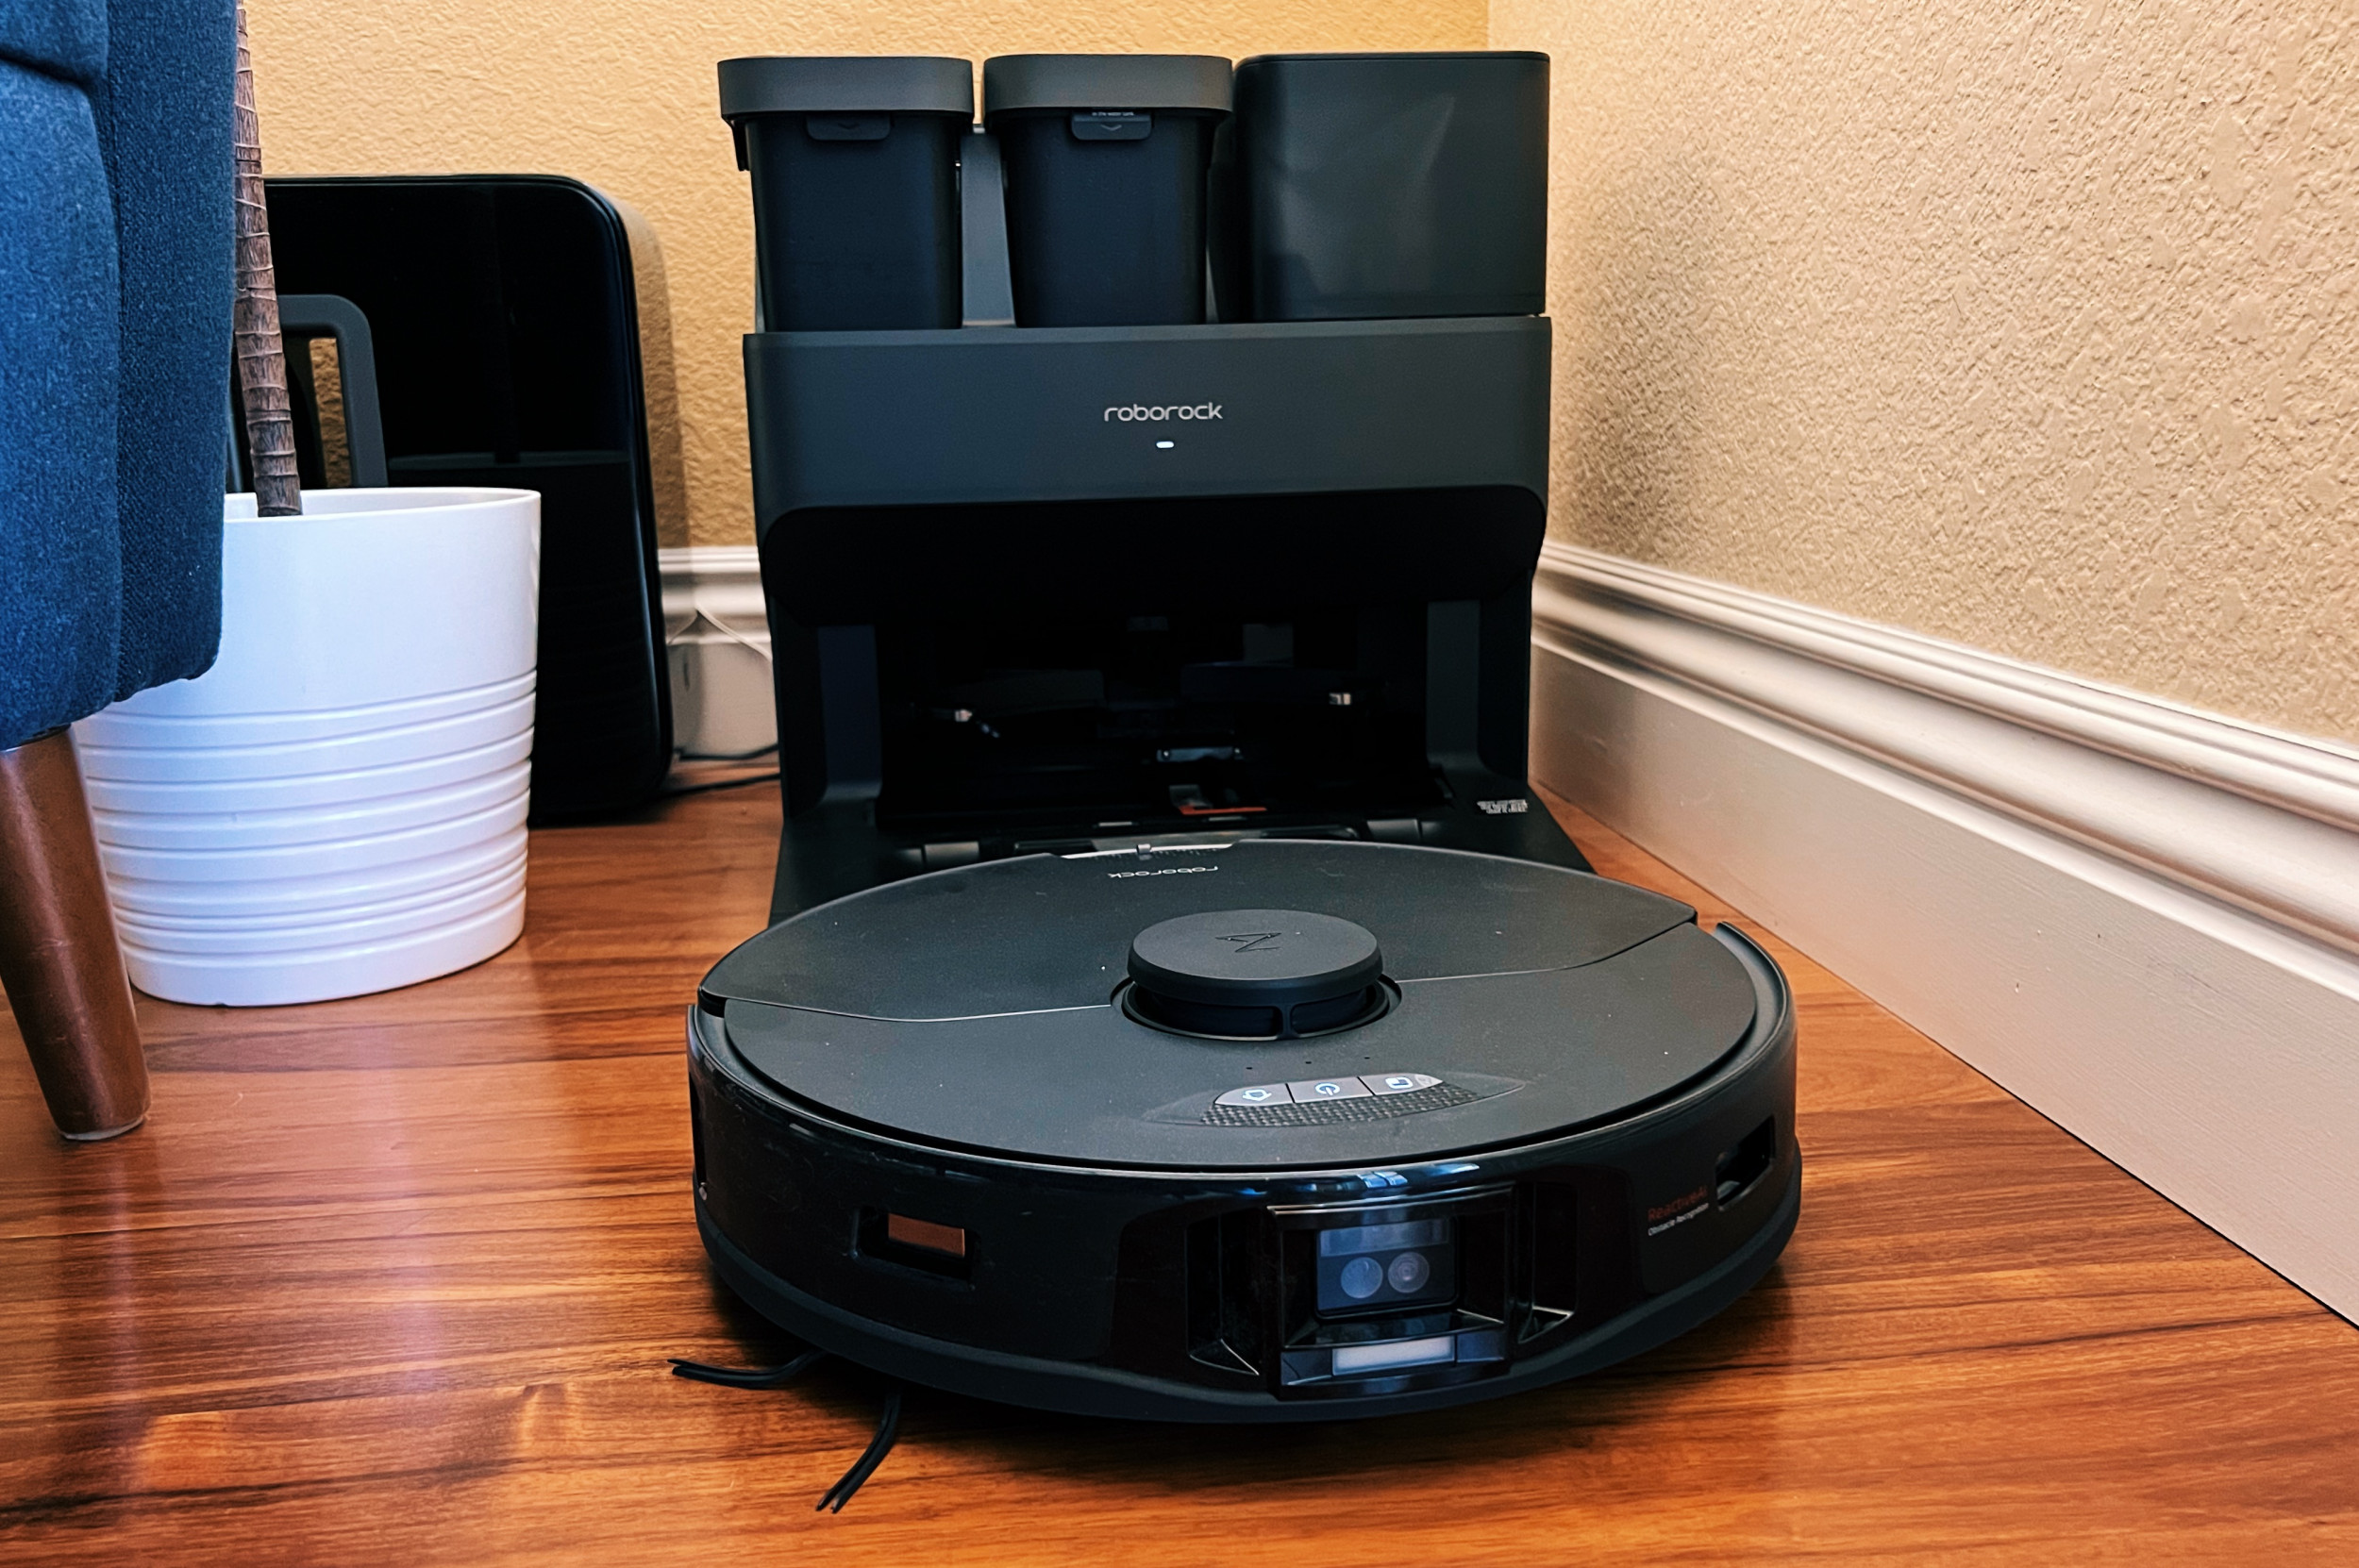
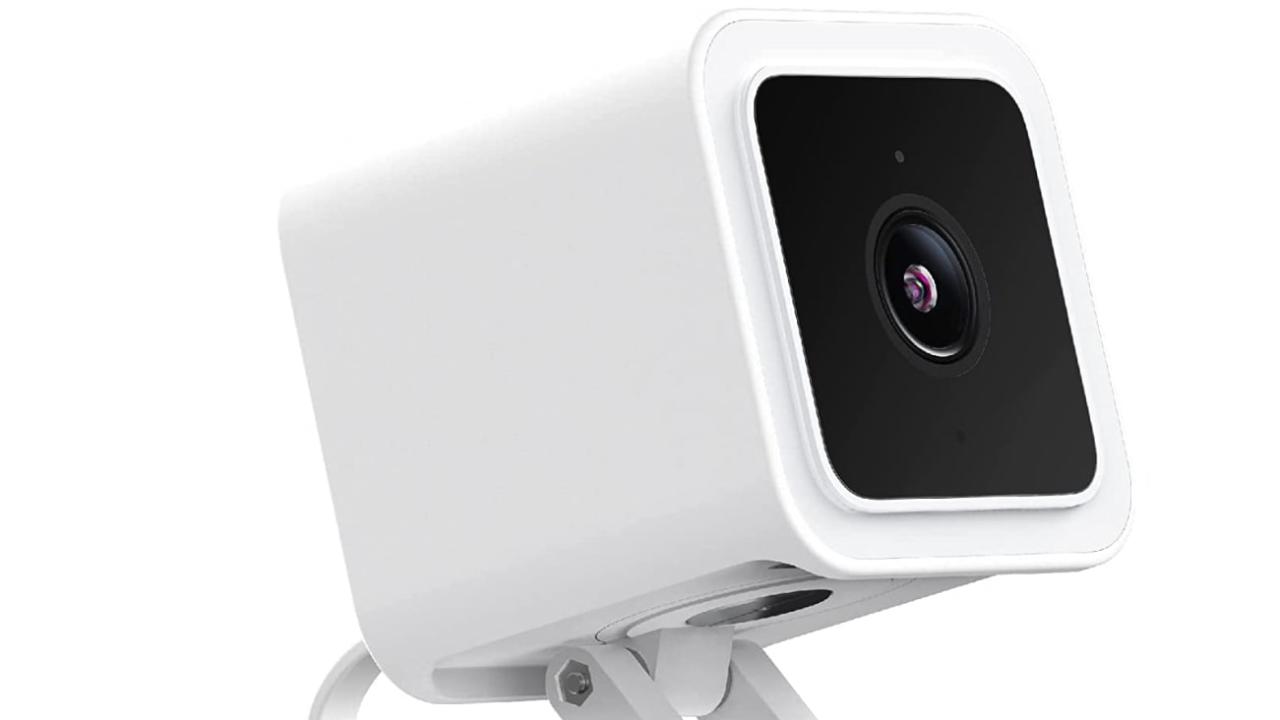
A smart home hub also provides you with enhanced security and peace of mind. With a centralized hub, you can monitor and control your security cameras, receive notifications about any unexpected events, and even integrate with other security systems like door locks and motion sensors.
In addition to convenience and security, a smart home hub offers energy efficiency by allowing you to optimize the usage of your devices. You can set schedules, automate energy-saving settings, and receive insights into your energy consumption, helping you reduce your carbon footprint and save on utility bills.
There are several options available when it comes to choosing a smart home hub, ranging from standalone devices to do-it-yourself solutions. One popular choice among DIY enthusiasts is using a Raspberry Pi as a smart home hub.
The Raspberry Pi is a small, affordable computer that can run a variety of software and be easily customized to suit your specific needs. By leveraging the power of a Raspberry Pi, you can create a fully customizable smart home hub that integrates with the devices and services you prefer.
Now that you have a better understanding of what a smart home hub is and how it can benefit your lifestyle, let’s explore why the Raspberry Pi is an excellent choice for building your own smart home hub.
Why Use a Raspberry Pi?
The Raspberry Pi is a versatile and affordable computing device that has gained immense popularity among DIY enthusiasts and tech enthusiasts alike. When it comes to building a smart home hub, the Raspberry Pi offers several advantages that make it an ideal choice:
1. Cost-effective: The Raspberry Pi is highly cost-effective compared to dedicated smart home hub devices. With a Raspberry Pi, you can achieve the same functionality as expensive commercial hubs at a fraction of the cost.
2. Flexibility: The Raspberry Pi is a single-board computer that runs on various operating systems, including Linux-based distributions like Raspbian. This flexibility allows you to customize and tailor your smart home hub to your specific needs, choosing the software and applications that work best for you.
3. Computational Power: Despite its small size, the Raspberry Pi offers impressive computational power, capable of running multiple applications simultaneously. This ensures smooth performance and efficient handling of the tasks required for controlling and managing your smart home devices.
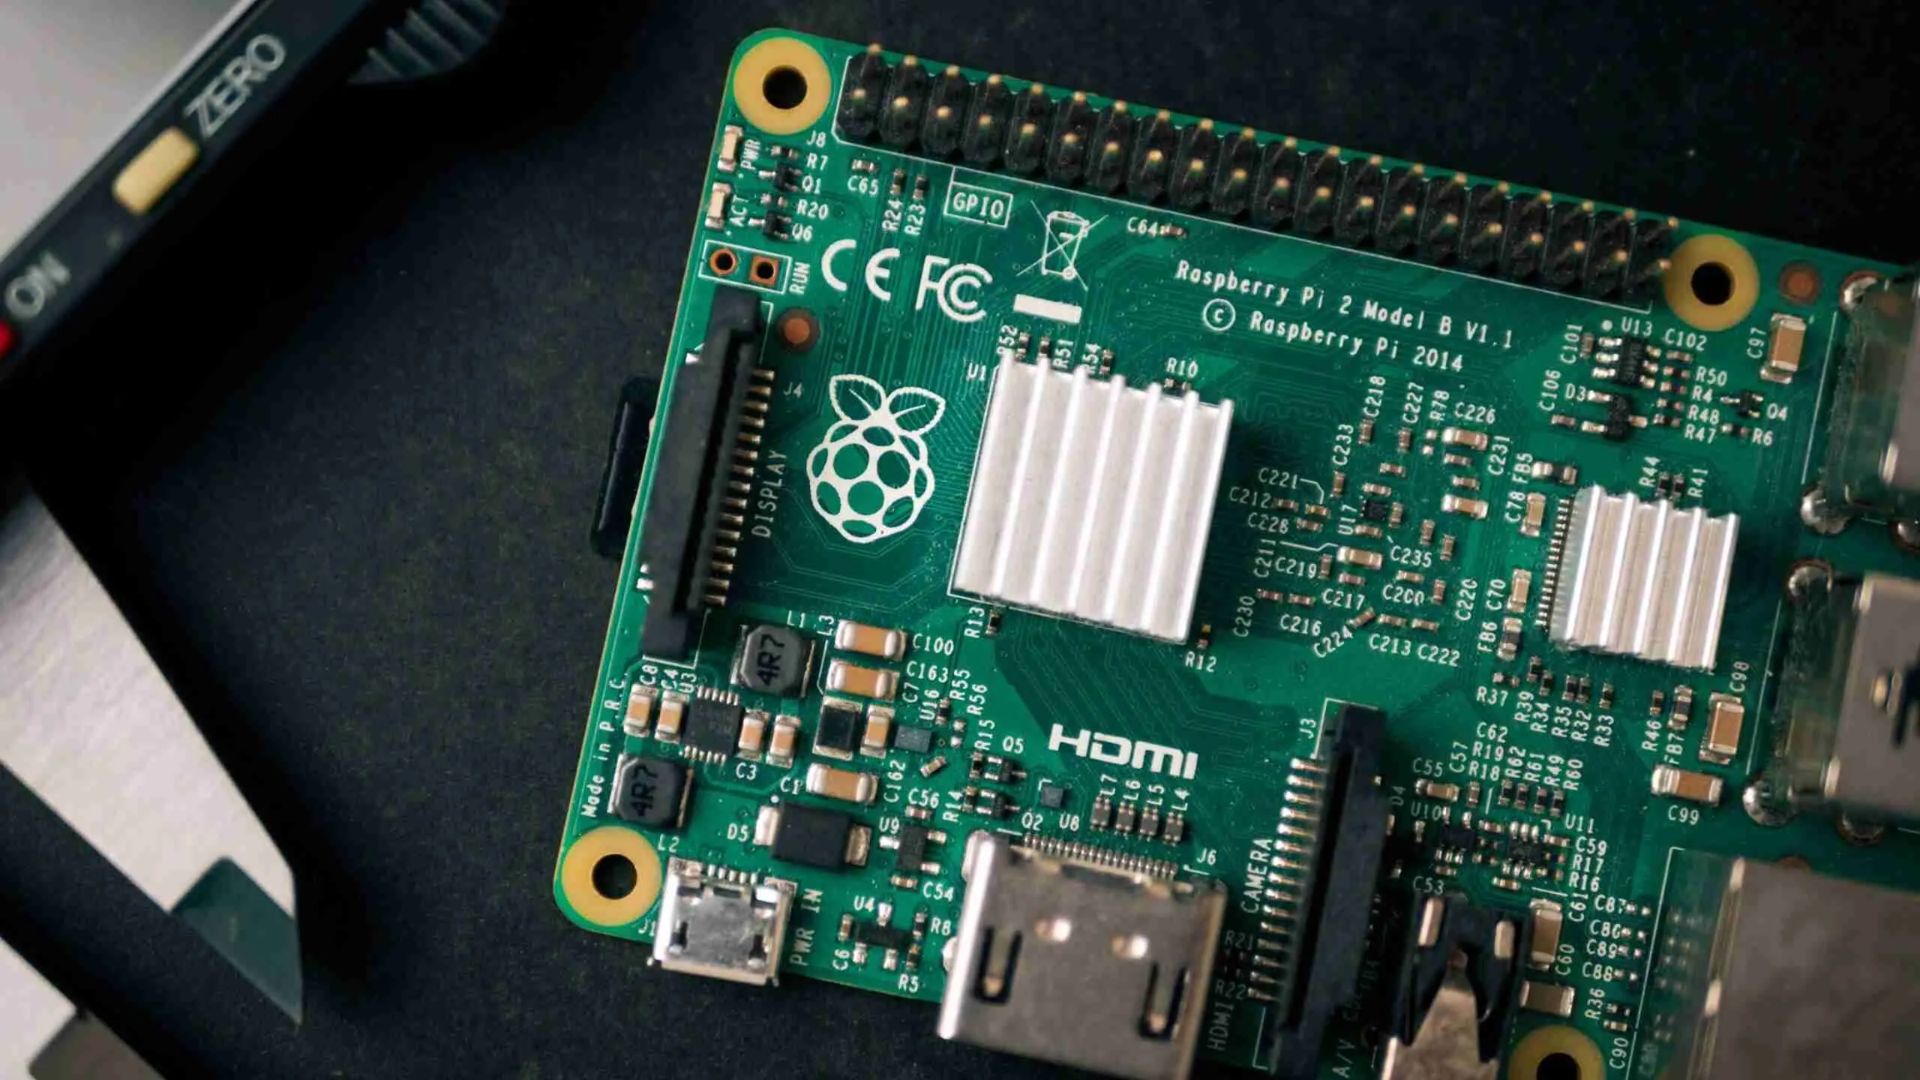
4. GPIO Pins: The Raspberry Pi comes with General Purpose Input/Output (GPIO) pins, which allow you to connect and control various sensors, actuators, and other components. This feature enables you to expand the capabilities of your smart home hub and integrate it with a wide range of devices.
5. Active Community: The Raspberry Pi has a vibrant and active community of developers and enthusiasts who constantly contribute to its development. This means you have access to a wealth of resources, tutorials, forums, and community support, making it easier for you to troubleshoot any issues that may arise during the setup and configuration process.
6. Open-Source: The Raspberry Pi is built on an open-source platform, allowing you to extend and modify the software as per your requirements. This open ecosystem gives you the freedom to experiment, innovate, and contribute to the development of the smart home hub technology.
7. Educational Value: Building a smart home hub with a Raspberry Pi is not only a practical endeavor but also a great learning experience. It exposes you to various aspects of computer science, electronics, programming, and home automation, enhancing your skills and knowledge in these fields.
With all these advantages, it’s no wonder that the Raspberry Pi is a popular choice for DIY smart home enthusiasts. It provides a cost-effective, flexible, and powerful platform to create your own customized smart home hub.
Now that you understand the benefits of using a Raspberry Pi, let’s delve into the process of getting started with this remarkable device and building your own smart home hub.
Getting Started with Raspberry Pi
Before diving into building your smart home hub with a Raspberry Pi, let’s start with the basics of setting up and configuring the device:
1. Purchase the Raspberry Pi: The first step is to obtain a Raspberry Pi board. There are several models available, each with different specifications. Choose the one that meets your requirements and budget.
2. Gather the Necessary Components: In addition to the Raspberry Pi board, you will need a microSD card for storage, a power supply, HDMI cable, monitor or TV, keyboard, and mouse. Make sure you have all the necessary components before proceeding.
3. Install the Operating System: The next step is to install the operating system (OS) on the Raspberry Pi. One of the most popular choices for the Raspberry Pi is Raspbian, a Linux-based OS specifically designed for the device. Download the Raspbian OS from the official Raspberry Pi website and follow the instructions to flash it onto the microSD card.
4. Connect the Raspberry Pi: Connect the Raspberry Pi to a monitor or TV using an HDMI cable. Plug in the keyboard and mouse, and insert the microSD card with the installed OS. Finally, connect the power supply to turn on the Raspberry Pi.
5. Configure the Raspberry Pi: Once the Raspberry Pi is powered on, you’ll need to go through the initial configuration process. This includes setting up your preferred language, region, password, and network settings.
6. Update the Software: After the initial configuration, it’s important to update the software on the Raspberry Pi to ensure you have the latest features, bug fixes, and security patches. Open the terminal and run the necessary commands to update the system.
7. Test the Raspberry Pi: To ensure that everything is working correctly, test the Raspberry Pi by running some basic commands and checking the functionality of the hardware peripherals.
By following these steps, you have successfully set up your Raspberry Pi and are ready to move on to the next stage of building your smart home hub.
In the next section, we will explore different software options for your smart home hub and guide you through the process of installing and configuring the necessary software.
Installing the Operating System
Once you have your Raspberry Pi board and necessary components ready, the next step is to install the operating system (OS) onto the device. The most popular and widely used OS for the Raspberry Pi is Raspbian, a Linux-based OS specifically designed for this purpose. Here’s how you can install the OS:
1. Download Raspbian: Visit the official Raspberry Pi website and download the latest version of Raspbian. Choose the version that is compatible with your Raspberry Pi model.
2. Flash the OS onto the microSD card: Insert the microSD card into your computer and use a flashing software like Etcher to write the Raspbian image onto the microSD card. This will create a bootable SD card with the OS.
3. Insert the microSD card into the Raspberry Pi: Once the flashing process is complete, remove the microSD card from your computer and insert it into the microSD card slot on the Raspberry Pi.
4. Power on the Raspberry Pi: Connect your Raspberry Pi to a power source using the appropriate power supply. The device will boot up and begin initializing the Raspbian OS.
5. Configure the OS: The first time you boot up the Raspberry Pi with Raspbian, you will be prompted to go through the initial setup process. This includes selecting your preferred language, keyboard layout, and Wi-Fi network connection. Follow the on-screen instructions to complete the configuration.
6. Update the OS: Once the initial setup is complete, it is recommended to update the Raspbian OS to ensure you have the latest software packages, security patches, and bug fixes. Open the terminal and run the following two commands: sudo apt-get update and sudo apt-get upgrade.
7. Reboot the Raspberry Pi: After the OS update is complete, reboot the Raspberry Pi to apply any changes. This ensures that your device runs on the latest version of the Raspbian OS.
That’s it! You have successfully installed the Raspbian operating system on your Raspberry Pi. The device is now ready for the next steps in building your smart home hub. In the following sections, we will guide you through choosing the software for your smart home hub and installing and configuring it on the Raspberry Pi.
Setting up the Raspberry Pi
Now that you have installed the operating system on your Raspberry Pi, it’s time to set up the device for building your smart home hub. Here are the steps to follow:
1. Connect to a Monitor or TV: Use an HDMI cable to connect your Raspberry Pi to a monitor or TV. Ensure that the display input is set to the correct HDMI source.
2. Connect a Keyboard and Mouse: Plug in a USB keyboard and mouse to the available USB ports on the Raspberry Pi.
3. Power on the Raspberry Pi: Connect the power supply to the Raspberry Pi to power it on. The device will start booting up and display the Raspbian desktop environment.
4. Configure Raspberry Pi Settings: Click on the Raspberry Pi icon in the top-left corner of the screen and navigate to “Preferences” > “Raspberry Pi Configuration”. Here, you can modify various settings, such as changing the password, expanding the file system, setting up Wi-Fi, enabling SSH, and more. Adjust these settings according to your requirements.
5. Connect to the Internet: If you haven’t set up the Wi-Fi during the configuration process, you can connect to the internet by clicking on the Wi-Fi symbol in the top-right corner of the screen. Select your Wi-Fi network and enter the credentials to establish the connection.
6. Update the System: Open the terminal and run the commands sudo apt-get update and sudo apt-get upgrade to update the software packages on the Raspberry Pi. This ensures you have the latest versions and bug fixes.
7. Install Essential Software: Depending on your smart home hub requirements, you may need to install additional software packages onto the Raspberry Pi. Use the terminal to install necessary packages using package managers like apt or pip.
8. Set up Remote Access: To remotely access your Raspberry Pi, you can enable SSH (Secure Shell) from the “Raspberry Pi Configuration” window. This allows you to control the Raspberry Pi from another device on the same network.
Once you have completed these steps, your Raspberry Pi is all set up and ready to be transformed into a smart home hub. In the upcoming sections, we will explore different software options and guide you through installing and configuring the software to create a fully functional smart home hub.
Choosing the Software for your Smart Home Hub
Now that your Raspberry Pi is set up, it’s time to choose the software that will transform it into a smart home hub. There are several options available, each offering different features and capabilities. Here are some popular choices:
1. Home Assistant: Home Assistant is an open-source platform that supports a wide range of smart devices and services. It provides a user-friendly interface to control and automate your smart home. Home Assistant offers extensive customization options and integrations with popular smart home protocols like Zigbee, Z-Wave, and more.
2. OpenHAB: OpenHAB is another open-source platform that enables you to integrate and control various smart devices and services. It offers a rules engine, customizable user interface, and support for multiple protocols. OpenHAB has a strong community and active development, ensuring regular updates and new features.
3. Domoticz: Domoticz is a lightweight home automation system that is easy to set up and configure. It supports a wide range of devices and protocols and provides a user-friendly web interface. Domoticz offers features like scripting, timers, and notifications to automate your smart home.
4. Node-RED: Node-RED is a flow-based programming tool that allows you to create automation flows using a visual programming interface. It provides a large library of nodes to integrate with various devices and services. Node-RED is highly flexible and can be installed as an add-on on top of other software platforms.
5. ioBroker: ioBroker is a versatile home automation platform that supports a wide range of devices, protocols, and services. It offers a rule engine, data visualization, and various automation options. ioBroker is known for its stability and reliable performance.
6. SmartThings: SmartThings is a popular home automation platform that offers both a cloud-based and a local hub option. It supports a wide array of devices and provides a user-friendly app for control and automation. SmartThings integrates well with other Samsung products and offers easy integration with popular voice assistants.
Consider your specific smart home requirements, the devices and services you already own or plan to incorporate, and your level of technical expertise when choosing the software for your smart home hub. Review the features, community support, and compatibility with your desired devices to make an informed decision.
Once you have selected the software, the next step is to install and configure it on your Raspberry Pi. In the upcoming sections, we will guide you through the process of installing and setting up your chosen software, transforming your Raspberry Pi into a fully functional smart home hub.
Installing and Configuring the Smart Home Software
With your Raspberry Pi prepared, it’s time to install and configure the chosen smart home software. The process may vary slightly depending on the software you select. Here are the general steps to follow:
1. Research and Download: Visit the official website or GitHub repository of the chosen software and gather the necessary installation files or instructions. Ensure that you have the correct version that is compatible with your Raspberry Pi and operating system.
2. Install Dependencies (If Required): Some smart home software may require additional dependencies or libraries to be installed. Check the software’s documentation or installation instructions for any prerequisites and install them accordingly.
3. Setup Repository and Install: If the software has an official repository or package manager, set it up on your Raspberry Pi. This simplifies the installation and future updates. Use the provided commands or scripts to add the repository and install the software.
4. Configure the Software: Once the installation is complete, you’ll need to configure the smart home software. This typically involves setting up user accounts, selecting device types, connecting to smart home protocols, and customizing preferences and automation rules. Refer to the software’s documentation for specific instructions on how to configure it.
5. Add Devices: Connect your smart devices to the smart home software. Depending on the software, this may involve scanning for devices, pairing through protocols like Zigbee or Z-Wave, or adding devices manually. Follow the software’s instructions for adding and configuring your devices.
6. Create Automations and Scenes: Take advantage of the software’s automation capabilities to create customized routines and scenes. This allows you to automate tasks, set schedules, and create personalized experiences with your smart devices. Explore the software’s automation features and create rules based on conditions or triggers.
7. Test and Debug: After completing the configuration and device setup, test the smart home software to ensure everything is working as expected. Validate that your devices are responding to commands, automations are triggering correctly, and the software is stable. Debug any issues that arise and make necessary adjustments in the configuration.
Remember to regularly update the software by following the update instructions provided by the software developer. This ensures you have access to the latest features, bug fixes, and security patches.
By following these steps, you can successfully install and configure your chosen smart home software on your Raspberry Pi. Now you can move on to the next stage, which involves connecting and configuring your smart devices within the smart home software.
Connecting and Configuring Devices
Now that you have your smart home software installed and configured on your Raspberry Pi, it’s time to connect and configure your smart devices. Here’s what you need to do:
1. Identify Device Compatibility: Check the compatibility of your smart devices with the smart home software you are using. Ensure that the software supports the protocols or standards used by your devices, such as Wi-Fi, Zigbee, Z-Wave, or Bluetooth. This information can usually be found in the software’s documentation or on its website.
2. Pairing or Adding Devices: Depending on the smart home software and your device, you may need to follow different procedures to connect the devices to the software. This could involve scanning for new devices, entering pairing codes, or using specific pairing modes. Consult the software’s documentation for detailed instructions on how to add your specific devices.
3. Naming and Organizing Devices: Once your devices are connected, give them meaningful names that are easy to remember and identify. This helps when setting up automations and controlling devices through the smart home software interface. You may also group devices together based on rooms or functionality to easily manage them within the software.
4. Adjust Device Settings: Explore the settings available for each connected device in the smart home software. You may find various options like adjusting brightness, setting timers, configuring thresholds, or customizing device behavior. Experiment with the settings to optimize the functionality and integration of your devices within the smart home ecosystem.
5. Test Device Controls: Verify that you can control your devices through the smart home software interface. Turn on and off lights, adjust temperatures, lock and unlock doors, or control any other device-specific functions to ensure smooth communication between the software and your connected devices.
6. Create Custom Automations: Leverage the capabilities of the smart home software to create custom automations and routines for your devices. This could include scheduling device actions based on specific times or events, creating scene presets for different scenarios, or setting up conditional automations based on sensor inputs or device states. Experiment with the automation features of the software to enhance the functionality and convenience of your smart home.
7. Monitor and Troubleshoot: Regularly monitor the performance of your connected devices within the smart home software. Check for any issues, such as devices becoming unresponsive or automation failures. Troubleshoot and debug problems by verifying device configurations, ensuring proper connectivity, or updating firmware if necessary.
By following these steps, you can successfully connect and configure your smart devices within the smart home software. This allows you to control and manage all your devices from a unified interface, creating a seamless and integrated smart home experience.
In the next section, we will explore how you can control your smart home hub and devices through various means, such as smartphone apps, voice assistants, or dedicated control panels.
Controlling your Smart Home Hub
Now that your smart home hub is up and running, it’s time to explore the different ways you can control and interact with it:
1. Smartphone Apps: Most smart home software offers dedicated smartphone apps that allow you to control your smart home hub and devices from anywhere. Install the app on your smartphone, connect it to your smart home hub, and you’ll have an intuitive interface to manage your devices, create automations, and monitor your home even when you’re away.
2. Voice Assistants: Many smart home hubs integrate seamlessly with popular voice assistants such as Amazon Alexa, Google Assistant, or Apple Siri. By linking your smart home hub to a voice assistant, you can control your devices using voice commands. Simply ask your voice assistant to turn on lights, adjust the thermostat, or perform other commands, and it will communicate with your smart home hub to execute the actions.
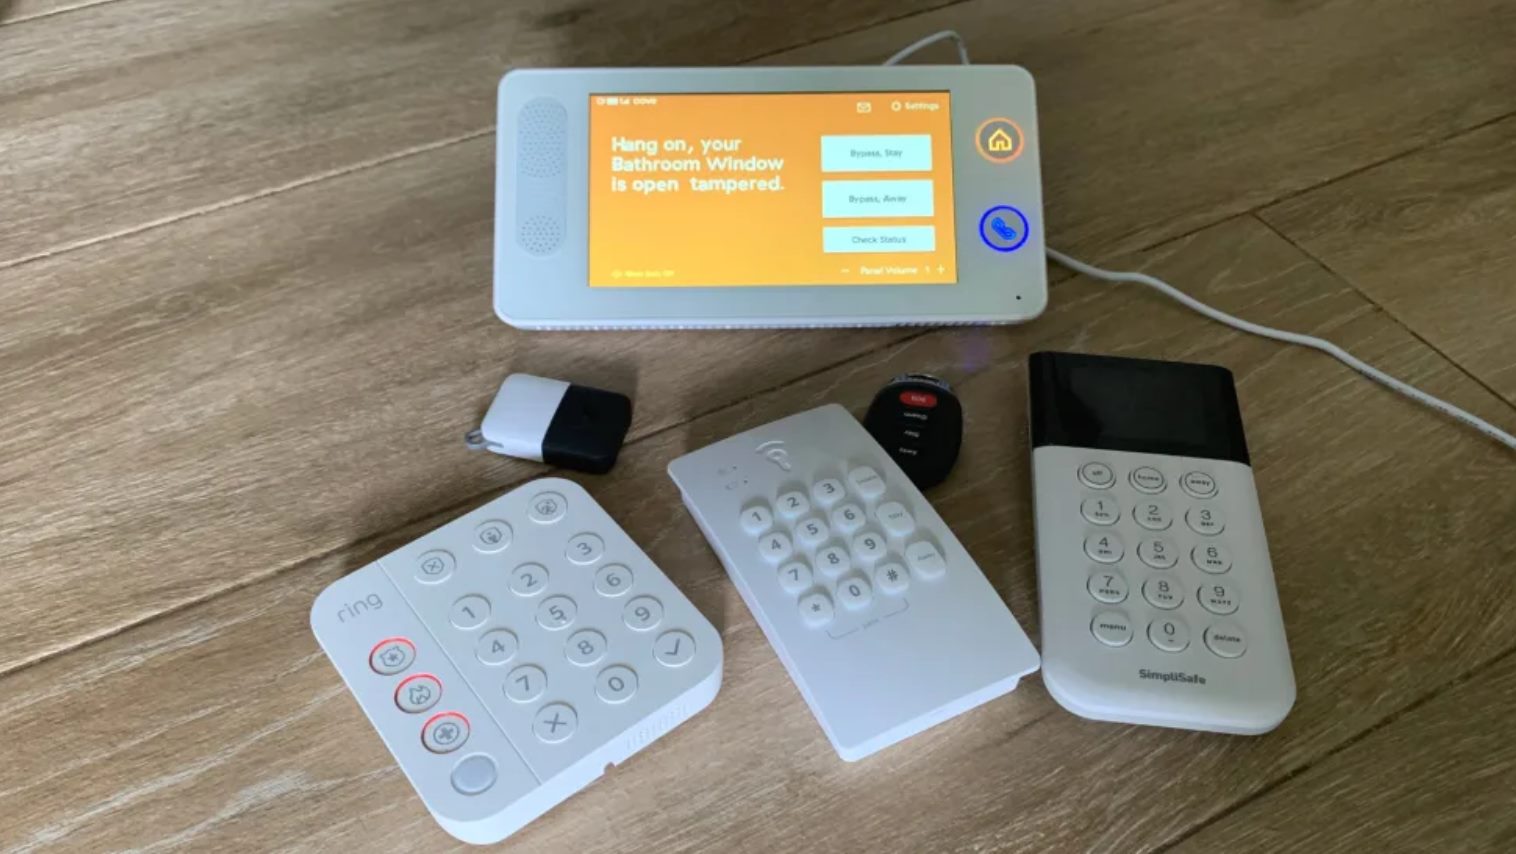
3. Remote Controls: Some smart home systems provide dedicated remote controls that allow you to control your devices without using a smartphone or voice assistant. These remotes usually offer buttons or touchscreens to trigger device actions or switch between predefined scenes.
4. Dedicated Control Panels: Depending on the smart home software you choose, you may have the option to set up dedicated control panels or touchscreens in your home for easy access and control. These panels typically mount on walls and provide a convenient way to manage and interact with your smart devices without relying on a smartphone or voice assistant.
5. Web Interface: Most smart home software includes a web-based interface, accessible through a browser on your computer or mobile devices. This alternative method allows you to control and monitor your smart home hub and devices using a graphical user interface from any device connected to your local network.
6. Automation Triggers: Take advantage of the automation features of your smart home software to create triggers and actions that occur automatically based on specific events. For example, you can set up motion sensors to turn on lights when someone enters a room, or schedule the thermostat to adjust temperatures based on your daily routine.
7. Manual Controls: In addition to the automated controls, it’s important to have manual control options for your devices. This ensures that you can physically interact with devices if needed, especially when smartphones or voice assistants are not easily accessible.
Experiment with these different control methods and find the ones that suit your preferences and lifestyle. You can even combine multiple control methods to create a seamless and flexible smart home experience.
Remember to regularly update your smart home software, apps, and devices to ensure they stay compatible and secure. Also, explore any new features or integrations that are released for your smart home system, as new updates can enhance the functionality and usability of your smart home hub.
In the next section, we will provide troubleshooting tips to help you overcome any challenges you may encounter and ensure the smooth operation of your smart home hub.
Troubleshooting and Tips
Building a smart home hub with a Raspberry Pi can be an exciting journey, but you may encounter some challenges along the way. Here are some troubleshooting tips and general advice to help you overcome common issues:
1. Check Hardware Connections: Ensure that all the hardware components of your Raspberry Pi and smart home devices are properly connected. Check the power supply, cables, and connections to make sure everything is securely in place.
2. Verify Wi-Fi Connectivity: If your smart home hub relies on Wi-Fi connectivity, ensure that it is connected to the correct network and has a stable connection. You can try rebooting your router or resetting the Wi-Fi settings on the Raspberry Pi if needed.
3. Update Software and Firmware: Regularly update the software and firmware of your Raspberry Pi, smart home software, and connected devices. Updates often include bug fixes, performance improvements, and new features that can resolve issues and enhance functionality.
4. Restart or Reboot: Sometimes a simple restart or reboot can solve minor issues. If you encounter any unexpected behavior or devices becoming unresponsive, try restarting the Raspberry Pi or resetting the connected devices.
5. Review Logs and Error Messages: If you encounter errors or issues, review the logs and error messages provided by your smart home software. They can often give you valuable information regarding the cause of the problem and guide you towards a solution.
6. Community Support and Forums: Utilize the online community support and forums for your chosen smart home software and Raspberry Pi. Often, fellow enthusiasts and experts can provide solutions, tips, and workarounds for common problems.
7. Experiment and Iterate: Building a smart home hub is a continuous learning process. Don’t be afraid to experiment, iterate, and try different configurations, devices, or automation setups. This will help you fine-tune your smart home to suit your specific needs and preferences.
8. Test Devices Individually: If you’re experiencing issues with specific devices, disconnect and test them individually to identify if the issue lies with the device or the smart home software. This can help you narrow down troubleshooting steps and resolve the problem more efficiently.
9. Secure Your Smart Home: As your smart home grows, prioritize security measures to protect your data and devices. Change default passwords, keep software and firmware up to date, and enable authentication and encryption features provided by your smart home software and devices.
10. Stay Up-to-Date: Keep up with the latest developments in smart home technology. New devices, software updates, and integrations are constantly being released. Stay informed about these advancements to take full advantage of the capabilities of your smart home hub.
Remember, building a smart home hub is an ongoing process that requires patience and experimentation. With the right troubleshooting techniques and a willingness to learn, you can overcome challenges and create a seamless and efficient smart home environment.
Now that you have a good understanding of troubleshooting and some helpful tips, you are equipped to navigate any issues that may arise during your smart home hub journey.
Conclusion
Congratulations on successfully building your own smart home hub with a Raspberry Pi! Throughout this guide, we have covered the essential steps to help you get started on your journey to creating a fully functional and customizable smart home. From setting up the Raspberry Pi to installing and configuring the smart home software, connecting and configuring devices, and troubleshooting common issues, you have gained valuable knowledge and skills in building and managing your smart home ecosystem.
A smart home hub powered by a Raspberry Pi offers numerous advantages, such as cost-effectiveness, flexibility, and a vast range of customization options. With the right smart home software and compatible devices, you have the power to control, automate, and monitor various aspects of your home environment with ease and convenience.
Remember to regularly update your smart home software, firmware, and connected devices to ensure optimal performance and take advantage of new features and improvements. Additionally, prioritize security measures to protect your data and devices from potential vulnerabilities.
As technology continues to evolve, the possibilities for smart home automation are endless. Stay curious, explore new devices and innovations, and continue to enhance your smart home setup to meet your changing needs and preferences.
We hope this guide has provided you with the knowledge and confidence to embark on your smart home journey. Enjoy the convenience, comfort, and efficiency that a smart home can offer, as you control your lights, adjust your thermostat, secure your home, and much more, all with a few taps on your smartphone or a simple voice command.
Now it’s time to enjoy the benefits of your own smart home hub and unlock a world of possibilities within your living space. Embrace the future of technology and make your home smarter, more connected, and more enjoyable!