Introduction
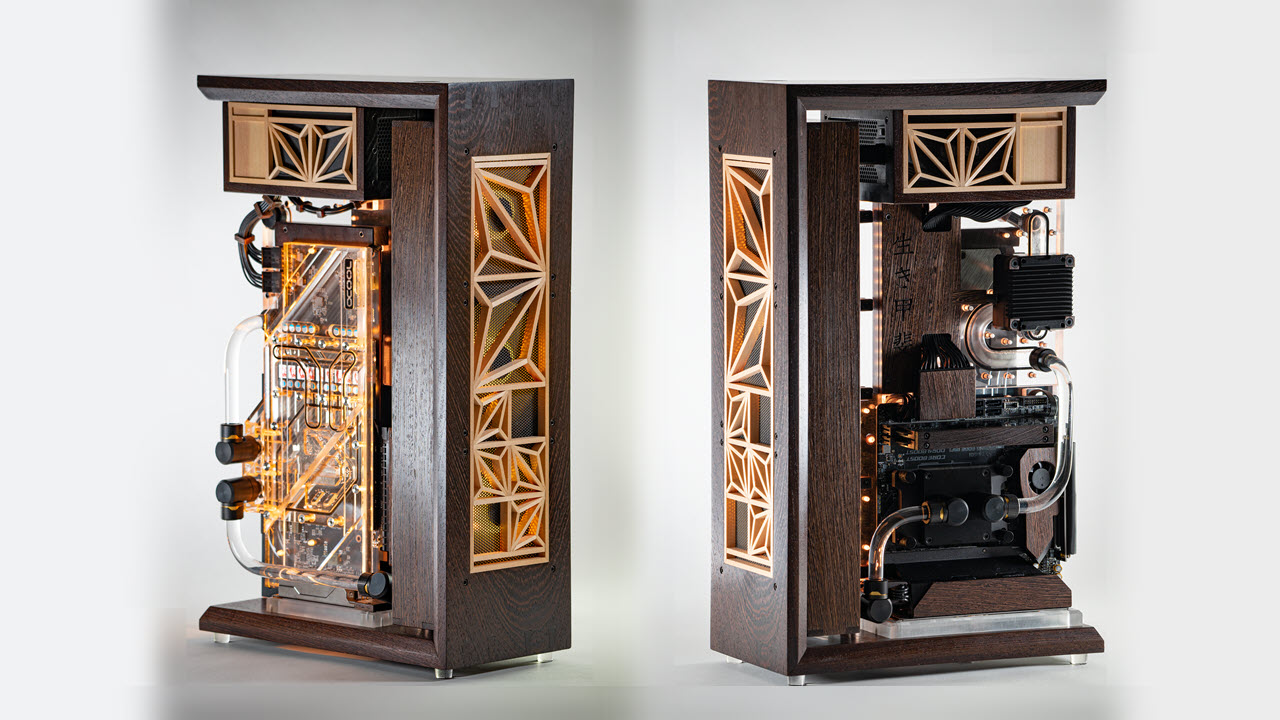
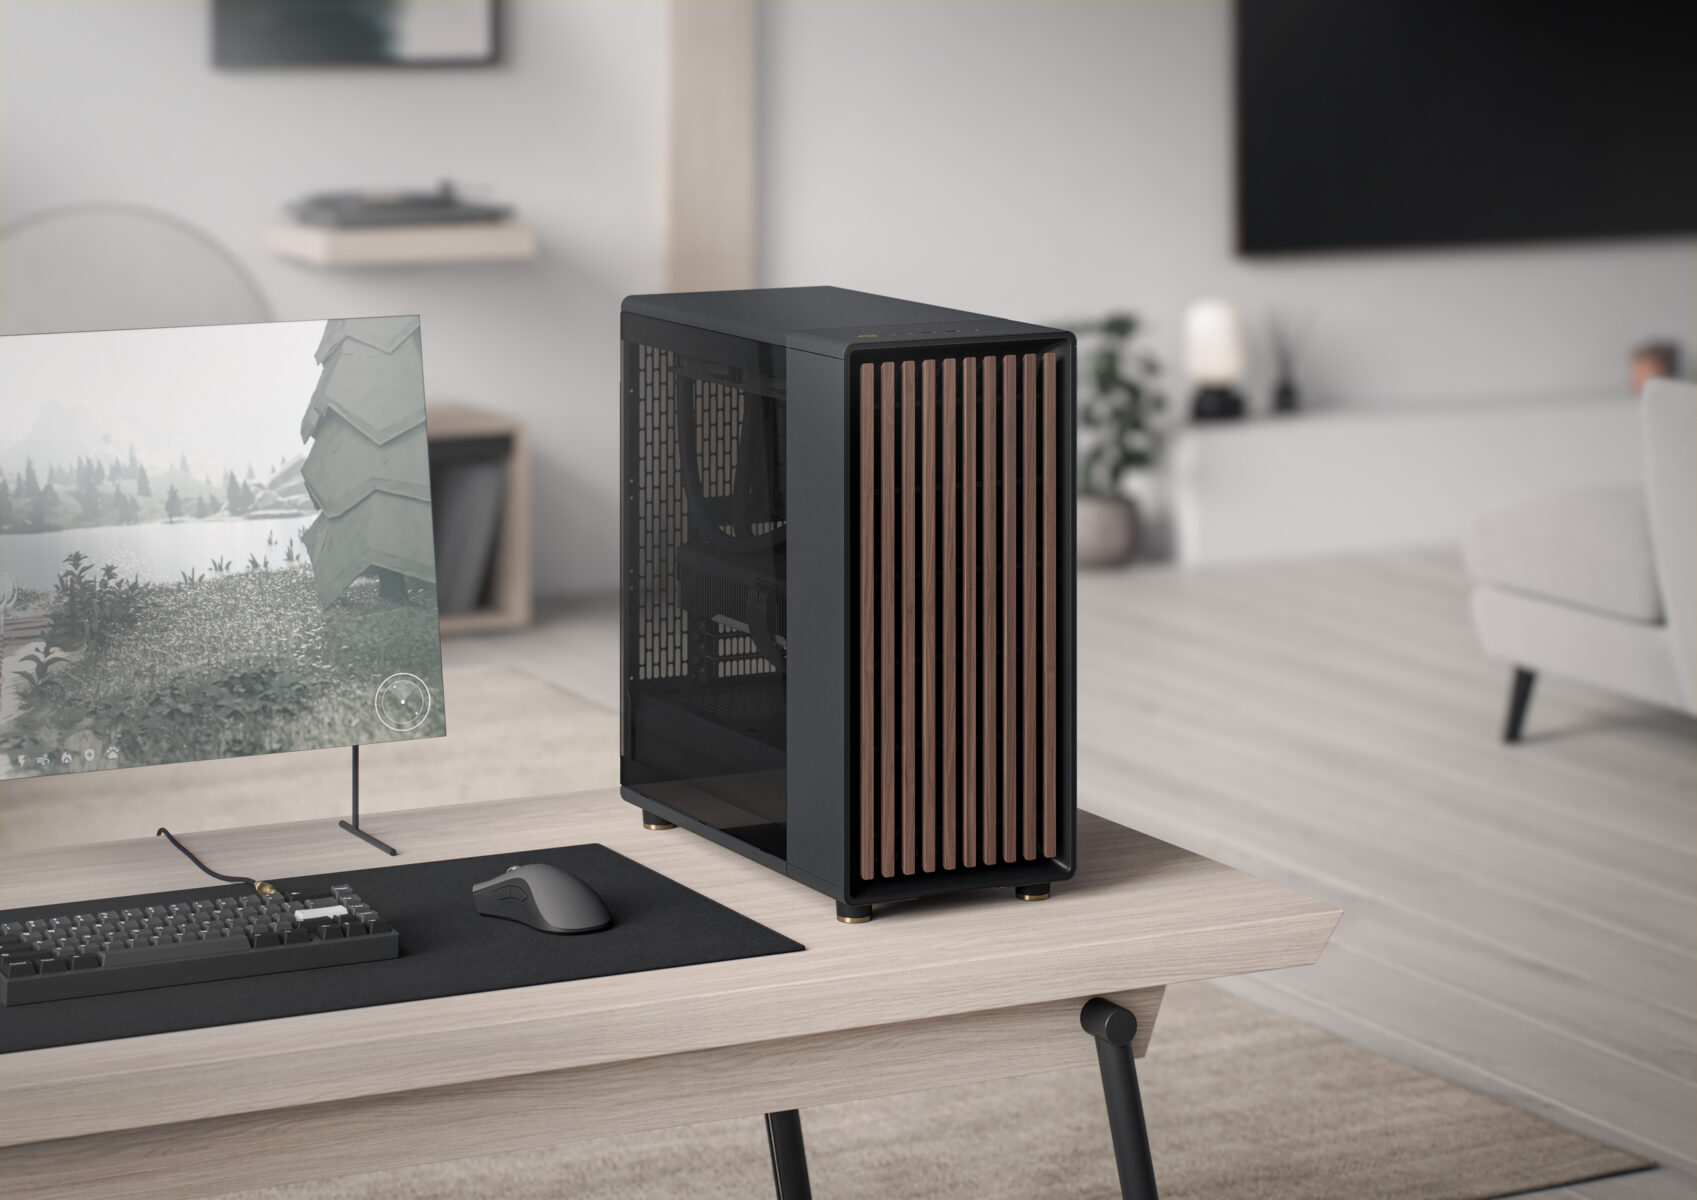
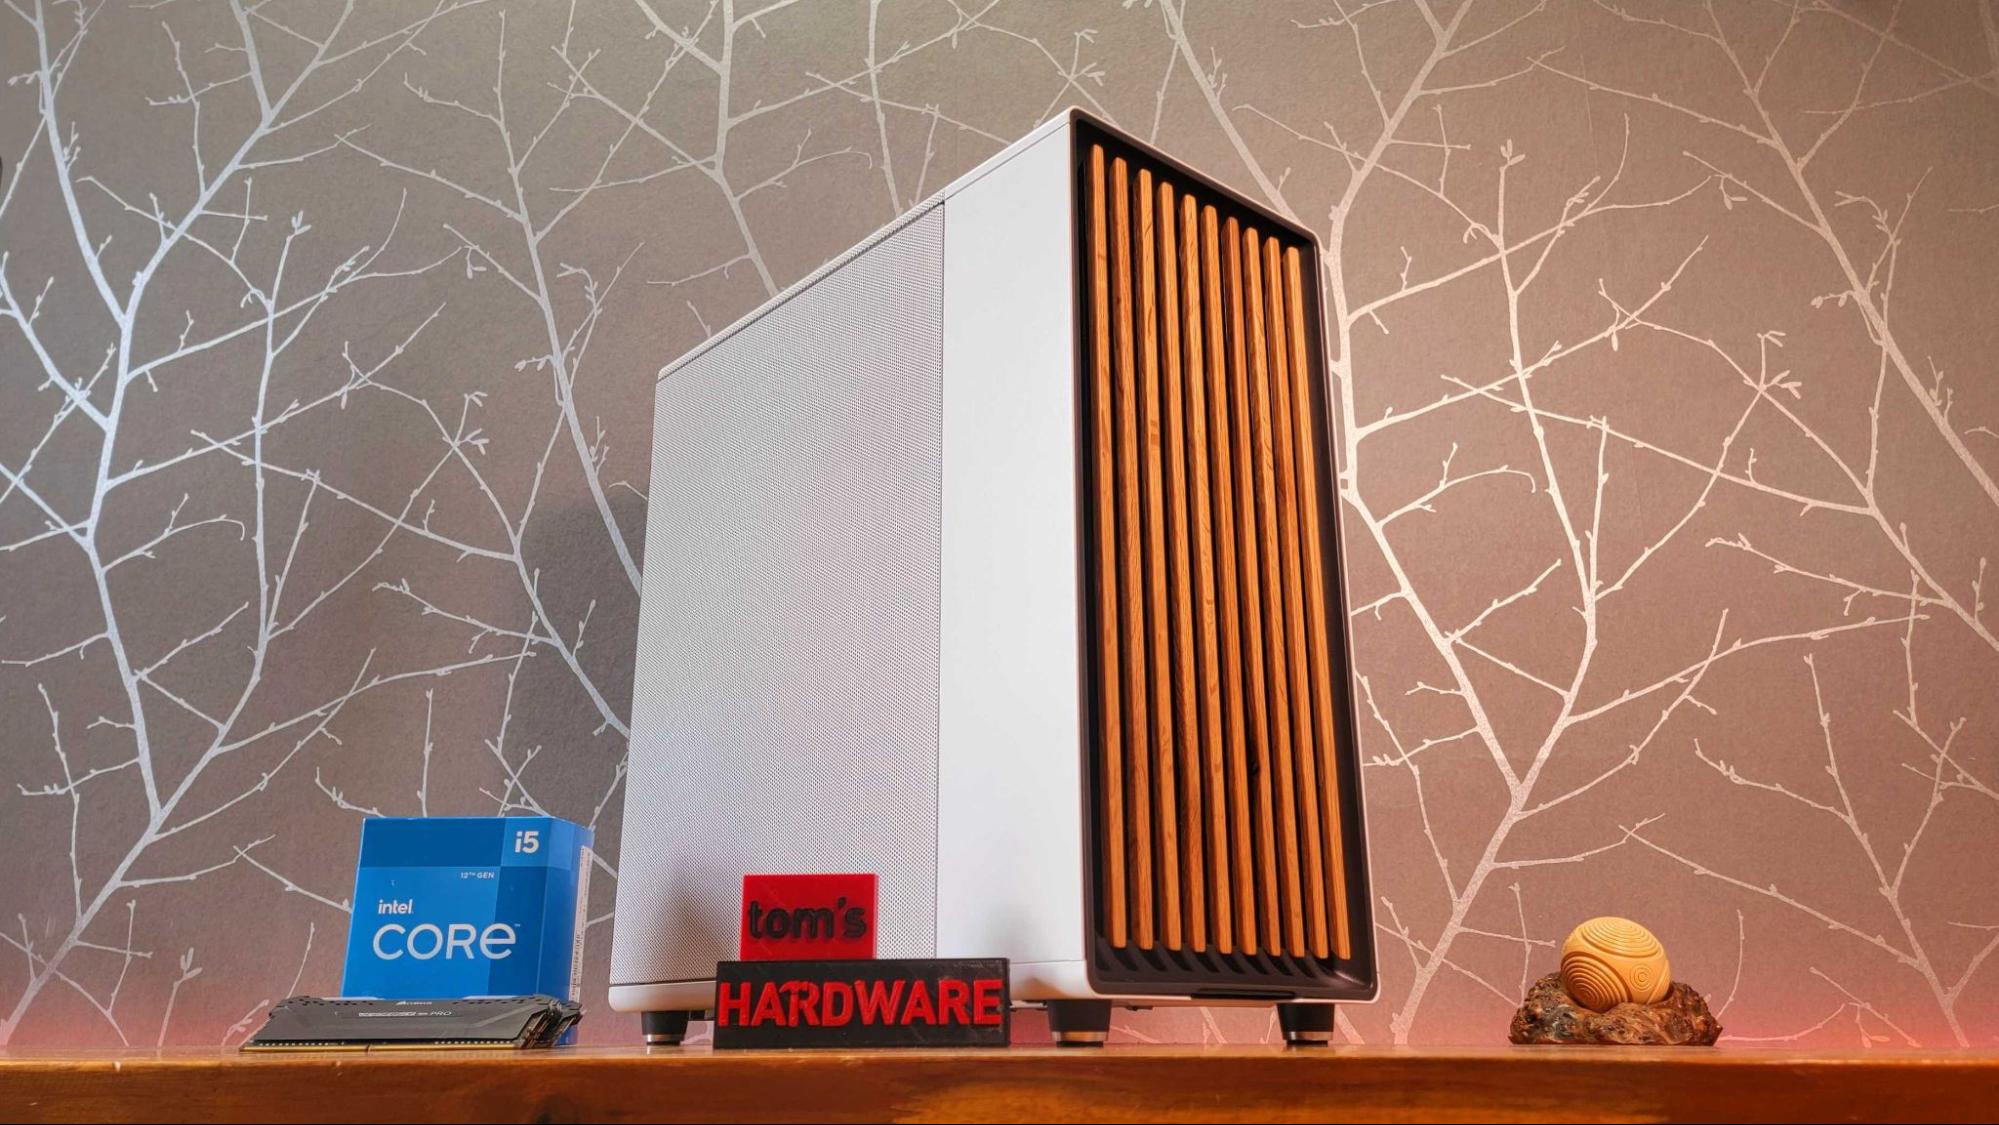
Welcome to the exciting world of building your own wooden PC case! If you’re a computer enthusiast looking to add a unique and personalized touch to your setup, building a wooden PC case can be a rewarding and fulfilling project. Not only will it showcase your creativity, but it will also provide a stylish and eco-friendly alternative to conventional metal cases.
Building a wooden PC case offers numerous benefits. Wood is a natural insulator, which helps to regulate the temperature inside the case and keep your components cool. Additionally, wood is a versatile material that allows for endless design possibilities, enabling you to create a one-of-a-kind PC case that reflects your personal style and preferences.
In this guide, we will walk you through the step-by-step process of building a wooden PC case. From planning and design to the assembly and installation of components, we will cover everything you need to know to successfully complete this project.
Before we dive into the details, it’s important to note that building a wooden PC case requires basic woodworking skills and tools. If you’re new to woodworking, don’t worry! This guide is designed to be beginner-friendly, providing clear instructions and tips along the way.
So, if you’re ready to embark on a creative and hands-on journey, let’s get started on building your very own wooden PC case!
Materials Needed
Before you begin building your wooden PC case, it’s important to gather all the necessary materials. Having everything on hand will ensure a smooth and uninterrupted process. Here’s a list of the main materials you’ll need:
- Wood: Choose a high-quality wood that is sturdy and durable. Popular options include plywood, MDF (Medium-density fibreboard), or solid wood.
- Measuring Tools: A tape measure, ruler, and combination square will help you accurately measure and mark the dimensions of the wooden panels.
- Table Saw or Circular Saw: These tools will be used to cut the wooden panels to the desired sizes.
- Screwdriver Set: A variety of screwdrivers, both flathead and Phillips, will be necessary for assembling the case and installing components.
- Drill and Drill Bits: A drill is essential for creating holes for screws, ventilation, cable management, and other purposes. Make sure to have a set of drill bits in different sizes.
- Screws and Fasteners: Select the appropriate screws and fasteners for attaching the wooden panels together and securing components.
- Ventilation Fans: Depending on the specifications of your PC, you may need one or more ventilation fans to ensure proper airflow and cooling.
- Power Supply Unit (PSU): Choose a PSU that fits your PC requirements and has the necessary wattage and connectors.
- Components: Gather all the components you plan to install in your PC, such as the motherboard, CPU, RAM, storage drives, and graphics card.
- Cable Management Accessories: Cable ties, Velcro straps, and cable clips will help keep your wires organized and minimize clutter.
It’s worth noting that the specific materials needed may vary depending on the design and size of your PC case. Consider researching and planning your design in advance to ensure you have all the necessary supplies.
Now that you have a clear idea of the materials needed, let’s move on to planning and designing your wooden PC case!
Step 1: Planning and Design
Before diving into the construction process, it’s crucial to plan and design your wooden PC case. This step is essential for ensuring that your case meets your requirements and accommodates all the components you plan to install.
Here are the key steps to follow in the planning and design phase:
- Evaluate Your Needs: Determine the specific requirements of your PC. Consider factors such as the size of the motherboard, the number of storage drives, the length of the graphics card, and any other additional components you may want to include.
- Choose the Case Form Factor: Select the form factor that suits your needs, whether it’s ATX, Micro ATX, Mini-ITX, or another size. This will determine the overall dimensions of your case.
- Sketch Your Design: Use a pen and paper or design software to sketch your ideal PC case design. Consider the placement of components, the arrangement of ventilation holes, the location of USB ports and other connectors, and any additional features you want to incorporate.
- Consider Cable Management: Adequate cable management is crucial for a clean and organized build. Plan for cable routing paths and consider adding cable management features such as hidden compartments or routing holes in your design.
- Measure and Calculate: Use the measurements of your chosen motherboard and components to calculate the dimensions of the wooden panels you’ll need to cut. Ensure that your panels will have enough space for all the components and allow proper airflow.
- Research and Gather Inspiration: Browse online forums, blogs, and websites to gather inspiration and ideas for your design. Pay attention to the different types of wood, finishes, and unique features that others have incorporated into their custom cases.
Once you’ve completed these steps, you’ll have a solid plan and design for your wooden PC case. This blueprint will guide you throughout the construction process and help you achieve the desired result.
Now that you have a clear understanding of the planning and design phase, it’s time to gather the necessary materials for your build. Let’s move on to the next step in building your wooden PC case: gathering the materials.
Step 2: Gathering the Materials
Now that you have a well-thought-out plan and design for your wooden PC case, it’s time to gather all the necessary materials. Ensuring that you have everything on hand before starting the construction will make the process smoother and more efficient.
Here are the key steps to follow in the material gathering phase:
- Wood Selection: Choose the type of wood you want to use for your PC case. Opt for a sturdy and durable option such as plywood, MDF (Medium-density fibreboard), or solid wood. Consider the aesthetics, cost, and availability of the wood.
- Measuring Tools: Make sure you have measuring tools like a tape measure, ruler, and combination square. These tools will help you accurately measure and mark the dimensions of the wooden panels.
- Saw: Depending on your preference and availability, either a table saw or a circular saw will be necessary to cut the wood panels to the desired sizes. Ensure that you have the appropriate safety gear such as safety glasses and gloves.
- Screwdriver Set: A variety of screwdrivers, including flathead and Phillips, will be needed for assembling the case and installing components. Make sure you have a set of screwdrivers in different sizes.
- Drill and Drill Bits: A drill is essential for creating holes for screws, ventilation, cable management, and other purposes. Have a drill along with a set of drill bits in various sizes to accommodate different hole requirements.
- Screws and Fasteners: Select the appropriate screws and fasteners for attaching the wooden panels together and securing components. Consider the size and material of the screws based on the thickness of the wood panels.
- Ventilation Fans: Depending on the specifications of your PC, you may need ventilation fans to ensure proper airflow and cooling. Choose fans that fit the size and design of your PC case, and consider the noise level and airflow capacity.
- Power Supply Unit (PSU): Select a PSU that matches the power requirements of your PC components and has the necessary connectors. Ensure it fits within the dimensions and design of your case.
- Components: Gather all the components you plan to install in your PC, such as the motherboard, CPU, RAM, storage drives, and graphics card. Consider the compatibility of the components with the selected form factor and dimensions of your case.
- Cable Management Accessories: To maintain a tidy build, gather cable ties, Velcro straps, cable clips, and any other cable management accessories that will help keep your wires organized and minimize clutter.
By following these steps and ensuring you have all the necessary materials, you’ll be well-prepared and equipped to move on to the next phase of constructing your wooden PC case.
Now that you have gathered all the materials, it’s time to move on to the next steps: disassembling the old PC case and cutting the wooden panels.
Step 3: Disassembling the Old PC Case
Before you can begin building your wooden PC case, you’ll need to disassemble the old case that houses your current components. This step will allow you to salvage the necessary components and transfer them to the new wooden case.
Follow these steps to disassemble the old PC case:
- Prepare your workspace: Find a clean, well-lit area where you can work comfortably. It’s a good idea to have a tray or container nearby to keep screws and small components organized.
- Power down and unplug: Turn off your computer and make sure to unplug it from the power source. This is a crucial safety precaution to avoid any accidents during the disassembly process.
- Remove the side panels: Most PC cases have removable side panels held in place by screws. Use the appropriate screwdriver to remove these screws and carefully take off the side panels.
- Remove the components: Identify the components you want to salvage from the old case, such as the motherboard, CPU, RAM, storage drives, and graphics card. Disconnect all the cables and screws that are holding them in place.
- Label cables and connections: As you disconnect the cables from the components, it’s helpful to label them or take pictures to ensure easy reassembly later on. This will save you time and confusion when you’re installing the components in the new wooden case.
- Remove the power supply: Carefully disconnect the power supply unit (PSU) from the motherboard and other connected components. Unscrew any screws that are securing the PSU in place and gently remove it from the case.
- Remove any additional components: If there are any other add-on cards or peripherals, such as sound cards, Wi-Fi adapters, or extra storage drives, disconnect them from the motherboard and remove them from the old case.
- Store the salvaged components safely: Once you have removed all the components, place them in an anti-static bag or wrap them in an anti-static material to prevent any static electricity damage. Store them in a safe place until you are ready to install them in the new wooden case.
By carefully disassembling your old PC case, you have now retrieved all the necessary components to be utilized in your forthcoming wooden PC case build. Now it’s time to move on to the next step, cutting the wooden panels.
Step 4: Cutting the Wooden Panels
With the salvaged components ready and the old PC case disassembled, it’s time to move on to cutting the wooden panels for your new PC case. This step involves precise measurements and careful execution to ensure the panels fit together perfectly and create a functional and aesthetically pleasing case.
Follow these steps to cut the wooden panels:
- Measure the dimensions: Using your chosen design and the measurements of your salvaged components as references, measure and mark the dimensions for the wooden panels. Pay attention to dimensions such as the height, width, and depth of the case, as well as the specific cutouts needed for component installation and ventilation.
- Prepare the wood: Place the selected wood material on a stable work surface and ensure it is securely clamped or held in place. This will prevent any shifting or movement during the cutting process and help you achieve accurate cuts.
- Set up the saw: If you’re using a table saw, adjust the blade height and the fence to align with your measurements. If you’re using a circular saw, attach a guide rail or use a straight edge to ensure a straight and precise cut.
- Cut the wooden panels: Carefully guide the wood through the saw, following your marked measurements. Take your time and maintain a steady hand to achieve clean and straight cuts. Always prioritize safety by using protective gear and keeping your hands away from the blade.
- Smooth the edges: After cutting the panels, use sandpaper or a router with a chamfering bit to smooth the edges. This will give your case a polished and professional look and prevent any splintering or rough surfaces.
- Check the fit: Before proceeding, double-check that the wooden panels fit together as intended. Ensure there is enough clearance for components, connectors, and ventilation. Make any necessary adjustments or trim excess wood if needed.
- Label the panels: To avoid confusion during the assembly process, label each wooden panel according to its placement or function in the case. This will help you easily identify which panel goes where and ensure a smooth construction.
By following these steps, you’ll have successfully cut the wooden panels for your new PC case. These panels will serve as the foundation for assembling and housing your components. With the panels ready, it’s time to move on to the next step: preparing the ventilation holes.
Step 5: Preparing the Ventilation Holes
Proper ventilation is vital for maintaining optimal airflow and cooling within your wooden PC case. In this step, we will focus on preparing the necessary ventilation holes to ensure that your components stay cool and perform at their best.
Follow these steps to prepare the ventilation holes:
- Mark the hole positions: Determine the optimal locations for your ventilation holes based on your design, component placement, and airflow requirements. Mark these positions on the wooden panels using a pencil or marker.
- Select the hole sizes: Consider the size and number of ventilation holes needed for proper airflow. Choose appropriate hole sizes that correspond to the fans or air intakes you plan to install. Common sizes include 120mm and 140mm for PC case fans.
- Drill the ventilation holes: Use a drill with the appropriate size drill bit to create the ventilation holes. Place a piece of scrap wood underneath the panel to prevent any tear-out or splintering as you drill. Start with a pilot hole, then gradually increase the size of the hole until it matches your chosen ventilation size.
- Create additional ventilation options: Depending on your design and preference, you can also incorporate other ventilation options such as cutouts or perforations. These additional features will promote better airflow and cooling for your components.
- Smooth the edges: After drilling the ventilation holes, use sandpaper or a file to smooth any rough edges or splinters. This will prevent any potential damage to cables or components during the assembly process.
- Test the airflow: Before proceeding further, test the airflow in your case by placing a fan or your hand near the ventilation holes. Ensure that there is sufficient airflow and that the fans can draw cool air in and expel hot air out of the case.
By following these steps, you will have successfully prepared the necessary ventilation holes in your wooden PC case. Proper ventilation is essential for keeping your components cool and preventing heat-related issues that can affect performance and longevity.
Now that the ventilation holes are ready, it’s time to move on to the exciting part of the process: assembling the wooden panels to create the structure of your PC case.
Step 6: Assembling the Wooden Panels
With the wooden panels cut and the ventilation holes prepared, it’s time to start assembling the structure of your wooden PC case. This step will bring your design to life and create a solid foundation for installing your components.
Follow these steps to assemble the wooden panels:
- Prepare the workspace: Clear a clean and spacious area where you can assemble the case without any obstructions. Make sure all the wooden panels and necessary tools are easily accessible.
- Organize the panels: Lay out the wooden panels according to your labeled markings. This will help you easily identify which panel goes where during the assembly process.
- Attach the panels: Start by attaching the first panel to create the base or the back of the case. Use clamps or helpers to hold the panels in place as you secure them with screws. Use the appropriate screwdriver to avoid damaging the wood.
- Continue with the remaining panels: Work your way around the case, attaching the remaining panels one by one. Ensure that each panel is aligned properly and flush with the adjacent panels. Use clamps if necessary to hold the panels steady during the assembly process.
- Check for stability: Once all the panels are attached, check the stability of the structure. Gently shake the case to ensure that it feels sturdy and secure. Make any necessary adjustments or tighten any loose screws.
- Test component fit: Now is the time to test the fit of your components within the assembled case. Place the motherboard, PSU, storage drives, and other components in their designated positions to ensure they fit properly and allow for proper cable management.
- Make any necessary modifications: If you encounter any issues with component compatibility or fit, make appropriate modifications to the wooden panels. This may involve enlarging existing cutouts, creating new cutouts, or adding additional support structures.
- Finalize the assembly: Once you are satisfied with the fit and stability of the case, proceed to secure all the screws firmly. Double-check that all the panels are aligned correctly and flush with one another.
By following these steps, you will successfully assemble the wooden panels and create the framework of your wooden PC case. The solid structure will provide the foundation for housing and showcasing your components in the next steps.
Now that the case is assembled, it’s time to move on to the exciting part: installing the components into your custom wooden PC case!
Step 7: Installing the Components
With the wooden panels assembled, it’s time to move on to the next exciting step: installing the components into your custom wooden PC case. This is where your PC begins to take shape, and you can see your hard work coming together.
Follow these steps to install the components:
- Prepare your workspace: Ensure you have ample room to work comfortably and access the components and tools you’ll need. Make sure you have an anti-static surface or mat to protect sensitive components.
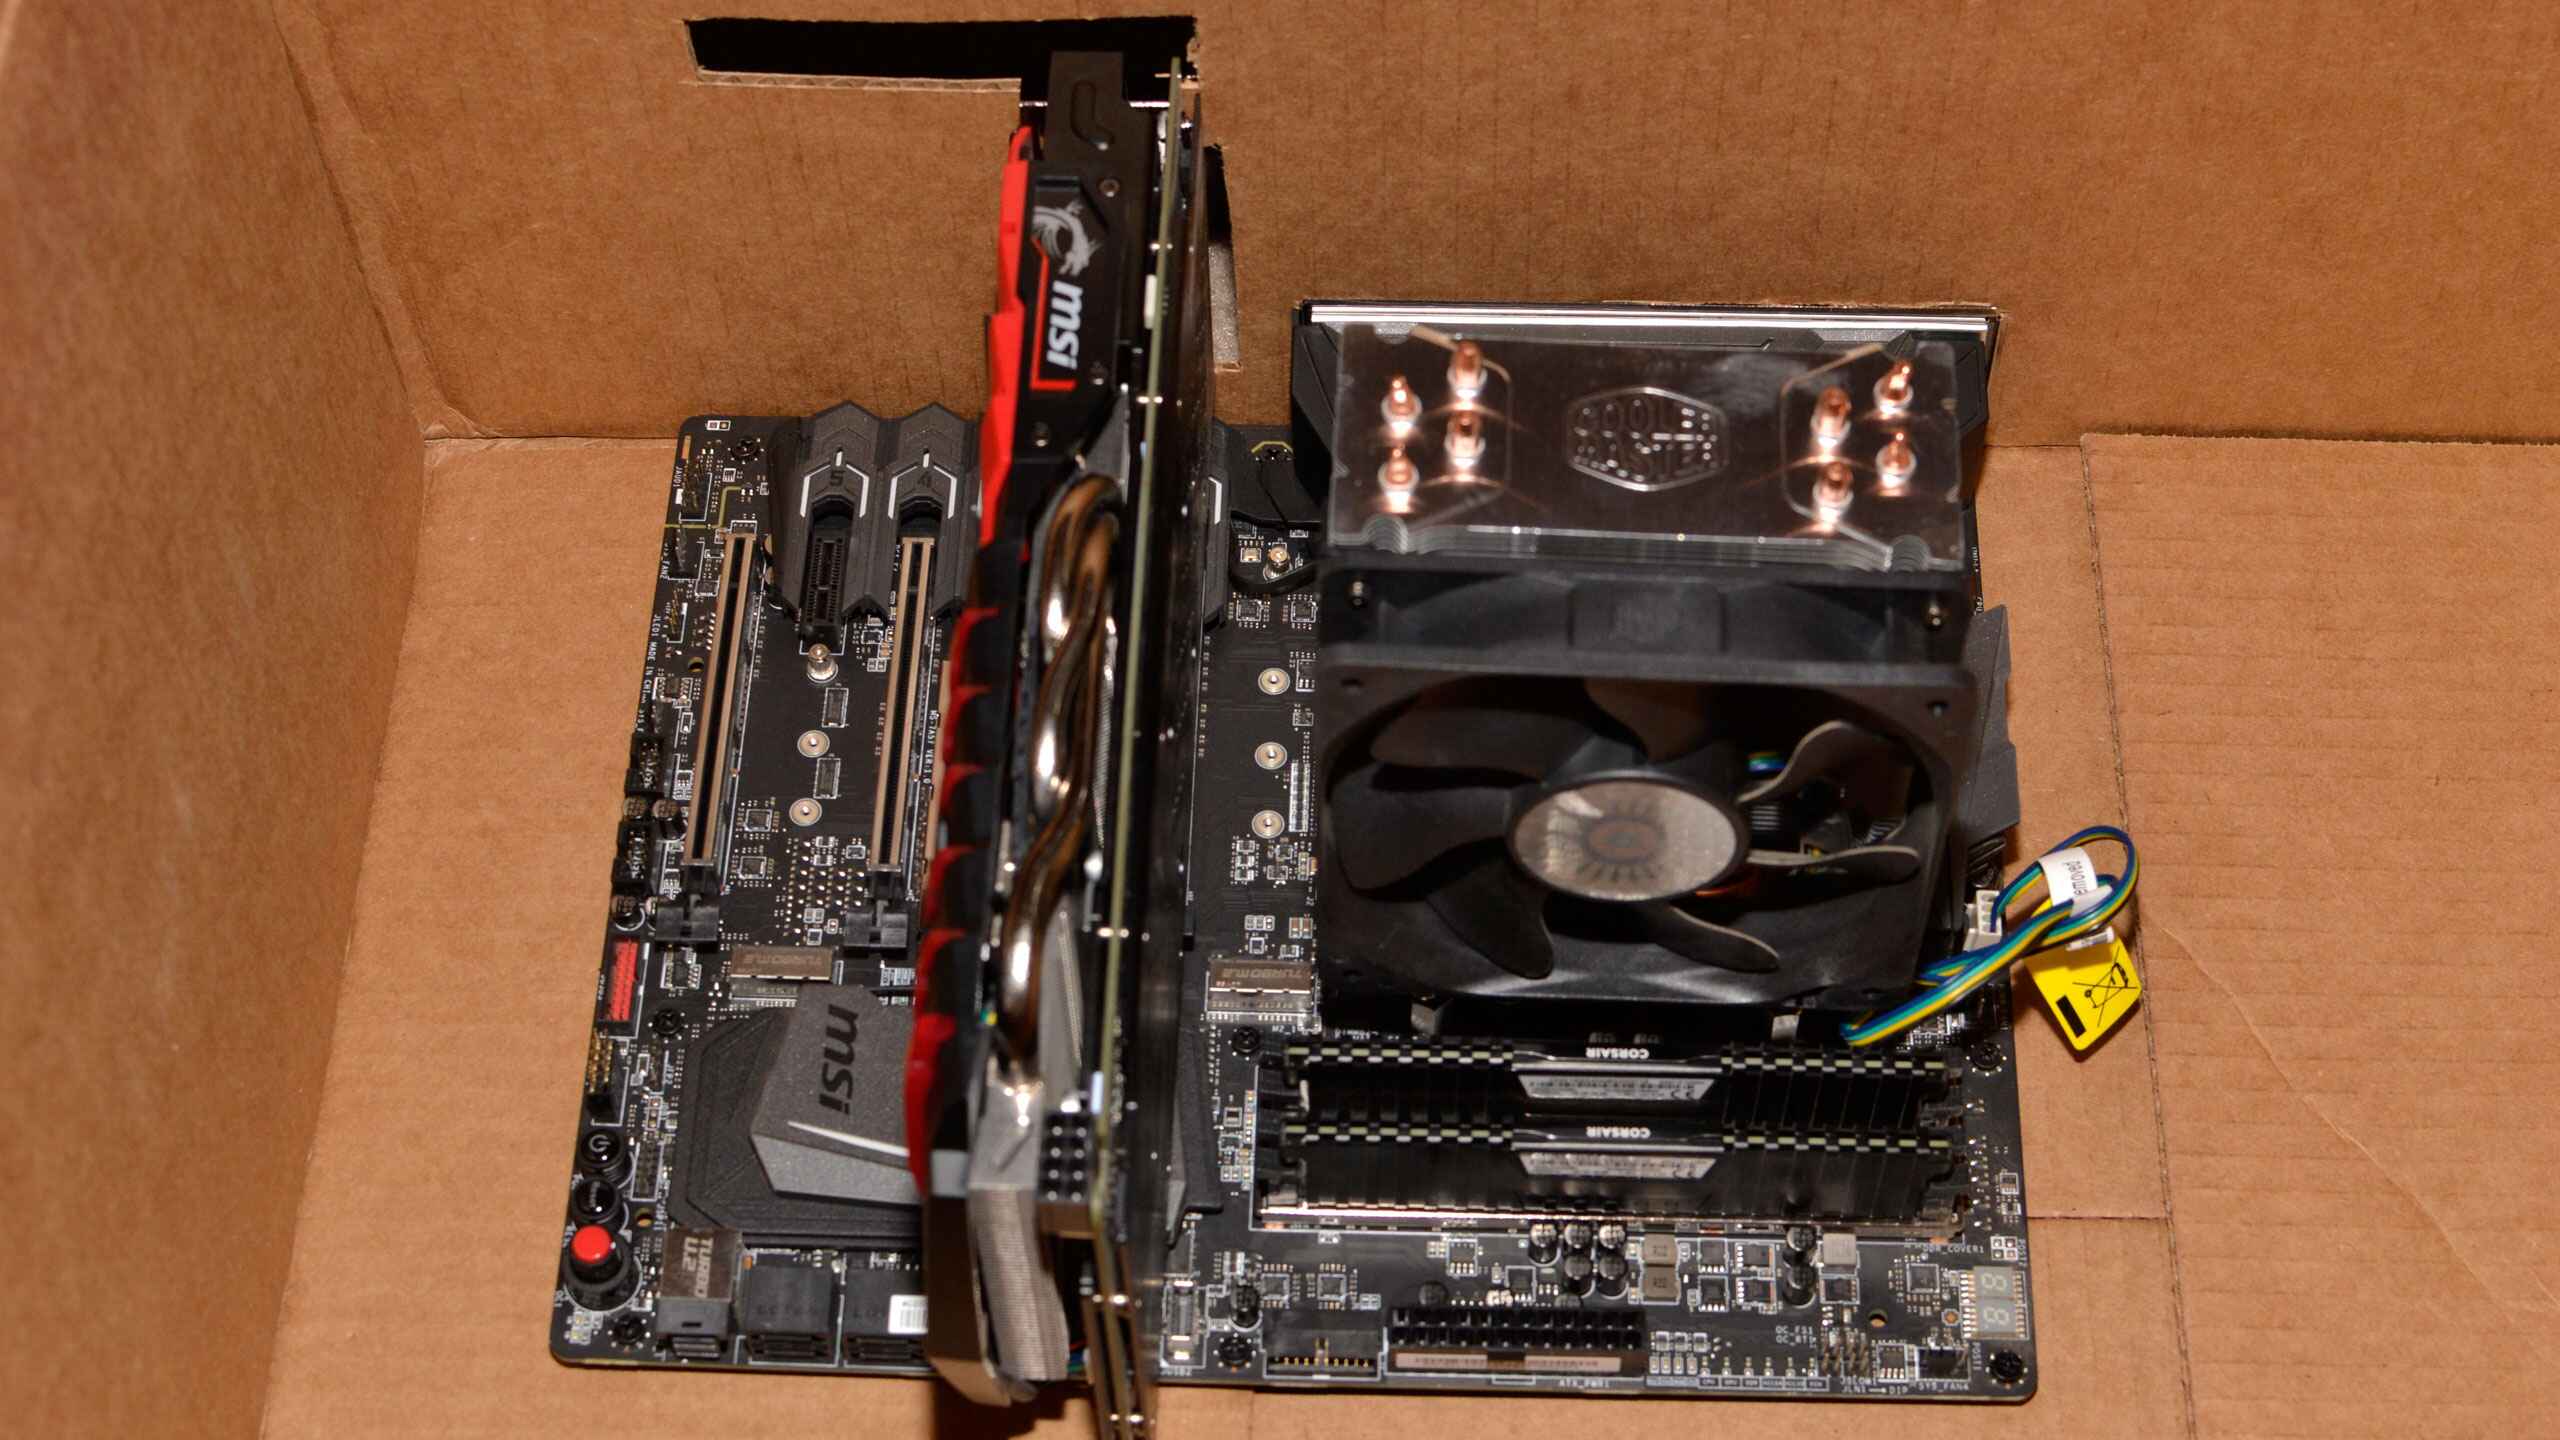
- Start with the motherboard: Carefully place the motherboard onto the designated area within the case. Align the screw holes on the motherboard with those on the case, and use the appropriate screws to secure it in place. Ensure that the I/O shield lines up properly with the corresponding cutout on the case.
- Install the CPU and cooler: Depending on your CPU and cooling solution, carefully install the CPU onto the motherboard as per the manufacturer’s instructions. Then, mount the CPU cooler securely, ensuring proper contact with the CPU for efficient cooling.
- Add RAM modules: Insert the RAM modules into the motherboard’s memory slots, following the recommended configuration outlined in your motherboard’s manual. Apply gentle pressure until the modules click into place.
- Connect the storage devices: Install your storage drives, such as SSDs or HDDs, into the designated drive bays or mounting areas within the case. Connect the necessary power and data cables, ensuring a secure connection.
- Mount the graphics card: Align the graphics card with the appropriate PCIe slot on the motherboard, applying gentle pressure until it is fully seated. Secure it in place using the screws provided. Ensure it is properly connected to the power supply.
- Connect the power supply: Position the power supply unit (PSU) in the designated area of the case, aligning the screw holes with those on the case. Secure it with the appropriate screws. Connect the necessary power cables to the motherboard, graphics card, drives, and other components.
- Connect other components: Install any additional components, such as Wi-Fi cards, sound cards, or expansion cards, as required. Connect their respective cables and ensure they are secure.
- Cable management: Tidy up the cables, ensuring they are organized and out of the way. Utilize cable ties, Velcro straps, or other cable management solutions to keep the cables neat and prevent airflow obstruction.
- Double-check connections: Give all connections a final check to ensure they are secure and properly connected. Ensure that cables are routed correctly and not blocking any ventilation or components.
By following these steps, you will successfully install the components into your custom wooden PC case. Take your time and double-check every connection to ensure a smooth and successful installation process.
Now that all the components are installed, it’s time to move on to the next step: wiring and cable management to ensure a clean and organized build.
Step 8: Wiring and Cable Management
Once all the components are installed in your custom wooden PC case, it’s important to focus on wiring and cable management. This step will not only improve the aesthetics of your build but also enhance airflow and ensure efficient operation of your PC.
Follow these steps to handle wiring and cable management:
- Organize the cables: Take the time to separate and organize the various cables coming from your components. Group similar cables together to make them easier to manage and identify.
- Route cables strategically: Carefully route each cable to its appropriate connection point, considering the shortest and cleanest path. Route cables away from fans and components to prevent obstruction and airflow issues.
- Use cable management accessories: Utilize cable ties, Velcro straps, cable clips, and other cable management accessories to secure and organize the cables. Bundle and tuck away excess cables to minimize clutter and improve airflow.
- Label cables (if desired): For future reference or easy identification, consider using labels or color-coded tags on your cables. This will aid troubleshooting and make it easier to identify specific cables in the future.
- Ensure proper connections: Double-check all the cable connections to ensure they are firmly attached and not loose. Confirm that power cables, data cables, and peripheral cables are properly connected to their respective components.
- Verify cable length: Ensure that your cables are neither too short nor excessively long. Proper cable length helps maintain an organized build and prevents unnecessary strain or interference with other components.
- Avoid tangles and twists: Take care to prevent cable tangles and twists, as they can impede proper airflow and make future upgrades or maintenance more challenging. Regularly check and adjust cables to maintain a clean and organized build.
- Recheck cable routing: Double-check the cable routing to confirm that no cables are obstructing the movement of fans, interfering with heat sinks, or causing any potential hazards such as snagging or pulling on other components.
- Test the PC: After completing cable management, power on your PC to ensure that all components are functioning properly. Verify that all fans are spinning, temperatures are stable, and there are no error messages on the screen.
- Make final adjustments: Make any necessary adjustments to the cables or cable management based on the performance and overall aesthetics of your build. Achieve the desired balance between functionality and visual appeal.
By following these steps, you will achieve a clean and well-organized wiring and cable management setup. Not only will this enhance the overall appearance of your custom wooden PC case, but it will also contribute to optimal airflow and maintenance ease.
Now that all the wiring and cable management have been taken care of, it’s time to move on to the next step: testing the functionality of your newly built PC!
Step 9: Testing the PC
With all the components installed and the cables properly managed, it’s time to test the functionality of your newly built PC. Testing ensures that all hardware components are working correctly and allows you to address any issues or errors before regular use.
Follow these steps to properly test your PC:
- Double-check connections: Before powering on the PC, review all the connections to ensure that everything is properly connected and secure. Confirm that all cables are tightly plugged in and that there are no loose connections.
- Power on the PC: Connect the power cable to your power supply unit (PSU) and ensure it is securely plugged into a power outlet. Press the power button on your PC case to turn it on.
- Listen for beeps: During the startup process, pay attention to any beeps or error codes emitted by your motherboard. These will indicate any hardware issues that need to be addressed.
- Check the BIOS: As your PC starts up, enter the BIOS by pressing the designated key (often Del, F2, or Esc) when prompted. Review the settings and ensure that the hardware components are correctly detected.
- Monitor display: Verify that your monitor is properly connected to your graphics card or motherboard and that you have a stable display signal. Check for any abnormalities such as flickering or distorted visuals.
- Run hardware diagnostics: Utilize diagnostic tools and software to test the performance and stability of your CPU, RAM, storage drives, and graphics card. Monitor the temperature and ensure that everything is within safe limits.
- Test input/output devices: Ensure that all input/output devices such as keyboards, mice, speakers, and audio jacks are functional. Test each device to confirm proper operation.
- Perform stress testing: Push your PC to its limits by running stress tests or benchmarking software. Monitor the performance, temperatures, and stability of your system to ensure it can handle demanding tasks.
- Check system stability: After running stress tests, monitor your PC for an extended period to ensure its stability. Look out for any crashes, freezes, or unexpected shutdowns that could indicate potential issues.
- Update drivers and software: Install the latest drivers and software updates for your components and operating system. This ensures optimal performance and compatibility with the latest features and enhancements.
By following these steps and thoroughly testing your PC, you can identify and resolve any issues or errors early on. This step is crucial in ensuring that your newly built PC functions properly and meets your performance expectations.
Now that you have tested your PC and confirmed its functionality, it’s time for the final step: adding the finishing touches to your custom wooden PC case!
Step 10: Finishing Touches
Congratulations on completing the construction and testing of your wooden PC case! Now it’s time to add the finishing touches and put your personal stamp on your creation. These final steps will enhance the aesthetics and functionality of your custom case.
Follow these steps to add the finishing touches to your wooden PC case:
- Clean the case: Wipe down the exterior of the case with a soft cloth to remove any dust or fingerprints. Ensure that the wooden panels are clean and free from any debris.
- Apply a protective finish: Consider applying a protective finish to the wooden panels to enhance their durability and appearance. Choose a finish that suits your desired look, whether it’s a natural wood finish, stain, or paint.
- Add personal touches: Personalize your case by adding decals, stickers, or custom artwork to the exterior. This allows you to showcase your creativity and make your PC case truly unique.
- Install additional case accessories: Enhance the functionality of your case by installing additional accessories such as LED lighting, fan controllers, or a temperature monitoring system. These accessories can elevate both the look and performance of your PC.
- Manage additional cables: If you have any additional cables such as external devices or peripherals, make sure to manage them properly. Utilize cable management solutions to keep them organized and prevent clutter.
- Document your build: Take photos or videos to document your PC build process. This will serve as a memory and reference for future upgrades or troubleshooting.
- Share your build: Show off your hard work by sharing your PC build on online forums or social media platforms. It’s a great opportunity to inspire others and receive feedback or advice from the community.
- Maintain and clean your PC: Regularly clean your PC case by dusting it and ensuring proper airflow. Perform routine maintenance tasks such as checking and cleaning fans, replacing thermal paste, and cleaning filters, if applicable.
- Enjoy your custom wooden PC case: Sit back, power on your PC, and revel in the satisfaction of creating a unique and functional piece of technology. Enjoy the pride of using a PC case that reflects your personal style and creativity.
By following these final steps and adding the finishing touches, you will complete your custom wooden PC case project in style. It’s now time to showcase and enjoy your beautifully crafted, one-of-a-kind creation.
Remember, your wooden PC case is more than just a functional enclosure; it’s a testament to your creativity and craftsmanship. Be proud of the hard work you put into building it!
Conclusion
Congratulations on successfully completing the construction of your custom wooden PC case! Through careful planning, precise execution, and meticulous attention to detail, you have created a unique and personalized piece of technology that reflects your creativity and craftsmanship.
Building a wooden PC case is a rewarding journey that goes beyond the functionality of a traditional metal case. By using wood as your material of choice, you have not only created a visually appealing and eco-friendly alternative, but you have also harnessed the natural insulating properties of wood to promote better airflow and cooling for your components.
From the initial planning and design phase to the assembly of the wooden panels, each step has brought you closer to your vision of a custom PC case that truly stands out. The careful selection of materials, precise cutting of panels, and meticulous cable management ensure that your PC case is not only aesthetically pleasing but also functional and efficient.
Throughout this journey, you have gained valuable skills in woodworking, cable management, and hardware installation. These skills will serve you well as you continue to explore the world of PC building and customization.
Remember to share your journey with others, whether it’s showcasing your build on online forums or social media platforms. Your custom wooden PC case can inspire others to embark on their own creative projects and foster a sense of community within the PC building community.
Maintain regular upkeep of your custom case by cleaning it regularly and performing routine maintenance to ensure that it continues to showcase your PC components effectively and efficiently.
Now it’s time to power on your PC, admire your handiwork, and enjoy the fruits of your labor. Your custom wooden PC case will be the centerpiece of your setup, representing your unique style and passion for technology.
Thank you for joining us on this journey, and we hope you continue to explore the world of PC building and customization. Happy computing!


