Introduction
Boiling chickpeas is an essential step in many delicious recipes, from hearty stews to creamy hummus. While the traditional stovetop method works fine, using an electric pressure cooker can significantly reduce cooking time without compromising on flavor or texture. If you’ve recently invested in an electric pressure cooker and you’re wondering how to boil chickpeas in it, look no further!
In this article, we will guide you through the simple steps of perfectly boiling chickpeas in an electric pressure cooker. Whether you’re a seasoned chef or a cooking novice, this method is quick, easy, and foolproof. With just a few simple ingredients and some basic knowledge of using your electric pressure cooker, you’ll be able to enjoy tender and delicious boiled chickpeas in no time.
Why choose an electric pressure cooker, you ask? Well, the answer is simple—efficiency. Electric pressure cookers harness the power of steam and high pressure to cook food faster than traditional methods. This means you can have tender, cooked chickpeas ready in a fraction of the time it would take on the stovetop. Not only does this save time, but it also helps retain the nutritional value of the chickpeas, ensuring they are cooked to perfection while maintaining their natural flavors.
This step-by-step guide will walk you through the entire process, from rinsing and soaking the chickpeas to checking for doneness and draining them. So let’s get started on this exciting culinary adventure and learn how to boil chickpeas effectively using an electric pressure cooker!
Step 1: Rinse and soak the chickpeas
The first step in boiling chickpeas in an electric pressure cooker is to rinse and soak them. This process helps remove any impurities and loosens the outer shell, resulting in evenly cooked and tender chickpeas.
Start by measuring the desired amount of dried chickpeas, depending on your recipe or desired serving size. Place them in a colander or sieve and rinse under cold running water. This will help remove any dirt or debris that may be present.
Once rinsed, transfer the chickpeas to a large bowl and cover them with enough water to fully submerge them. The water should be at least double the volume of the chickpeas, as they will expand during soaking. Allow the chickpeas to soak for a minimum of 4 hours or overnight for best results.
Soaking the chickpeas not only helps them cook faster but also aids in digestion by reducing the presence of certain indigestible sugars. Additionally, soaking can help achieve a creamier texture in recipes that call for mashed or pureed chickpeas.
After the soaking period is complete, you will notice that the chickpeas have swelled and become plump. Drain the soaking water and give them a final rinse under cold running water. Your chickpeas are now ready to be cooked in the electric pressure cooker.
By rinsing and soaking the chickpeas, you’re taking a crucial step towards ensuring even cooking and enhancing the overall texture and flavor of your dishes. So make sure not to skip this important process when boiling chickpeas in an electric pressure cooker.
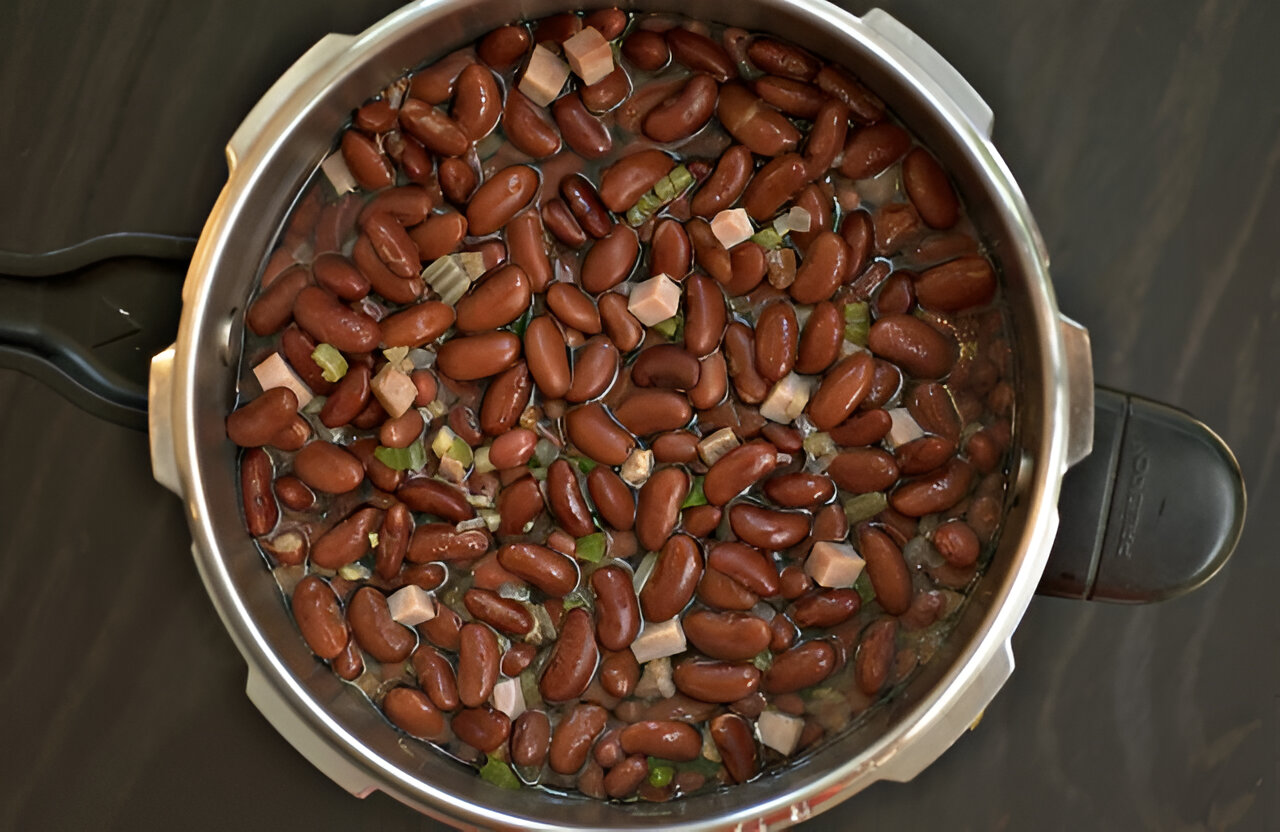
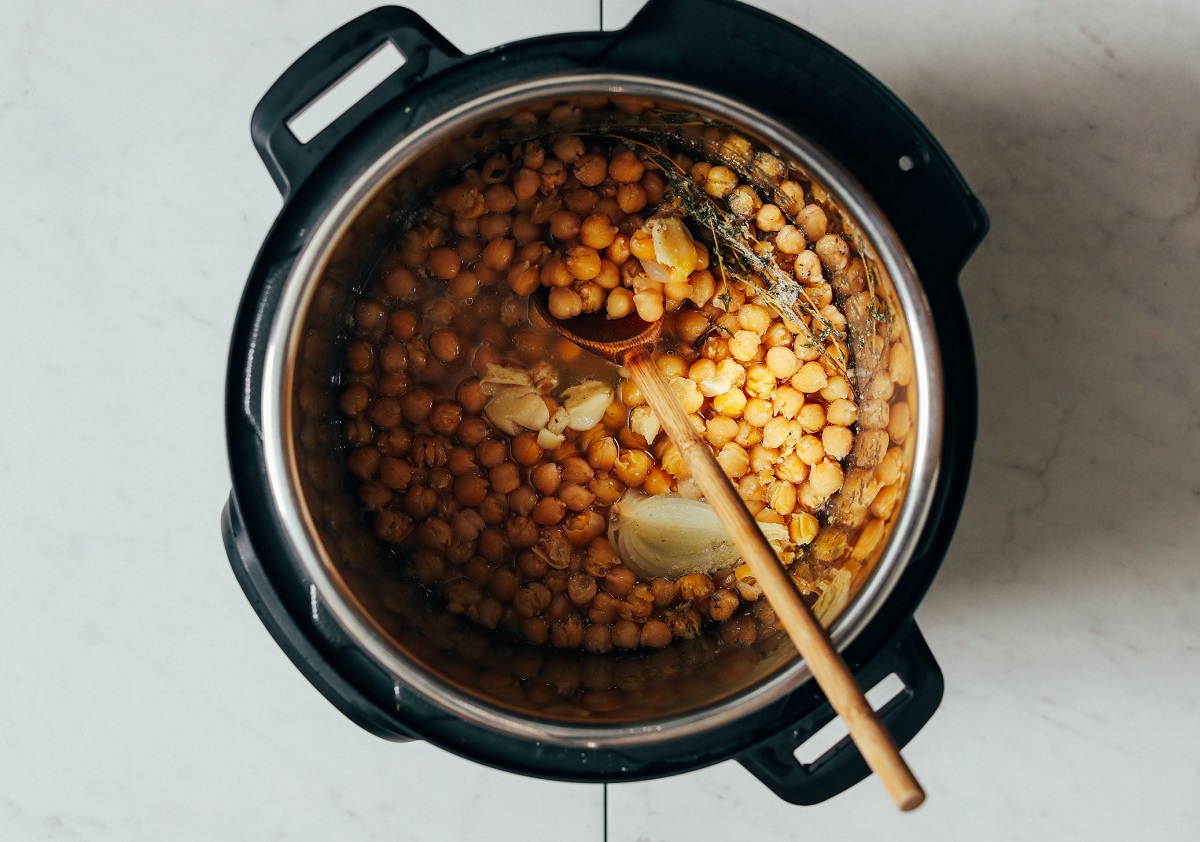
Step 2: Add the chickpeas and water to the electric pressure cooker
Now that you have rinsed and soaked the chickpeas, it’s time to transfer them to the electric pressure cooker along with water. The right ratio of water to chickpeas is crucial for achieving perfectly boiled results.
Start by draining the soaked chickpeas and adding them to the electric pressure cooker insert. Depending on the serving size or recipe, you can adjust the amount of chickpeas accordingly. As a general guideline, a ratio of 1 part chickpeas to 3 parts water works well.
Once the chickpeas are in the cooker, add enough water to fully cover them. This ensures that the chickpeas will cook evenly and be fully submerged during the pressure cooking process. Just remember not to overfill the cooker beyond its maximum capacity.
Adding flavors and seasonings to the cooking liquid is optional but can elevate the taste of the boiled chickpeas. You can add a bay leaf, garlic cloves, or a pinch of salt to enhance the flavor. However, it’s important not to add too much salt at this stage, as it can toughen the chickpeas. You can always adjust the seasoning later when using the boiled chickpeas in recipes.
Close the lid of the electric pressure cooker securely, ensuring that the sealing ring is in the correct position. Make sure to follow the manufacturer’s instructions for your specific electric pressure cooker model.
Now that the chickpeas and water are in the electric pressure cooker, you’re ready to move on to the next step and set the cooking time and pressure level.
Step 3: Set the cooking time and pressure level
Setting the correct cooking time and pressure level in your electric pressure cooker is essential for achieving perfectly boiled chickpeas. The cooking time will vary depending on the size and age of the chickpeas, as well as your desired tenderness.
Start by referring to the instruction manual of your electric pressure cooker to understand the specific settings and options available. Most electric pressure cookers have a “Manual” or “Pressure Cook” function that allows you to manually set the cooking time and pressure level.
A general guideline for cooking chickpeas in an electric pressure cooker is as follows:
- For soaked chickpeas: Cook on high pressure for 8-10 minutes.
- For unsoaked chickpeas: Cook on high pressure for 30-35 minutes.
- Note: These times serve as a starting point and can be adjusted based on your preferences.
Once you have determined the appropriate cooking time, set it on your electric pressure cooker’s control panel. Select the desired pressure level as well, typically indicated as high pressure. The high pressure setting ensures that the chickpeas cook quickly and become tender.
Allow the pressure cooker to come to full pressure, which usually takes around 10-15 minutes. The cooking process will begin once the pressure is reached.
Keep in mind that cooking times may vary slightly depending on the specific make and model of your electric pressure cooker. It may take a couple of trial runs to find the perfect cooking time and pressure level that suits your preference.
Now that the cooking time and pressure level are set, it’s time to start the pressure cooking process and let the magic happen!
Step 4: Start the pressure cooking process
With the cooking time and pressure level set, it’s time to start the pressure cooking process in your electric pressure cooker. This step will activate the heating element and create the necessary pressure to cook the chickpeas.
Start by ensuring that the pressure release valve on your electric pressure cooker is set to the “Sealing” position. This will prevent steam from escaping during the cooking process and allow pressure to build up inside the cooker.
Next, select the appropriate cooking function on your electric pressure cooker. Depending on the model, this may be called “Start,” “Cook,” or “Pressure Cook.” Press the corresponding button to initiate the cooking process.
At this point, you will hear a hissing sound as the pressure cooker builds up pressure. This is normal and indicates that the pressure is being sealed inside the cooker. The cooking time countdown will start once the desired pressure is reached.
During the cooking process, it’s important to pay attention to any safety precautions and guidelines provided in your electric pressure cooker’s instruction manual. This includes avoiding any contact with the hot surfaces of the pressure cooker and keeping children away from the appliance while it’s in use.
As the chickpeas cook under pressure, the flavors and nutrients are locked in, resulting in tender and flavorful boiled chickpeas. Now, it’s time to move on to the next step and choose the method of pressure release: natural release or quick release.
Step 5: Natural release or quick release
Once the cooking time is complete in your electric pressure cooker, it’s time to release the pressure. There are two methods for releasing pressure: natural release and quick release. The method you choose will depend on the recipe and your preference.
1. Natural Release: Natural release involves allowing the pressure to decrease naturally over time. In this method, you simply leave the electric pressure cooker untouched once the cooking time is complete. The pressure inside the cooker will gradually decrease on its own, and you’ll know it’s safe to open the lid when the pressure valve drops down.
Natural release is ideal for recipes that require longer cooking times or when you want to ensure the chickpeas are cooked thoroughly and evenly. It allows the chickpeas to continue cooking in the residual heat and helps prevent them from becoming mushy.
2. Quick Release: Quick release is a method that involves manually releasing the pressure. This can be done by carefully turning the pressure release valve from the “Sealing” to the “Venting” position. Be cautious as hot steam will escape from the valve, so use oven mitts or a towel to protect your hands.
Quick release is suitable for recipes that call for firm chickpeas or when you’re short on time. It rapidly brings down the pressure inside the cooker and allows you to open the lid and check the chickpeas immediately.
Regardless of whether you choose natural release or quick release, always exercise caution when handling the electric pressure cooker during this step. Avoid placing your face or hands directly over the steam release valve and ensure that the pressure has been fully released before opening the lid.
Now that you’ve released the pressure, it’s time to check the chickpeas for doneness and move on to the next step in the boiling process.
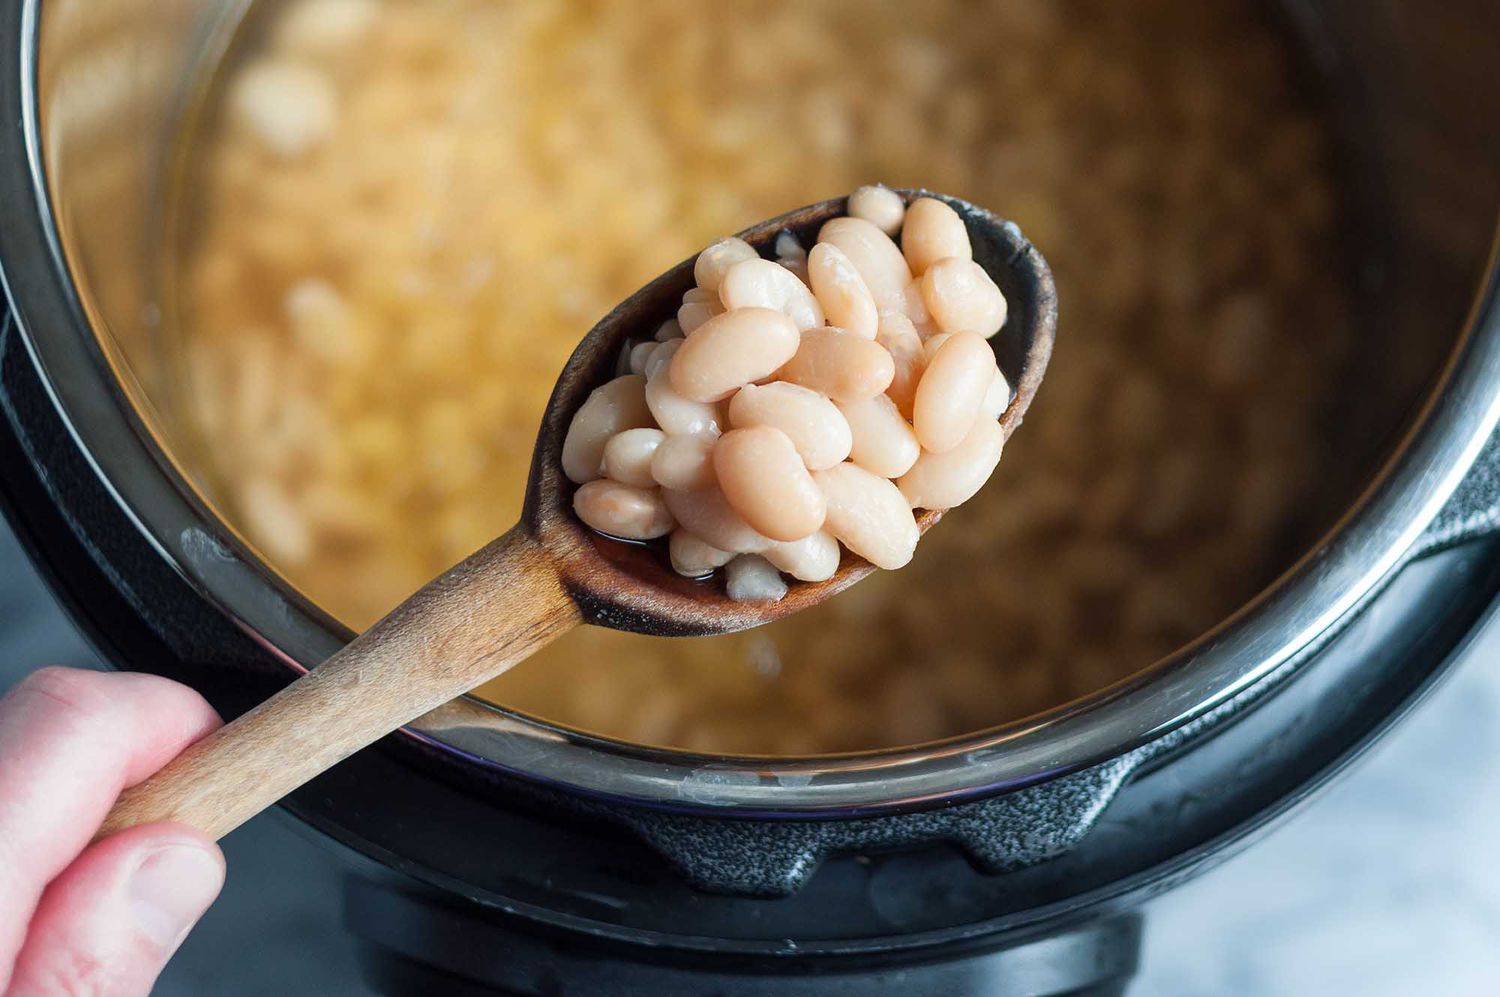
Step 6: Check the chickpeas for doneness
After releasing the pressure in your electric pressure cooker, it’s time to check the chickpeas for doneness. This step ensures that the chickpeas are cooked to the desired level of tenderness.
To check the chickpeas, carefully open the lid of the electric pressure cooker. Use caution as hot steam may still be present. Take a spoon or fork and select a few chickpeas from different parts of the cooker.
The cooked chickpeas should be tender and easily mashed between your fingers, but still hold their shape. They should have a creamy yet firm texture. If the chickpeas are still firm or crunchy, they need more cooking time.
In the event that the chickpeas are not cooked to your desired tenderness, simply close the lid of the pressure cooker and cook for an additional few minutes under pressure. Remember to adjust the cooking time accordingly and ensure that the pressure cooker has re-pressurized before starting the additional cooking time.
It’s important not to overcook the chickpeas, as they can become mushy and lose their texture. Regularly checking the chickpeas during the pressure cooking process will help you achieve the perfect balance of tenderness.
Once the chickpeas are cooked to your preferred level of doneness, you can move on to the final step and prepare them for use in various recipes.
Now that you’ve checked the chickpeas for doneness, it’s time to drain and use the boiled chickpeas in your favorite dishes.
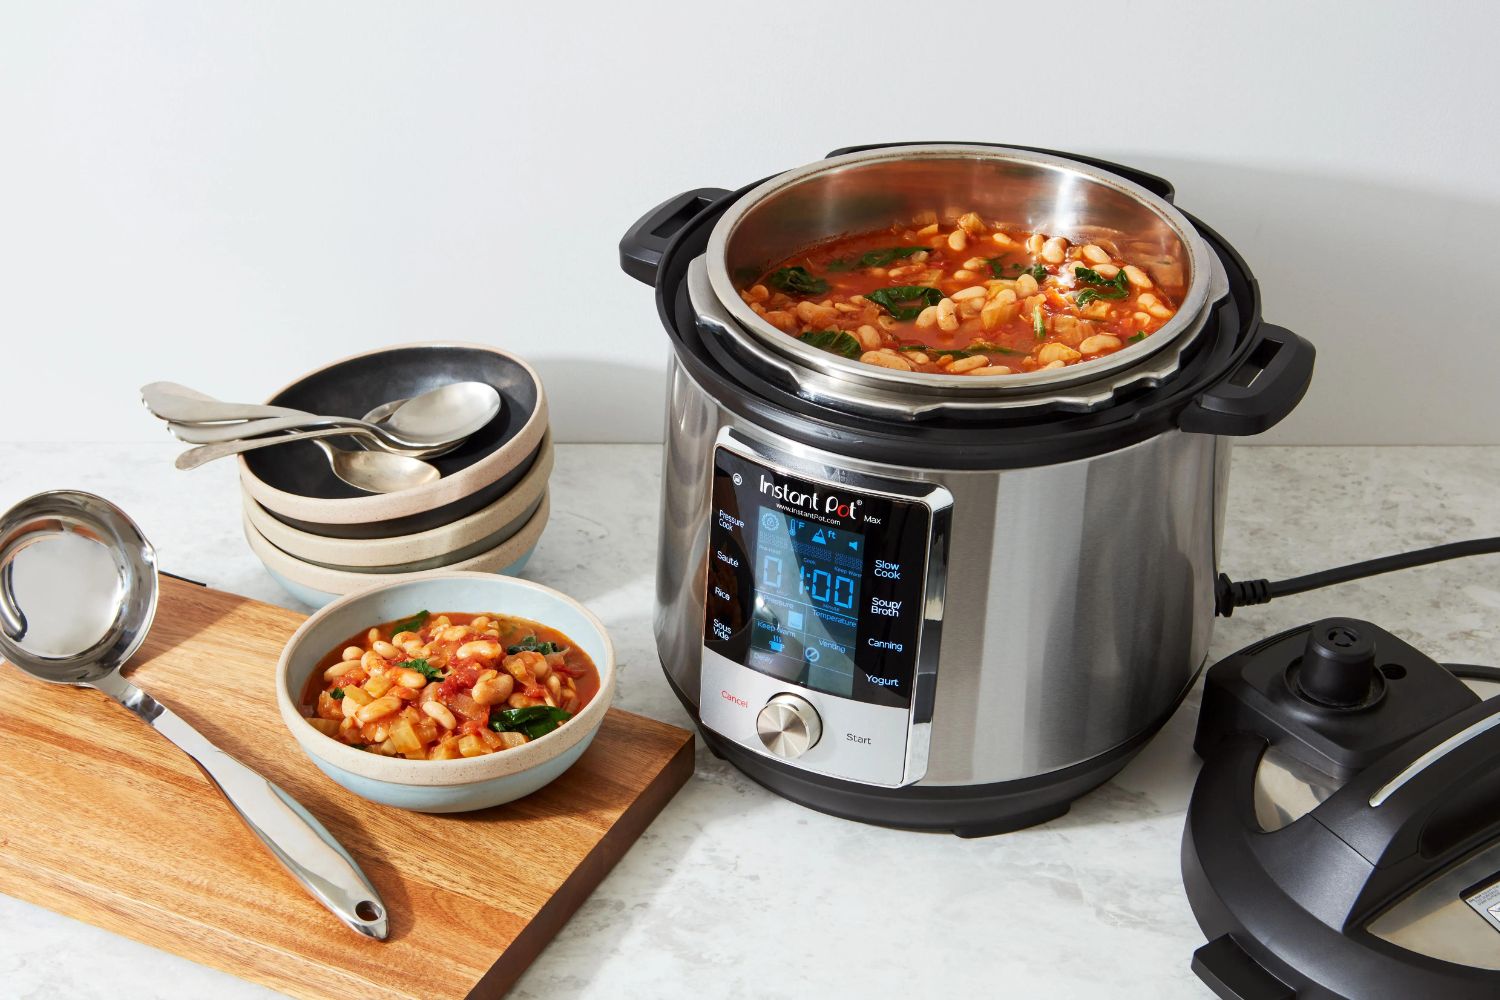
Step 7: Drain and use the boiled chickpeas
After checking the chickpeas for doneness, it’s time to drain and use the perfectly boiled chickpeas in your favorite recipes. This final step ensures that the chickpeas are ready to be incorporated into a variety of dishes, from salads and dips to soups and curries.
To drain the boiled chickpeas, use a colander or a sieve and carefully transfer the chickpeas into it. Allow any excess cooking liquid to drain away, ensuring that the chickpeas are well-drained and free from excess moisture.
The boiled chickpeas are now ready to be used in your desired recipes. You can use them as they are or store them for later use.
If you’re planning to use the chickpeas immediately, you can incorporate them into dishes like salads, roasted chickpea snacks, or as a protein-rich addition to grain bowls. Their tender texture and mild nutty flavor make them a versatile ingredient in both savory and sweet recipes.
If you want to save the boiled chickpeas for future use, place them in an airtight container and refrigerate for up to 3-4 days. You can also freeze them in portions for up to 3 months. When freezing, be sure to place them in a freezer-safe container or bag, removing excess air to prevent freezer burn.
Once you have the boiled chickpeas at hand, the possibilities are endless. You can use them to make delicious homemade hummus, falafel, curries, stews, or even desserts like chickpea blondies. The choice is yours!
Remember to rinse the boiled chickpeas under cold water before using them in your recipes to remove any excess starch or sodium. Adjust the seasoning according to your taste preferences and let your culinary creativity shine.
Now that you’ve successfully drained the boiled chickpeas, you’re ready to enjoy their delicious flavor and use them in a multitude of recipes. So go ahead and explore the wide array of possibilities that boiled chickpeas offer!