Introduction
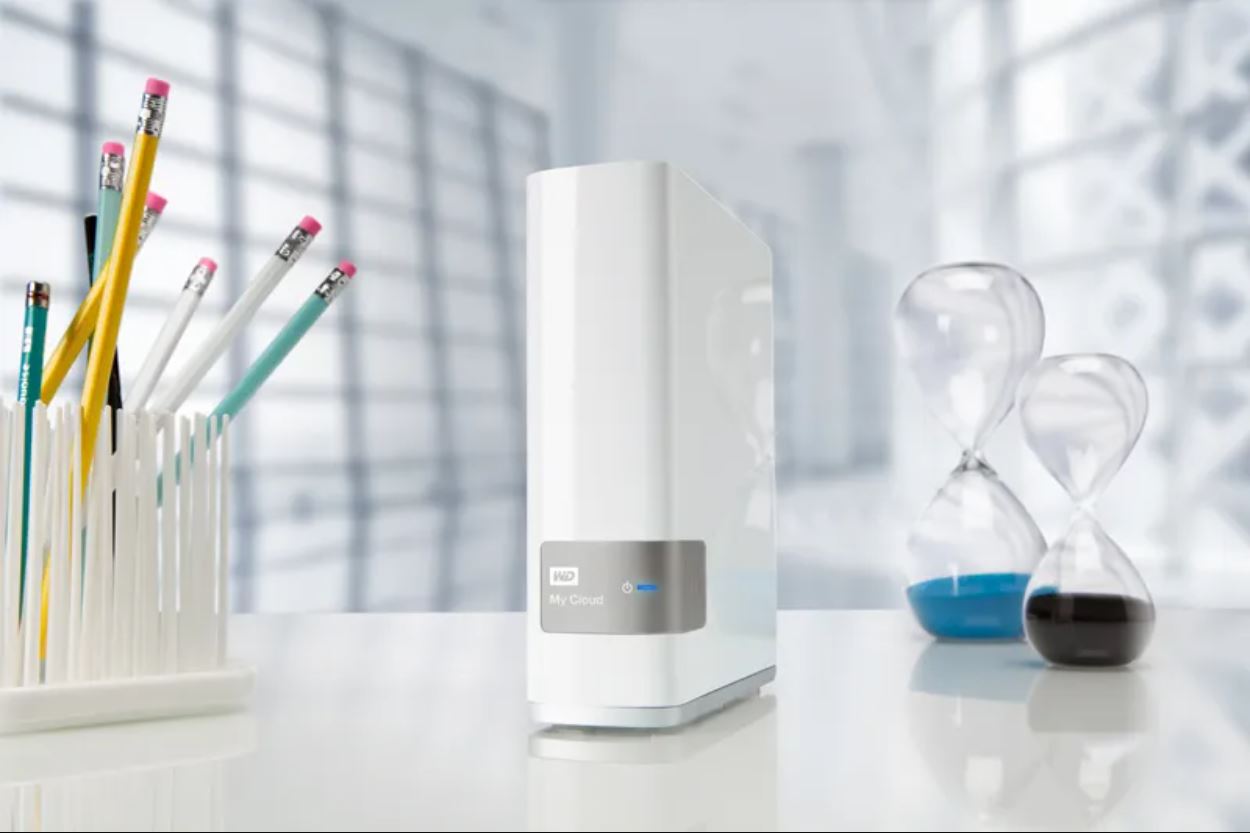
Welcome to the guide on how to backup your WD My Cloud to an external hard drive. Your WD My Cloud device is a network-attached storage (NAS) device that allows you to easily store and access your files from anywhere. While the device itself offers plenty of storage space, it’s always a good idea to have an additional backup of your important data. This is where an external hard drive comes in handy.
An external hard drive provides an extra layer of protection against data loss, as it allows you to create a copy of your files and store them separately. In the event that something goes wrong with your WD My Cloud device, or if you accidentally delete a file, having a backup on an external hard drive ensures that your data is safe and easily recoverable.
In this guide, we will walk you through the step-by-step process of backing up your WD My Cloud to an external hard drive. We will cover everything from connecting the external hard drive to configuring the backup settings and initiating the backup process. By following these instructions, you will have peace of mind knowing that your valuable data is securely backed up.
Before we begin, make sure that you have an external hard drive with sufficient storage capacity to accommodate your backup. Additionally, ensure that your WD My Cloud device is connected to your network and accessible. With these preparations in place, let’s get started with the backup process.
Step 1: Connecting the External Hard Drive
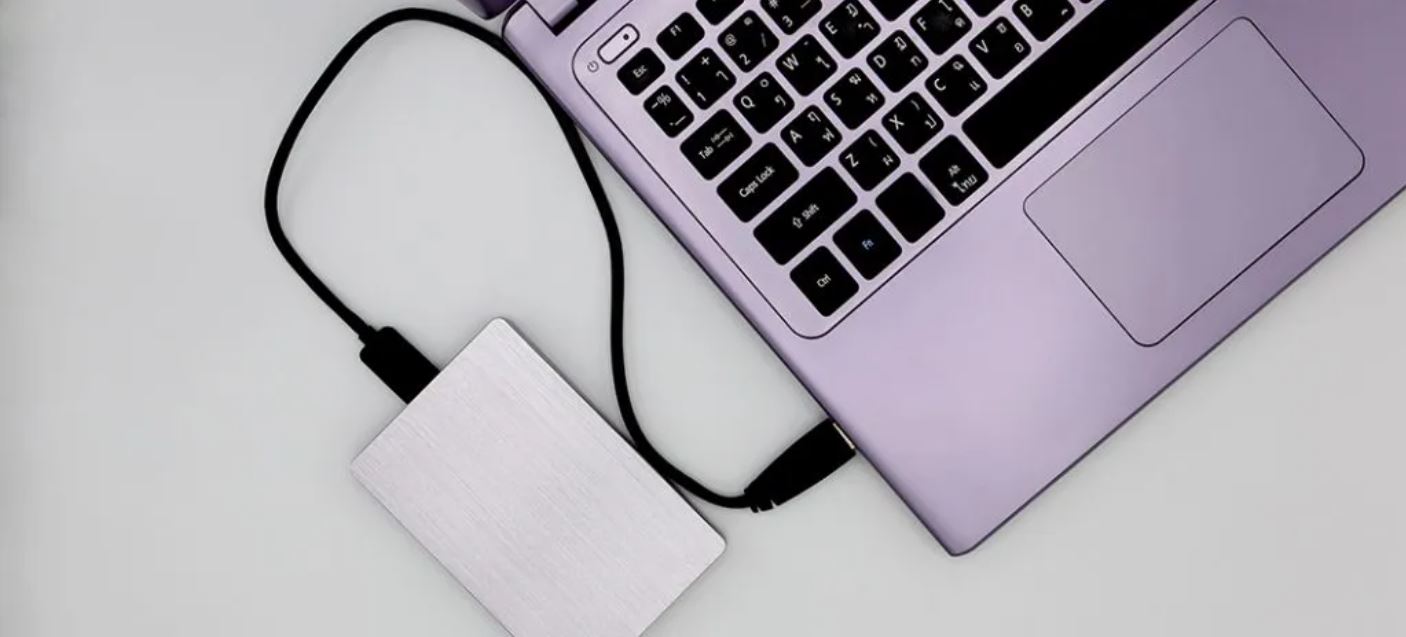
The first step in backing up your WD My Cloud to an external hard drive is to physically connect the external hard drive to your computer or device. Follow these steps:
- Locate an available USB port on your computer or device.
- Take the USB cable that came with your external hard drive and connect one end to the USB port on your computer or device.
- Take the other end of the USB cable and connect it to the USB port on the external hard drive.
- Once the connections are made, your computer or device should recognize the external hard drive and assign it a drive letter.
It’s important to ensure that the external hard drive is properly connected and recognized by your computer or device before proceeding to the next steps. This will ensure a smooth and successful backup process.
It’s worth noting that some external hard drives may require an additional power source, such as an AC adapter. If this is the case, follow the manufacturer’s instructions to connect the power source to the external hard drive.
If you are using a WD My Cloud device with multiple USB ports, you can connect multiple external hard drives for backup purposes. Simply repeat the steps above for each additional external hard drive.
Now that you have successfully connected the external hard drive, let’s move on to the next step: accessing the WD My Cloud interface.
Step 2: Accessing the WD My Cloud Interface
Before you can configure the backup settings for your WD My Cloud device, you need to access its user interface. Follow these steps to access the WD My Cloud interface:
- Open a web browser on your computer or device.
- In the address bar, type in the IP address or hostname of your WD My Cloud device. This information can usually be found on the device itself or in the documentation that came with it.
- Press Enter or click Go to access the WD My Cloud interface.
- You may be prompted to enter your username and password to log in. If you haven’t set up a username and password, refer to the documentation to do so.
- Once logged in, you will be presented with the WD My Cloud dashboard, which provides access to various settings and features of the device.
It’s important to ensure that your computer or device is connected to the same network as the WD My Cloud device in order to access its interface.
The interface may vary depending on the model and firmware version of your WD My Cloud device. If you are unsure about the specific steps for accessing the interface, refer to the user manual or online documentation provided by WD.
Now that you have successfully accessed the WD My Cloud interface, let’s move on to the next step: configuring the backup settings.
Step 3: Configuring the Backup Settings
Now that you have accessed the WD My Cloud interface, it’s time to configure the backup settings for your device. Follow these steps to configure the backup settings:
- In the WD My Cloud interface, locate and click on the “Backup” or “Backup Settings” option. This may be found in the main menu, sidebar, or settings section, depending on the interface layout.
- Choose the backup source. Select the folders or files on your WD My Cloud device that you want to back up to the external hard drive. You can select specific folders or choose to back up the entire device.
- Select the destination. Choose the external hard drive that you connected in Step 1 as the destination for your backup.
- Configure the backup settings. Depending on your WD My Cloud device, you may have options to customize the backup frequency, backup type (full or incremental), and other advanced settings. Adjust these settings according to your preferences and requirements.
- Review the backup settings. Double-check the selected folders, destination, and other settings to ensure they are correct.
- Save the backup settings. Click on the “Save” or “Apply” button to save your backup configuration.
It’s important to note that the available backup settings may vary depending on the model and firmware version of your WD My Cloud device. Refer to the device’s documentation or online resources for detailed information about the backup settings specific to your device.
Once you have configured the backup settings, you are now ready to initiate the backup process, which we will cover in the next step.
Step 4: Initiating the Backup Process
With the backup settings configured, it’s time to initiate the backup process for your WD My Cloud device. Follow these steps to initiate the backup process:
- Go back to the main dashboard or home screen of the WD My Cloud interface.
- Locate and click on the “Backup” or “Back up now” option. This may be found in the main menu, sidebar, or a separate backup section.
- A confirmation dialog may appear, informing you that the backup process will begin. Review the details and click on the “Start” or “Backup” button to proceed.
- The backup process will now begin, and you can monitor its progress through the WD My Cloud interface. Depending on the size of your backup and the speed of your external hard drive, it may take some time to complete.
- During the backup process, it’s recommended to avoid making any changes or modifications to the files or folders being backed up. This will ensure that all data is transferred accurately and completely.
- Once the backup process is complete, you will receive a confirmation message or notification within the WD My Cloud interface. This indicates that your WD My Cloud device has been successfully backed up to the external hard drive.
Congratulations! You have successfully initiated the backup process for your WD My Cloud device. Your important files and data are now safely stored on the external hard drive. It’s a good practice to regularly initiate backups to ensure that your data remains protected.
Next, we will move on to the final step: verifying that the backup is complete and the data is intact.
Step 5: Verifying the Backup is Complete
After initiating the backup process for your WD My Cloud device, it’s important to verify that the backup is complete and that all your data has been successfully transferred to the external hard drive. Follow these steps to verify the backup:
- Access the file explorer or file manager on your computer.
- Navigate to the external hard drive where the backup was stored. The drive letter or name of the external hard drive should be visible in the file explorer.
- Open the external hard drive and navigate through the folders to locate the backup files and folders.
- Check the file and folder structure to ensure that it matches the data from your WD My Cloud device. Verify that all the important files and folders are present in the backup.
- Open a few files from the backup to confirm that they can be accessed and viewed without any issues.
- If you had any specific settings or configurations for certain files or folders on your WD My Cloud device, ensure that those settings are preserved in the backup as well.
By thoroughly verifying the backup, you can have confidence that your important data has been successfully transferred and is accessible on the external hard drive. If you encounter any issues or discrepancies during the verification process, it’s recommended to recheck the backup settings and initiate the backup process again.
Regularly verifying your backups is a good practice to ensure the integrity and completeness of your data. Additionally, it’s a good idea to periodically test the restoration process by retrieving a few files from the backup and confirming that they can be successfully restored to your WD My Cloud device if needed.
With Step 5 complete, you have successfully verified the completion and integrity of your WD My Cloud backup on the external hard drive. Now you can rest assured knowing that your important data is safeguarded and easily recoverable.
Conclusion
Backing up your WD My Cloud to an external hard drive is a crucial step in ensuring the safety and accessibility of your important data. By following the steps outlined in this guide, you have learned how to connect the external hard drive, access the WD My Cloud interface, configure the backup settings, initiate the backup process, and verify the completeness of the backup.
Regularly backing up your WD My Cloud device helps protect against data loss due to hardware failure, accidental deletions, or other unforeseen events. Having a separate copy of your data stored on an external hard drive provides an additional layer of security, as it can be easily retrieved and restored if needed.
Remember to periodically revisit your backup settings to ensure they are up to date and align with your changing storage needs. It’s also a good practice to test the restoration process by retrieving a few files from the backup and confirming their successful restoration to your WD My Cloud device.
By taking the time to backup your WD My Cloud to an external hard drive, you are safeguarding your valuable data and minimizing the risk of losing irreplaceable files. Don’t wait until it’s too late – start implementing regular backups today to ensure the long-term security and accessibility of your data.