Introduction
Welcome to the world of adjusting PSU input voltage! If you’ve found yourself in need of tweaking the input voltage of your Power Supply Unit (PSU), you’ve come to the right place. In this guide, we will explore what PSU input voltage is, why you might need to adjust it, and the steps you can take to do so.
Before we delve into the nitty-gritty details, it’s important to understand that the PSU is a crucial component of any electronic device, converting the incoming AC power into the appropriate DC voltage needed to power your devices. While most PSUs are designed to automatically adjust to the local voltage, there may be instances where manual adjustment is required.
Adjusting the PSU input voltage is a relatively straightforward process that can be performed by any individual with basic technical knowledge. It allows you to adapt your PSU to different voltage requirements, ensuring optimal performance and compatibility with your devices.
In this guide, we will walk you through the steps involved in adjusting the PSU input voltage. We will also provide you with essential tips and precautions to keep in mind throughout the process, ensuring a safe and successful outcome.
So, if you’re ready to take control of your PSU’s input voltage and ensure a perfect match with your devices, let’s dive in!
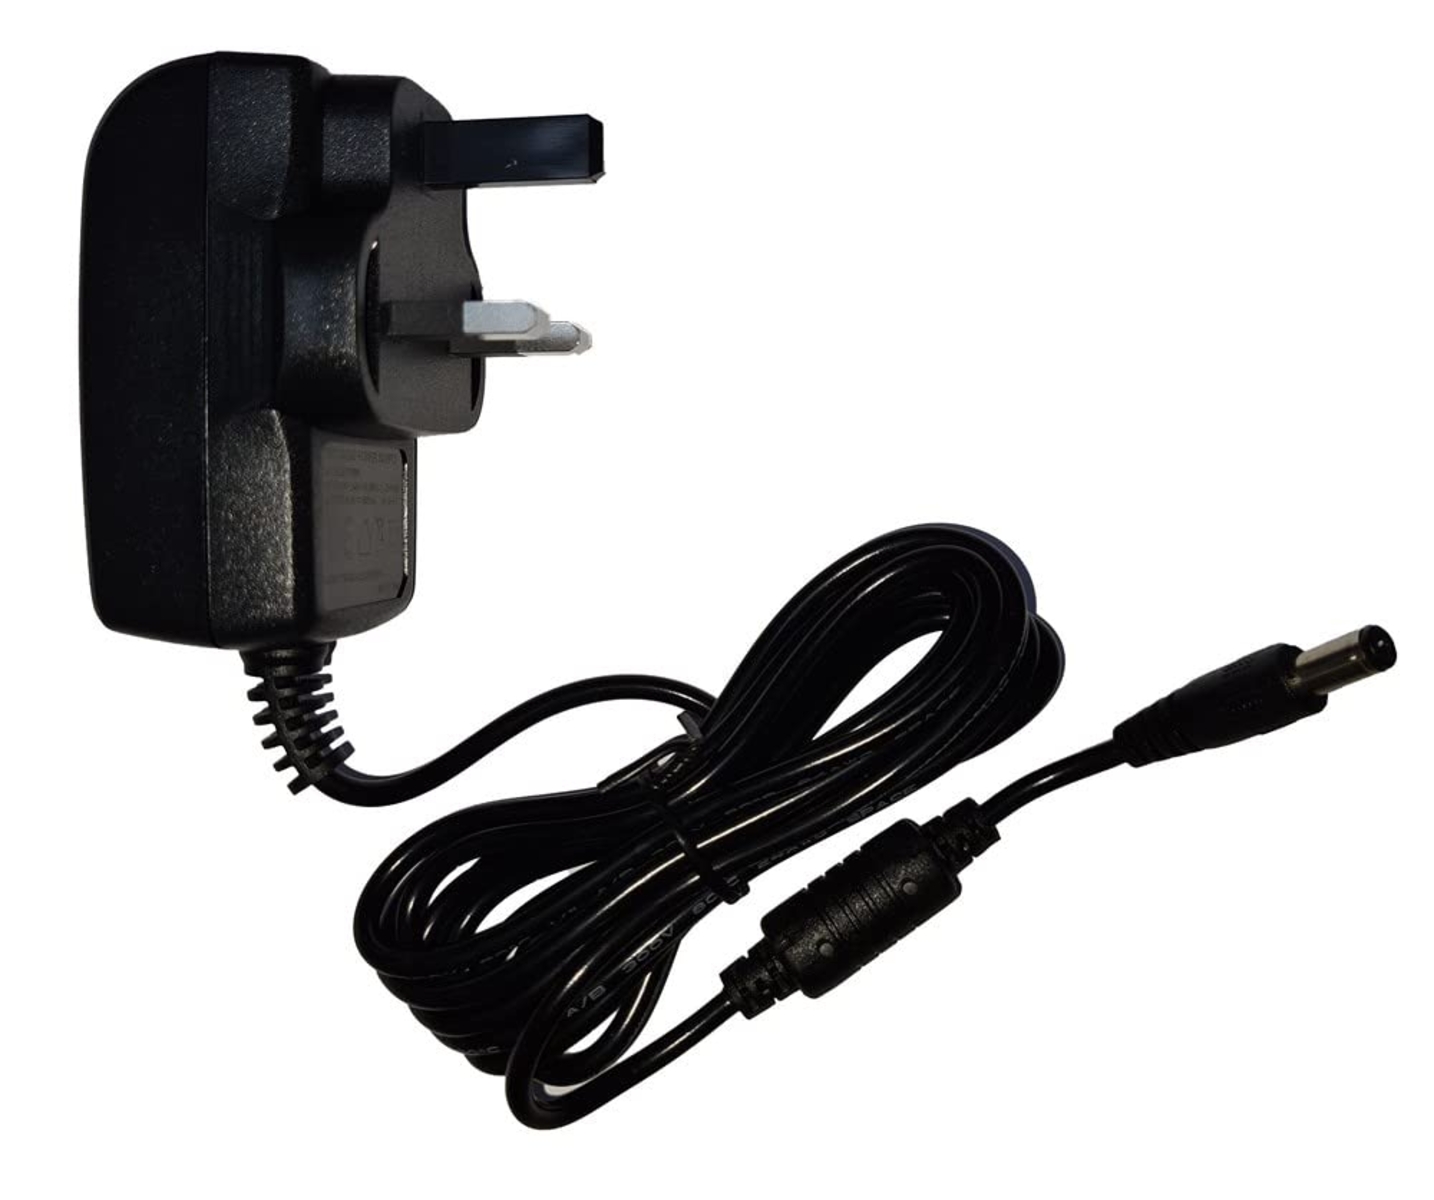
What is PSU Input Voltage?
The PSU input voltage refers to the electrical voltage that is required to operate the Power Supply Unit effectively. The PSU acts as the intermediary between the AC power supply and the DC power needed to power your devices.
Typically, the input voltage for most PSUs is set to the standard voltage of the region where it is designed to be used. For example, in the United States, the standard voltage is 120 volts, while in Europe, it is 220 volts. However, there may be instances where the input voltage needs to be adjusted to match the specific voltage requirements of a different region or to accommodate specific devices.
It’s important to note that PSUs are capable of accepting a range of input voltages to ensure compatibility with a variety of electrical systems. This flexibility allows you to use your PSU in different countries or when traveling abroad, provided that the input voltage is within the acceptable range.
When it comes to adjusting the PSU input voltage, it’s crucial to be aware of the electrical standards and regulations of the specific region you are in. Failure to adhere to these standards can result in not only damage to your PSU but also pose a risk to your safety and the functionality of your devices.
Now that we have a clear understanding of what PSU input voltage is, let’s move on to exploring why you might need to adjust it.
Why Adjust PSU Input Voltage?
There are several reasons why you might need to adjust the PSU input voltage. Let’s take a closer look at some of the most common scenarios that may require this adjustment:
- Moving to a Different Country: If you are relocating to a different country or traveling to a region with a different voltage standard, you will need to adjust the PSU input voltage to match the local electrical system. This ensures that your PSU can effectively convert the incoming AC power into the appropriate DC voltage required by your devices.
- Device Compatibility: Some electronic devices may have specific voltage requirements that differ from the standard voltage in your region. In such cases, adjusting the PSU input voltage allows you to meet the unique voltage needs of these devices, ensuring they operate optimally and are not damaged by incorrect voltage levels.
- Power Stability: In areas where the power supply may be unstable or prone to fluctuations, adjusting the PSU input voltage can help mitigate the effects of voltage spikes or drops. By fine-tuning the input voltage, you can provide a more stable and consistent power source to your devices, reducing the risk of potential damage and improving their overall performance and longevity.
- Overclocking: Enthusiasts who engage in overclocking their computer’s components, such as the CPU or graphics card, may require higher voltage levels to achieve greater performance. Adjusting the PSU input voltage allows for the necessary increase in power delivery to support the overclocked components.
- Repairing or Upgrading Systems: When repairing or upgrading electronic systems, it’s important to ensure that the PSU input voltage is set correctly. Failing to do so may result in compatibility issues or operational failures. Adjusting the input voltage allows for seamless integration of new components or repairs, ensuring optimal functionality.
These are just a few examples of why you might find yourself needing to adjust the PSU input voltage. It’s essential to understand the specific requirements of your devices and the electrical standards of your region to determine when an adjustment is necessary.
Now that we know why adjusting PSU input voltage may be required, let’s move on to the practical steps involved in making this adjustment.
Steps to Adjust PSU Input Voltage
Adjusting the PSU input voltage may seem like a daunting task, but with the right guidance, it can be a straightforward process. Here are the steps to follow when adjusting the PSU input voltage:
- Determine the Required Input Voltage: Before making any adjustments, identify the specific voltage required by your devices or the region you’ll be using the PSU in. This information can usually be found in the device’s user manual or on its label.
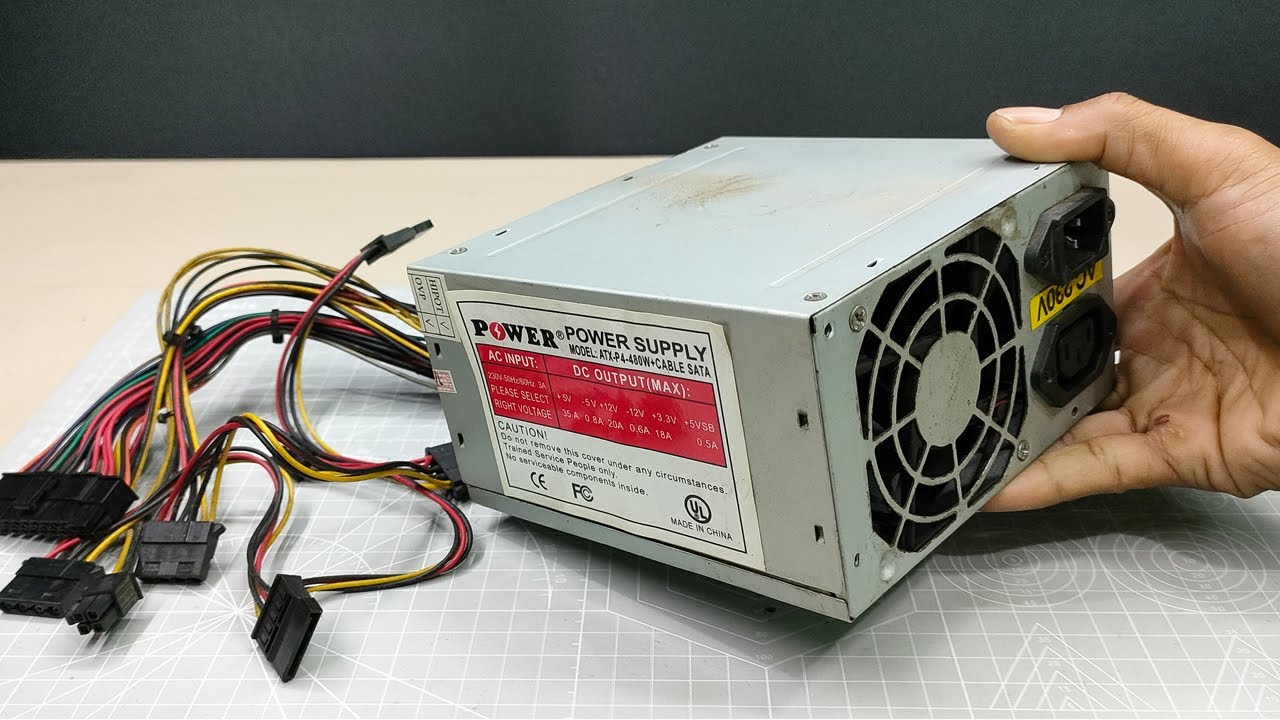
- Locate the Input Voltage Adjustment Switch: Check your PSU for an input voltage adjustment switch. The location of this switch may vary depending on the model and brand of your PSU. Refer to the PSU’s user manual for guidance if needed.
- Turn Off and Unplug the PSU: Prior to any adjustments, ensure that the PSU is switched off and unplugged from the power source. This step is crucial for your safety and to prevent any electrical mishaps.
- Use a Screwdriver to Adjust the Voltage: Once the PSU is disconnected, use a screwdriver to adjust the input voltage. Some PSUs may have a switch that can be toggled, while others may require you to rotate a dial. Follow the instructions provided by the manufacturer to make the necessary adjustments.
- Double-check the Voltage Setting and Securely Close the PSU: Once you’ve adjusted the voltage, double-check that it matches the required input voltage. Make sure the adjustment is securely in place. Carefully close the PSU, ensuring that all screws and connectors are properly tightened.
- Test the Adjusted PSU: After reassembling the PSU, plug it back into the power source and switch it on. Test your devices to ensure they are receiving the correct voltage and functioning properly. Monitor the PSU and devices for any unusual behavior or issues.
It’s important to follow these steps carefully and precisely to ensure a successful adjustment. If you encounter any difficulties or uncertainties, consult the PSU’s user manual or seek assistance from a qualified technician.
Now that you are familiar with the steps involved in adjusting the PSU input voltage, let’s move on to some useful tips and precautions to keep in mind during the process.
Determine the Required Input Voltage
The first step in adjusting the PSU input voltage is to determine the specific voltage required by your devices or the region where you’ll be using the PSU. This information is crucial as it ensures that you set the input voltage to the correct level for optimal performance and compatibility. Here’s how you can determine the required input voltage:
- Check Device Specifications: If you’re adjusting the PSU input voltage to match the requirements of a specific device, start by checking the device’s user manual or label. Look for information regarding the input voltage needed for proper operation. It is usually listed in volts (V) and may have a range or a single value.
- Research Regional Voltage Standards: If you’re adjusting the input voltage to match the voltage standards of a specific region, research the electrical standards of that location. Most countries have a standard voltage level that is widely used. For example, in the United States, the standard voltage is 120 volts, while in Europe, it is 220 volts. Ensure that you adjust the input voltage to match the voltage standard of the region where you’ll be using the PSU.
- Consider Compatibility: In some cases, different devices or components may have different voltage requirements. If you’re adjusting the input voltage to accommodate multiple devices, choose a voltage setting that is compatible with the majority of the devices you’ll be using. This helps to ensure that all devices receive the correct voltage without causing damage or performance issues.
Once you have determined the required input voltage, make note of it. You will need this information when adjusting the PSU input voltage in the following steps. It’s essential to set the input voltage accurately to avoid any potential damage to your devices and ensure their optimal performance.
Now that you know how to determine the required input voltage, let’s move on to locating the input voltage adjustment switch in the next step.
Locate the Input Voltage Adjustment Switch
Once you have determined the required input voltage for your PSU, the next step is to locate the input voltage adjustment switch. This switch allows you to change the input voltage setting of the PSU to match your specific needs. Here’s how you can find the input voltage adjustment switch:
- Refer to the PSU User Manual: Start by consulting the user manual that came with your PSU. The manual typically includes a detailed diagram or description of the PSU’s components and features. Look for any information regarding the location of the input voltage adjustment switch.
- Inspect the Exterior of the PSU: Examine the exterior of the PSU for any visible indicators or labels that might point to the location of the input voltage adjustment switch. Manufacturers often label the switch or provide clear markings to help users locate it easily.
- Search Online Resources: If you’re having trouble finding the input voltage adjustment switch, search online resources such as the manufacturer’s website or user forums. These platforms often provide additional information or step-by-step guides specific to your PSU model, which can help you locate the switch accurately.
- Consult a Qualified Technician: If you’re unable to locate the input voltage adjustment switch or you’re uncertain about tampering with the PSU on your own, it’s advisable to seek assistance from a qualified technician. They have the expertise to identify the switch and guide you through the adjustment process safely.
Once you have located the input voltage adjustment switch, take note of its position and familiarize yourself with how it operates. This knowledge will be crucial when you’re ready to make the necessary adjustments to the PSU input voltage in the subsequent steps.
Now that you know where to locate the input voltage adjustment switch, the next step is to turn off and unplug the PSU to ensure your safety during the adjustment process.
Turn Off and Unplug the PSU
Before making any adjustments to the PSU input voltage, it is crucial to ensure your safety by turning off the PSU and disconnecting it from the power source. This step prevents any potential electrical accidents or damage during the adjustment process. Follow these steps to safely turn off and unplug the PSU:
- Shut Down the Connected Devices: Prior to turning off and unplugging the PSU, make sure to shut down or power off any devices connected to it. This ensures that the devices are safely disconnected from the power supply.
- Switch Off the PSU: Locate the power switch on the PSU and turn it off. This will deactivate the PSU and prevent any electrical power from flowing through it during the adjustment process.
- Unplug the PSU from the Power Source: Once the PSU is switched off, unplug it from the power source. This step eliminates the risk of electric shock or accidental power supply during the adjustment process.
- Wait for Capacitor Discharge (Optional): Some PSUs have internal capacitors that can store electrical charge even when switched off and unplugged. To further ensure safety, you may choose to wait for a few minutes to allow the capacitors to discharge completely. This helps prevent any residual electrical charge that could cause harm during the adjustment process.
Turning off and unplugging the PSU not only ensures your safety but also protects the PSU and connected devices from potential damage. By following these precautions, you can safely proceed to the next steps in adjusting the PSU input voltage.
Now that the PSU is safely shut down and disconnected, we can move on to the next step, which is using a screwdriver to adjust the voltage.
Use a Screwdriver to Adjust the Voltage
With the PSU safely turned off and unplugged, the next step in adjusting the PSU input voltage is to use a screwdriver to make the necessary voltage adjustments. The exact method may vary depending on the PSU model, but here’s a general guide to follow:
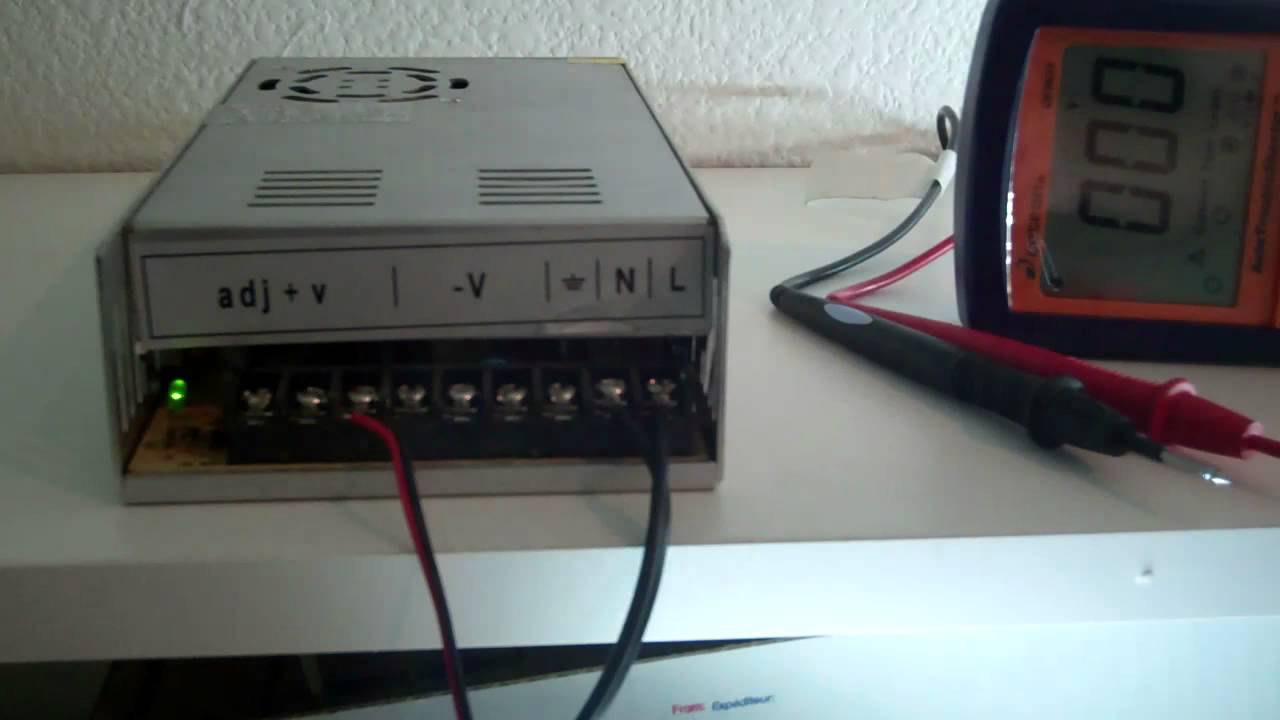
- Identify the Voltage Adjustment Area: Look for the section on the PSU where the input voltage adjustment is located. This is typically near the input power connectors or labeled as “Voltage Adjustment.”
- Choose a Proper Screwdriver: Select a screwdriver that fits securely into the adjustment area. It’s important to use the correct size and type of screwdriver to avoid damaging the adjustment mechanism or the PSU itself.
- Adjust the Voltage: Insert the screwdriver into the adjustment area and gently rotate it according to the manufacturer’s instructions. Some PSUs may have a switch that must be toggled, while others may require you to rotate a dial to reach the desired voltage setting. It’s essential to make small and precise adjustments, ensuring that the voltage setting matches the required input voltage for your devices or region.
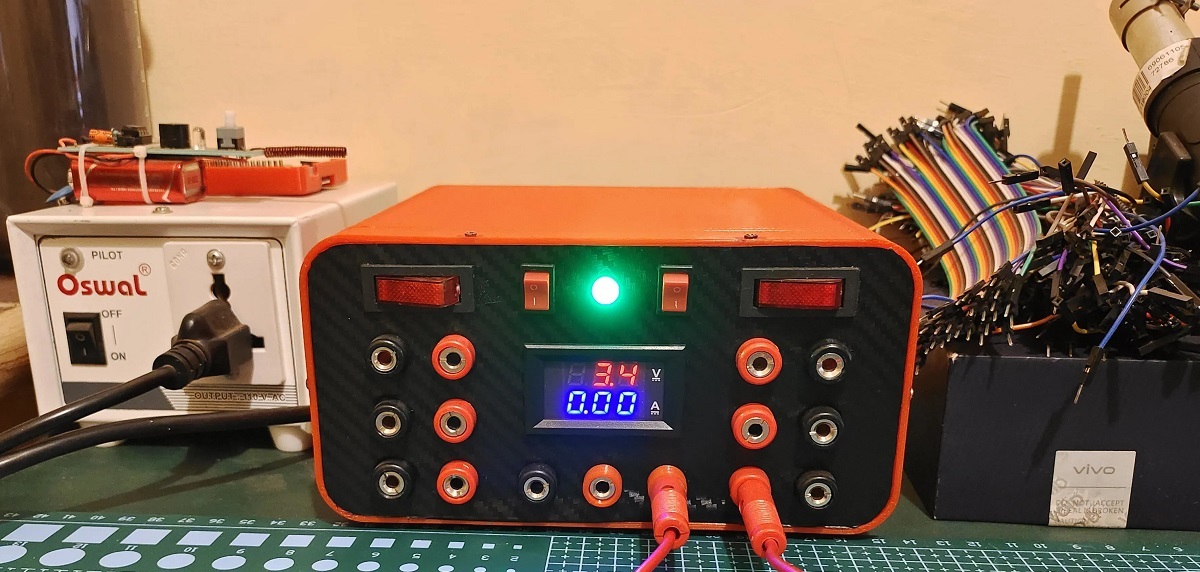
- Confirm the Voltage Setting: After making the initial adjustment, it’s recommended to use a multimeter or a voltage monitoring tool to confirm the voltage setting. This ensures accuracy and helps to prevent any potential damage to your devices.
- Secure the Adjustment: Once you have set the voltage to the desired level, make sure to secure the adjustment area properly. This may involve tightening screws or locks that hold the adjustment mechanism in place. Ensuring a secure connection helps to maintain the correct voltage setting during operation.
Remember to refer to the PSU’s user manual for detailed instructions specific to your model. If you are unsure about making the adjustments yourself, it’s recommended to seek assistance from a qualified technician to avoid any potential damage to the PSU or connected devices.
Now that the voltage adjustment has been made, let’s move on to the next step, which is double-checking the voltage setting and securely closing the PSU.
Double-check the Voltage Setting and Securely Close the PSU
After adjusting the voltage setting on the PSU, it is crucial to double-check that the voltage is correctly set to avoid any potential issues. Additionally, ensuring that the PSU is securely closed is essential for safe and proper operation. Here are the steps to follow:
- Verify the Voltage Setting: Use a multimeter or a voltage monitoring tool to confirm that the voltage setting on the PSU matches the required input voltage for your devices or the region where it will be used. This step ensures that the PSU is delivering the correct voltage to your connected devices, preventing any potential damage or malfunction.
- Securely Close the PSU: Carefully reassemble the PSU, ensuring that all screws, connectors, and components are properly aligned and securely tightened. This step is vital to maintain the structural integrity of the PSU and to prevent any loose connections or short circuits.
- Ensure Proper Ventilation: While closing the PSU, ensure that any ventilation holes or fans are unobstructed. Proper airflow is crucial for the PSU’s cooling system, preventing overheating and extending its lifespan.
- Test the PSU: Before fully integrating the PSU back into your system, it’s essential to conduct a test to ensure that it is functioning correctly. Plug the PSU back into the power source, switch it on, and observe its performance. Monitor your connected devices to make sure they are receiving the correct voltage and functioning as expected.
- Monitor for Any Issues: After the test, monitor the PSU and connected devices for any unusual behavior or problems such as abnormal noise, heating, or sudden shutdowns. If you encounter any issues, consult the PSU’s user manual or seek assistance from a qualified technician.
By double-checking the voltage setting and securely closing the PSU, you can ensure that it is ready to deliver the correct voltage to your devices while operating safely and efficiently.
Now that the PSU has been adjusted and securely closed, let’s move on to the final section, which provides some tips and precautions to keep in mind when adjusting PSU input voltage.
Test the Adjusted PSU
After adjusting the input voltage of your PSU, it’s essential to perform a thorough test to ensure that the adjustments were successful and that the PSU is functioning properly. Testing the adjusted PSU will help you confirm that your devices are receiving the correct voltage and operating as expected. Here’s how you can test the adjusted PSU:
- Reconnect Your Devices: Connect your devices back to the PSU, ensuring that all cables and connectors are securely plugged in. Double-check that each device is correctly connected to the appropriate power output of the PSU.
- Power On Your Devices: Switch on your devices one by one, starting with the lowest power-consuming ones. Observe the startup process to ensure that each device receives the expected voltage and powers on without any issues.
- Check for Stability and Performance: Monitor the performance of your devices over an extended period to ensure that they remain stable and function without interruptions. Test various tasks or applications that put a load on the devices to verify that they can handle the demands and maintain stable operation.
- Monitor Temperature: Keep an eye on the temperature of the PSU and connected devices. Ensure that none of the components or the PSU itself are abnormally hot, as excessive heat could indicate a problem. Proper ventilation and cooling are crucial for the long-term health and stability of the PSU.
- Observe Power Efficiency: Pay attention to the overall power efficiency of your devices. If you notice any significant increase or decrease in power usage, it may indicate a potential issue. Keep in mind that fluctuations in power consumption can be expected during different usage scenarios, but extreme variations could be a cause for concern.
- Note Any Issues or Abnormalities: If you encounter any issues, abnormalities, or errors during the testing phase, take note of them. Documenting the problems will help you identify patterns, troubleshoot specific areas, or seek further assistance if necessary.
By thoroughly testing the adjusted PSU and closely monitoring the performance of your devices, you can ensure that the adjustment process was successful and that your devices are receiving the correct voltage for optimal operation.
Now that you have tested the adjusted PSU, let’s move on to the final section, which provides some additional tips and precautions to keep in mind when adjusting PSU input voltage.
Tips and Precautions
When adjusting the input voltage of your PSU, it’s crucial to keep the following tips and precautions in mind to ensure a safe and successful adjustment process:
- Read the User Manual: Before attempting any adjustments, thoroughly read and understand the PSU’s user manual. The manual provides specific instructions and safety precautions that are specific to your PSU model.
- Use the Correct Tools: Use the appropriate tools, such as a screwdriver or multimeter, when making voltage adjustments or conducting tests. Using the wrong tools can lead to damage or inaccurate results.
- Avoid Excessive Voltage Adjustments: Make small and precise adjustments to the voltage setting. Avoid making large voltage changes to prevent damaging your devices or the PSU itself.
- Seek Professional Assistance: If you are uncertain or uncomfortable with adjusting the PSU input voltage on your own, consult a qualified technician for assistance. They have the necessary knowledge and expertise to handle the adjustment process safely.
- Observe Electrostatic Discharge (ESD) Precautions: Before working on the PSU or any electrical components, ensure that you are grounded to prevent electrostatic discharge, which can damage sensitive electronic parts. Use an anti-static wrist strap or work on an anti-static mat.
- Maintain Proper Ventilation: Ensure that the PSU and surrounding components have adequate airflow and ventilation to prevent overheating. Dust and debris should be regularly cleaned to avoid clogging ventilation openings.
- Regularly Check for Safety Certifications: When purchasing a new PSU or using one in a different region, verify that it carries the necessary safety certifications for the specific region. This ensures that the PSU meets the required electrical safety standards.
- Record Important Information: Keep a record of the input voltage settings, adjustments made, and any issues encountered during the process. This documentation will be valuable for future reference or when seeking support or troubleshooting.
- Periodically Recheck and Maintain: It’s a good practice to periodically recheck the input voltage setting of your PSU and ensure its stability. Regular maintenance, such as dusting and cleaning, helps to prolong the lifespan and maintain optimal performance.
By following these tips and taking the necessary precautions, you can safely adjust the input voltage of your PSU and ensure its compatibility with your devices, as well as maintain their optimal performance and longevity.
Now that you are equipped with these tips and precautions, you can confidently adjust the PSU input voltage and enjoy a smoother and safer experience with your electrical devices.
Conclusion
Adjusting the input voltage of your PSU may seem like a daunting task at first, but with the right knowledge and careful execution, it can be a manageable process. By following the steps outlined in this guide, you can safely and effectively adjust the PSU input voltage to meet the specific requirements of your devices or the region where it will be used.
Remember to determine the required input voltage, locate the input voltage adjustment switch, and turn off and unplug the PSU before making any adjustments. Use a screwdriver to adjust the voltage setting, double-check the setting, and securely close the PSU. Finally, test the adjusted PSU to ensure it is functioning properly and monitor your devices for any abnormal behavior.
Throughout the adjustment process, it is important to keep in mind the tips and precautions provided in this guide. Always refer to the user manual for your PSU model, use the correct tools, and seek professional assistance if needed. Adhering to ESD precautions, maintaining proper ventilation, and regularly checking for safety certifications are also crucial for a successful and safe adjustment process.
Now that you have the knowledge and understanding of how to adjust PSU input voltage, you can confidently adapt your PSU to different voltage requirements and optimize the performance and compatibility of your devices. Remember to document important information, periodically recheck and maintain your PSU, and stay informed about electrical standards and regulations in different regions.
With these guidelines and precautions in mind, you can embark on the journey of adjusting your PSU input voltage with confidence and ensure a smooth and efficient power supply for your devices.