Introduction
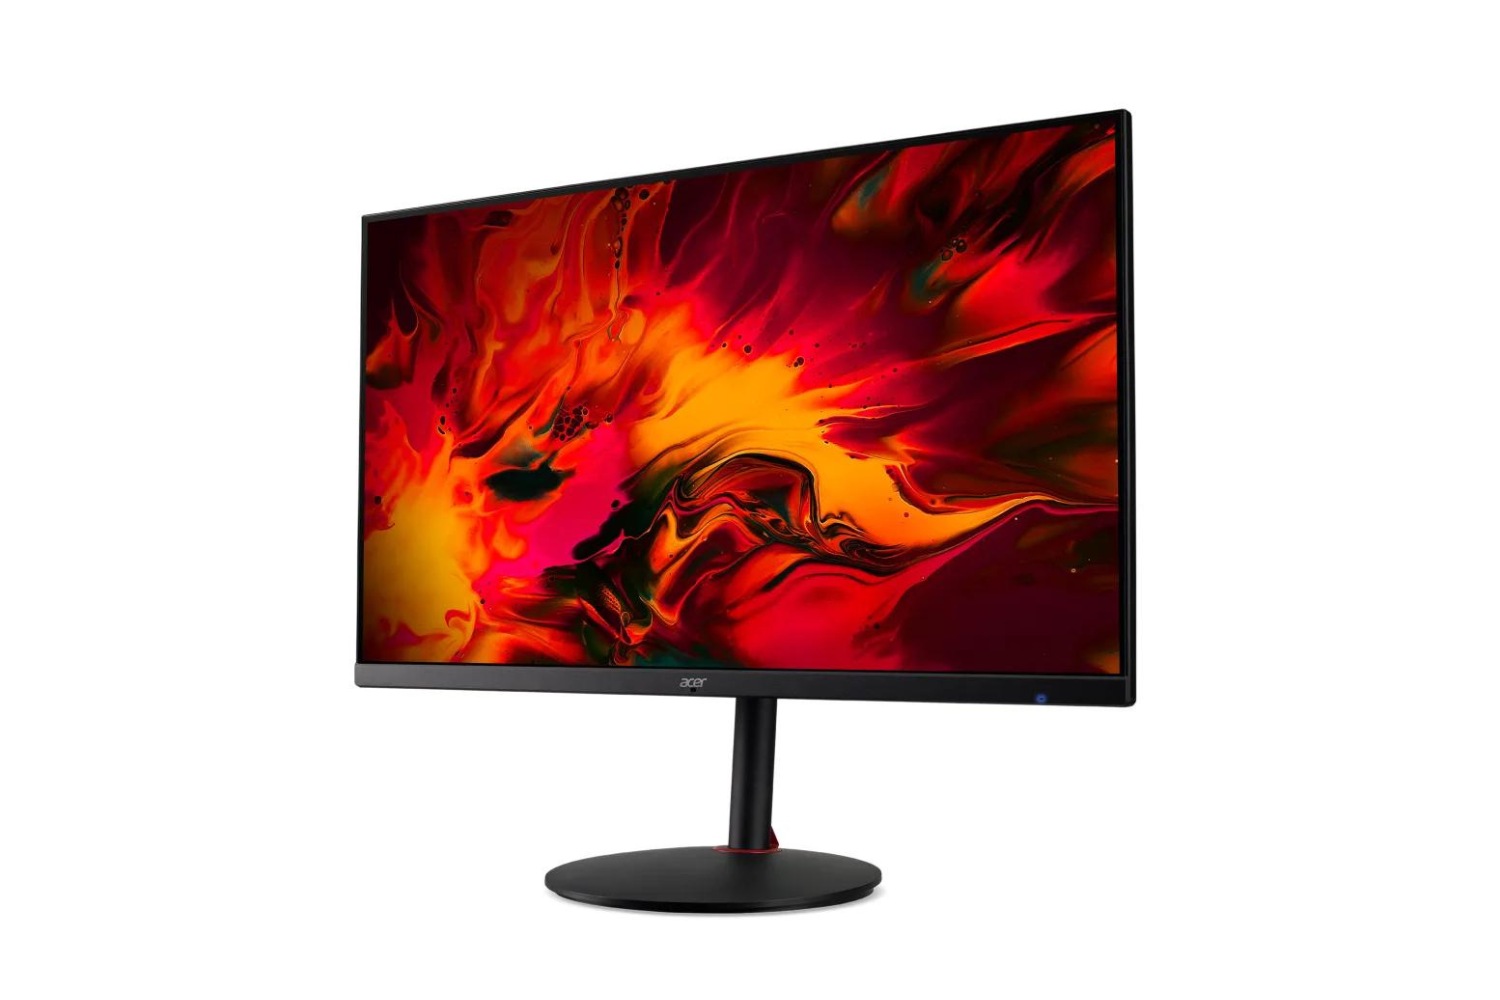
Welcome to our guide on how to adjust the frame rate on your Acer gaming monitor. If you’re a gamer, you understand the importance of a smooth and fluid gaming experience. The frame rate, measured in frames per second (FPS), determines how many images or frames are displayed on your screen per second. A higher frame rate results in smoother gameplay and reduces the chance of motion blur or lag.
While most Acer gaming monitors come with preset frame rate options, you may find that certain games or applications require specific frame rates to enhance your gaming experience. Adjusting the frame rate settings on your Acer gaming monitor allows you to optimize it for your specific needs.
In this guide, we will walk you through the step-by-step process of adjusting the frame rate on your Acer gaming monitor. Whether you’re aiming for a higher frame rate to eliminate stuttering or lower frame rate for power-saving purposes, we’ve got you covered.
Before we dive into the steps, it’s important to note that not all Acer gaming monitors may have a customizable frame rate feature. However, we will cover the general steps that should work for most models. It’s always a good idea to refer to your monitor’s user manual or check Acer’s official website for specific instructions regarding your model.
Why adjust the frame rate on Acer gaming monitors?
Adjusting the frame rate on your Acer gaming monitor can significantly impact your gaming experience. Here are a few reasons why you might consider tweaking the frame rate settings:
- Smooth gameplay: One of the main benefits of adjusting the frame rate is achieving smoother gameplay. Higher frame rates result in more fluid motion, allowing you to react faster and perform more accurately in fast-paced games.
- Reduced motion blur: A higher frame rate can minimize motion blur, which can be particularly important in action-packed games. By increasing the number of images displayed per second, the transitions between frames are smoother, resulting in a clearer and more immersive gaming experience.
- Compatibility with game requirements: Certain games may have specific frame rate requirements to achieve optimal performance. By adjusting the frame rate on your Acer gaming monitor, you can ensure that your monitor’s capabilities align with the technical requirements of the games you play, reducing the risk of performance issues.
- Power-saving: Lowering the frame rate on your gaming monitor can help conserve power, which can be beneficial for gamers who prioritize energy efficiency or play games on battery-powered devices. Lower frame rates require less processing power, resulting in energy savings.
- Personal preference: Every gamer has a unique playing style and visual preference. Adjusting the frame rate allows you to tailor the gaming experience to your liking. Some players may prefer a higher frame rate for smoother visuals, while others may prefer a lower frame rate for a more cinematic feel.
Keep in mind that adjusting the frame rate on your Acer gaming monitor is a personal choice and may depend on the specific game you are playing, the hardware you have, and your personal preferences. Experimenting with different frame rates can help you find the sweet spot that enhances your gaming experience.
How to adjust the frame rate on your Acer gaming monitor
Adjusting the frame rate on your Acer gaming monitor is a straightforward process. Follow these step-by-step instructions to fine-tune your frame rate settings:
- Step 1: Access the display settings
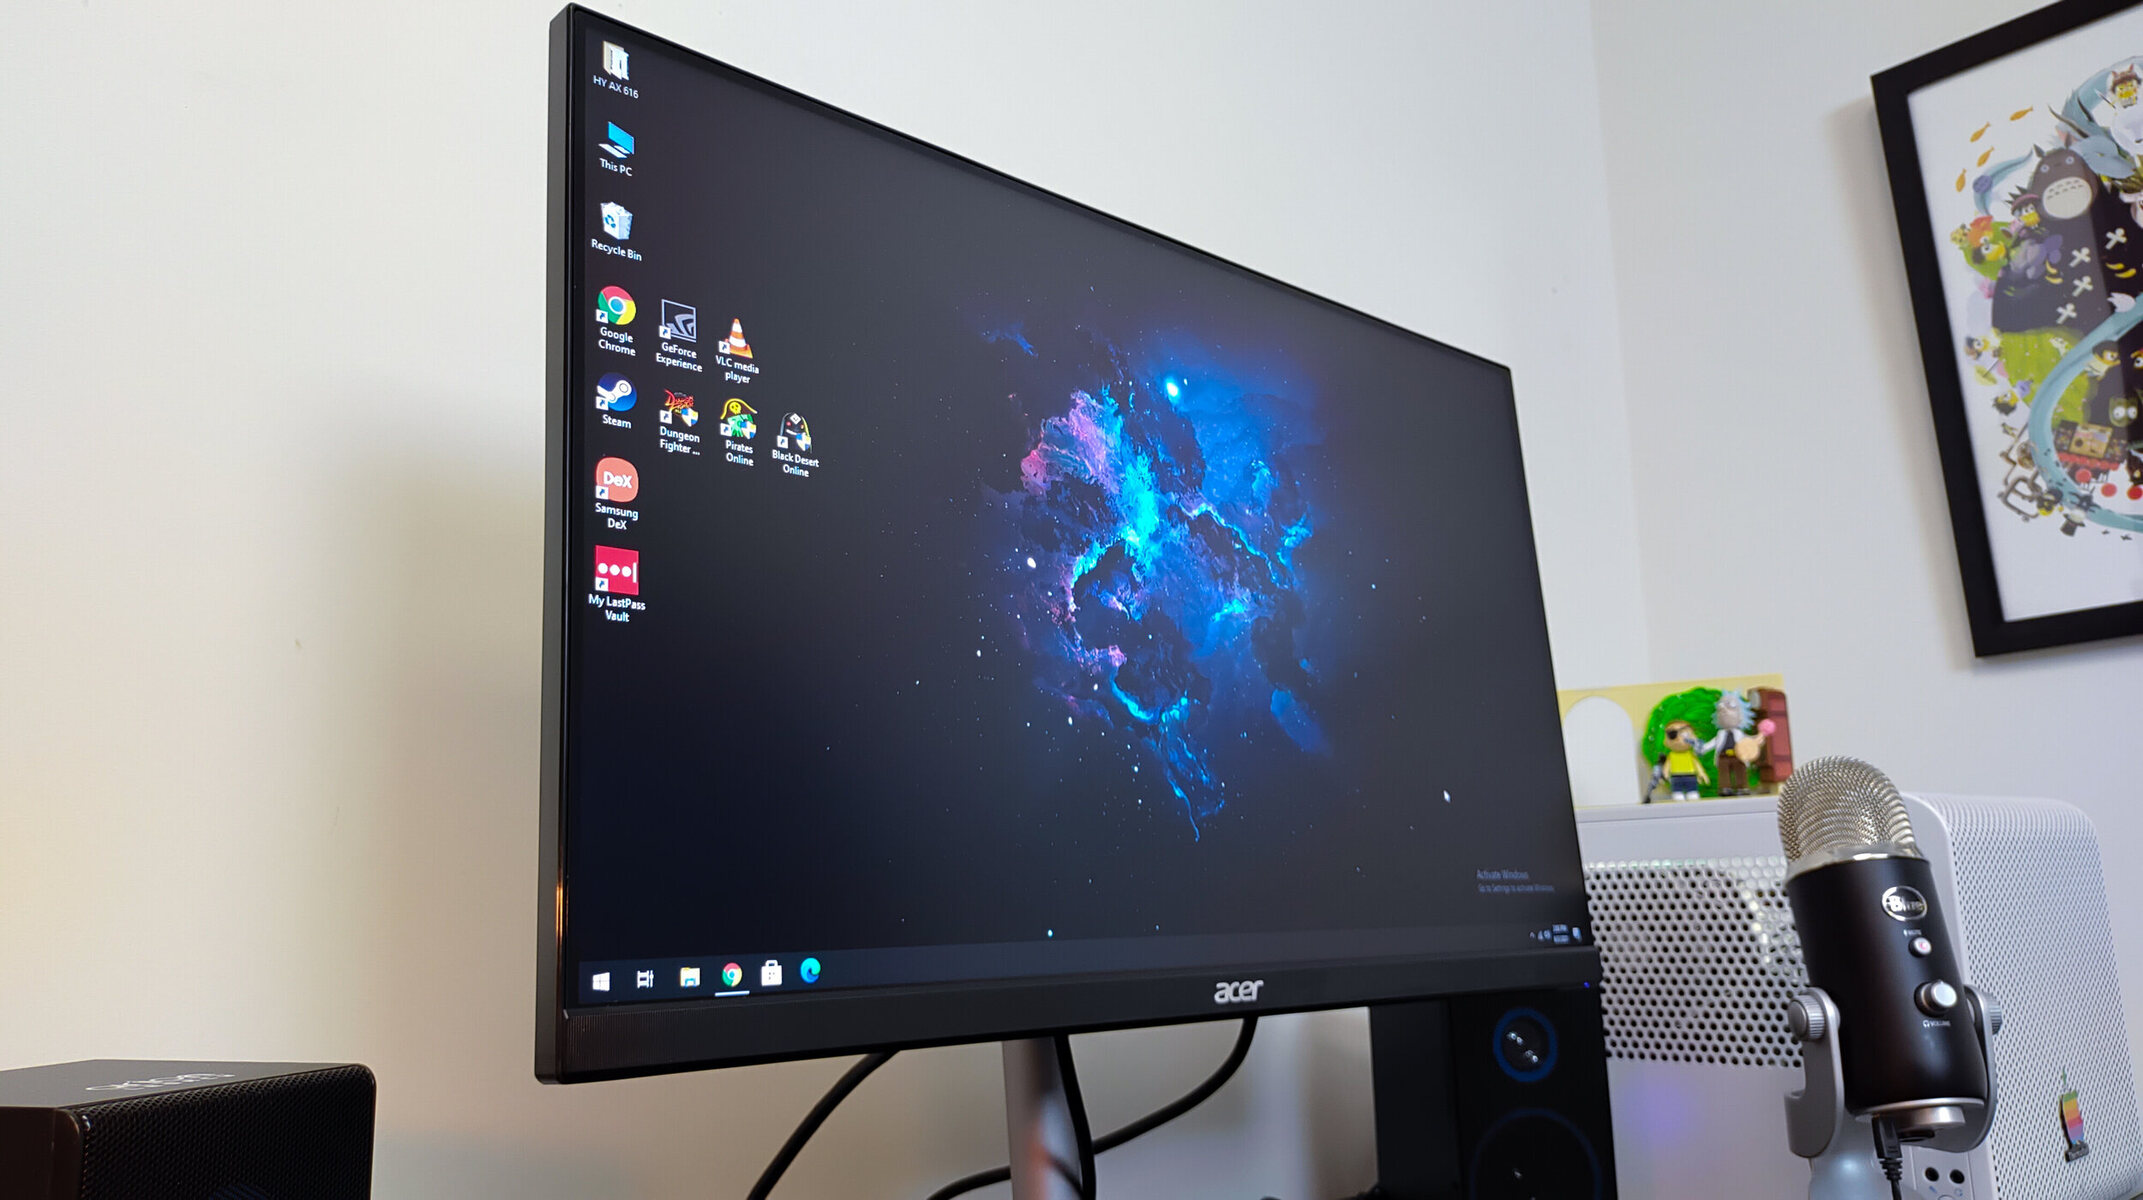
Begin by accessing the display settings of your Acer gaming monitor. This can typically be done through the monitor’s on-screen display (OSD) menu. Consult your monitor’s user manual or the manufacturer’s website if you’re unsure how to access the OSD menu for your specific model. - Step 2: Navigate to the “Frame Rate” option
Once you’re in the display settings menu, look for the “Frame Rate” option. This could also be labeled as “Refresh Rate” or “FPS.” Navigate to this option using the menu buttons on your monitor, typically located on the front or side. - Step 3: Select the desired frame rate
Once you’ve found the “Frame Rate” option, you should see a list of available frame rate options. These can range from 60 FPS to higher values such as 144 FPS or 240 FPS, depending on your specific monitor model. Select the desired frame rate using the menu buttons and check if your game or application supports that specific frame rate. - Step 4: Apply the changes and test your settings
After selecting the desired frame rate, apply the changes in the OSD menu. Your monitor will likely prompt you to confirm the changes before they take effect. Once applied, launch a game or an application to test the new frame rate settings. Observe if the gameplay feels smoother or if the visuals meet your expectations.
Remember, not all Acer gaming monitors have adjustable frame rate options. If you do not see a “Frame Rate” or “Refresh Rate” option in your monitor’s OSD menu, it is possible that your monitor does not support this feature.
Additionally, keep in mind that adjusting the frame rate may require a capable graphics card and hardware that can support the desired frame rate. Ensure that your gaming setup meets the requirements for the frame rate you wish to achieve.
By following these steps, you can easily adjust the frame rate on your Acer gaming monitor and customize it according to your preferences and gaming requirements.
Step 1: Access the display settings
The first step in adjusting the frame rate on your Acer gaming monitor is to access the display settings menu. This menu allows you to make various adjustments to your monitor’s settings, including the frame rate.
The process of accessing the display settings may vary slightly depending on your specific monitor model. However, here are the general steps to follow:
- 1.1 Locate the menu buttons: Most Acer gaming monitors have physical buttons on the front or side of the monitor. These buttons are used to navigate the on-screen display (OSD) menu and make adjustments to the monitor’s settings. Familiarize yourself with the location and functions of these buttons.
- 1.2 Power on the monitor: Ensure that your Acer gaming monitor is powered on and connected to your computer or gaming console.
- 1.3 Access the OSD menu: Press the appropriate button (often labeled as Menu or OSD) to access the OSD menu. This will typically bring up a list of options and settings that you can adjust.
Once you have successfully accessed the OSD menu, you are ready to proceed to the next step and navigate to the specific option for adjusting the frame rate.
If you are unsure about how to access the OSD menu on your Acer gaming monitor, consult the user manual that came with your monitor or visit the Acer website for specific instructions related to your monitor model.
It’s also worth noting that some Acer gaming monitors may offer the option to access the display settings through software provided by Acer. This software can provide a more user-friendly interface and additional features for adjusting the monitor’s settings, including the frame rate. Check if your monitor comes with any proprietary software and install it if available.
By successfully accessing the display settings menu, you have completed the first step towards adjusting the frame rate on your Acer gaming monitor. Next, we will navigate to the option specifically related to frame rate adjustments.
Step 2: Navigate to the “Frame Rate” option
Once you have accessed the display settings menu on your Acer gaming monitor, the next step is to locate and navigate to the “Frame Rate” option. This option allows you to make adjustments to the frame rate settings of your monitor.
The exact location and labeling of the “Frame Rate” option may differ depending on your specific Acer gaming monitor model. However, here are the general steps to follow:
- 2.1 Use the menu buttons: Utilize the menu buttons on your Acer gaming monitor to navigate through the options in the OSD menu. Typically, these buttons are labeled with arrows or icons for up, down, left, and right navigation. Press the appropriate button to move through the menu and locate the “Frame Rate” option.
- 2.2 Look for related terms: If you can’t find a specific “Frame Rate” option, look for alternative terms such as “Refresh Rate” or “FPS” (Frames Per Second). Acer monitors may use different terminology, so keep an eye out for any labels that suggest adjusting the frame rate.
- 2.3 Consult the user manual: If you’re having trouble locating the “Frame Rate” option, refer to the user manual that came with your Acer gaming monitor. The manual should provide specific instructions on navigating the OSD menu to find the frame rate settings.
It’s worth noting that not all Acer gaming monitors have adjustable frame rate options. If you don’t see a “Frame Rate” or similar option in the OSD menu, it is possible that your monitor does not support this feature.
Each monitor model may have unique menus and navigation methods, so it’s crucial to refer to the user manual or the manufacturer’s website for accurate instructions and assistance that specifically apply to your Acer gaming monitor model.
Once you have successfully located the “Frame Rate” option or its equivalent, you are ready to move on to the next step and make adjustments to the frame rate settings according to your preferences.
Step 3: Select the desired frame rate
After navigating to the “Frame Rate” option in the display settings menu of your Acer gaming monitor, the next step is to select the desired frame rate for your gaming experience. This allows you to customize the frame rate settings according to your preferences or specific game requirements.
Follow these steps to select the desired frame rate:
- 3.1 Explore the available options: Once you have located the “Frame Rate” option, you will likely see a list of available frame rate options. These options can range from the standard 60 frames per second (FPS) to higher values such as 144 FPS or even 240 FPS, depending on your monitor model and specifications.
- 3.2 Use the menu buttons to navigate: Utilize the menu buttons on your Acer gaming monitor to navigate through the list of available frame rates. Press the appropriate button to move up or down the list and highlight the desired frame rate option.
- 3.3 Consider game or application requirements: Take into account the requirements of the game or application you intend to use with your Acer gaming monitor. Some games may have specific frame rate recommendations or limitations, and it may be beneficial to select a frame rate that aligns with those requirements for optimal performance.
- 3.4 Choose your preferred frame rate: Once you have explored the available options and considered the game or application requirements, select the desired frame rate that suits your preferences or fulfills the specific needs of the game you plan to play.
It’s essential to note that not all Acer gaming monitors may have a wide range of frame rate options. The available options may vary depending on the capabilities of your specific monitor model.
If you’re uncertain about which frame rate to choose or need guidance on the optimal frame rate settings for your specific monitor and games, you can consult online forums or the Acer support community for suggestions.
Once you have selected the desired frame rate, you are ready to apply the changes and test your settings to see how the adjusted frame rate improves your gaming experience on your Acer gaming monitor.
Step 4: Apply the changes and test your settings
After selecting the desired frame rate for your Acer gaming monitor, it’s time to apply the changes and test your settings to see how they affect your gaming experience. Follow these steps to apply the changes and ensure everything is working as expected:
- 4.1 Confirm the changes: Once you have selected the desired frame rate option, navigate to the “Apply” or “Confirm” option in the OSD menu. Press the appropriate button on your Acer gaming monitor to apply the changes and confirm that you want to modify the frame rate settings.
- 4.2 Test your settings: Launch a game or application that you frequently play to test the new frame rate settings. Observe the gameplay and pay attention to any differences in visuals, smoothness, and overall performance. Check if the adjusted frame rate meets your expectations and enhances your gaming experience.
- 4.3 Make further adjustments if needed: If you feel that the selected frame rate is not achieving the desired results or there are any issues, you may need to go back to the OSD menu and make further adjustments. Repeat the previous steps to select a different frame rate option that better suits your preferences or game requirements.
- 4.4 Consult additional resources: If you encounter any difficulties or have questions about the impact of different frame rates, consider seeking advice from online forums, gaming communities, or Acer support resources. These sources can provide valuable insights and recommendations based on the experiences of other users.
Remember, the optimal frame rate can vary depending on your personal preferences, the specific game or application you’re using, and the hardware capabilities of your Acer gaming monitor and computer setup. It may take some trial and error to find the ideal frame rate that enhances your gaming experience.
By applying the changes and testing your selected frame rate settings, you can assess their impact and determine if the adjustments have improved the smoothness, visual quality, and overall satisfaction of your gaming sessions on your Acer gaming monitor.
Additional tips for optimizing frame rate on Acer gaming monitors
While adjusting the frame rate on your Acer gaming monitor is a crucial step in optimizing your gaming experience, there are additional tips you can follow to further enhance the frame rate performance. Consider these suggestions:
- 1. Update graphics drivers: Ensure that you have the latest graphics drivers installed for your graphics card. Updated drivers often include performance optimization improvements that can positively impact the frame rate.
- 2. Optimize in-game settings: Adjusting the in-game graphics settings can significantly impact the frame rate. Experiment with lowering or disabling resource-heavy settings such as anti-aliasing, shadows, and ambient occlusion to improve performance without sacrificing visual quality.
- 3. Close unnecessary background processes: Close any unnecessary applications or processes running in the background while gaming. These can consume system resources and potentially affect the frame rate.
- 4. Monitor the system temperature: Overheating can impact the performance of your hardware, including the frame rate. Ensure that your computer’s temperature is within a safe range by monitoring it with software tools and consider proper cooling solutions if needed.
- 5. Adjust power settings: On laptops or battery-powered devices, selecting the “High Performance” power plan can provide better performance by allocating more power to the graphics card and boosting the frame rate.
- 6. Consider overclocking: Overclocking your graphics card might provide a slight boost in frame rate. However, this should only be done with caution and in accordance with manufacturer guidelines, as improper overclocking can lead to stability issues or hardware damage.
- 7. Monitor refresh rate: Ensure that your monitor’s refresh rate is set to match or exceed the selected frame rate. A higher refresh rate can further enhance the smoothness and fluidity of the visuals.
- 8. Keep your monitor clean and dust-free: Dust accumulation can impact your monitor’s performance, including the frame rate. Regularly clean your monitor to maintain optimal functionality.
Remember to adjust these additional settings and factors to complement the frame rate adjustments made on your Acer gaming monitor. By implementing these tips, you can maximize the frame rate performance and overall gaming experience on your monitor.
Conclusion
Adjusting the frame rate on your Acer gaming monitor is a simple yet powerful way to optimize your gaming experience. By following the steps outlined in this guide, you can easily access the display settings, navigate to the frame rate options, and select the desired frame rate that suits your preferences or specific game requirements.
Optimizing the frame rate on your Acer gaming monitor can result in smoother gameplay, reduced motion blur, and compatibility with game requirements. Additionally, adjusting the frame rate allows you to personalize your gaming experience according to your unique preferences and visual preferences.
Remember to apply the changes and test your selected frame rate settings to ensure that they meet your expectations. Take advantage of additional tips, such as updating graphics drivers, optimizing in-game settings, and monitoring system temperature, to further enhance the frame rate performance.
Lastly, keep in mind that not all Acer gaming monitors may have adjustable frame rate options. It’s important to refer to the user manual or the manufacturer’s website for specific instructions related to your monitor model and its capabilities.
By taking the time to optimize the frame rate on your Acer gaming monitor, you can elevate your gaming experience to new levels of smoothness and visual clarity. Embrace the power of frame rate customization to enhance your game immersion and gain a competitive edge in the virtual world.