Introduction
Welcome to our guide on how to add RAM to an Asus X200Ca Ultrabook. If you’re looking to boost the performance of your Ultrabook, upgrading the RAM is a great way to do it. Whether you’re a casual user looking to multitask smoothly or a power user who needs to run resource-intensive applications, adding more RAM can significantly improve your system’s speed and responsiveness.
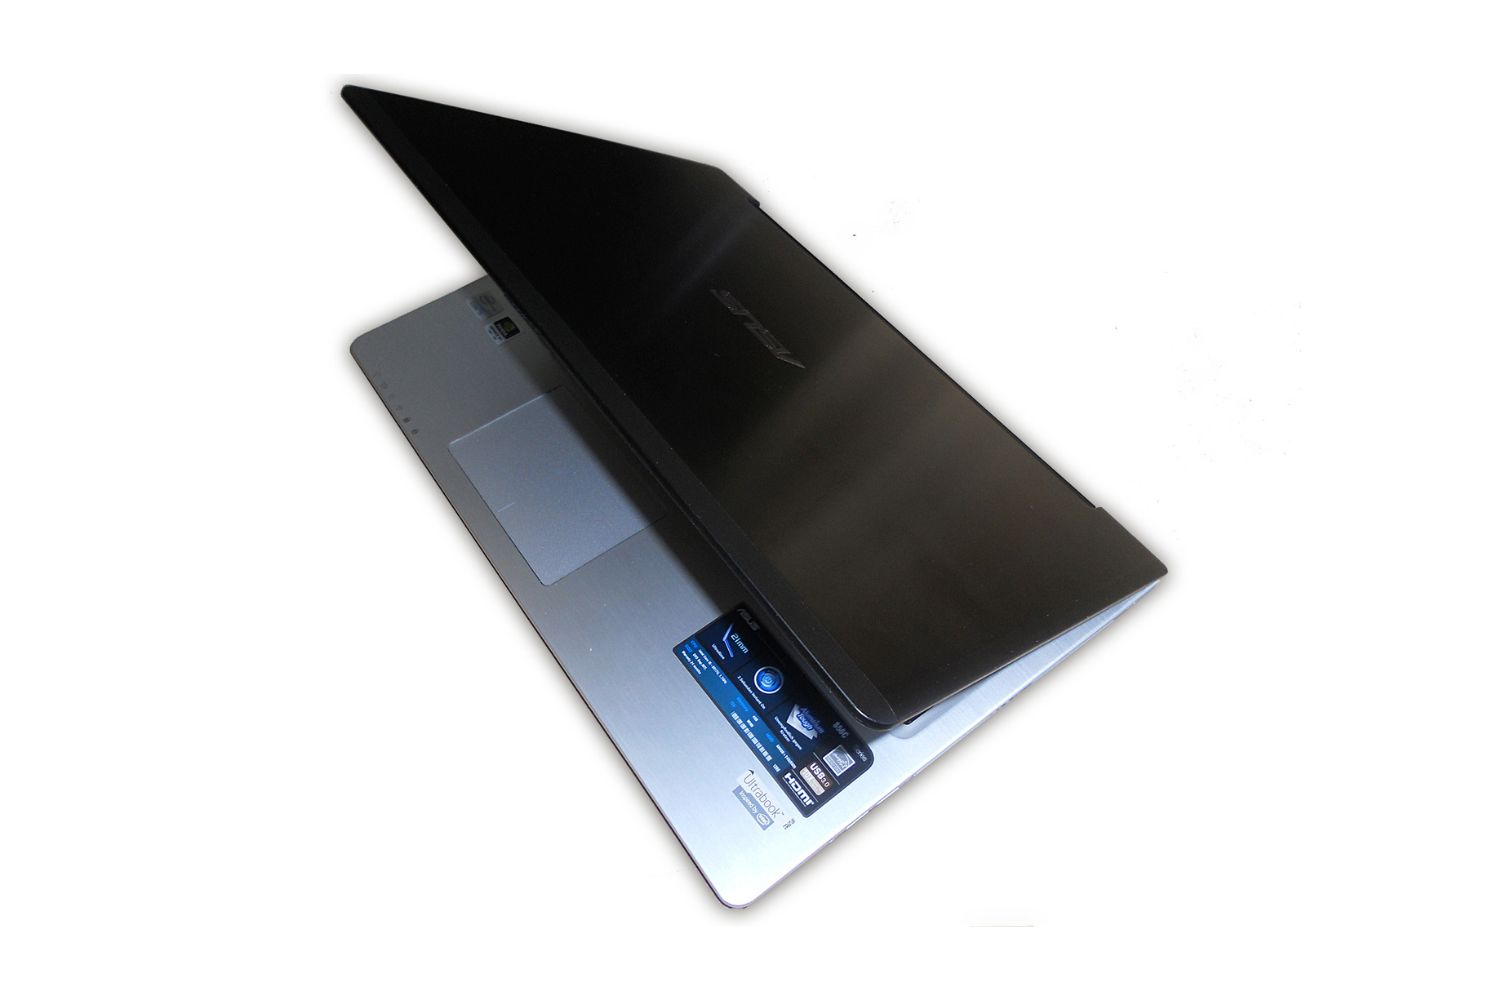
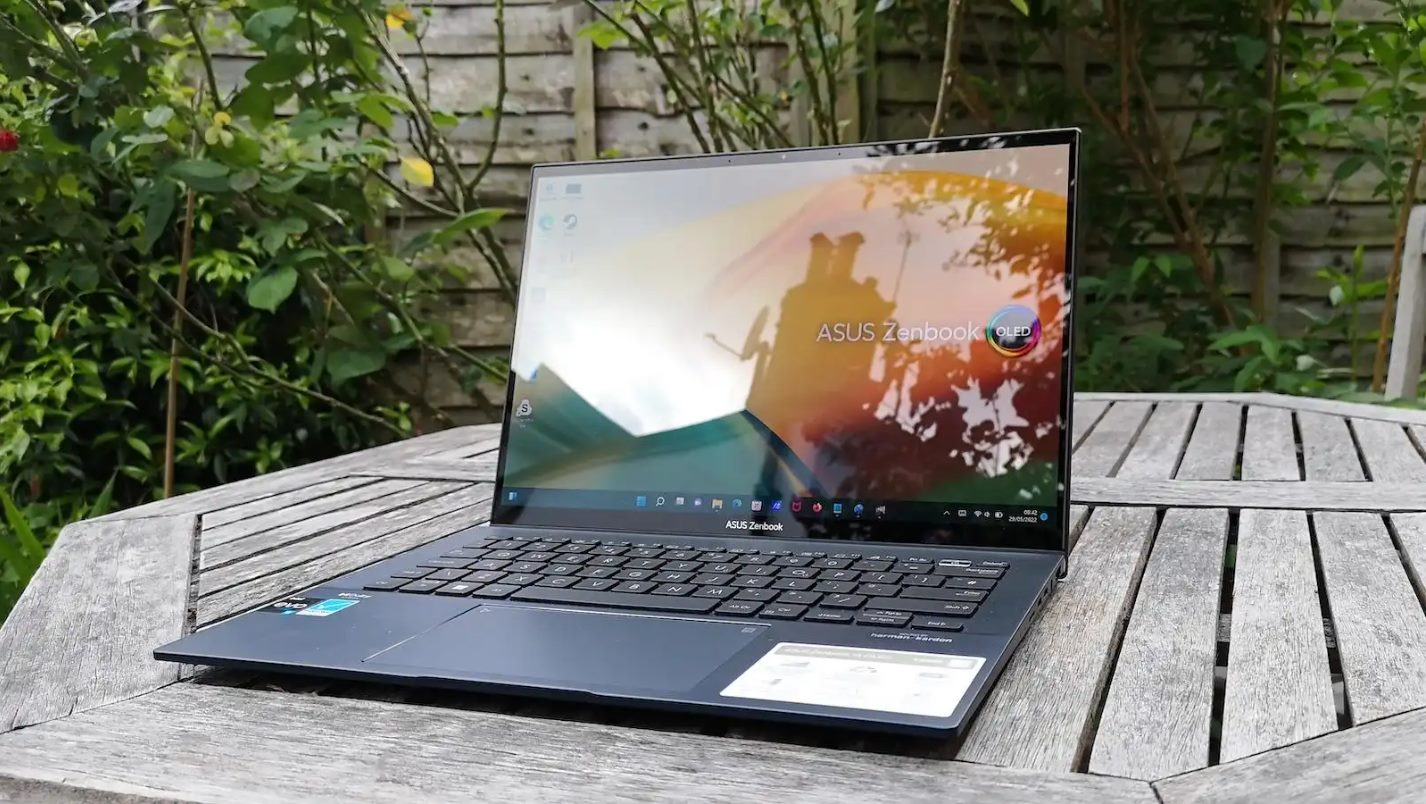
The Asus X200Ca Ultrabook is a sleek and compact laptop that offers portability without compromising on performance. It comes with a standard amount of RAM, but if you find that your Ultrabook is struggling to keep up with your workload, adding more RAM can make a noticeable difference.
In this guide, we will take you through the step-by-step process of adding RAM to your Asus X200Ca Ultrabook. We will cover everything from verifying compatibility to installing the new RAM module, ensuring that you have all the necessary information and instructions to successfully upgrade your Ultrabook’s memory.
Please note that while the process of adding RAM to an Asus X200Ca Ultrabook is relatively straightforward, it does require some technical knowledge and delicate handling of the hardware. If you are not comfortable with performing hardware upgrades or if your Ultrabook is still under warranty, it is recommended to seek professional assistance.
Before we dive into the steps, let’s briefly explore why upgrading the RAM is beneficial and how it can improve the overall performance of your Ultrabook.
Step 1: Verify Compatibility
The first step in adding RAM to your Asus X200Ca Ultrabook is to ensure compatibility between the new RAM module and your Ultrabook’s specifications. Not all RAM modules are compatible with every laptop model, so it’s essential to check the specifications of your Ultrabook to determine the appropriate type and capacity of RAM you should purchase.
To verify compatibility, you can follow these steps:
- Check the user manual: The user manual that came with your Ultrabook should provide information about the maximum supported RAM capacity and the type of RAM modules compatible with your device. Locate the RAM specifications section in the manual or refer to the technical specifications online.
- Use an online compatibility checker: There are various online tools available that can help you determine if a specific RAM module is compatible with your Ultrabook. These tools usually require you to enter your laptop model or product number and provide a list of compatible RAM modules. This can be a convenient way to quickly verify compatibility.
- Consult the manufacturer’s support: If you’re still unsure about the compatible RAM for your Ultrabook, you can reach out to the manufacturer’s support team. They can provide you with accurate information and guide you through the process of selecting the right RAM module for your device.
Once you have identified the compatible RAM type and capacity for your Asus X200Ca Ultrabook, you can proceed to the next step, which is gathering the necessary materials.
Step 2: Gather the Materials
Before you begin the process of adding RAM to your Asus X200Ca Ultrabook, it’s important to gather all the necessary materials. Having everything you need at hand will make the installation process more efficient and ensure that you have everything required for a successful upgrade.
Here are the materials you will need:
- Compatible RAM module: Ensure that you have purchased a RAM module that is compatible with your Asus X200Ca Ultrabook’s specifications. Refer to the information obtained in the previous step to ensure the RAM’s compatibility.
- Anti-static wrist strap: To protect your Ultrabook and yourself from static electricity during the installation process, it is recommended to wear an anti-static wrist strap. This will prevent any potential damage to sensitive electronic components.
- Small screwdriver set: You will need a small screwdriver or a set of screwdrivers to remove the screws on the Ultrabook’s bottom panel. Make sure to choose the appropriate size and type of screwdriver to avoid damaging the screws.
- Clean, flat workspace: Find a clean and flat surface to work on during the installation process. It’s important to have enough space to comfortably lay out your Ultrabook and the necessary tools.
- Soft cloth or static-free mat: Use a soft cloth or a static-free mat to keep your Ultrabook protected from scratches or accidental damage while you’re working on it. This will help ensure a safe and gentle workspace for your laptop.
By gathering these materials before starting the installation process, you’ll be well-prepared and ready to proceed smoothly to the next step, which is preparing your Ultrabook.
Step 3: Prepare the Ultrabook
Now that you have gathered all the necessary materials, it’s time to prepare your Asus X200Ca Ultrabook for the RAM upgrade. Proper preparation ensures a smooth installation process and reduces the risk of causing any damage to your laptop.
Follow these steps to prepare your Ultrabook:
- Power off and unplug: Firstly, make sure your Ultrabook is powered off and unplugged from any power source. This will prevent any potential electrical accidents and protect both you and your laptop.
- Find a stable surface: Place your Ultrabook on a stable and flat surface. It’s important to choose a clean and clutter-free area where you can work comfortably and have enough space for your tools and materials.
- Remove any peripherals: If there are any external devices or accessories connected to your Ultrabook, such as USB drives or external hard drives, disconnect them before proceeding. This will ensure that nothing interferes with the installation process.
- Take precautions against static electricity: Before touching any internal components of your Ultrabook, it’s crucial to discharge any built-up static electricity. You can do this by touching a grounded metal surface or wearing an anti-static wrist strap. This step helps prevent damaging the sensitive electronics of your laptop.
- Handle with care: Throughout the preparation process and the subsequent installation steps, handle your Ultrabook with care. Avoid applying excessive force or twisting motions that could potentially cause damage. Follow the instructions diligently to prevent accidental mishaps.
By following these preparation steps, you ensure that your Asus X200Ca Ultrabook is ready for the RAM upgrade. With a properly prepared laptop, you can now proceed to the next step, which involves removing the bottom panel to access the RAM slot.
Step 4: Remove the Bottom Panel
Now that your Asus X200Ca Ultrabook is prepared, it’s time to remove the bottom panel to gain access to the internal components, including the RAM slot. This step requires careful handling to avoid damaging the Ultrabook’s components.
Follow these steps to remove the bottom panel:
- Locate the screws: Flip your Ultrabook upside down and locate the screws holding the bottom panel in place. They are typically located towards the corners or edges of the laptop.
- Use the appropriate screwdriver: Select the appropriate size and type of screwdriver needed to remove the screws. Make sure the screwdriver fits snugly into the screws to avoid stripping them.
- Remove the screws: Carefully remove each screw one by one. Place them in a secure location or on a magnetic tray to prevent them from getting lost.
- Detach the bottom panel: Gently pry open the bottom panel using a plastic opening tool or your fingertips. Start from one corner and gradually work your way around until the panel is fully detached.
- Set aside the bottom panel: Once the panel is removed, set it aside in a safe place. You may want to place it on a soft cloth to avoid any potential scratches or damage.
With the bottom panel successfully removed, you now have access to the internal components of your Asus X200Ca Ultrabook. In the next step, we will guide you through locating the RAM slot.
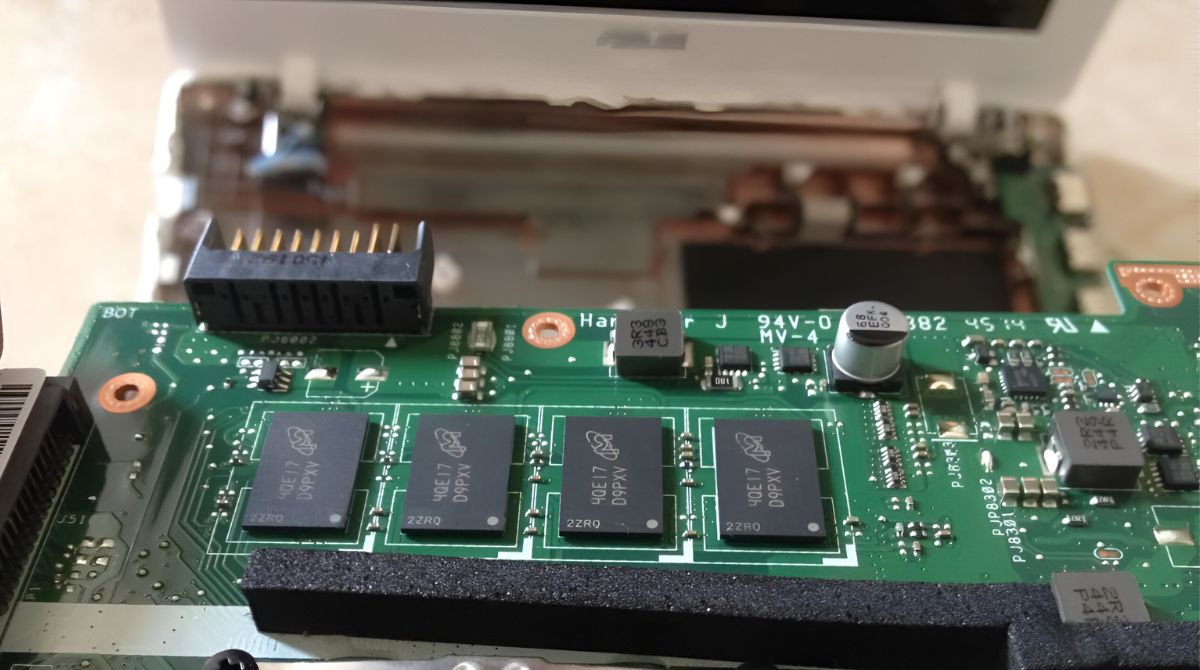
Step 5: Locate the RAM Slot
Now that the bottom panel of your Asus X200Ca Ultrabook has been removed, it’s time to locate the RAM slot. The RAM slot is where you will insert the new RAM module to upgrade your Ultrabook’s memory capacity.
To locate the RAM slot, follow these steps:
- Identify the existing RAM module: Look for the existing RAM module that is already installed in your Ultrabook. It is usually a small rectangular module located on the motherboard.
- Inspect the area around the existing RAM module: Take a close look at the area surrounding the RAM module. Look for any other components, such as the CMOS battery or wireless card, that may obstruct or interfere with accessing the RAM slot.
- Refer to the user manual: If you’re having trouble identifying the RAM slot, consult the user manual or official documentation provided by Asus. These resources often provide detailed diagrams or instructions on locating the RAM slot.
- Inspect the motherboard: If you’re comfortable with accessing the motherboard, you can remove it to get a clear view of the RAM slot. However, exercise caution as this step requires advanced knowledge and may void your warranty if not done correctly.
- Take note of the RAM slot’s location: Once you have located the RAM slot, make a mental note of its position and orientation. This will help you during the next step when you insert the new RAM module.
By following these steps, you will be able to locate the RAM slot in your Asus X200Ca Ultrabook. Now that you know where it is, you can proceed to the next step, which involves installing the new RAM module.
Step 6: Install the New RAM
With the RAM slot located in your Asus X200Ca Ultrabook, it’s time to install the new RAM module. This step will increase your laptop’s memory capacity and enhance its overall performance. Follow these steps to install the new RAM:
- Handle the new RAM module with care: Before starting, make sure to ground yourself by touching a grounded metal object or wearing an anti-static wrist strap. This will help prevent any static electricity damage to the RAM module.
- Align the RAM module: Take the new RAM module and align it with the RAM slot in the correct orientation. Look for the notch or key on both the RAM module and slot to ensure proper alignment.
- Insert the RAM module at a 45-degree angle: Holding the RAM module at a slight angle, carefully insert it into the RAM slot. Apply gentle and even pressure until the module is fully seated in the slot.
- Press down and secure the module: Once the RAM module is inserted, press down firmly on both ends until you hear a clicking sound. This indicates that the module is securely in place.
- Double-check the installation: Give the RAM module a slight tug to ensure it is correctly seated and does not come loose. It’s essential to verify that the module is firmly in place before proceeding further.
Once the new RAM module is installed, you have successfully upgraded the memory capacity of your Asus X200Ca Ultrabook. In the next step, we will guide you through replacing the bottom panel.
Step 7: Replace the Bottom Panel
Now that the new RAM module is securely installed in your Asus X200Ca Ultrabook, it’s time to replace the bottom panel. Reattaching the panel will provide protection and ensure the internal components are safely enclosed.
Follow these steps to replace the bottom panel:
- Align the bottom panel: Position the bottom panel over the Ultrabook’s chassis, aligning it with the screw holes and ports.
- Press down and secure the panel: Gently apply even pressure to the panel, pressing it down until you feel it snap into place. Make sure all edges fit snugly and are flush with the rest of the Ultrabook.
- Insert and tighten the screws: Take the screws that were previously removed and insert them back into their respective holes. Use the appropriate screwdriver to tighten the screws, but avoid over-tightening to prevent damage.
- Test the panel’s stability: Give the bottom panel a slight shake or tap to ensure it is securely fastened. If it feels loose or unstable, double-check the alignment and screw tightness.
Once you have successfully replaced the bottom panel and ensured its stability, your Asus X200Ca Ultrabook is now ready for the final step – powering on and testing the newly installed RAM.
Step 8: Power On and Test
After upgrading the RAM and replacing the bottom panel of your Asus X200Ca Ultrabook, it’s time to power on the device and test the newly installed RAM module. This step will ensure that the upgrade was successful and that your Ultrabook is now running with increased memory capacity.
Follow these steps to power on and test your Ultrabook:
- Connect the power adapter: Plug in the power adapter and connect it to your Ultrabook. Ensure that the power adapter is properly connected to a power source.
- Press the power button: Locate the power button on your Ultrabook and press it to turn on the device. Wait for the operating system to load.
- Check the system information: Once your Ultrabook has booted up, go to the system information or RAM settings to verify the newly installed RAM capacity. It should show the increased memory size according to the new RAM module.
- Test performance: Use your Ultrabook as you normally would and monitor its performance. Open multiple applications or resource-intensive programs to assess the improved speed and responsiveness. If everything functions smoothly, it indicates a successful RAM upgrade.
- Run a memory test (optional): For additional reassurance, you can run a memory test using third-party software to check for any potential errors or inconsistencies. This step is optional but can provide additional peace of mind.
If your Asus X200Ca Ultrabook powers on without any issues and you notice a significant improvement in its performance, congratulations! You have successfully added RAM to your Ultrabook and enhanced its memory capacity.
Now that you have completed the installation and testing process, you can enjoy using your upgraded Ultrabook with improved performance for multitasking, running demanding applications, and other memory-intensive tasks.
Conclusion
Congratulations on successfully adding RAM to your Asus X200Ca Ultrabook! By following the step-by-step guide, you have enhanced the memory capacity of your Ultrabook, which will translate into improved speed and performance for various tasks.
Adding more RAM allows your Ultrabook to handle multitasking more efficiently, run resource-intensive applications smoothly, and provide a better overall user experience. You can now enjoy faster response times, reduced lag, and enhanced performance when using your laptop for work, entertainment, or everyday tasks.
Throughout the process, it’s important to maintain caution and follow the instructions carefully to ensure the safe installation of the new RAM module. From verifying compatibility to preparing the Ultrabook, removing the bottom panel, locating the RAM slot, installing the new RAM module, replacing the bottom panel, and finally powering on and testing the device – each step contributes to a successful RAM upgrade.
If at any point you feel unsure or uncomfortable with the process, it is recommended to seek professional assistance or guidance. Remember to handle the hardware with care, ground yourself against static electricity, and work in a clean and organized environment.
Now that you have expanded the memory capacity of your Asus X200Ca Ultrabook, enjoy the improved performance and take full advantage of the additional RAM. Whether you’re a student, professional, or casual user, the increased memory capacity will undoubtedly enhance your computing experience.
Thank you for following this guide, and we hope that your upgraded Asus X200Ca Ultrabook brings you many hours of productive and enjoyable usage.