Introduction
Welcome to the world of data protection! In an era where digital information is increasingly valuable and vulnerable, securing your personal and sensitive data has become more important than ever. One effective way to safeguard your data is by adding a password to your external hard drive.
An external hard drive is a convenient and portable storage device that allows you to store and access your files outside of your computer. While external hard drives offer convenience and flexibility, they also pose a risk if they fall into the wrong hands. Imagine losing your external hard drive or having it stolen, only to find out that all your personal files, confidential documents, and cherished memories are accessible to anyone who comes across it.
By adding a password to your external hard drive, you can prevent unauthorized access to your data, ensuring that your sensitive information remains secure. This added layer of protection can give you peace of mind, whether you’re carrying your external hard drive with you or storing it in a safe place.
In this article, we’ll explore different methods and techniques to add a password to your external hard drive. We’ll discuss built-in encryption software, third-party encryption software, and hardware-based encryption, giving you a range of options to choose from. Whether you’re a tech-savvy individual or a beginner, there’s a method that suits your needs and skill level.
Let’s dive into the world of password protection and learn how to safeguard your data on your external hard drive, securing your files and ensuring that only authorized individuals can access them.
Why Should You Add a Password to Your External Hard Drive?
Your external hard drive contains a treasure trove of personal and sensitive information ranging from personal photos and videos to financial documents and important work files. Adding a password to your external hard drive offers several key benefits:
- Data Security: By implementing a password, you create an additional level of security for your data. Even if your external hard drive falls into the wrong hands, the password will prevent unauthorized access, keeping your information safe and secure.
- Privacy Protection: Password protection ensures that only authorized individuals can view, modify, or copy your files. This is particularly crucial if you share your external hard drive with others or use it in shared environments, such as offices or public spaces.
- Theft and Loss Prevention: External hard drives are small and highly portable, making them easy targets for theft or misplacement. By adding a password, you reduce the risk of compromising your data in case of theft or loss, as unauthorized individuals won’t be able to access your files.
- Compliance and Regulations: Depending on your industry or profession, you may be required to comply with specific privacy regulations or security standards. Adding a password to your external hard drive can help you meet these requirements, ensuring that you handle sensitive information responsibly.
- Peace of Mind: Knowing that your data is protected can give you peace of mind. Whether you’re traveling with your external hard drive or keeping it at home, having a password in place can provide reassurance that your files are secure.
While adding a password to your external hard drive offers numerous benefits, it’s important to choose a strong and unique password. Avoid using common words, personal information, or easily guessable combinations. Instead, opt for a combination of letters, numbers, and special characters.
Now that we understand the importance of adding a password to your external hard drive, let’s explore different methods to accomplish this and ensure the security of your valuable data.
Choosing the Right Password Protection Method
When it comes to password protecting your external hard drive, you have several methods to choose from. Each method offers its own advantages and considerations. Here are three primary approaches:
- Using Built-in Encryption Software: Many external hard drives come with built-in encryption software that allows you to password protect your files. This method is often user-friendly, as it doesn’t require additional software installation. However, the level of encryption and security may vary depending on the brand and model of the external hard drive.
- Third-Party Encryption Software: If your external hard drive doesn’t include built-in encryption software or you want more advanced features, you can opt for third-party encryption software. These software solutions offer greater customization and control over the encryption process, allowing you to set stronger passwords and implement more robust security measures.
- Hardware-Based Encryption: Some external hard drives feature hardware-based encryption, where encryption and decryption are handled directly by the hard drive’s hardware. This method typically offers high-level security with minimal impact on performance. Hardware-based encryption is particularly useful if you frequently transfer data between different devices and need a portable and efficient encryption solution.
When choosing the right password protection method, consider your specific needs, level of technical expertise, and the sensitivity of the data you intend to protect. If simplicity and convenience are your main priorities, using the built-in encryption software may be the most suitable option. On the other hand, if you require advanced security features and customization, third-party encryption software might be more appropriate. Hardware-based encryption is ideal for individuals who prioritize portability and performance.
Before implementing any method, it’s crucial to research and read reviews to ensure the chosen software or hardware is reliable and meets your requirements. Keep in mind that while password protection is an effective security measure, it’s essential to have regular backups of your data, as unforeseen circumstances or technical issues can lead to data loss.
Now that you understand the different password protection methods available, let’s explore each method in detail and provide step-by-step instructions on how to add a password to your external hard drive using each approach.
Method 1: Using Built-in Encryption Software
One common method to add a password to your external hard drive is by using the built-in encryption software that comes with many external hard drives. This software provides a straightforward and convenient way to protect your files. Here’s a step-by-step guide on how to use the built-in encryption software:
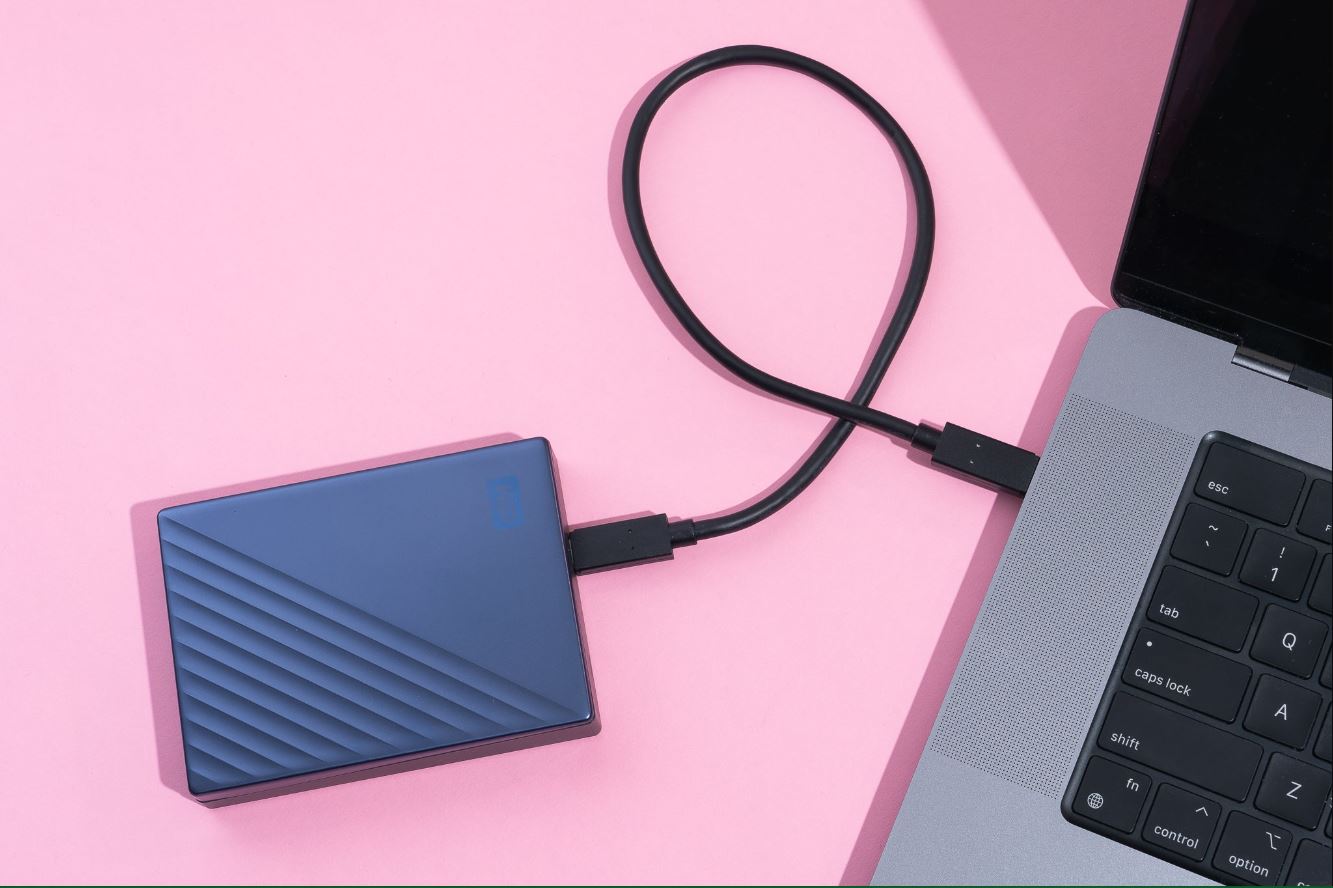
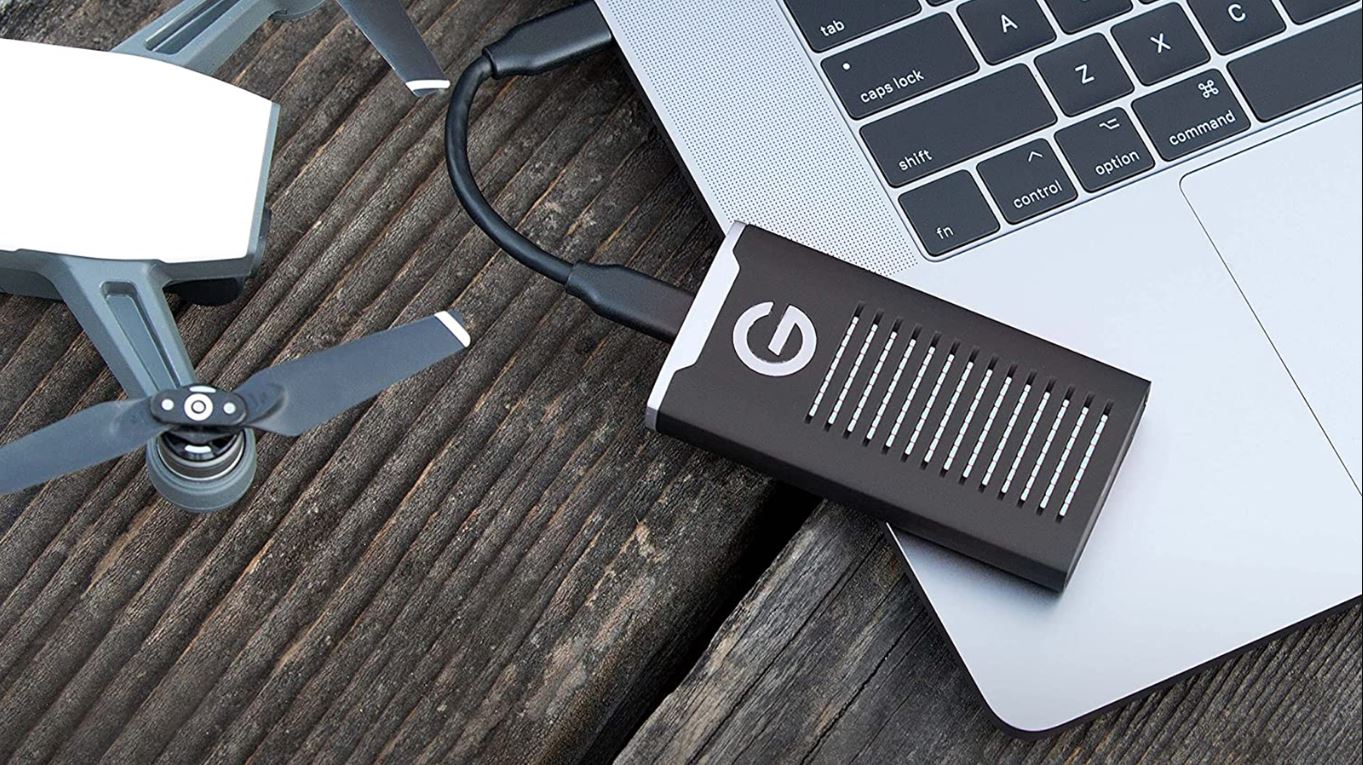
- Connect your external hard drive: Plug your external hard drive into your computer using the appropriate USB cable or connector. Ensure that it is properly recognized and accessible on your computer.
- Locate the built-in encryption software: Open the software or utility that is typically pre-installed on the external hard drive. Look for options related to encryption or security. The specific location and name of the software may vary depending on the brand and model of your external hard drive.
- Create a new encrypted container: Within the encryption software, create a new encrypted container to store your files securely. This container will serve as a protected folder or drive where you can store your sensitive data. Follow the instructions provided by the software to set up the encrypted container, including choosing a name and location for it.
- Set a password: During the creation of the encrypted container, the software will prompt you to set a password. Choose a strong, unique password that you can remember but others cannot easily guess. Consider using a combination of uppercase and lowercase letters, numbers, and special characters for added security.
- Transfer files to the encrypted container: Once your encrypted container is set up and password protected, you can start transferring files to it. Open the container and move or copy files into it, just like you would with any other folder or drive. The files stored in the encrypted container will be protected and inaccessible without the password.
- Access your files: Whenever you want to access the files stored in the encrypted container, open the encryption software and provide the password. Once authenticated, you will be able to view and work with your files as usual.
This method offers a simple and integrated approach to encrypt and secure your files on the external hard drive. However, it’s important to remember the password and make sure to back it up in a secure location. Losing the password may result in permanent data loss, as the encrypted container cannot be accessed without it.
Now that you know how to use the built-in encryption software, let’s move on to the next method and explore how to add a password to your external hard drive using third-party encryption software.
Method 2: Third-Party Encryption Software
If your external hard drive doesn’t come with built-in encryption software or if you’re looking for more advanced features, using third-party encryption software is an excellent option. These software solutions offer greater flexibility, customization, and security measures. Here’s a step-by-step guide on how to add a password to your external hard drive using third-party encryption software:
- Research and choose a trusted third-party encryption software: Start by researching and selecting a reliable third-party encryption software that suits your needs. Look for reputable software that offers strong encryption algorithms and positive user reviews. Popular choices include VeraCrypt, BitLocker (for Windows), and FileVault (for Mac).
- Download and install the software: Visit the official website of the chosen encryption software and download the installation package. Follow the on-screen instructions to install the software on your computer.
- Connect your external hard drive: Plug your external hard drive into your computer using the appropriate USB cable or connector. Ensure that it is properly recognized and accessible on your computer.
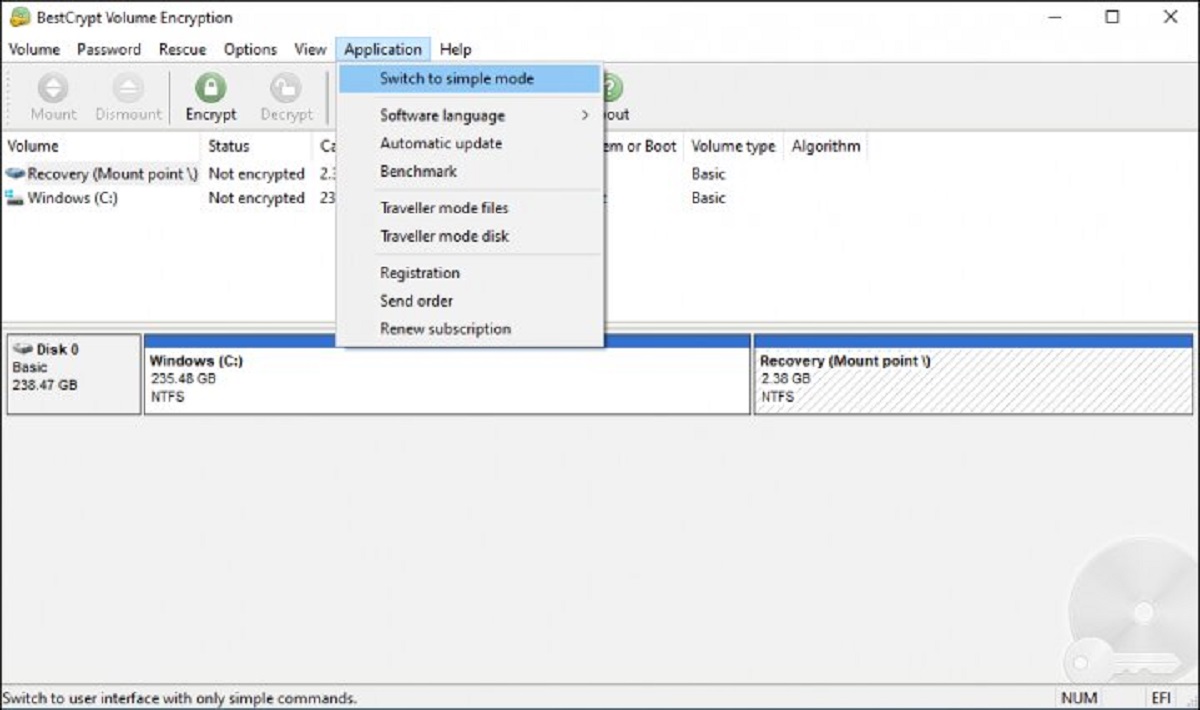
- Create a new encrypted volume: Launch the third-party encryption software and look for options to create a new encrypted volume or drive. Select your external hard drive as the target for encryption.
- Choose encryption settings and set a password: Configure the encryption settings according to your preferences. You may have options to select the encryption algorithm, key size, and encryption strength. Set a strong password that meets the software’s requirements. Remember to choose a password that is both secure and memorable.
- Begin the encryption process: Start the encryption process by clicking on the appropriate button or option. The encryption software will now encrypt the entire external hard drive or the selected volume, making it inaccessible without the password.
- Transfer files to the encrypted drive: Once the encryption process is complete, you can start transferring your files to the newly encrypted drive or volume. Simply drag and drop or copy and paste your files into the encrypted drive, and they will be protected by the password.
- Access your files: To access the files stored on the encrypted drive, launch the encryption software, enter the password, and unlock the drive. Once unlocked, you can view, modify, and work with your files as you normally would.
This method provides a higher level of encryption and customization compared to built-in encryption software. However, keep in mind that you must have the third-party encryption software installed on any computer where you want to access the encrypted files. Make sure to securely backup your password and regularly update the encryption software to ensure the highest level of security.
Now that you’ve learned how to use third-party encryption software, let’s explore the next method – using hardware-based encryption to add a password to your external hard drive.
Method 3: Hardware-Based Encryption
If you’re looking for a highly secure and convenient method to add a password to your external hard drive, consider using hardware-based encryption. Some external hard drives come with built-in hardware encryption capabilities, providing an additional layer of protection. Here’s a step-by-step guide on how to use hardware-based encryption:
- Choose an external hard drive with hardware encryption: When purchasing an external hard drive, look for models that specifically mention hardware-based encryption. These drives typically have a dedicated encryption chip built-in, ensuring fast and efficient encryption.
- Connect your external hard drive: Plug your hardware-encrypted external hard drive into your computer using the appropriate USB cable or connector. Ensure that it is recognized and accessible on your computer.
- Initialize the encryption process: Some hardware-encrypted drives require an initialization process before you can use them. This process may involve setting up a password, generating encryption keys, or configuring other security options. Follow the instructions provided by the specific drive manufacturer to initialize the encryption process.
- Set a password: During the initialization process, set a strong and unique password for your encrypted external hard drive. Ensure that you choose a password that is not easily guessable and follow any guidelines provided by the drive manufacturer.
- Transfer files to the encrypted drive: Once the encryption process is complete, you can start transferring your files to the encrypted drive. Simply drag and drop or copy and paste your files onto the drive, just like you would with any other external hard drive. The files stored on the encrypted drive will be automatically encrypted and protected by the password.
- Access your files: To access the files stored on the encrypted drive, connect the external hard drive to a computer, enter the password when prompted, and unlock the drive. Once unlocked, you will have full access to your files and can work with them as needed.
Hardware-based encryption offers a seamless and efficient way to secure your files on an external hard drive. The encryption is performed directly by the drive’s hardware, ensuring minimal impact on performance. Additionally, since the encryption is hardware-based, you don’t need to rely on specific software installations or updates.
Remember to keep your hardware-encrypted external hard drive in a safe place and backup your password in a secure location. Losing the password may result in permanent data loss, as it is typically not recoverable without the correct authentication.
Now that you’ve learned how to use hardware-based encryption, you have various methods to choose from when it comes to adding a password to your external hard drive. Select the method that best suits your needs and preferences to ensure the security of your valuable data.
Step-by-Step Guide: Adding a Password to Your External Hard Drive Using Method 1
If your external hard drive comes with built-in encryption software, you can easily add a password to protect your files. Follow this step-by-step guide to password protect your external hard drive:
- Connect your external hard drive: Plug your external hard drive into your computer using the appropriate USB cable or connector. Ensure that it is properly recognized and accessible on your computer.
- Locate the built-in encryption software: Open the software or utility that is typically pre-installed on the external hard drive. Look for options related to encryption or security. The specific location and name of the software may vary depending on the brand and model of your external hard drive.
- Create a new encrypted container: Within the encryption software, create a new encrypted container to store your files securely. This container will serve as a protected folder or drive where you can store your sensitive data. Follow the instructions provided by the software to set up the encrypted container, including choosing a name and location for it.
- Set a password: During the creation of the encrypted container, the software will prompt you to set a password. Choose a strong, unique password that you can remember but others cannot easily guess. Consider using a combination of uppercase and lowercase letters, numbers, and special characters for added security.
- Transfer files to the encrypted container: Once your encrypted container is set up and password protected, you can start transferring files to it. Open the container and move or copy files into it, just like you would with any other folder or drive. The files stored in the encrypted container will be protected and inaccessible without the password.
- Access your files: Whenever you want to access the files stored in the encrypted container, open the encryption software and provide the password. Once authenticated, you will be able to view and work with your files as usual.
This method offers a simple and integrated approach to encrypt and secure your files on the external hard drive. However, it’s important to remember the password and make sure to back it up in a secure location. Losing the password may result in permanent data loss, as the encrypted container cannot be accessed without it.
Now that you’ve successfully added a password to your external hard drive using built-in encryption software, your files are secure and protected. You can confidently carry your external hard drive knowing that your sensitive information is safe from unauthorized access.
Step-by-Step Guide: Adding a Password to Your External Hard Drive Using Method 2
If your external hard drive doesn’t have built-in encryption software or if you prefer more advanced features, you can use third-party encryption software to add a password to your files. Follow this step-by-step guide to password protect your external hard drive:
- Research and choose a trusted third-party encryption software: Begin by researching and selecting a reputable third-party encryption software that meets your requirements. Look for software known for strong encryption algorithms and positive user reviews. Examples include VeraCrypt, BitLocker (for Windows), and FileVault (for Mac).
- Download and install the software: Visit the official website of the selected encryption software and download the installation package. Follow the on-screen instructions to install the software on your computer.
- Connect your external hard drive: Plug your external hard drive into your computer using the appropriate USB cable or connector. Ensure that it is recognized and accessible on your computer.
- Create a new encrypted volume: Launch the third-party encryption software and locate the option to create a new encrypted volume or drive. Choose the external hard drive as the target for encryption.
- Configure encryption settings and set a password: Customize the encryption settings according to your preferences. These may include choosing the encryption algorithm, key size, and encryption strength. Set a strong password that meets the software’s requirements. Ensure your password contains a combination of uppercase and lowercase letters, numbers, and special characters.
- Begin the encryption process: Initiate the encryption process by selecting the appropriate button or option. The software will now encrypt the entire external hard drive or the selected volume, making it inaccessible without the password.
- Transfer files to the encrypted drive: After the encryption process is complete, transfer your files to the newly encrypted drive. Simply drag and drop or copy and paste your files onto the drive, just like you would with any other external storage device. Your files will automatically be encrypted and protected by the password.
- Access your files: To access the files stored on the encrypted drive, connect the external hard drive to a computer, launch the encryption software, enter the password, and unlock the drive. Once unlocked, you can view, modify, and work with your files as usual.
Using third-party encryption software gives you greater flexibility and control over the encryption process. Remember to keep your password in a secure location and regularly update the encryption software for enhanced security.
With your external hard drive password protected using third-party encryption software, you can have peace of mind knowing that your confidential files are safe from unauthorized access.
Step-by-Step Guide: Adding a Password to Your External Hard Drive Using Method 3
Hardware-based encryption provides a secure and convenient way to add a password to your external hard drive. Follow this step-by-step guide to password protect your external hard drive using hardware-based encryption:
- Choose an external hard drive with hardware encryption: Look for an external hard drive specifically designed with hardware-based encryption capabilities. Ensure that it has a dedicated encryption chip built-in for efficient and secure encryption.
- Connect your external hard drive: Plug your hardware-encrypted external hard drive into your computer using the appropriate USB cable or connector. Make sure it is recognized and accessible on your computer.
- Initialize the encryption process: Some hardware-encrypted drives require an initialization process before use. This process may involve setting up a password, generating encryption keys, or configuring other security options. Follow the instructions provided by the drive manufacturer to initialize the encryption process.
- Set a password: During the initialization process, set a strong and unique password for your encrypted external hard drive. Choose a password that is not easily guessable, and follow any guidelines provided by the drive manufacturer to ensure optimal security.
- Transfer files to the encrypted drive: Once the encryption process is complete, you can start transferring files to the encrypted drive. Simply drag and drop or copy and paste your files onto the drive, just like you would with any other external hard drive. The files stored on the encrypted drive will be automatically encrypted and protected by the password.
- Access your files: To access the files stored on the encrypted drive, connect the external hard drive to a computer, enter the password when prompted, and unlock the drive. Once unlocked, you will have full access to your files and can work with them as needed.
Hardware-based encryption offers a seamless and efficient way to ensure the security of your external hard drive. The encryption is handled directly by the drive’s hardware, minimizing any impact on performance. Remember to keep your hardware-encrypted external hard drive in a safe place and backup your password in a secure location.
Now that you’ve successfully added a password to your external hard drive using hardware-based encryption, your files are protected from unauthorized access. Enjoy the peace of mind that comes with knowing your sensitive data is secure.
Tips and Best Practices for Password Protecting Your External Hard Drive
Adding a password to your external hard drive is an effective way to enhance the security of your files. To ensure the utmost protection and make the most of this security measure, consider the following tips and best practices:
- Choose a strong and unique password: Select a password that is difficult for others to guess. Avoid using common words, personal information, or easily recognizable patterns. Instead, use a combination of uppercase and lowercase letters, numbers, and special characters to create a strong and unique password.
- Regularly update your password: Change your password periodically to enhance security. It’s best to set a reminder to update your password every few months or whenever you feel there may be a risk of unauthorized access.
- Backup your password: Store a backup of your password in a secure location. Consider using a password manager or writing it down in a physical location that only you can access. Avoid storing passwords electronically on your computer or in easily accessible files.
- Keep your password confidential: Never share your password with anyone you don’t trust. Be cautious when entering your password on public computers or in public spaces to prevent potential keyloggers or unauthorized access.
- Protect against physical theft or loss: Keep your external hard drive in a safe and secure location when not in use. Consider using a lockable cabinet or case for added protection. Additionally, make sure to keep a backup of your important files in another location to safeguard against physical loss or damage.
- Regularly backup your data: Having a backup of your files is crucial in case of unexpected events, such as hardware failure or accidental deletion. Create regular backups of your important files and store them in a separate location or using a cloud storage service.
- Update your encryption software: If you’re using encryption software, ensure that it is regularly updated. Software updates often include bug fixes, security patches, and improvements in encryption algorithms. Keeping your encryption software up-to-date helps maintain the highest level of security for your external hard drive.
- Be cautious when using external hard drives with unknown sources: Avoid using external hard drives from unknown or unreliable sources, as they may come with pre-installed malware or compromised encryption software. Stick to reputable brands and suppliers to minimize security risks.
By following these tips and best practices, you can maximize the security and protection of your external hard drive and the data stored on it. Whether you’re using built-in encryption software, third-party encryption software, or hardware-based encryption, implementing strong password protection ensures that only authorized individuals can access your files.
Now that you’re equipped with these valuable tips, you can confidently password protect your external hard drive and enjoy the peace of mind that comes with knowing your valuable data is safe and secure.
Conclusion
Adding a password to your external hard drive is a crucial step in safeguarding your sensitive data and ensuring its security. Whether you choose to use built-in encryption software, third-party encryption software, or hardware-based encryption, each method offers its own advantages and considerations. By following the step-by-step guides and implementing the tips and best practices outlined in this article, you can effectively protect your files from unauthorized access.
Remember to choose strong and unique passwords, regularly update them, and keep them confidential. Backup your password in a secure location and be cautious when using your external hard drive in public spaces. Additionally, consider physical security measures such as secure storage and regular backups to protect against theft or loss.
While password protection is an essential security measure, it should be complemented by other strategies such as regular data backups and software updates. It’s important to stay informed about the latest encryption technologies and security best practices to ensure the highest level of protection for your external hard drive.
By taking these precautions, you can have peace of mind knowing that your personal and sensitive data is shielded from unauthorized access and potential risks. Password protecting your external hard drive is a small but powerful step towards ensuring the confidentiality and integrity of your valuable digital assets.


