Introduction
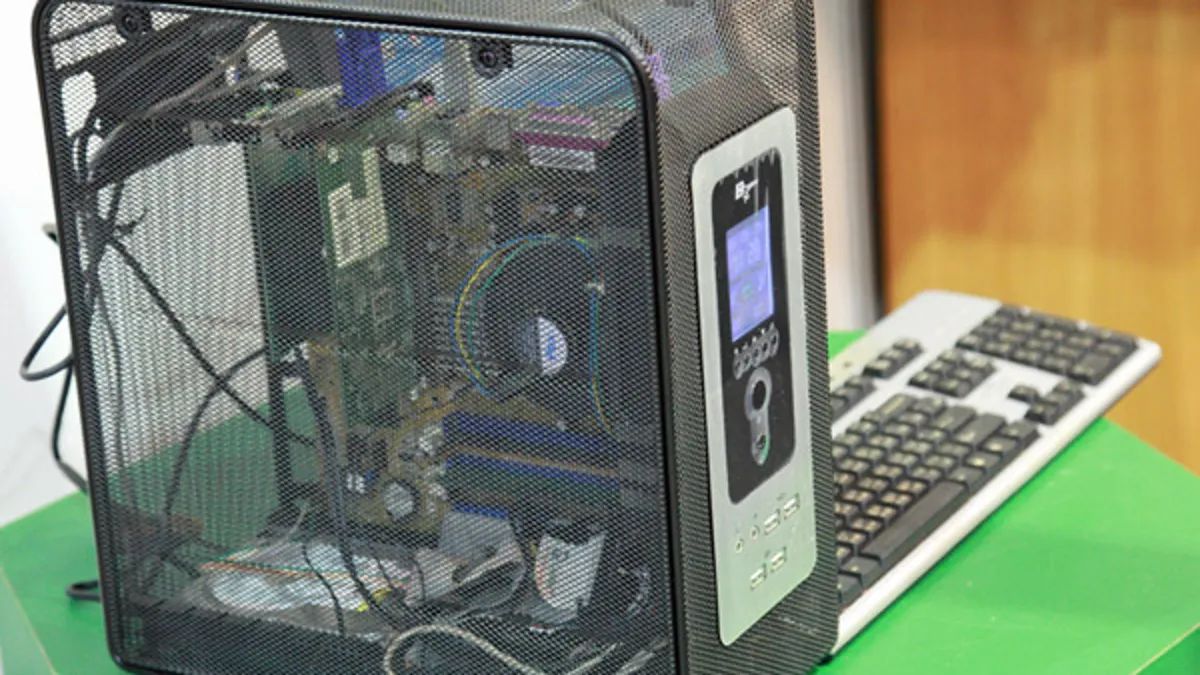
Adding mesh to your PC case is a great way to improve airflow and prevent dust buildup, resulting in better performance and longevity for your computer components. Proper ventilation is essential for dissipating heat generated by the CPU, GPU, and other hardware, as excessive heat can lead to thermal throttling and reduced overall performance.
In this guide, we will walk you through the steps to add mesh to your PC case. Whether you want to retrofit an existing case or customize a new one, this process can be relatively straightforward with the right tools and materials. By following these steps, you can enhance the airflow pathways in your PC case and reduce the risk of overheating.
Before we dive into the process, keep in mind that adding mesh to your PC case may require some modifications that could void any warranties. Therefore, it’s important to ensure that you are comfortable with making alterations to your case and have the necessary tools and skills to do so. Additionally, always take proper safety precautions, such as working on a well-grounded surface and wearing appropriate protective gear, during this DIY project.
Now, let’s gather the required tools and materials before we begin the process of adding mesh to your PC case.
Tools and Materials Needed
Before you start adding mesh to your PC case, make sure you have the following tools and materials ready:
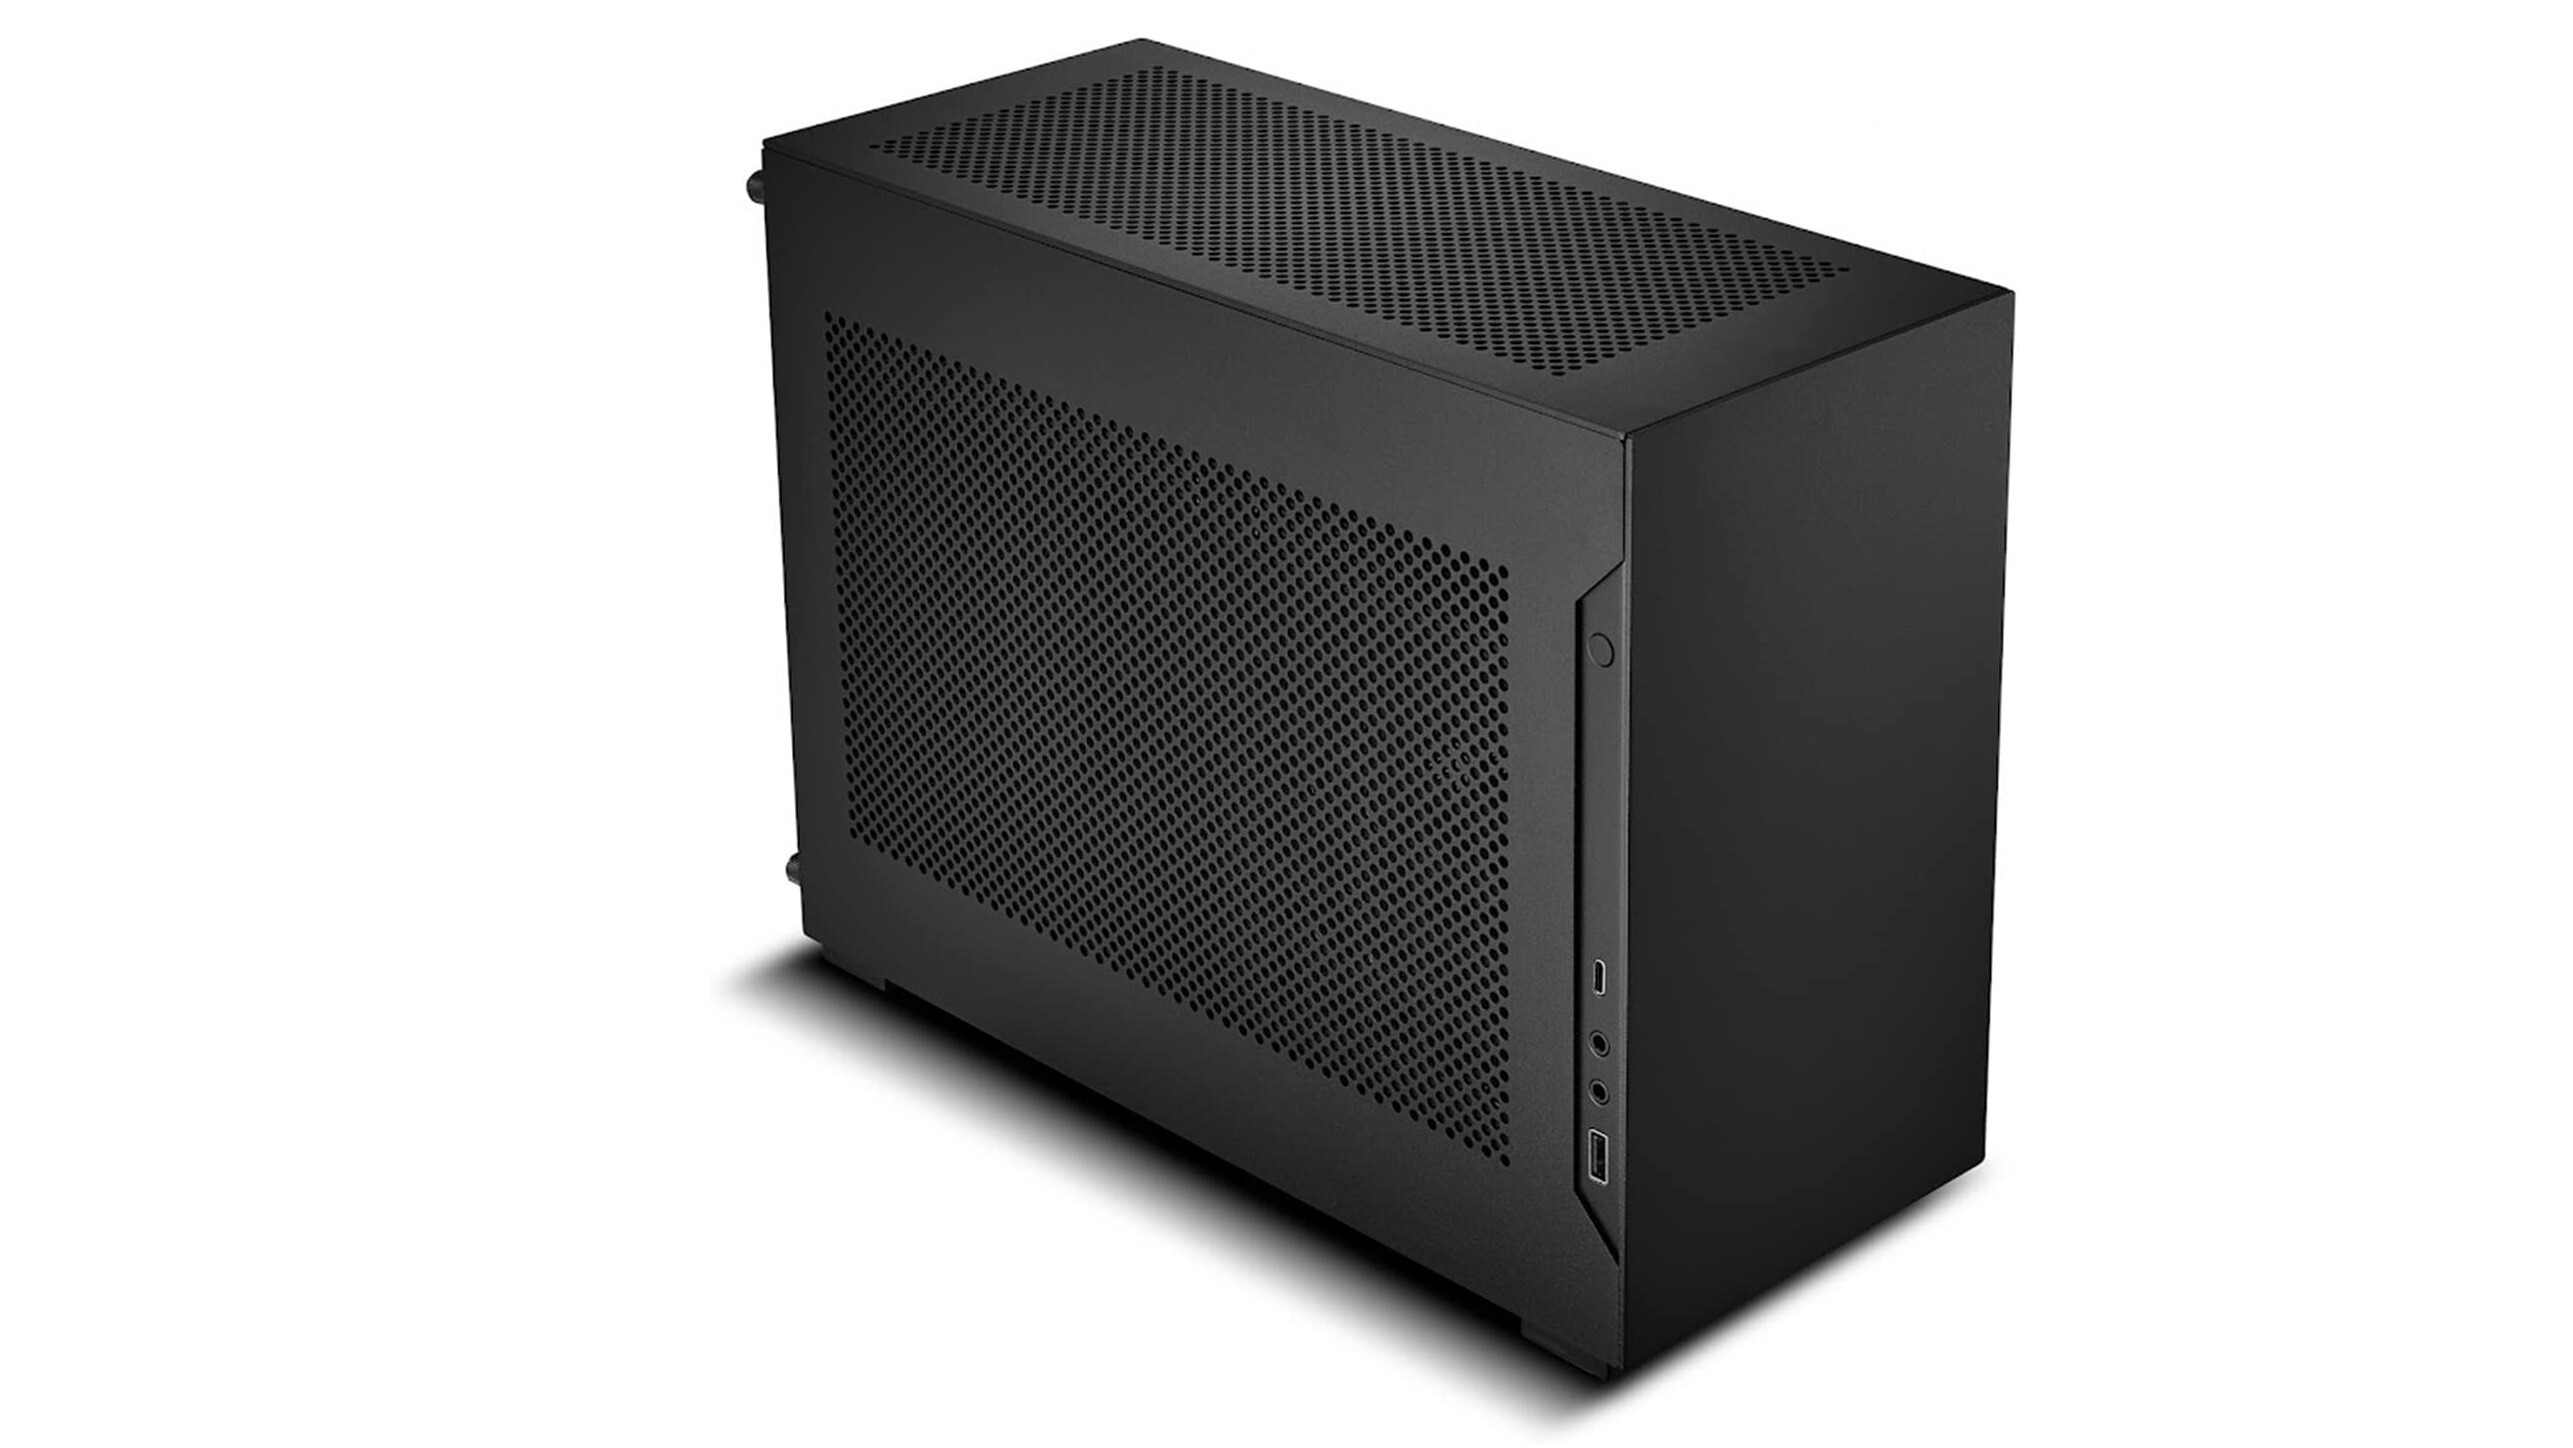
- Mesh material: Look for a high-quality mesh material that allows for good airflow and is easy to work with. Stainless steel or aluminum mesh with small diamond-shaped holes is often preferred.
- Tin snips or wire cutters: These tools will help you cut and shape the mesh material to fit your PC case.
- Measuring tape or ruler: Accurate measurements are crucial to ensure the mesh fits properly.
- Masking tape or painter’s tape: Use this to temporarily secure the mesh in place during the installation process.
- Marker or pen: This will come in handy for marking the areas where you need to cut or attach the mesh.
- Safety gloves and goggles: Protect your hands and eyes from any sharp edges or potential debris while working with the tools and materials.
- Drill and drill bits: Depending on the type of PC case you have, a drill and appropriate drill bits may be needed to create holes for attaching the mesh.
- Screws or zip ties: Choose the appropriate fasteners to securely attach the mesh to your PC case. Screws are often used for metal cases, while zip ties work well for plastic cases.
- Screwdriver or pliers: These tools will be necessary to tighten the screws or secure the zip ties.
Having these tools and materials ready will ensure a smooth installation process and allow you to work efficiently as you add mesh to your PC case. Now that we have everything prepared, let’s move on to the first step: identifying the areas to add mesh to your PC case.
Step 1: Identify the Areas to Add Mesh to Your PC Case
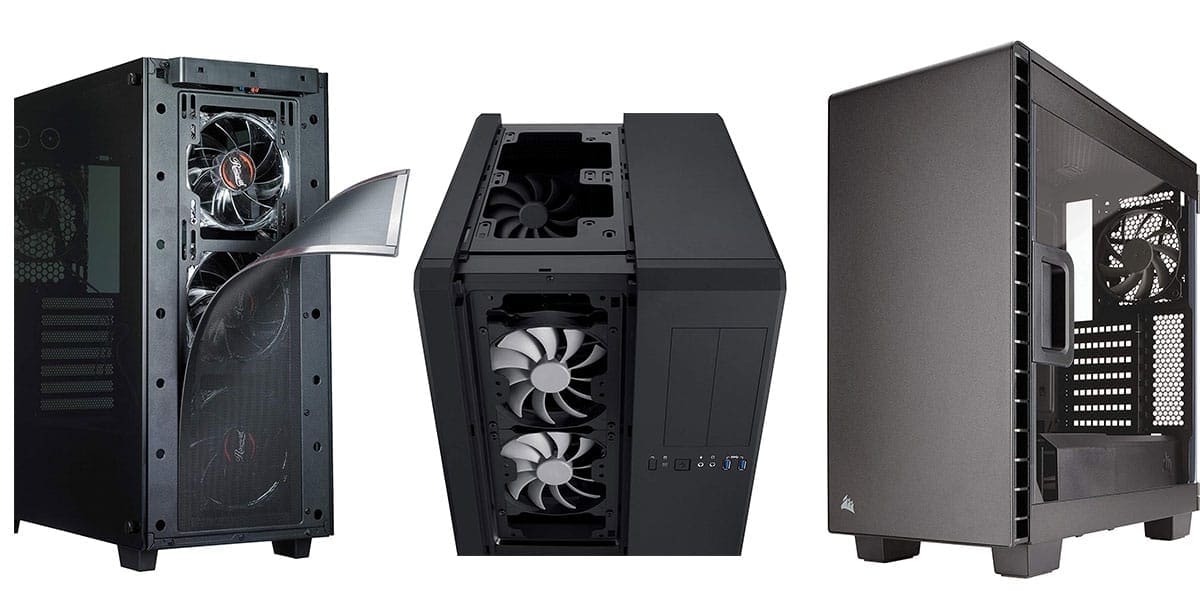
Before you start cutting and attaching the mesh, it’s important to identify the areas of your PC case that would benefit from improved airflow. These areas typically include the front panel, top panel, side panels, and even the bottom panel of the case.
Begin by examining your PC case and looking for areas that currently have limited or no ventilation. These are often indicated by solid panels or small vents that restrict the airflow. Keep in mind that adding mesh to all sides of the case may not be necessary or practical, so it’s important to focus on areas that can make a significant impact on airflow.
Next, consider the specific components inside your PC case that generate heat, such as the CPU, GPU, and power supply. These areas may require additional ventilation to dissipate the heat effectively. Look for vents or areas where the existing ventilation is inadequate.
You should also take into consideration any existing fan placements in your PC case. It’s recommended to have intake fans that draw in cool air and exhaust fans that expel hot air. By identifying the areas where these fans are located, you can determine where mesh needs to be added to improve their efficiency.
Once you have identified the areas that can benefit from additional mesh, mark them with a pen or marker. This will serve as a guide when measuring and cutting the mesh material in the next step. Make sure the markings are clearly visible and won’t interfere with the installation process.
By identifying the areas that require improved airflow and marking them accordingly, you can ensure that the addition of mesh to your PC case will be strategically placed for optimal cooling. Now that you have identified the areas, let’s move on to step two: measuring and cutting the mesh.
Step 2: Measure and Cut the Mesh
Now that you have identified the areas where you want to add mesh, it’s time to measure and cut the mesh material to fit your PC case. Accurate measurements are crucial to ensure a precise and snug fit.
Start by using a measuring tape or ruler to measure the dimensions of the marked areas on your PC case. Take into consideration any curves or irregular shapes that you need to account for when cutting the mesh material.
Once you have the measurements, transfer them onto the mesh material using a pen or marker. Make sure to leave a small margin around the measurements to allow for a secure attachment to the PC case.
Next, using tin snips or wire cutters, carefully cut along the marked lines on the mesh material. Take your time to ensure clean and straight cuts, especially if you are dealing with complex shapes. If needed, you can use a file or sandpaper to smooth out any rough edges.
Remember that some areas may require multiple pieces of mesh to cover the entire section. In this case, be sure to cut the additional pieces with enough overlap to allow for a seamless join when attaching.
Throughout the cutting process, be cautious of any sharp edges on the mesh material. It’s a good idea to wear safety gloves to protect your hands from potential injuries.
Once you have cut all the required pieces of mesh, double-check that they fit properly against the marked areas on your PC case. If any adjustments or trimming are needed, do so before moving on to the next step.
With the mesh material now measured and cut to size, you are ready to proceed to the next step: preparing the PC case for mesh installation.
Step 3: Prepare the PC Case for Mesh Installation
Before you can attach the mesh to your PC case, it’s important to prepare the case by making any necessary modifications and ensuring a clean surface for optimal adhesion.
If your PC case has any existing solid panels or parts that need to be removed to accommodate the mesh, now is the time to do so. Check the manufacturer’s instructions or consult online resources for guidance specific to your case model.
If there are any sharp edges or rough surfaces inside the areas where you’ll be installing the mesh, use a file or sandpaper to smooth them out. This will prevent the mesh material from getting damaged and ensure a secure attachment.
Next, thoroughly clean the surface where the mesh will be attached. Remove any dust, dirt, or debris using a soft, lint-free cloth or a mild cleaning solution. Ensure the surface is completely dry before proceeding.
If you plan on attaching the mesh using screws, drill small pilot holes into the case where needed. Use a drill bit appropriate for the size of your screws to prevent any damage to the case. For plastic cases, be extra careful not to overtighten the screws, as this could lead to cracking or weakening of the material.
If you prefer to use zip ties for attachment, make sure to secure small holes or slots for the zip ties to pass through. Use a drill or other appropriate tools to create these openings, ensuring they are aligned with the mesh and provide a secure hold.
Before moving on to the next step, do a final inspection of the prepared PC case to ensure everything is in order. Any necessary modifications or adjustments should be made now to avoid issues during the actual installation of the mesh.
With the PC case properly prepared, you are now ready to move on to the next step: attaching the mesh.
Step 4: Attach the Mesh to the PC Case
Now that you have prepared the PC case, it’s time to attach the mesh material to the designated areas. Depending on the type of case and personal preference, there are different methods you can use to secure the mesh.
If you are using screws, align the cut mesh piece with the appropriate section of the PC case. Insert the screws through the pre-drilled pilot holes and attach them firmly, but be careful not to overtighten and damage the case or mesh. Repeat this process for all the sections where you want to add mesh.
For plastic cases, using zip ties can be an easier alternative. Insert the zip tie through the small holes or slots you created and secure it tightly, making sure the mesh is held firmly in place. Trim the excess length of the zip tie for a clean finish. Repeat this step for all sections where you want to attach the mesh.
During the attachment process, ensure that the mesh is aligned properly and sits flush against the case. This will prevent any gaps or loose areas that could compromise the overall effectiveness of the airflow.
If you encounter any obstacles or difficulties during the attachment process, take your time to troubleshoot and make sure the mesh is securely fastened. Remember that the mesh should not impede any fan or component movement and should allow unrestricted airflow.
Once all the mesh pieces are securely attached, give them a gentle push or tap to ensure they are secured in place. Check for any areas that may require additional reinforcement or adjustment.
With the mesh successfully attached to the PC case, move on to the next step: securing the mesh in place for long-term durability.
Step 5: Secure the Mesh in Place
Now that you have attached the mesh to your PC case, it’s important to secure it in place to ensure long-term durability and prevent any potential issues.
If you used screws to attach the mesh, double-check that they are tightened enough to keep the mesh in place but not so tight that they damage the case or mesh material. Ensure that all screws are securely fastened and do not protrude, as this may interfere with the performance or aesthetics of the case.
If you opted for zip ties, make sure they are tightly secured around the mesh and the case. Trim any excess length of the zip ties for a neat and clean appearance.
Additionally, consider using adhesive-backed foam strips or rubber grommets along the edges of the mesh. These can provide added stability and reduce any vibrations or noise caused by the mesh rubbing against the case.
Test the stability of the mesh by gently pressing against it or giving it a light tap. If any section feels loose or insecure, re-adjust the attachments or consider adding additional fasteners for reinforcement.
It is important to note that while securing the mesh, you should ensure that the airflow is not obstructed. Check that the mesh does not come into contact with any fans or components, as this could impede the cooling process.
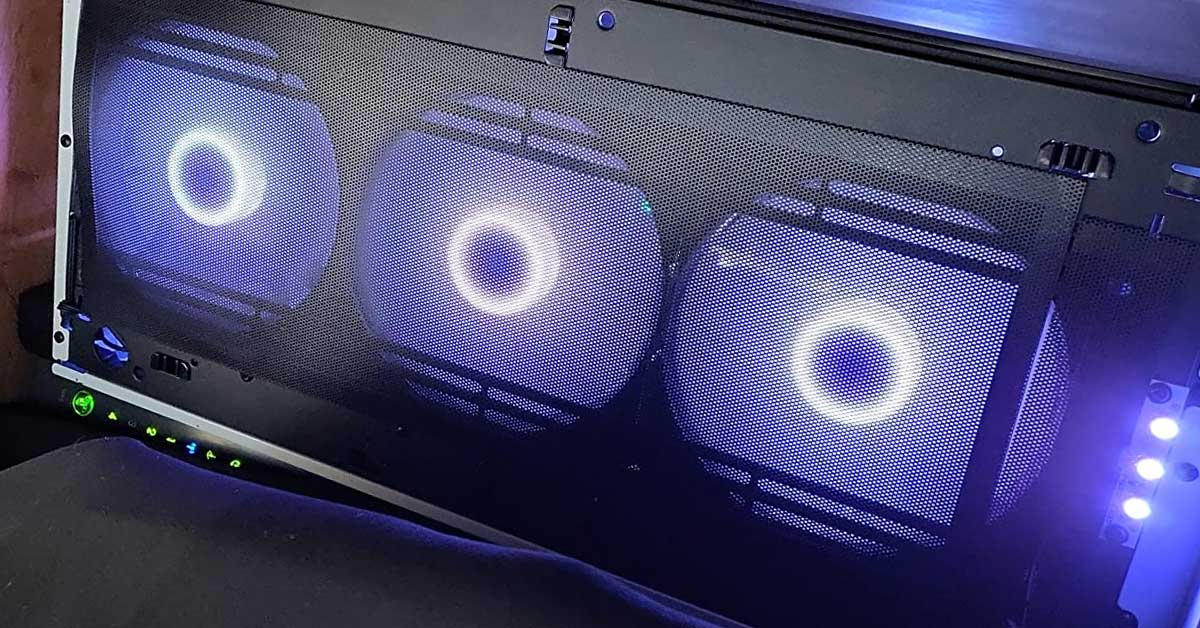
After securing the mesh in place, step back and visually inspect the installation. Ensure that the mesh is evenly and securely attached, maintaining a professional appearance while allowing for optimal airflow.
Now that the mesh is securely in place, and the airflow pathways are improved, it’s time to move on to the next step: fine-tuning the mesh installation for a seamless integration with your PC case.
Step 6: Fine-tune the Mesh Installation
With the mesh securely attached to your PC case, it’s time to fine-tune the installation to ensure a seamless integration and optimal performance. This step will involve making any necessary adjustments and addressing any potential issues that may have arisen during the installation process.
Begin by inspecting the mesh installation to ensure that there are no gaps or areas where the mesh is not properly aligned with the case. Use your fingers or a small tool to gently adjust the mesh if needed, ensuring it sits flush against the case without any sagging or loose sections.
Pay attention to any areas where the mesh overlaps or joins together, ensuring that the connection is secure and seamless. Use small clips or adhesive strips if necessary to reinforce the joint and maintain a clean appearance.
Take a moment to verify that the mesh does not interfere with the movement of any fans or components. Make sure there is ample space for air to flow through the mesh and reach the necessary cooling components inside your PC case.
During this process, it is essential to maintain optimal cable management. Check that the cables inside your PC case are neatly organized and do not obstruct the airflow pathways or interfere with the mesh installation. Make any necessary adjustments to ensure proper cable routing.
If you notice any excessive vibrations or noise originating from the mesh installation, consider adding additional padding or foam strips around the edges of the mesh. This can help absorb vibrations and reduce noise, enhancing the overall user experience.
Lastly, perform a final visual inspection of the mesh installation. Ensure that everything is in place, properly aligned, and visually appealing. Take this opportunity to clean any fingerprints or smudges from the mesh and surrounding areas.
By fine-tuning the mesh installation, you can achieve a seamless integration that not only improves the airflow within your PC case but also enhances the overall aesthetics of your setup. Now that the mesh installation is fine-tuned, it’s time to move on to the final step: testing the airflow and making any necessary adjustments.
Step 7: Test the Airflow and Make Adjustments if Needed
With the mesh installation complete, it’s crucial to test the airflow within your PC case to ensure that the modifications have effectively improved the cooling performance. This step will involve monitoring temperatures, testing fan functionality, and making any necessary adjustments for optimal airflow.
Start by powering on your PC and running a temperature monitoring software to track the temperatures of your components, such as the CPU and GPU. Monitor the temperatures under normal operating conditions to determine if the mesh installation has effectively improved airflow and reduced heat buildup.
Check the fan speeds and ensure that all fans, including intake and exhaust fans, are working correctly. Verify that the airflow is directed towards the necessary components, such as the CPU and GPU, for efficient cooling.
If you notice any areas with higher temperatures or inadequate airflow, consider making adjustments to the mesh installation. This could involve adding additional mesh panels or modifying the existing ones to create better airflow pathways.
During the testing phase, pay attention to any unusual noises or vibrations that could be caused by the mesh installation. If you encounter any such issues, investigate the source and make necessary adjustments, such as adding padding or adjusting the fasteners.
It’s important to remember that every PC case and component configuration is unique, so the airflow requirements may vary. Take your time to test and observe the performance of your setup, ensuring that it remains cool and stable under varying workloads and usage scenarios.
If adjustments are necessary, repeat the previous steps to make the appropriate changes. Take note of any modifications made and retest the airflow to evaluate the effectiveness of the adjustments.
By continuously monitoring and making adjustments to the mesh installation as needed, you can optimize the cooling performance of your PC and ensure that it remains efficient and reliable for extended periods of use.
Congratulations! You have successfully completed the process of adding mesh to your PC case. Enjoy the improved airflow and cooling benefits that this modification brings to your system.
Conclusion
Adding mesh to your PC case can be a rewarding and practical upgrade that improves airflow and enhances the overall performance of your computer. By following the steps outlined in this guide, you have learned how to identify areas for mesh installation, measure and cut the mesh, prepare the PC case, attach and secure the mesh, fine-tune the installation, and test the airflow. These steps ensure that you achieve optimal cooling and prevent dust buildup, leading to a more efficient and reliable system.
Remember to exercise caution and follow proper safety measures when working with tools and making modifications to your PC case. Take your time during each step of the process to ensure precision and accuracy. It’s also important to monitor the temperatures and performance of your system after the mesh installation to make any necessary adjustments for optimal airflow.
Adding mesh to your PC case not only improves the functionality of your computer but also adds a visually appealing and professional touch to your setup. Enjoy the benefits of better cooling, prolonged component lifespan, and an enhanced computing experience.
Now that you have the knowledge and skills to add mesh to your PC case, go ahead and transform your system into a well-ventilated powerhouse that can handle any task with ease.


