Introduction
So, you’ve got yourself a brand new Sharp Smart TV and now you’re wondering how to add apps to it. Well, you’ve come to the right place! Adding apps to your Sharp Smart TV allows you to customize your viewing experience and access a wide range of entertainment options.
Sharp Smart TVs come with built-in app stores that offer a variety of popular streaming services, games, and utility apps. Whether you want to watch your favorite shows on Netflix, stream music on Spotify, or stay up to date with social media apps, adding apps to your Smart TV is a breeze.
In this guide, I will walk you through the step-by-step process of adding apps to your Sharp Smart TV so that you can start enjoying an enriched and personalized entertainment experience.
Before we begin, it’s important to note that the exact steps may vary slightly depending on the model and operating system of your Sharp Smart TV. However, the general process remains the same across most Sharp Smart TVs.
Now, let’s dive into the nitty-gritty details of how to add apps to your Sharp Smart TV!
Step 1: Turn on your Sharp Smart TV
The first step to adding apps to your Sharp Smart TV is turning it on. Locate the power button on your TV remote or the physical TV itself and press it to turn on the television.
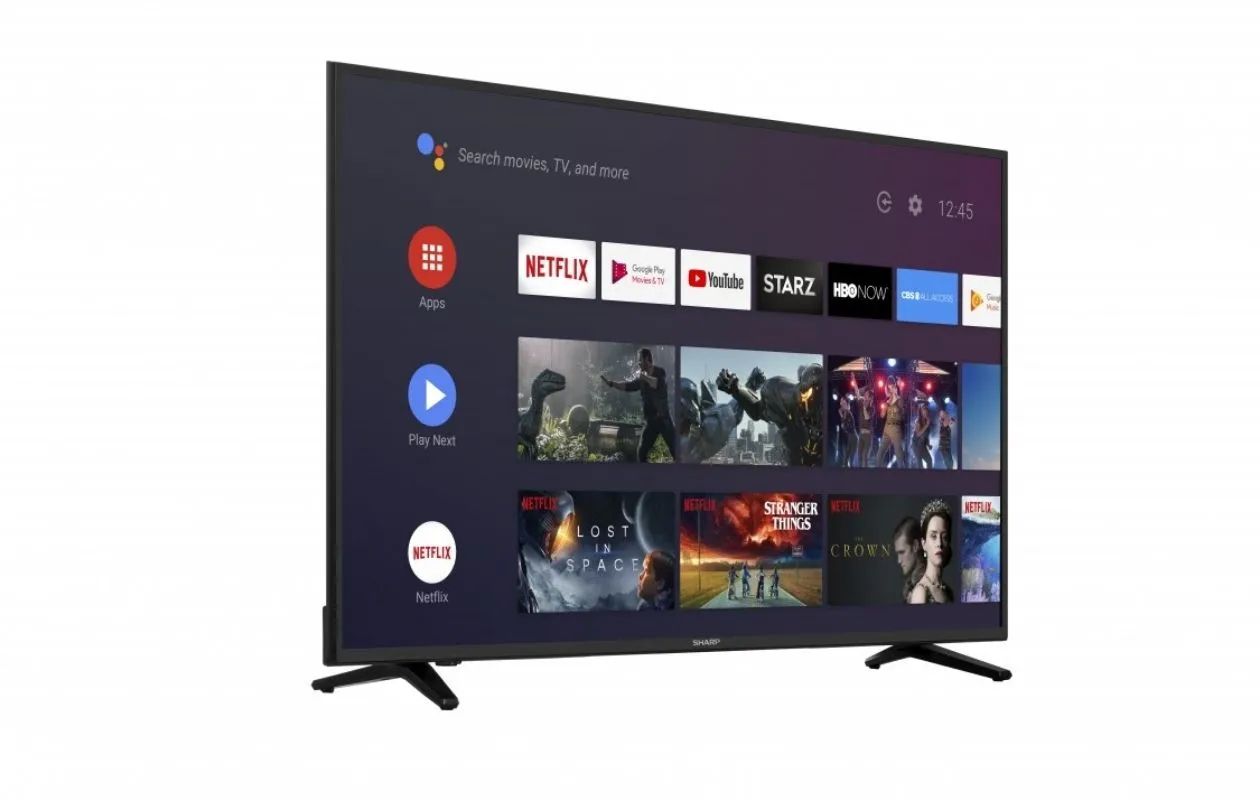
After pressing the power button, you will see the Sharp logo or the home screen of your Smart TV. It may take a few moments for the TV to fully boot up, so be patient.
Ensure that your TV is connected to a power source and that it is securely plugged in. If you’re using a remote, make sure the batteries are working and properly inserted.
If this is the first time you’re setting up your Sharp Smart TV, you may need to go through an initial setup process. Follow any on-screen prompts to complete the setup, including connecting to your home Wi-Fi network.
Once your Sharp Smart TV is on and ready to go, you can proceed to the next step of connecting it to the internet.
Step 2: Connect your TV to the internet
Connecting your Sharp Smart TV to the internet is essential in order to access and download apps. Here’s how you can do it:
1. Press the Home button on your remote control to access the main menu of your Sharp Smart TV.
2. Using the arrow keys on your remote, navigate to the “Settings” option and press the OK button to select it.
3. Within the settings menu, find and select the “Network” or “Wi-Fi” option. This may vary depending on your Sharp TV model.
4. Choose the option to connect to a wireless network or select the Wi-Fi network you want to connect to from the list of available networks.
5. If you’re connecting to a secured Wi-Fi network, you will be prompted to enter the network password. Use the on-screen keyboard to enter the password and press OK.
6. Once the network connection is established, your Sharp Smart TV will display a confirmation message. Press OK to continue.
7. Your TV should now be connected to the internet. To verify the connection, you can try loading a web page or accessing an app that requires internet access.
It’s important to ensure a stable and reliable internet connection for optimal app performance. If you’re experiencing any issues with the network connection, try restarting your TV and router, or contact your internet service provider for assistance.
With your Sharp Smart TV successfully connected to the internet, you’re now ready to move on to the next step of accessing the Apps menu.
Step 3: Access the Apps menu
Once your Sharp Smart TV is connected to the internet, it’s time to navigate to the Apps menu where you can browse and install various applications. Follow these steps to access the Apps menu:
1. Use the remote control to press the Home button and access the main menu of your Sharp Smart TV.
2. Using the arrow keys on your remote, navigate to the “Apps” or “App Store” option and press the OK button to select it. The name may vary depending on your TV model.
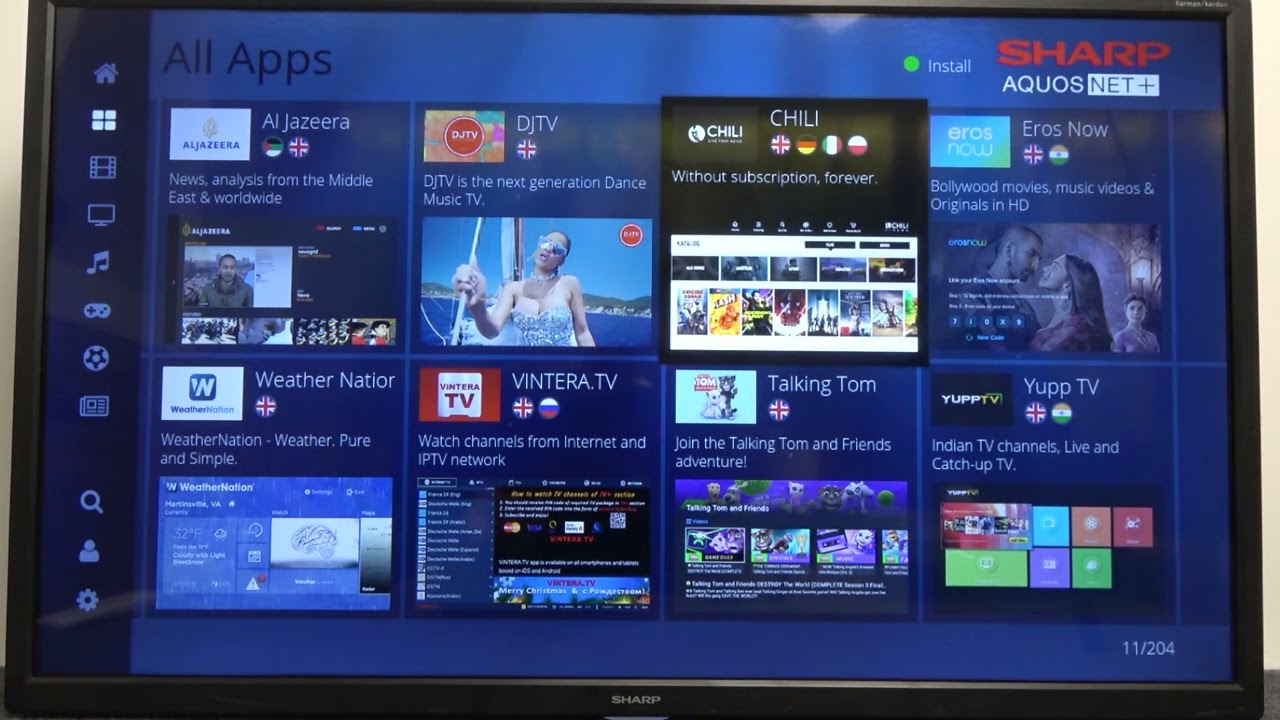
3. After selecting the Apps option, you will be taken to the Apps menu, which displays a collection of available applications for you to explore.
4. Depending on the model of your Sharp Smart TV, the Apps menu may be presented in a grid or list format. Use the arrow keys on your remote to scroll through the available apps.
5. To get more information about a specific app, highlight it with the arrow keys and press OK. This will open a details page where you can read a description, view ratings, and see screenshots of the app.
6. To return to the Apps menu, press the Back or Exit button on your remote.
7. Once you’ve found an app that you want to install, navigate to it using the arrow keys and highlight it.
8. Press the OK button to select the app. This will open a new page with the option to download and install the app.
Now that you’ve successfully accessed the Apps menu on your Sharp Smart TV, you’re ready to proceed to the next step of searching for the app you want to install.
Step 4: Search for the app you want to install
Searching for the app you want to install on your Sharp Smart TV is a simple process. Follow these steps to find and download the app:
1. From the Apps menu, use the arrow keys on your remote to navigate to the search bar. It is usually located at the top or bottom of the screen.
2. Once you’ve selected the search bar, an on-screen keyboard will appear. Use the arrow keys on your remote to navigate through the letters and type in the name of the app you want to install.
3. As you type, the Smart TV will display search results that match your query. Scroll through the results to find the specific app you’re looking for.
4. Once you’ve found the app you want to install, highlight it with the arrow keys and press the OK button on your remote. This will open the app’s details page.
5. On the app’s details page, you will see information such as the app’s description, ratings, and screenshots. Take a moment to review this information to ensure it’s the app you want to install.
6. If you’re satisfied with your choice, navigate to the “Download” or “Install” button and press OK to start the download process.
7. The download progress will be displayed on-screen. Once the app has finished downloading, you will receive a notification or see a message indicating that the installation is complete.
8. You can repeat this process to search and install multiple apps on your Sharp Smart TV.
Remember, the availability of apps may vary depending on your TV model and the region you’re in. Some apps may require a subscription or additional fees to access their content.
With the app successfully downloaded and installed, it’s time to move on to the next step of launching the app and start using it.
Step 5: Download and install the app
After you have found the app you want to install on your Sharp Smart TV, it’s time to download and install it. Follow these steps to proceed with the installation:
1. On the app’s details page, you will see a “Download” or “Install” button. Navigate to this button using the arrow keys on your remote and press the OK button to begin the download process.
2. Your Sharp Smart TV will start downloading the app. The download progress will be displayed on the screen, and you may need to wait for a few moments as the app is being downloaded.
3. Once the download is complete, the installation process will begin automatically. You will see an installation progress bar on your screen.
4. It’s important to note that during the installation, your Sharp Smart TV may display messages or prompts asking for your permission to access certain features or services. Read and review these messages carefully, and if you agree with the terms, proceed by selecting the appropriate options.
5. Once the installation is complete, you will receive a confirmation message or see an icon representing the newly installed app on your Apps menu.
6. If the app requires any additional setup or registration, follow the on-screen instructions to provide the necessary information and complete the process.
7. Repeat this process for any other apps you wish to download and install on your Sharp Smart TV.
It’s worth mentioning that the time it takes to download and install an app may vary depending on your internet speed and the size of the app. Additionally, some apps may require a subscription or paid account to access their full content and features.
With the app successfully downloaded and installed, you’re now ready to move on to the final step of launching the app and starting to use it.
Step 6: Launch the app and start using it
Now that you have successfully downloaded and installed the app on your Sharp Smart TV, it’s time to launch and start using it. Follow these steps to get started:
1. From the Apps menu, locate the icon or name of the app you want to use. Use the arrow keys on your remote to highlight the app.
2. Press the OK button on your remote to launch the app. The app will open, and you will be taken to its main interface or login screen.
3. If the app requires a user account, follow the on-screen instructions to sign in or create a new account. Some apps may provide options to sign in using an existing account from popular platforms such as Google or Facebook.
4. Once you have signed in or created an account, you can start exploring and using the features of the app. Use the navigation buttons on your remote to navigate through menus and screens, and the OK button to select or interact with items.
5. Depending on the app, you may have access to various features, such as streaming movies and TV shows, listening to music, playing games, or accessing social media platforms. Take your time to familiarize yourself with the app’s interface and functionality.
6. To exit the app and return to the Apps menu or your Smart TV’s home screen, press the Home button on your remote or use the designated exit button, if available.
7. You can launch and use other installed apps on your Sharp Smart TV following the same process.
It’s worth noting that some apps may require an active internet connection for optimal functionality. Ensure that your Sharp Smart TV is still connected to the internet to access the full range of features offered by the app.
With the app successfully launched and ready to use, you can now enjoy the content and features it provides on your Sharp Smart TV.
Conclusion
Adding apps to your Sharp Smart TV is a simple and straightforward process that allows you to personalize your entertainment experience. With just a few steps, you can access a wide range of streaming services, games, and utility apps right from the comfort of your living room.
In this guide, we have covered the step-by-step process of adding apps to your Sharp Smart TV. From turning on your TV and connecting it to the internet, to accessing the Apps menu, searching for apps, downloading and installing them, and finally launching and using the apps.
Throughout the process, it’s important to keep in mind that the specific steps may vary slightly depending on your Sharp Smart TV model and the operating system it runs on. However, the general process remains the same across most Sharp Smart TVs.
Remember to ensure a stable and reliable internet connection for optimal app performance, and be aware that some apps may require a subscription or additional fees to access their content.
Now that you have the knowledge and know-how to add apps to your Sharp Smart TV, you can explore and enjoy a world of entertainment right at your fingertips. So go ahead, customize your viewing experience, and discover the abundance of content available on your Sharp Smart TV.