Introduction
Welcome to the world of resin 3D printing, a cutting-edge technology that opens up endless possibilities for creating intricate and detailed objects. Whether you are a hobbyist or a professional, understanding how much resin to use for your 3D prints is crucial for achieving optimal results and minimizing wastage.
Resin 3D printing, also known as stereolithography (SLA) or digital light processing (DLP), is fundamentally different from traditional filament-based 3D printing. Instead of melting and extruding filament, resin 3D printers use liquid resin that is hardened layer by layer using UV light. This process allows for high-resolution prints with smooth surfaces and intricate details.
Choosing the right resin for your print is essential to achieve the desired outcome. Resins vary in terms of properties such as color, strength, flexibility, and transparency. Depending on your project, you may need a clear resin for transparent parts, a flexible resin for functional prototypes, or a high-strength resin for durable objects. It is important to consider the specific requirements of your project and choose a resin accordingly.
Calculating the amount of resin needed for a print can be a bit tricky. Several factors come into play, including the size and complexity of the model, the layer height, and the resin’s specific gravity. By understanding these factors and having a clear estimation of resin usage, you can optimize your prints and minimize waste.
In this article, we will delve deeper into the world of resin 3D printing, discuss how to choose the right resin, explore the various factors that affect resin consumption, and provide valuable tips for optimizing resin usage. So, let’s get started on our journey to mastering resin 3D printing!
Understanding Resin 3D Printing
Resin 3D printing is a fascinating technology that enables the creation of intricate and high-resolution objects. Unlike filament-based 3D printing, where layers of melted plastic are deposited to build the object, resin 3D printing uses a liquid photopolymer resin that is cured layer by layer using UV light.
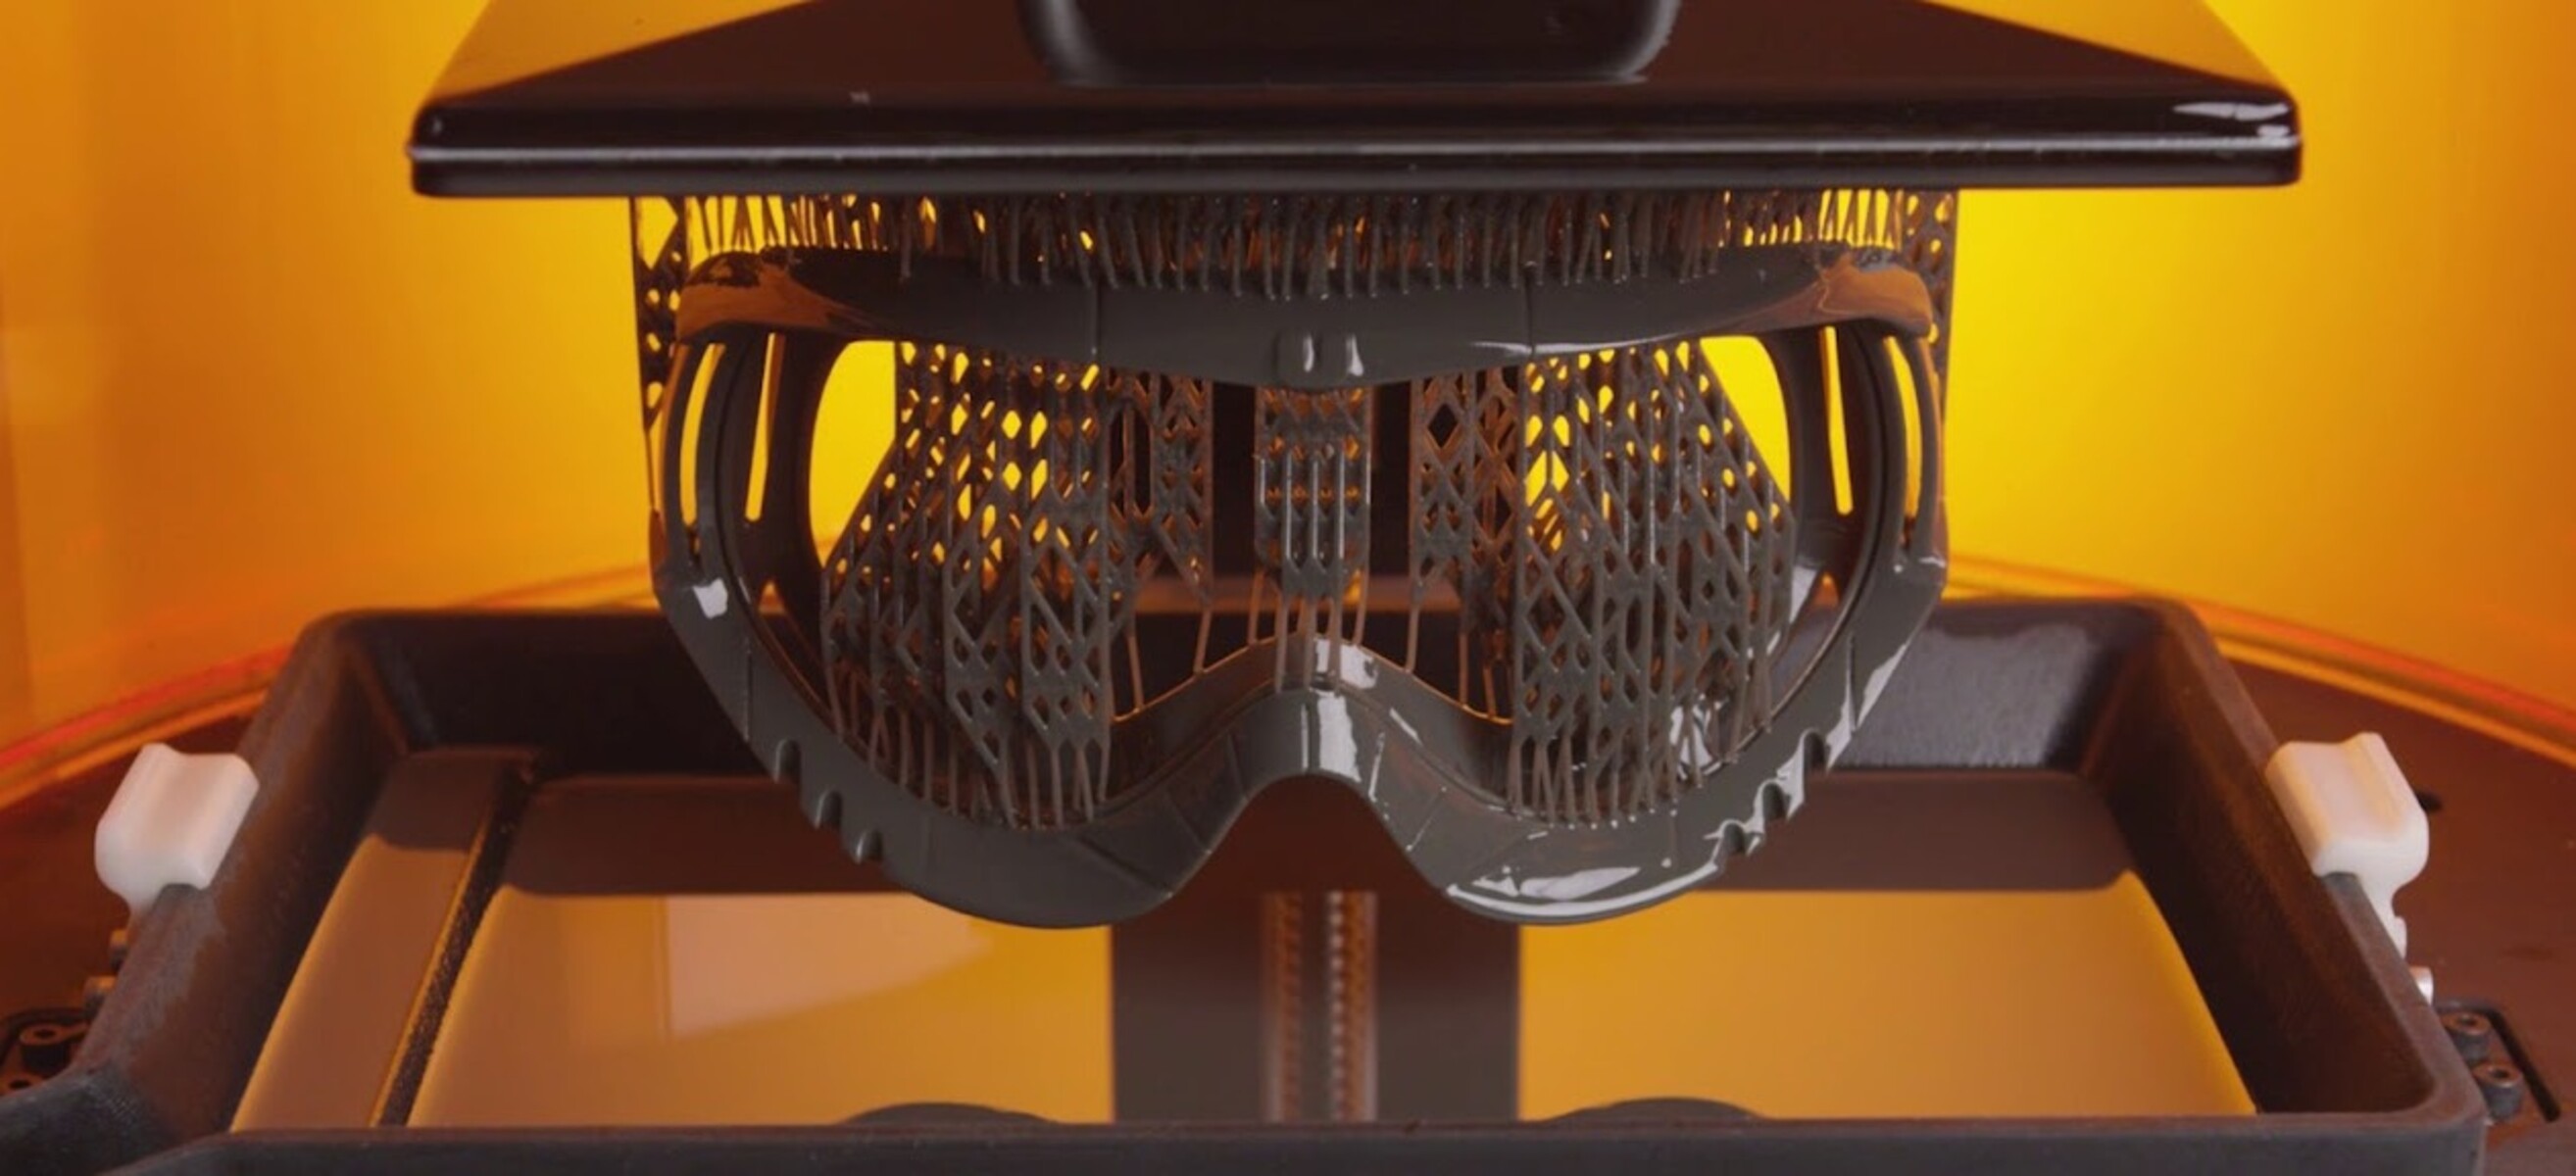
The process of resin 3D printing begins with a digital model, which is sliced into thin layers using specialized software. The sliced model is then sent to the resin 3D printer, where it is printed upside down in a vat of liquid resin. A build platform lowers into the resin, and the UV light source illuminates the layer according to the sliced pattern. This causes the liquid resin to cure and solidify, creating a solid layer of the object. The process is repeated layer by layer until the entire object is printed.
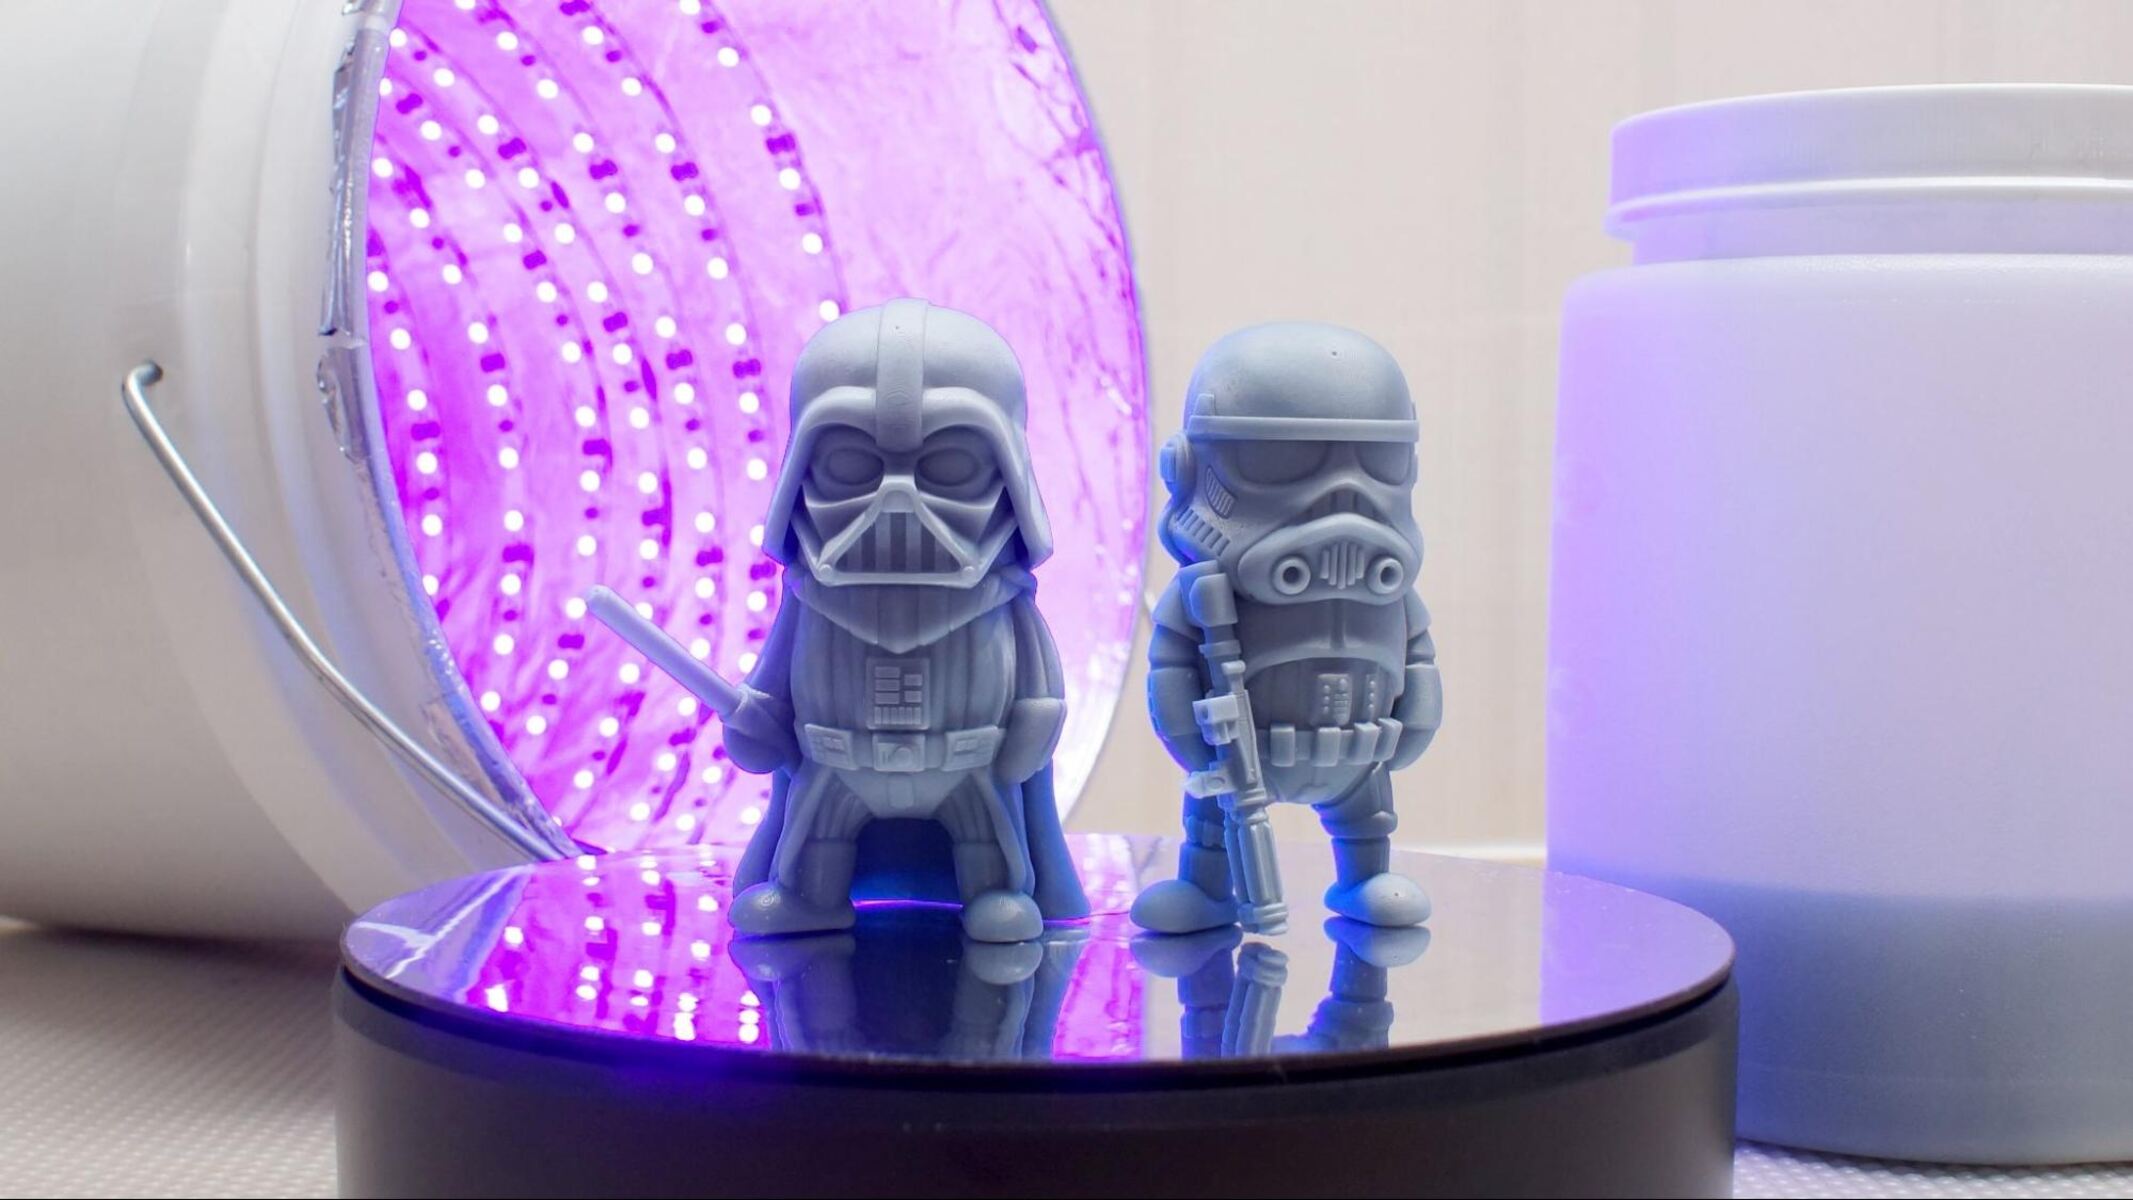
One of the biggest advantages of resin 3D printing is its ability to produce highly detailed prints with smooth surfaces. The layer resolution of resin printers can go as low as 25 microns, resulting in outstanding print quality and intricate details that are difficult to achieve with filament-based printers.
Another advantage of resin 3D printing is the wide range of materials available. Resins come in different types, each with its own unique properties. For example, there are resins that offer high strength and durability, making them suitable for functional parts or engineering applications. There are also resin options for producing flexible objects or transparent parts.
However, resin 3D printing also has its challenges. The printing process can be slower compared to filament-based printers, as each layer needs to be cured before the next layer can be printed. Additionally, resin 3D printers require a well-ventilated and controlled environment due to the odors and fumes that can be emitted during the printing process.
Despite these challenges, resin 3D printing is gaining popularity in various industries such as jewelry, dentistry, prototyping, and architecture, thanks to its ability to produce highly detailed and high-resolution prints.
In the next section, we will discuss how to choose the right resin for your print and delve into the factors that can affect resin consumption. Stay tuned!
Choosing the Right Resin
When it comes to resin 3D printing, choosing the right resin for your specific project is crucial. The resin you select will affect the final outcome of your print in terms of strength, flexibility, transparency, and other important properties. Here are some factors to consider when choosing the right resin:
Application: Consider the purpose of your 3D print. Are you creating functional prototypes, artistic pieces, or models for display? Different applications require different resin properties. For functional parts that need to withstand stress, high-strength resins may be the best choice. Transparent resins are ideal for clear parts or objects that require light transmission. Flexible resins are suitable for objects that need to bend or stretch.
Compatibility: Check the compatibility of the resin with your 3D printer. Some printers are designed to work with specific resins, while others may have more versatility. Make sure the resin you choose is compatible with your printer’s specifications, including the wavelength of the UV light source.
Properties: Consider the specific properties of the resin that align with your project requirements. This includes factors such as color, hardness, temperature resistance, and post-processing capabilities. Some resins may require additional curing or post-processing steps to achieve the desired finish.
Brand and Reviews: Research different resin brands and read customer reviews to get an idea of the quality and reliability of the resins. Look for resins that have good reviews in terms of printability, consistency, and overall performance.
Price: Consider the cost of the resin as well. While high-quality resins may come at a higher price, they often offer better print results and performance. However, if you are working on a tight budget or experimenting with new ideas, there are also more affordable resins available that can still deliver satisfactory prints.
By considering these factors and selecting the right resin, you can ensure that your 3D prints meet your expectations and requirements. In the next section, we will explore how to calculate resin usage for your prints. So, let’s dive in!
Calculating Resin Usage
Calculating the amount of resin needed for a 3D print is essential to avoid overconsumption and reduce wastage. While resin consumption varies depending on the specific project and printer settings, there are some general guidelines to help you estimate resin usage more accurately.
Layer Height: The layer height, or the thickness of each layer printed, is a significant factor in calculating resin usage. Thinner layers result in more detailed prints but also require more resin. Typically, resin 3D printers allow you to adjust the layer height, so consider finding a balance between print quality and resin consumption.
Print Volume: The overall size of the 3D model directly affects the amount of resin required. Larger models require more resin to fill the volume compared to smaller ones. Most slicing software provides an estimate of the print volume before you begin the print. This can give you a rough idea of how much resin will be needed.
Model Hollowing: If your design allows for it, hollowing out the model can significantly reduce resin consumption. By creating hollow spaces or infills within the model, you can conserve resin while maintaining the structural integrity of the print. However, be cautious not to hollow out the model too much, as it may compromise its strength.
Support Structures: Supports are essential for resin prints to ensure proper print fidelity and minimize failures. However, supports also consume resin. Some slicing software provides an estimate of the amount of resin consumed by supports. By considering the necessity and optimizing the placement of supports, you can reduce resin usage.
Resin Specific Gravity: Each resin has a specific gravity, which refers to its density compared to water. It is essential to know the specific gravity of the resin you are using, as it affects the accuracy of resin consumption calculations. Some resin manufacturers provide specific gravity information, while others may require manual testing or estimation.
These guidelines can help you estimate resin usage more effectively. However, keep in mind that these calculations are estimates, and actual resin consumption may vary depending on various factors such as supports, model complexity, and print settings.
In the next section, we will explore the factors that can affect resin consumption further. So, stay tuned for more insights!
Factors that Affect Resin Consumption
Resin consumption in 3D printing can be influenced by several factors. Understanding these factors can help you optimize your resin usage and minimize waste. Let’s take a closer look at the key factors that can affect resin consumption:
Model Complexity: The complexity of the 3D model plays a significant role in resin consumption. Models with intricate details, overhangs, or complex geometries require more resin to accurately reproduce the design. The more intricate the model, the higher the resin consumption will be.
Infill Density: If you choose to hollow out or include infills in your model, the density of the infill can affect resin consumption. Higher infill densities require more resin to fill the internal spaces and provide structural support. Adjusting the infill density to find the right balance between strength and resin consumption can help you optimize your prints.
Layer Height: The layer height set for the print can affect resin consumption. Finer layer heights, which produce more detailed prints, may consume more resin compared to coarser layer heights. It’s essential to find the right balance between quality and resin usage based on the requirements of your print.
Support Structures: Supports are often required to ensure proper print fidelity and prevent print failures due to overhangs or insufficient adhesion. The number, size, and placement of support structures can impact resin consumption. Minimizing unnecessary supports and optimizing their placement can help reduce resin usage while maintaining print quality.
Printer Settings: The settings on your resin 3D printer, such as exposure time and bottom layer exposure, can affect resin consumption. Fine-tuning these settings based on the resin you are using can optimize print quality while minimizing resin usage. However, be cautious, as adjusting settings too aggressively may result in failed prints or reduced print accuracy.
By understanding these factors and how they impact resin consumption, you can take proactive measures to optimize your prints and improve efficiency. Experimenting with different settings and materials can help you find the right balance for your specific printing needs.
In the next section, we will guide you through the process of estimating resin usage for a 3D print. So, stay tuned!
Estimating Resin Usage for a 3D Print
Estimating the amount of resin needed for a 3D print is crucial to avoid wastage and ensure efficient material usage. While resin consumption can vary based on factors such as model complexity and printer settings, here are some steps you can follow to estimate resin usage:
1. Determine the print volume: Calculate the volume of your 3D model by using 3D modeling software or slicing software that provides this information. This will give you a rough estimate of the resin required to fill the volume of the model.
2. Account for supports: If your print requires supports, consider the resin consumption associated with them. Some slicing software provides an estimate of the amount of resin used for supports. Take this into account when estimating the overall resin usage.
3. Adjust for hollowing and infills: If your design allows for it, consider hollowing out the model or adding infills to reduce resin consumption. Calculate the saved resin by subtracting the volume of the hollowed or filled section from the original print volume.
4. Consider the resin-specific gravity: Knowing the specific gravity of the resin you are using is important for accurate resin consumption estimation. Multiply the volume of resin required by the specific gravity to obtain the weight of resin needed for the print.
5. Account for overflows: To avoid underestimating resin usage, it’s a good practice to account for potential overflows or excess resin needed to ensure the print is fully filled. Adding a margin of around 10% to your estimated resin usage can help account for this.
Keep in mind that these steps provide a basic estimation and that actual resin consumption can vary. Factors such as supports, layer height, and model complexity can impact the final resin usage. It’s always recommended to start with a conservative estimation and adjust as you gain more experience with your specific printer and resin.
Remember, minimizing resin wastage not only saves costs but also reduces environmental impact. By estimating resin usage accurately, you can optimize your prints and create more efficient and sustainable 3D prints.
In the next section, we will provide you with some valuable tips for optimizing resin consumption. So, stay tuned for some practical insights!
Tips for Optimizing Resin Consumption
To make the most of your resin and optimize consumption, here are some helpful tips to consider:
1. Design with resin consumption in mind: When creating 3D models, design with resin usage in mind. Minimize unnecessary supports and infill, and consider hollowing out the model where possible without compromising its structural integrity. Optimizing the design can significantly reduce resin consumption.
2. Use the right layer height: Experiment with different layer heights to find the right balance between print quality and resin consumption. Finer layer heights produce more detailed prints but may require more resin. Consider the requirements of your print and adjust the layer height accordingly.
3. Optimize support structures: Carefully position supports to minimize the need for excessive supports while ensuring print stability. Use support placement tools provided by slicing software to strategically place supports only where necessary. This can greatly reduce resin consumption and post-processing efforts.
4. Utilize hollowing and infill techniques: Hollowing out models or adding infills can help optimize resin usage. Use slicing software features to add hollow sections or infills strategically, ensuring the necessary strength while minimizing resin consumption. Experiment with different infill percentages to find the sweet spot for your specific print.
5. Batch prints: Whenever possible, plan and batch multiple prints together. By optimizing the use of the build plate and combining multiple prints into a single print job, you can maximize resin usage and minimize wasted space on the build platform.
6. Review and adjust print settings: Regularly review and fine-tune your print settings to optimize resin usage. Adjust parameters such as exposure time, bottom layer exposure, and lift speed for better efficiency. Allowing for slight variations and testing different settings can help you find the optimal print configuration.
7. Maintain and calibrate your printer: Regularly maintain and calibrate your resin 3D printer to ensure it is operating at its best. Proper calibration helps achieve accurate prints, minimizing resin waste due to failed or imperfect prints.
8. Keep track of resin usage: Record the resin used for each print to track consumption accurately. This can help you identify trends, analyze resin usage patterns, and make informed decisions to optimize future prints.
By following these tips and implementing best practices, you can effectively optimize resin consumption, reduce waste, and maximize the efficiency of your resin 3D prints.
Now that you have a better understanding of resin consumption and methods for optimizing it, you are well-equipped to embark on your resin 3D printing journey with confidence!
Conclusion
Resin 3D printing opens up a world of possibilities for creating detailed and intricate objects. Understanding how much resin to use for your 3D prints is essential for achieving optimal results, minimizing wastage, and maximizing efficiency. By choosing the right resin, calculating resin usage, considering various factors that affect consumption, and implementing tips for optimization, you can create high-quality resin prints while conserving resources.
Through this article, we have explored the fundamentals of resin 3D printing, the importance of choosing the right resin, and the factors that can affect resin consumption. We have also discussed the practical steps of estimating resin usage and provided valuable tips for optimizing resin consumption.
It is crucial to remember that resin consumption can vary depending on various factors, such as model complexity, layer height, supports, and printer settings. It is recommended to start with conservative estimations and adjust based on experience and specific requirements.
By becoming familiar with these principles, experimenting with different settings, and continuously improving your resin 3D printing skills, you can achieve remarkable prints while effectively utilizing your resin resources.
So, embrace the world of resin 3D printing, unleash your creativity, and enjoy the endless possibilities that this incredible technology offers!


