Introduction
Welcome to the delicious world of homemade ice cream! Whether you’re planning a summer party or simply craving a sweet treat, owning an ice cream maker can be a game-changer. The thought of making your own ice cream from scratch may sound intimidating, but with a little patience and the right techniques, you’ll be enjoying creamy, flavorful ice cream in no time.
One question that often comes to mind when using an ice cream maker is, “How long does it take to make ice cream?” It’s a valid question, as we all want to satisfy our ice cream cravings as quickly as possible. Unfortunately, there isn’t a one-size-fits-all answer, as several factors come into play that affect the time it takes to make ice cream.
Factors such as pre-freezing the ice cream maker bowl, choosing the right recipe, the type of ice cream maker being used, the time required for churning the mixture, and the consistency desired all impact the overall time needed to create a delicious batch of ice cream. Additionally, once the ice cream is churned and ready, it will still need some time to firm up in the freezer.
In this guide, we will delve into each of these factors in detail, providing you with all the information you need to understand why ice cream making takes time, and how you can optimize the process to achieve the best results.
Factors that Affect the Time it Takes to Make Ice Cream
When it comes to making ice cream, several factors come into play that affect the time it takes to transform a few simple ingredients into a creamy frozen dessert. Understanding these factors will help you manage your expectations and plan your ice cream-making journey accordingly.
1. Pre-Freezing the Ice Cream Maker Bowl: Most ice cream makers require the bowl to be pre-frozen before use. This process typically takes anywhere from 12 to 24 hours, depending on the model. Pre-freezing ensures that the ice cream mixture can freeze properly during the churning process. Remember to plan ahead and place the bowl in the freezer well in advance.
2. Choosing the Right Recipe: The recipe you choose plays a significant role in determining the time it takes to make ice cream. Recipes with a higher fat content, such as those using heavy cream or egg yolks, tend to take longer to freeze. On the other hand, recipes using lighter ingredients like fruit purees or sorbets may freeze more quickly.
3. The Type of Ice Cream Maker Being Used: There are various types of ice cream makers available, including traditional models that utilize ice and rock salt, freezer bowl models, and self-freezing models. Each type has its own freezing capabilities, with self-freezing models typically being the fastest. The type of ice cream maker you choose will impact the overall time it takes to make ice cream.
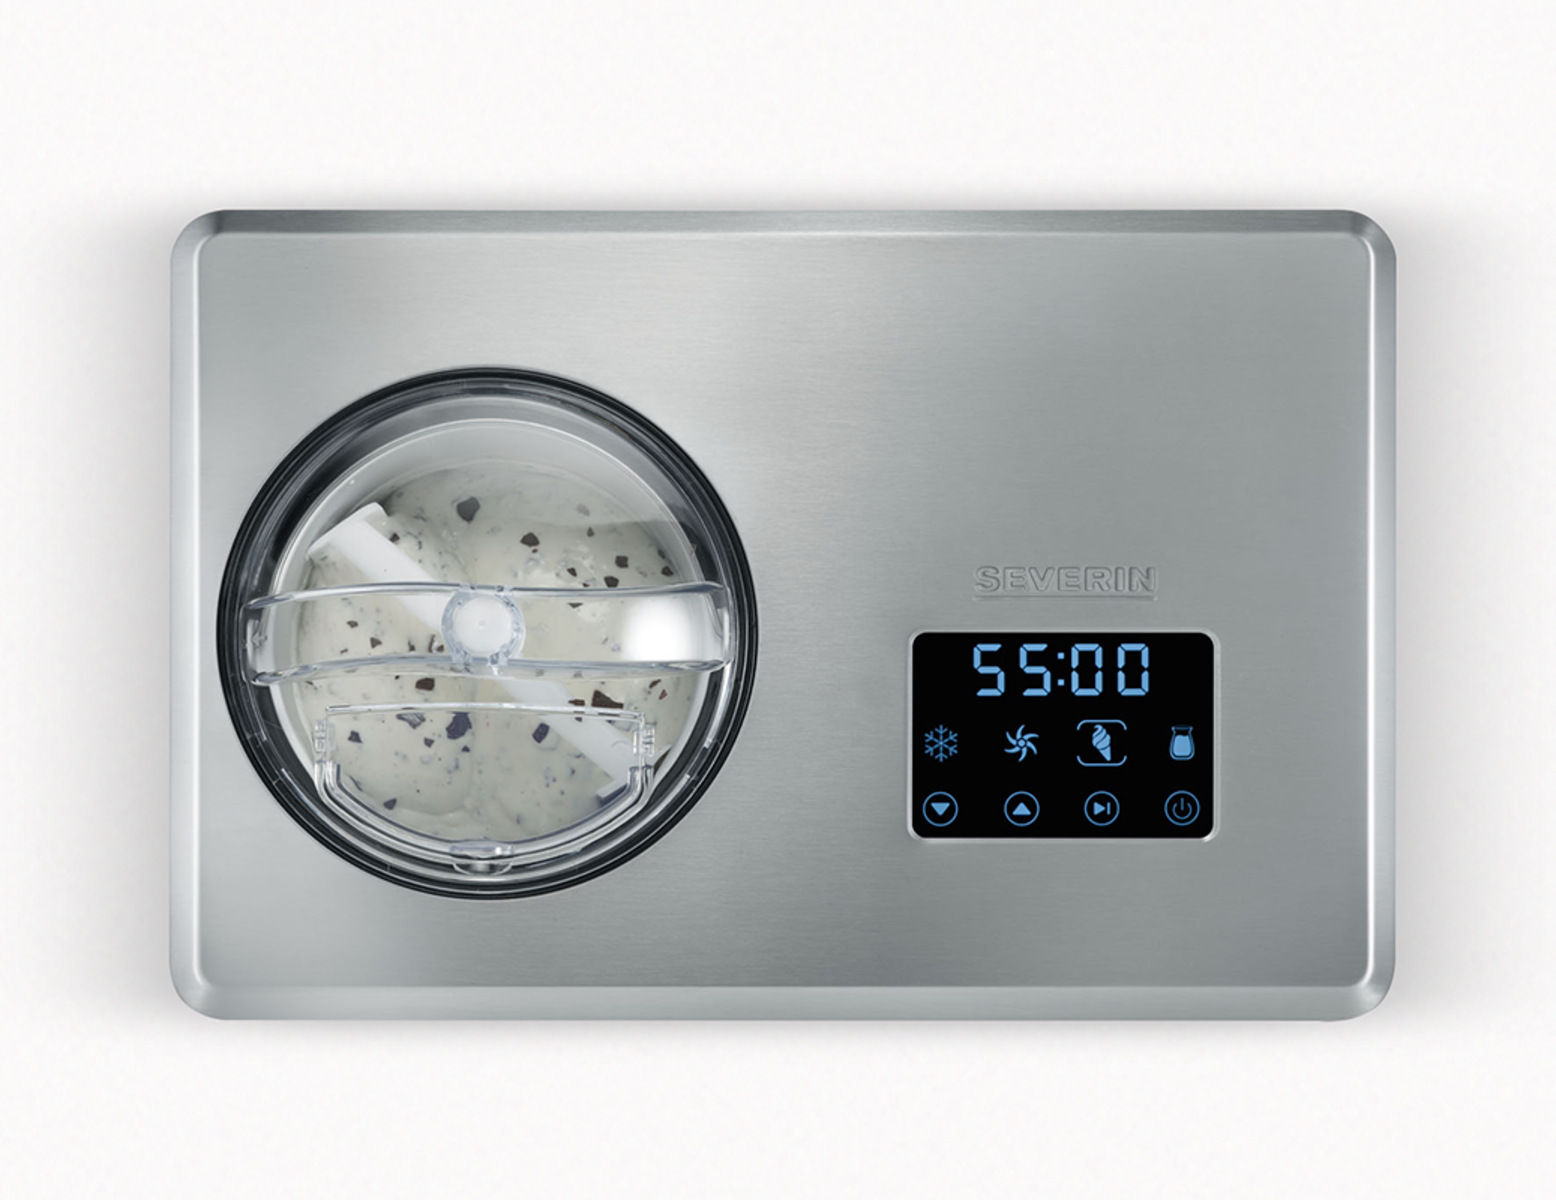
4. Time Required for Churning the Ice Cream Mixture: Churning is the process that incorporates air into the ice cream mixture, creating a smooth and creamy texture. Depending on the recipe and ice cream maker, this process can range from 15 to 30 minutes. It’s important to follow the instructions specific to your ice cream maker to achieve the desired consistency.
5. Checking the Consistency of the Ice Cream: Once the churning process is complete, it’s essential to check the consistency of the ice cream. Some recipes may require additional churning time, while others may be ready for the next step. Taking the time to check and adjust the consistency will ensure a creamy and delicious end result.
6. Additional Time for the Ice Cream to Firm Up in the Freezer: After the ice cream is churned, it still needs some time in the freezer to firm up. This can take anywhere from 2 to 4 hours, depending on the recipe and your desired consistency. It’s crucial to allow enough time for the ice cream to set properly before serving.
By understanding these factors, you can better manage your expectations and plan your ice cream-making adventure accordingly. Keep in mind that the time it takes to make ice cream may vary from batch to batch. Experimentation and practice will help you find the sweet spot for perfect homemade ice cream.
Pre-freezing the Ice Cream Maker Bowl
One of the crucial steps in making ice cream is pre-freezing the ice cream maker bowl. Most ice cream makers require this step to ensure that the mixture freezes properly during the churning process. Pre-freezing the bowl is essential, as it helps the ice cream mixture to solidify and achieve the desired texture.
The time required for pre-freezing the ice cream maker bowl can vary depending on the model and the manufacturer’s instructions. It is recommended to check the user manual or the manufacturer’s website to determine the specific pre-freezing time for your ice cream maker. In most cases, the bowl needs to be placed in the freezer for a minimum of 12 to 24 hours before use.
It’s important to plan ahead and allocate enough time for the bowl to freeze. If you’re eager to make ice cream, it’s a good idea to keep the bowl in the freezer at all times so that it’s ready whenever you’re in the mood for a frozen treat. Some ice cream makers come with multiple freezer bowls, allowing you to rotate them for continuous ice cream production.
During the pre-freezing process, the bowl should ideally reach a temperature below freezing, typically around 0°F (-18°C) or lower. This temperature ensures that the mixture freezes rapidly and uniformly during the churning process. It’s important to note that if the bowl is not properly frozen, the ice cream mixture may not freeze adequately, resulting in a soft or soupy consistency.
Before pouring the ice cream mixture into the pre-frozen bowl, make sure to inspect it for any signs of frost or ice buildup. Frost or ice on the bowl’s surface can impede the freezing process and may need to be defrosted or wiped off before use.
It’s worth mentioning that while pre-freezing the bowl is a crucial step, it may add some waiting time to the overall process of making ice cream. However, this step is essential to achieve the desired result of smooth and velvety ice cream. Patience is key when it comes to homemade ice cream, and the anticipation of the final product is well worth the wait.
Now that you understand the importance of pre-freezing the ice cream maker bowl, you’re ready to move on to the next step: choosing the right recipe to embark on your ice cream making adventure.
Choosing the Right Recipe
When it comes to making homemade ice cream, choosing the right recipe can make all the difference in the final result. Each ice cream recipe has its own set of ingredients and instructions, which can impact the time it takes to make the perfect batch of ice cream.
1. Consider the Fat Content: The fat content of the recipe plays a significant role in determining the freezing time. Recipes that use higher fat ingredients like heavy cream or egg yolks tend to take longer to freeze compared to recipes using lighter ingredients like milk or fruit purees. Creamier ice creams with a higher fat content typically require more time in the ice cream maker to achieve the desired consistency.
2. Analyze the Churning Time: The churning time specified in the recipe also affects the overall duration of making ice cream. Some recipes may require shorter churning times, while others may need a longer duration. It’s important to follow the recipe instructions and monitor the consistency of the ice cream throughout the churning process to ensure it reaches the desired texture.
3. Experiment with Mix-ins and Flavors: Adding mix-ins or flavors can impact the freezing time of the ice cream. Ingredients such as chocolate chips, nuts, or chunks of fruit can interrupt the freezing process and may require additional churning time. Consider the size and texture of your mix-ins and adjust the churning time accordingly to ensure they are evenly distributed throughout the ice cream.
4. Take Note of the Recipe’s Freezing Recommendations: Some recipes may suggest specific freezing times to achieve the best results. These recommendations are based on the recipe creator’s experience and testing. Following the recommended freezing time can help you achieve the intended texture and consistency of the ice cream.
When choosing a recipe, it’s important to consider your preferences and the desired outcome. Do you prefer a rich and creamy ice cream with a longer freezing time, or do you want a lighter and refreshing sorbet that freezes more quickly? Understanding the composition and instructions of the recipe will help you manage your expectations and plan accordingly.
It’s also worth noting that as you gain experience in making ice cream, you can experiment with your own variations and adjustments to the recipes. This allows you to personalize the flavors, texture, and freezing time to suit your taste preferences.
Now that you understand the importance of choosing the right recipe, let’s move on to the next factor that affects the time it takes to make ice cream – the type of ice cream maker being used.
The Type of Ice Cream Maker Being Used
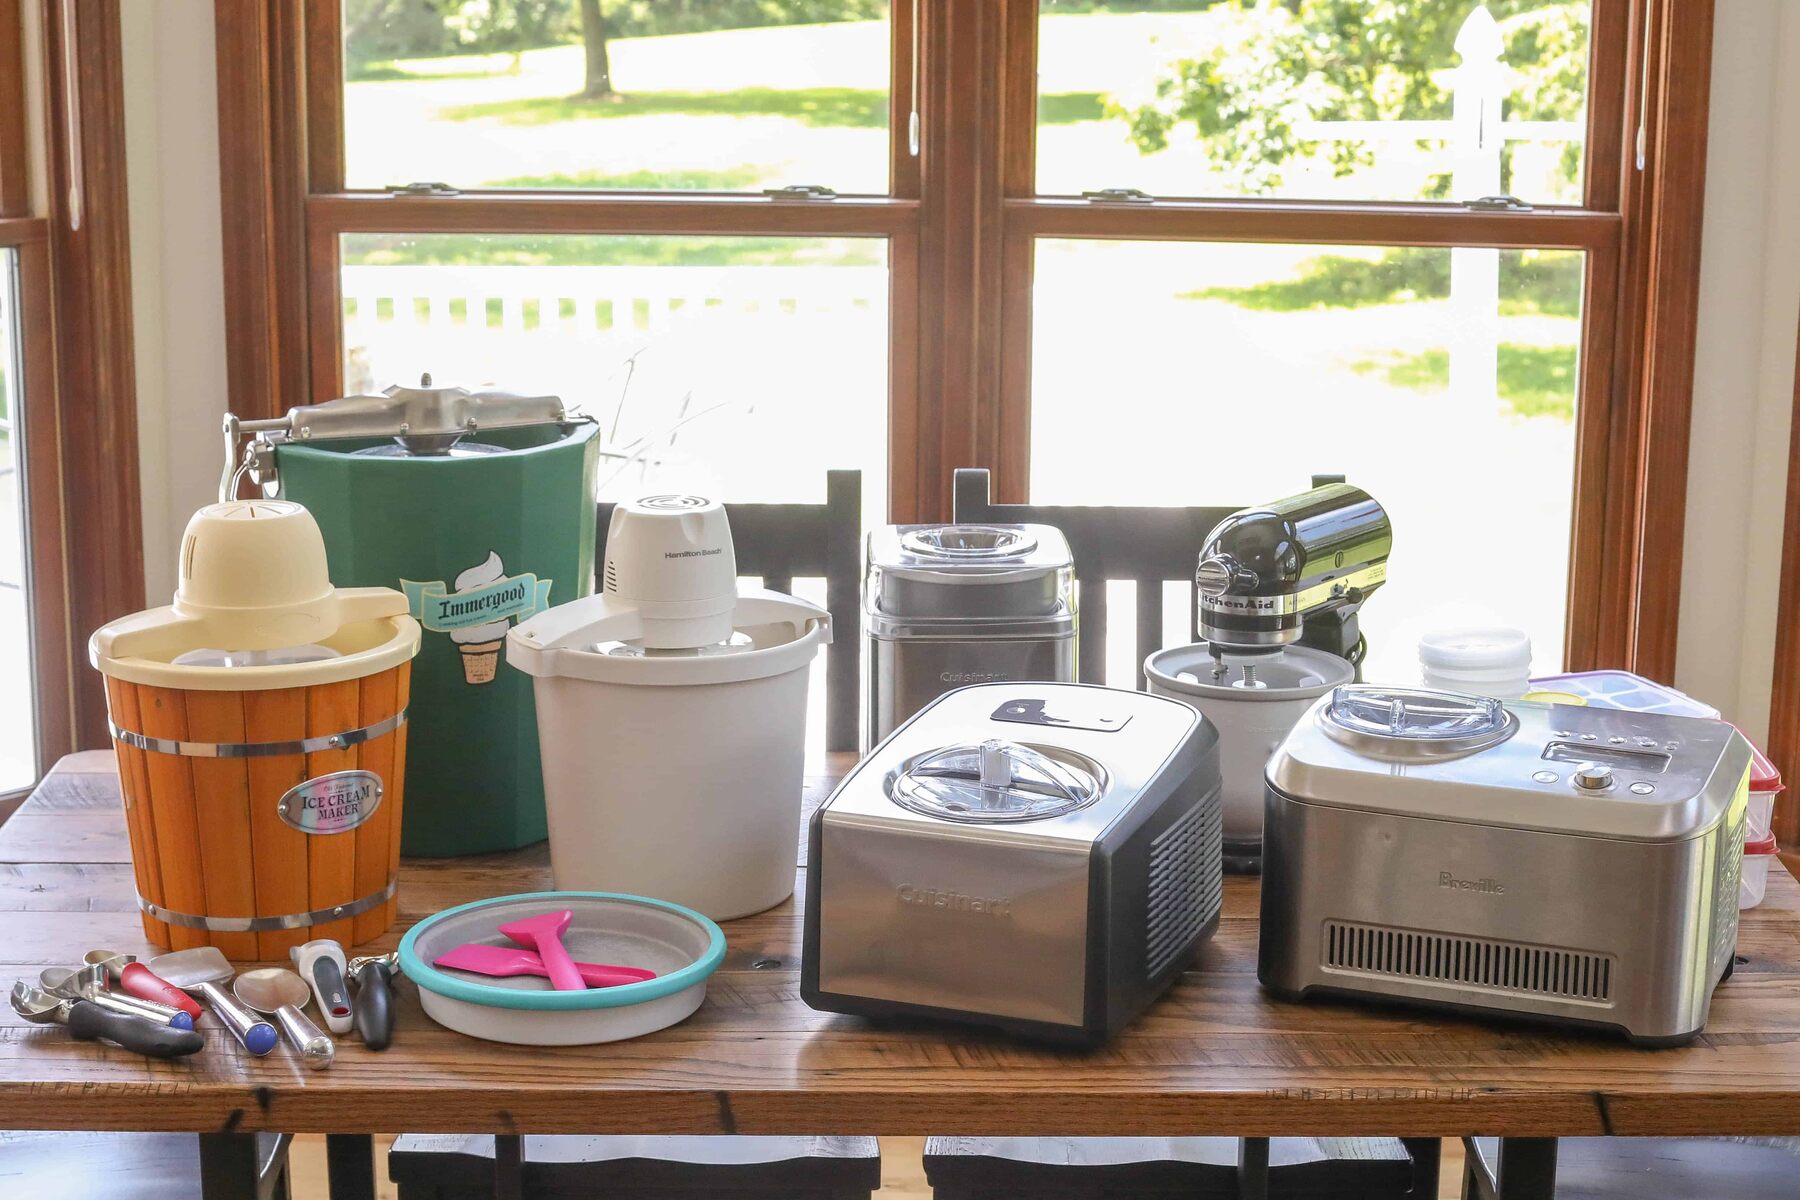
When it comes to making ice cream, the type of ice cream maker you use can have a significant impact on the time it takes to create your frozen masterpiece. There are several different types of ice cream makers available on the market, each with its own freezing capabilities and time requirements.
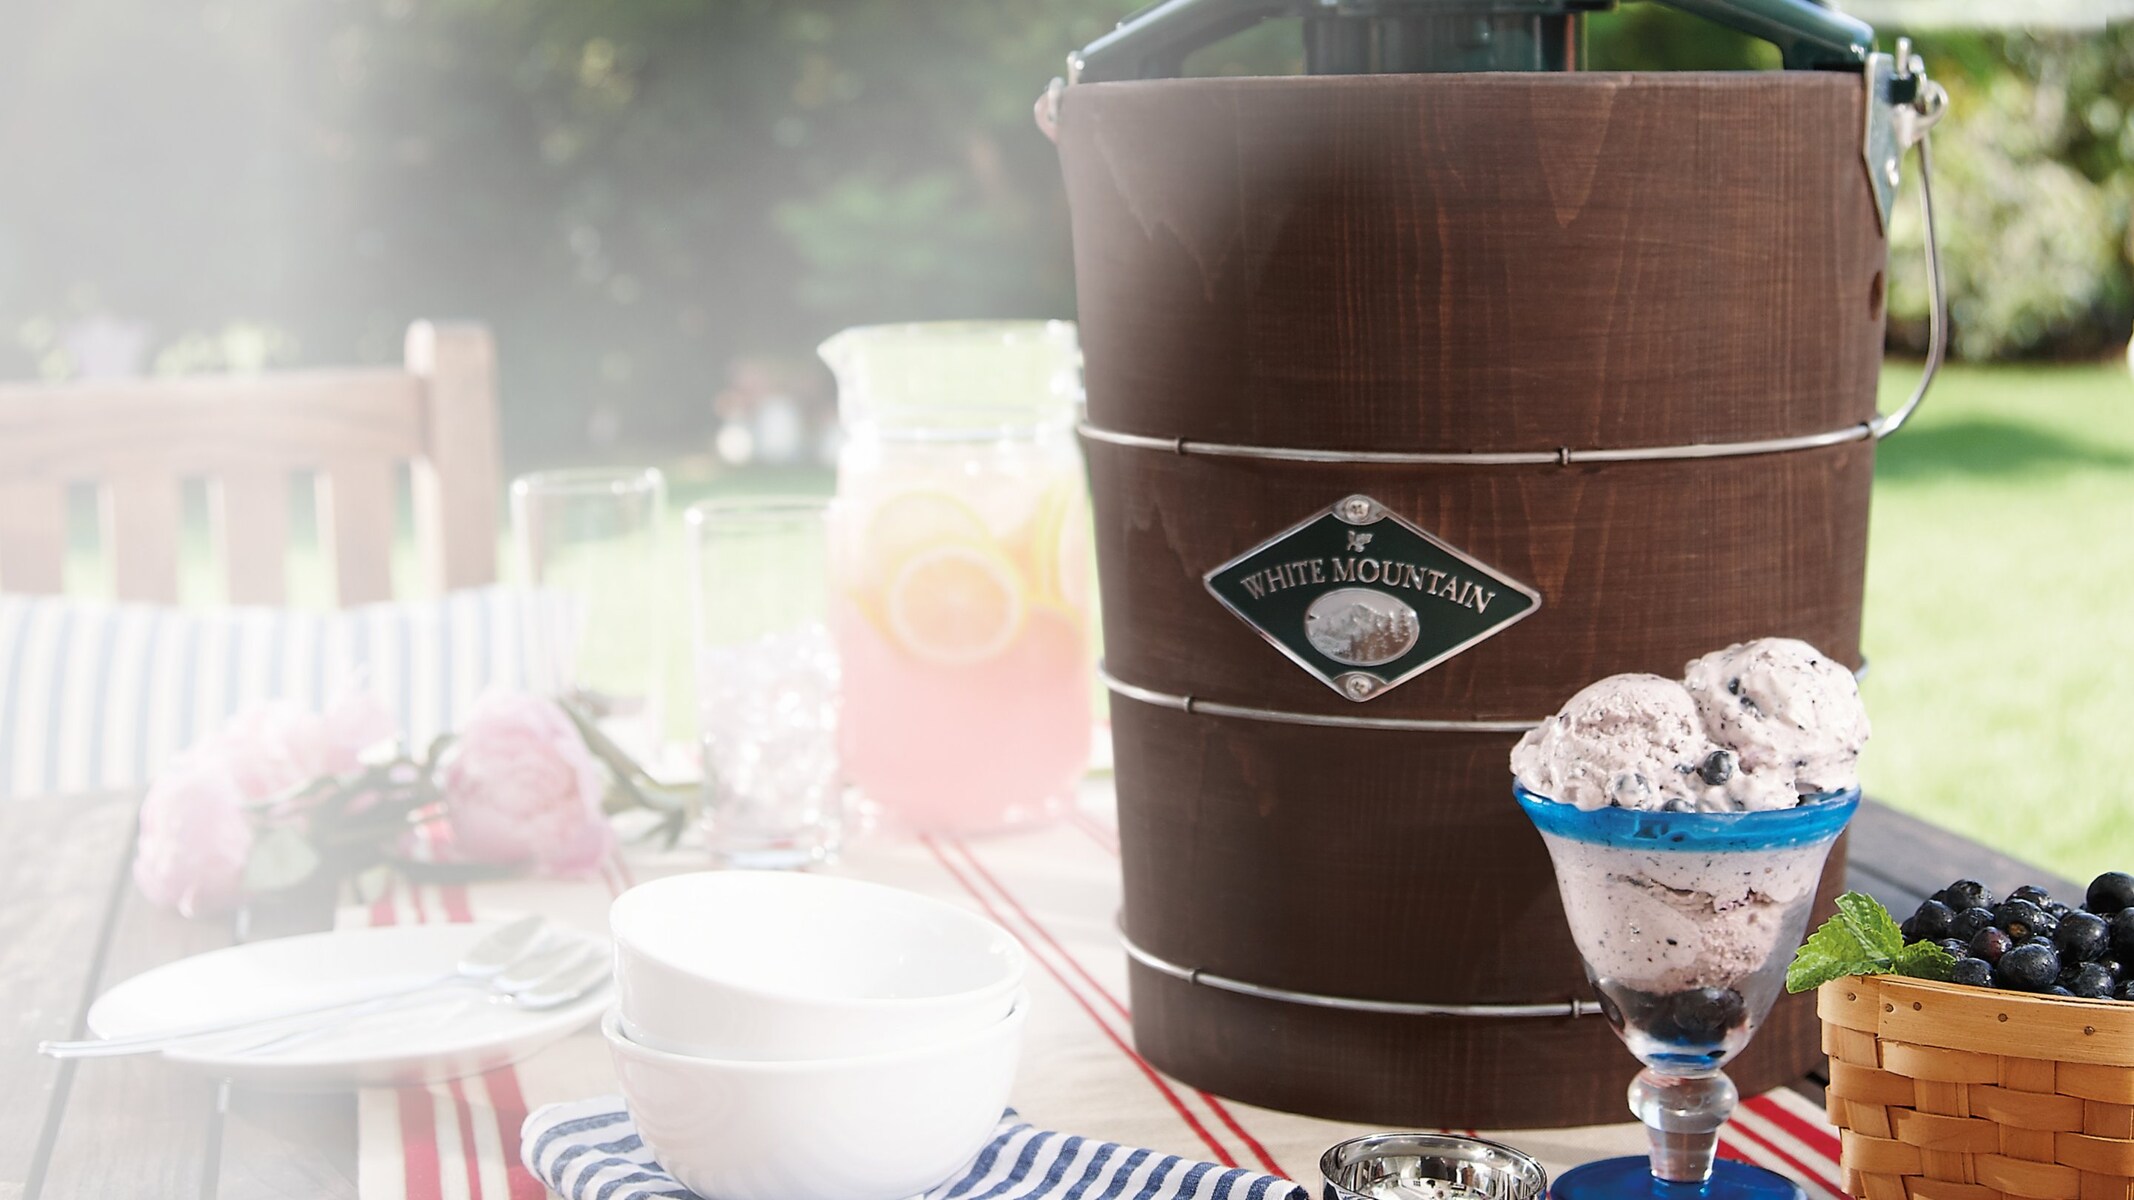
1. Traditional Ice Cream Maker: Traditional ice cream makers typically consist of a canister or drum that is filled with ice and rock salt, surrounding a smaller container where the ice cream mixture is churned. The ice and salt create a brine solution, which reduces the temperature in the container, allowing the mixture to freeze. This traditional method can be time-consuming, as it usually requires 20-30 minutes of churning and can take up to an hour or more to achieve the desired consistency.
2. Freezer Bowl Ice Cream Maker: Freezer bowl ice cream makers have become increasingly popular due to their convenience and ease of use. These machines consist of a double-walled bowl filled with a special freezing gel. The bowl needs to be pre-frozen for a specific amount of time, usually between 12-24 hours, before use. Once the bowl is frozen, it is placed in the machine, and the ice cream mixture is churned inside. This type of ice cream maker typically takes around 20-30 minutes to churn the mixture and achieve a creamy texture.
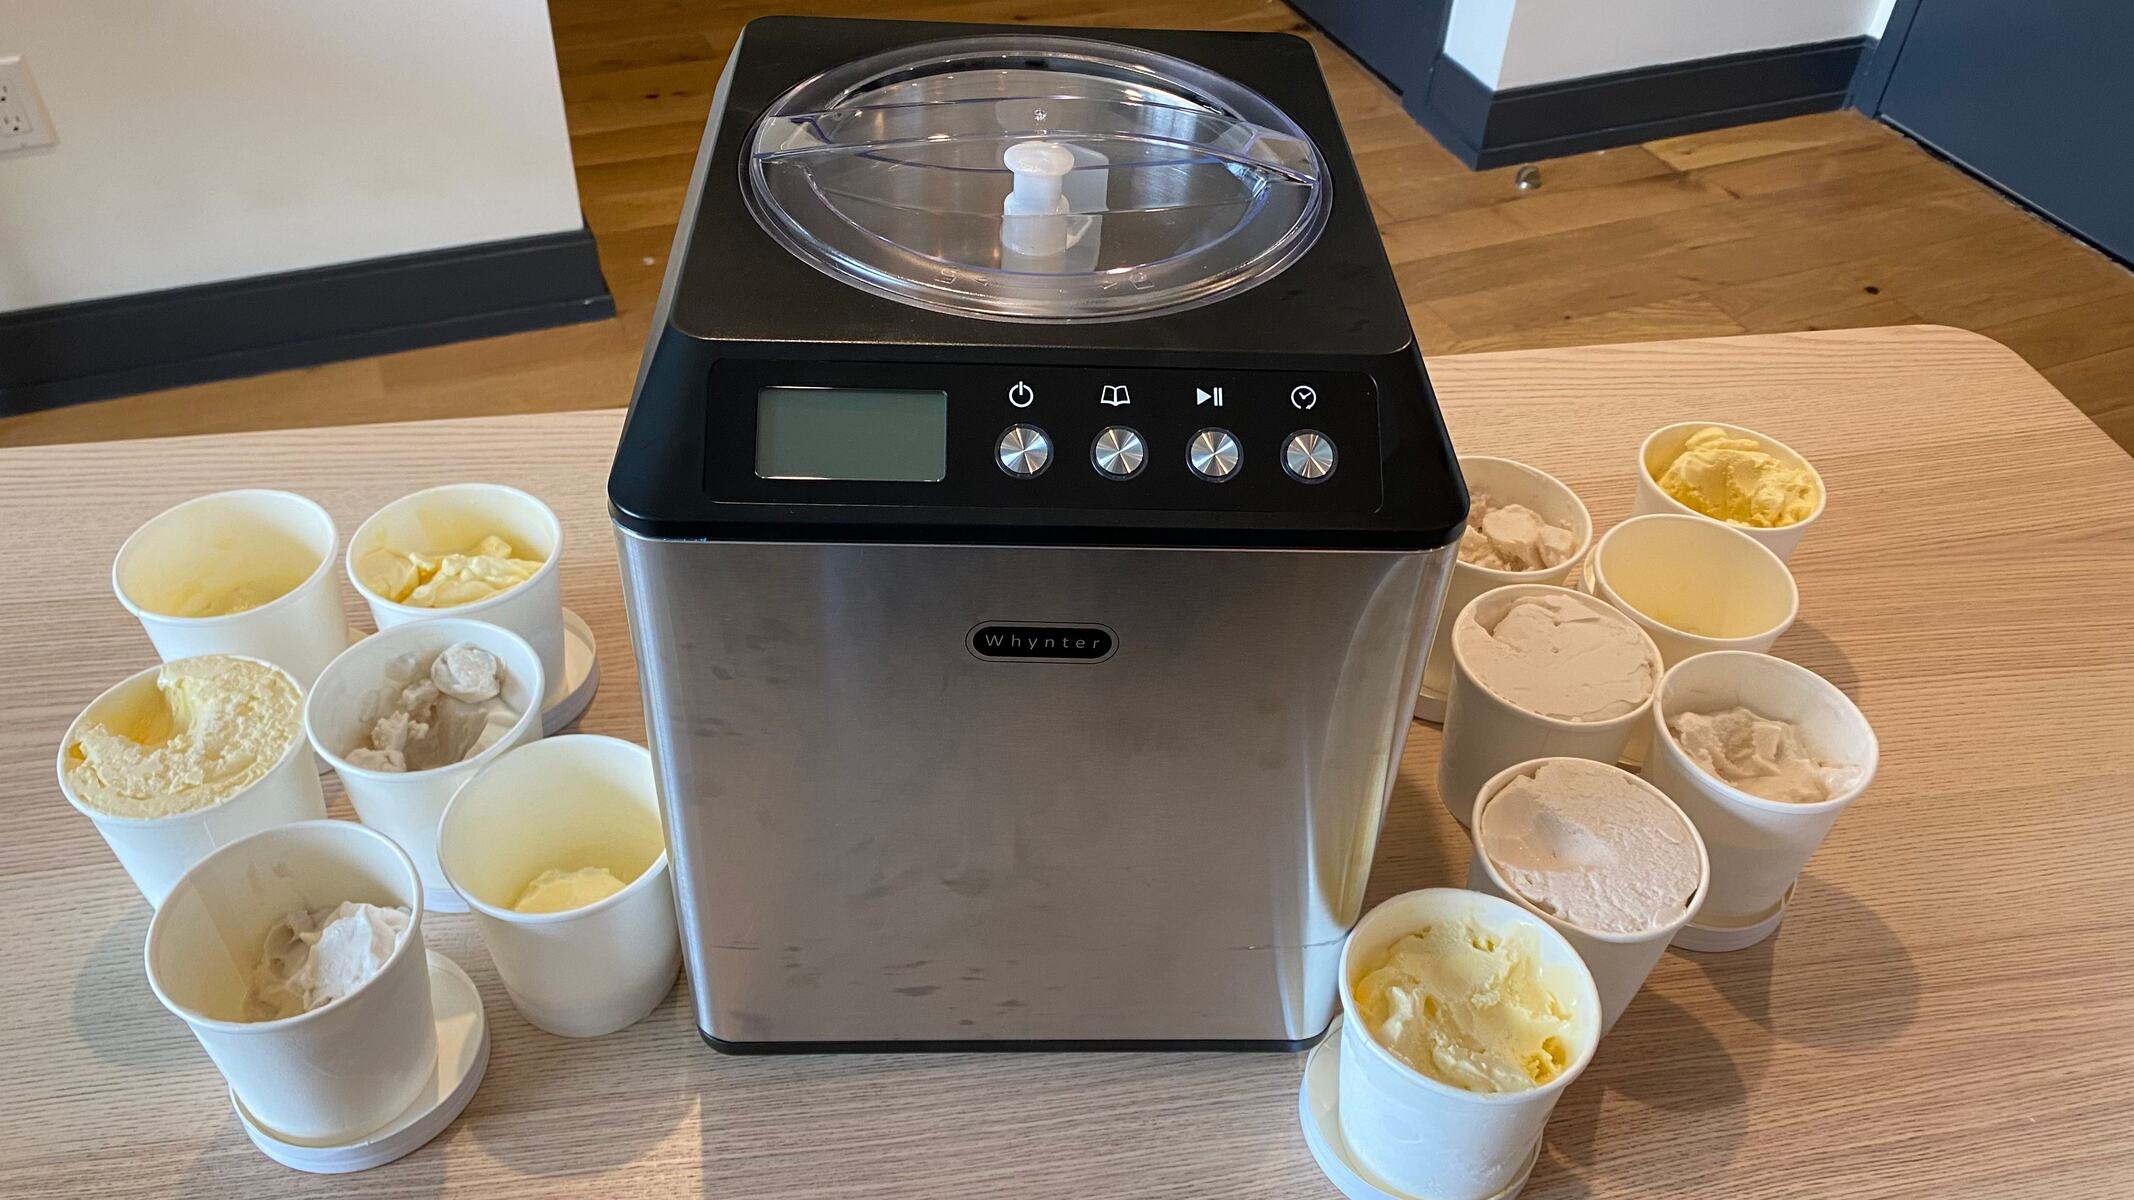
3. Self-Freezing Ice Cream Maker: Self-freezing ice cream makers, also known as compressor ice cream makers, are the most advanced and efficient type of machine. These machines contain a built-in freezer unit that eliminates the need for pre-freezing a bowl or using ice and salt. The self-freezing mechanism allows for continuous freezing, reducing the overall time it takes to make ice cream. With self-freezing ice cream makers, you can achieve perfectly frozen ice cream in as little as 30-40 minutes.
The type of ice cream maker you choose will depend on your personal preferences, budget, and desired level of convenience. Traditional ice cream makers may require more time and effort, but they can be an enjoyable hands-on experience. Freezer bowl ice cream makers strike a balance between convenience and traditional methods. Self-freezing ice cream makers offer unmatched convenience and efficiency but typically come with a higher price tag.
It’s important to read the manufacturer’s instructions and follow the recommended churning times for your specific ice cream maker. By understanding the capabilities and limitations of your ice cream maker, you can plan ahead and optimize the time it takes to make ice cream.
Now that you are familiar with the different types of ice cream makers, let’s move on to the next factor that affects the time it takes to make ice cream – the churning process.
Time Required for Churning the Ice Cream Mixture
Churning is a crucial step in the ice cream-making process that transforms a liquid mixture into a creamy frozen dessert. The churning process incorporates air into the mixture, preventing large ice crystals from forming and resulting in a smoother texture. The duration of the churning process can vary depending on various factors.
The time required for churning the ice cream mixture depends on the recipe, the desired texture, and the type of ice cream maker being used. Different recipes may specify different churning times to achieve the desired consistency. In general, the churning process can take anywhere from 15 to 30 minutes.
It’s essential to follow the instructions provided in the recipe or the ice cream maker’s manual for the recommended churning time. Over-churning the mixture can lead to a grainy or icy texture, while under-churning can result in a soft and melty ice cream.
The actual time it takes for the ice cream mixture to churn can also depend on the temperature and composition of the mixture. Warmer mixtures, such as those made with custard bases or ingredients like melted chocolate, may need less churning time. On the other hand, cooler mixtures or those with higher fat content may require more churning time to achieve the desired consistency.
It’s important to monitor the churning process as it progresses. Check the consistency of the ice cream as it churns and stop the machine when it reaches a soft-serve consistency. At this stage, the ice cream should hold its shape but still be soft and creamy. Over-churning beyond this point can lead to a more solid and dense texture.
Keep in mind that the time required for churning may vary depending on the type of ice cream maker being used. Self-freezing ice cream makers with built-in freezing capabilities may churn the mixture more efficiently and freeze it faster. Traditional or freezer bowl ice cream makers may require a bit more time for the mixture to solidify due to their cooling mechanisms.
Understanding the churning time and closely monitoring the consistency of the ice cream during the process will help you achieve the perfect texture for your homemade treat. Once the ice cream reaches the desired consistency, it’s time to move on to the next step – checking the consistency of the ice cream.
Checking the Consistency of the Ice Cream
After the ice cream mixture has been churned, it’s essential to check its consistency before proceeding. The consistency will determine whether the ice cream is ready to be served or if it requires additional churning or freezing time.
When checking the consistency of the ice cream, there are a few key factors to consider:
1. Texture: The ice cream should have a smooth and creamy texture. It should not be too icy or have any graininess. Run a spoon or spatula through the mixture and observe if it leaves a clean trail. If the mixture appears lumpy or grainy, it may require additional churning to incorporate more air and achieve a smoother texture.
2. Creaminess: The ice cream should have a luscious and velvety mouthfeel. It should feel rich and creamy on the tongue. Scoop a small amount of ice cream and taste it to ensure it has the desired creaminess. If it feels too firm or lacks creaminess, it may benefit from additional churning or softening in the freezer.
3. Taste: Taste the ice cream to ensure that the flavors are well-balanced and pronounced. The flavors should be present and enjoyable, without being overpowering or muted. Adjust the sweetness or flavorings as needed, depending on your personal preference.
When checking the ice cream’s consistency, it’s important to keep in mind that it will firm up further during the freezing process. The fresh churned ice cream may be softer than desired but will firm up in the freezer. Consider the desired firmness and adjust the preparation accordingly by either continuing to churn or transferring the mixture to the freezer to set.
If the ice cream requires additional churning, return it to the ice cream maker and continue churning until the desired consistency is reached. Remember to monitor the mixture closely and avoid over-churning, as this can result in a dense and less creamy texture.
If the ice cream is at the desired consistency, it can be transferred to a lidded container for further freezing. Store the container in the freezer for a minimum of 2-4 hours, or until the ice cream reaches the desired firmness. This step allows the flavors to meld and the ice cream to solidify further for a scoopable, scoopable texture.
By checking the consistency of the ice cream, you ensure that it meets your expectations in terms of texture, creaminess, and taste. This step allows you to make any necessary adjustments and achieve the perfect homemade ice cream.
Now that you’ve checked the consistency, it’s time to let the ice cream firm up in the freezer and get ready to indulge in your homemade frozen delight.
Additional Time for the Ice Cream to Firm Up in the Freezer
After the ice cream has been churned and checked for consistency, it’s time to give it some additional time to firm up in the freezer. This step is essential to ensure that the ice cream reaches the desired scooping or serving consistency.
Once the ice cream is transferred to a lidded container, it should be placed in the freezer for a minimum of 2-4 hours. During this time, the ice cream will undergo further freezing, allowing it to solidify and reach a scoopable texture.
While the exact time required for the ice cream to firm up can vary depending on factors such as the recipe and freezer temperature, 2-4 hours is a general guideline. Keep in mind that the higher the fat content in the ice cream, the longer it may take to achieve the desired firmness.
During the freezing process, it is important to handle the ice cream with care to avoid ice crystals from forming. Avoid excessive stirring or stirring too forcefully, as this can lead to the development of unwanted ice crystals. Instead, gently place the container in the freezer and allow the natural freezing process to take place.
It’s also worth noting that the texture and consistency of the ice cream will continue to develop as it freezes. Initially, it may feel softer, but with time in the freezer, it will become more solid. If you prefer a firmer consistency, you can leave the ice cream in the freezer for a longer duration, checking periodically until it reaches your desired firmness.
Once the ice cream has firmed up in the freezer, it’s ready to be enjoyed. Serve it in bowls or cones, or use it as a delightful accompaniment to your favorite desserts. Garnish it with toppings such as sprinkles, nuts, or chocolate sauce for an extra touch of indulgence.
Keep in mind that homemade ice cream does not contain the same stabilizers or preservatives as store-bought varieties. Therefore, it is best to consume it within a few weeks for the best taste and texture. Remember to properly store the ice cream in the freezer, tightly sealed to prevent any unwanted ice crystals or freezer burn.
By allowing the ice cream to firm up in the freezer, you ensure that it reaches the ideal consistency for serving and enjoyment. So, exercise patience, and let the freezer work its magic on your homemade frozen delight.
Conclusion
Making homemade ice cream is a delightful and rewarding process that allows you to create decadent frozen treats right in your own kitchen. While it may take some time and patience, the end result is well worth the effort.
Throughout this guide, we’ve explored the various factors that affect the time it takes to make ice cream. We’ve learned about the importance of pre-freezing the ice cream maker bowl to ensure proper freezing, the significance of choosing the right recipe to match your preferences, and the impact of the type of ice cream maker on the overall process.
We’ve also discussed the time required for churning the ice cream mixture, emphasizing the need to monitor its consistency to achieve the perfect texture. Additionally, we’ve highlighted the importance of allowing the ice cream to firm up in the freezer, giving it time to reach the desired scooping or serving consistency.
By understanding these factors and following the guidelines specific to your ice cream maker and recipe, you can optimize the time it takes to make ice cream and achieve fantastic results.
However, it’s important to remember that making ice cream is not just about the end product but also about the journey. It’s a process that allows for creativity, experimentation, and personalization. Don’t be afraid to try new flavors, mix-ins, and techniques to create your own signature ice cream creations.
So, whether you’re feeling nostalgic for childhood ice cream memories or looking to explore new taste sensations, embrace the joy of making your own ice cream. With a little time and effort, you’ll be able to indulge in creamy, flavorful scoops that will impress family and friends alike.
Now, armed with knowledge and confidence, it’s time to dive into the world of homemade ice cream. Enjoy the process, savor the moments, and indulge in the sweet rewards of your labor. Happy ice cream making!