Introduction
Welcome to the world of solid state drives (SSDs), a technological advancement that has revolutionized storage capabilities for computers and other devices. If you find yourself in need of a bigger storage capacity, improved performance, or simply want to upgrade from a traditional hard drive, you may be wondering how easy it is to replace a solid state drive.
In this guide, we will take you through the step-by-step process of replacing a solid state drive, providing you with the information and confidence you need to complete the task successfully. Whether you are a tech-savvy individual or just starting out in the world of computer hardware, this guide will help you navigate the process easily and efficiently.
Before we delve into the nitty-gritty of the actual replacement process, let’s take a moment to understand what a solid state drive is and what sets it apart from traditional hard drives.
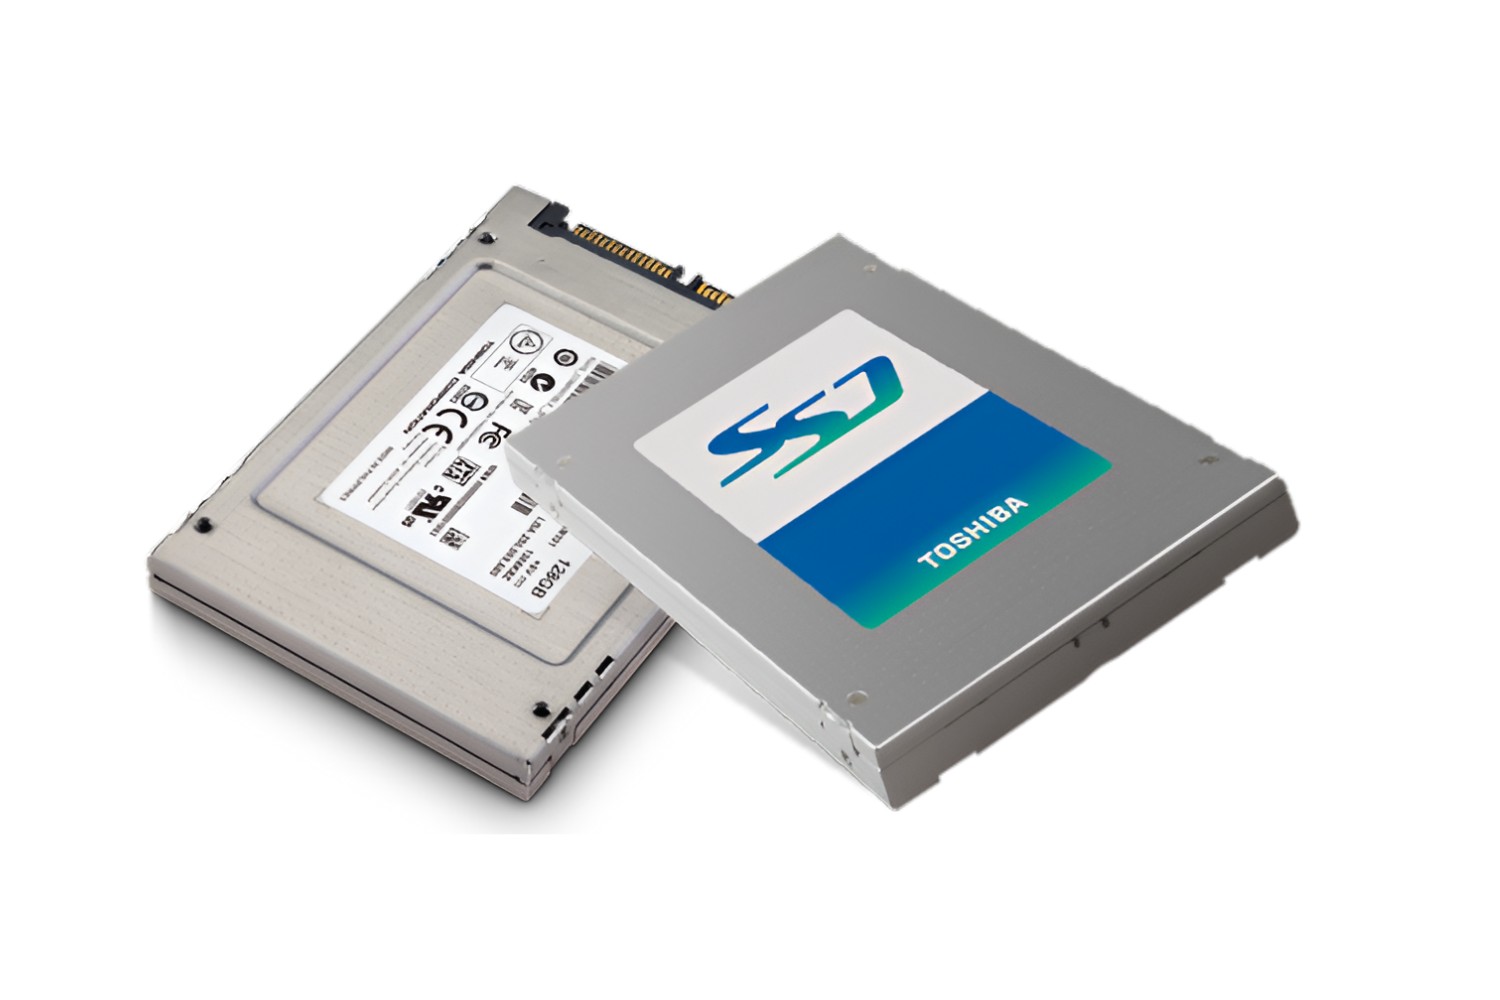
A solid state drive is a storage device that uses a type of memory called flash memory to store data. Unlike traditional hard drives that use spinning disks and read/write heads, SSDs have no moving mechanical parts. This not only makes them faster and more durable but also significantly quieter.
SSDs offer several advantages over hard drives, including faster data transfer speeds, quicker boot-up times, and improved overall system performance. Additionally, SSDs are less susceptible to physical damage due to their lack of moving parts, making them an excellent choice for laptops and portable devices.
Now that we have a basic understanding of what a solid state drive is and its benefits, let’s dive into the step-by-step process of replacing a solid state drive in your computer or laptop.
Understanding Solid State Drives
Before we proceed with the process of replacing a solid state drive, it’s essential to have a solid understanding of what makes SSDs unique and why they are a popular choice for storage in modern devices.
As mentioned earlier, a solid state drive (SSD) is a storage device that uses flash memory to store data. Unlike traditional hard drives that rely on spinning disks and read/write heads, SSDs have no moving parts. Instead, they use electronic circuits to store and retrieve data, which results in faster access times and increased durability.
One of the main advantages of SSDs is their speed. The lack of movable parts allows for near-instantaneous data access and transfer. This means that your computer can boot up in seconds, programs load quickly, and file transfers occur at lightning speed.
Another advantage of solid state drives is reliability. Since they don’t have spinning disks that can suffer from mechanical failures, SSDs are generally more robust and less prone to data loss. This reliability is especially crucial for those who rely on their devices for important work or data storage.
Additionally, solid state drives are very energy efficient. They consume less power than traditional hard drives, which prolongs the battery life of laptops and reduces energy costs for desktop computers. This makes SSDs an eco-friendly choice as well.
However, it’s important to note that solid state drives come with some considerations. One such consideration is their limited lifespan. Flash memory cells have a finite number of write cycles, which means that SSDs can wear out over time. However, modern SSDs have built-in mechanisms, such as wear-leveling algorithms, that distribute data evenly across the drive to prolong its lifespan.
Furthermore, the cost per gigabyte of storage on solid state drives is generally higher than traditional hard drives. This means that if you require a large amount of storage capacity, SSDs can be more expensive. However, the prices of SSDs have been steadily decreasing over the years, making them more accessible for everyday users.
Overall, understanding the fundamentals of solid state drives is crucial for making an informed decision when it comes to replacing or upgrading your storage device. Now that we have covered the basics, let’s move on to the practical aspects of replacing a solid state drive.
Step 1: Gathering the Tools
Before you begin the actual process of replacing a solid state drive, it’s important to gather the necessary tools and equipment. Having the right tools at hand will make the process smoother and more efficient, ensuring a successful installation.
Here are the essential tools you will need:
- Screwdriver: Depending on your computer or laptop model, you may need a Phillips head screwdriver or a Torx screwdriver. Check the documentation or do some research to determine the type and size of screwdriver required.
- Static wrist strap: This optional tool is highly recommended to avoid static discharge that could potentially damage sensitive electronic components. It helps ensure a safe installation process.
- Anti-static mat: Another optional but highly recommended tool, an anti-static mat provides a secure work surface that prevents static electricity buildup.
- Container or small bowl: It’s always a good idea to have a small container or bowl nearby to hold the screws and other small components you remove during the process. This will prevent them from getting lost or misplaced.
While these are the basic tools you’ll need, it’s wise to check the documentation or guides specific to your computer or laptop model. Some devices may have additional requirements or specialized tools, so make sure to gather any additional tools that may be necessary.
Once you have gathered all the required tools and equipment, you are ready to move on to the next step: backing up your data.
Step 2: Backing Up Your Data
Before you embark on the journey of replacing your solid state drive, it’s crucial to back up all your important data. This ensures that no files, documents, or precious memories are lost during the installation process.
Follow these steps to back up your data:
- Select a backup method: There are several ways to back up your data, including using external hard drives, cloud storage services, or even creating a disk image. Choose the method that suits your needs and preferences.
- Identify the important files: Determine which files, folders, or documents you want to back up. This could include personal files, work documents, photos, videos, or any other data that holds value to you.
- Create a backup: Use your chosen backup method to start the backup process. Follow the instructions provided by the backup software or service to ensure a successful backup.
- Verify the backup: Once the backup process is complete, double-check to ensure that all the files you wanted to back up are indeed stored in the backup location. This provides peace of mind and ensures that your data is secure.
- Test the backup: To be absolutely certain that your data is safe, consider restoring a small portion of the backup onto another storage device or computer. This will confirm that the backup process was successful and that the files can be retrieved when needed.
Remember, the backup process is crucial as it mitigates the risk of data loss during the replacement of your solid state drive. Take the time to go through these steps carefully, and once you’re confident that your data is securely backed up, you can move on to the next step: removing the old drive.
Step 3: Removing the Old Drive
Now that you have successfully backed up your data, it’s time to remove the old solid state drive from your computer or laptop. Follow the steps below to ensure a safe and efficient removal:
- Power down your device: Shut down your computer or laptop completely and disconnect it from any power source. This step is essential to prevent any electrical accidents or damage to the system.
- Open the case: If you are using a desktop computer, remove the screws or latches that secure the case. Carefully remove the side panel or cover to gain access to the internal components. If you are working with a laptop, consult the manufacturer’s documentation or search for a guide specific to your model on how to access the internal components.
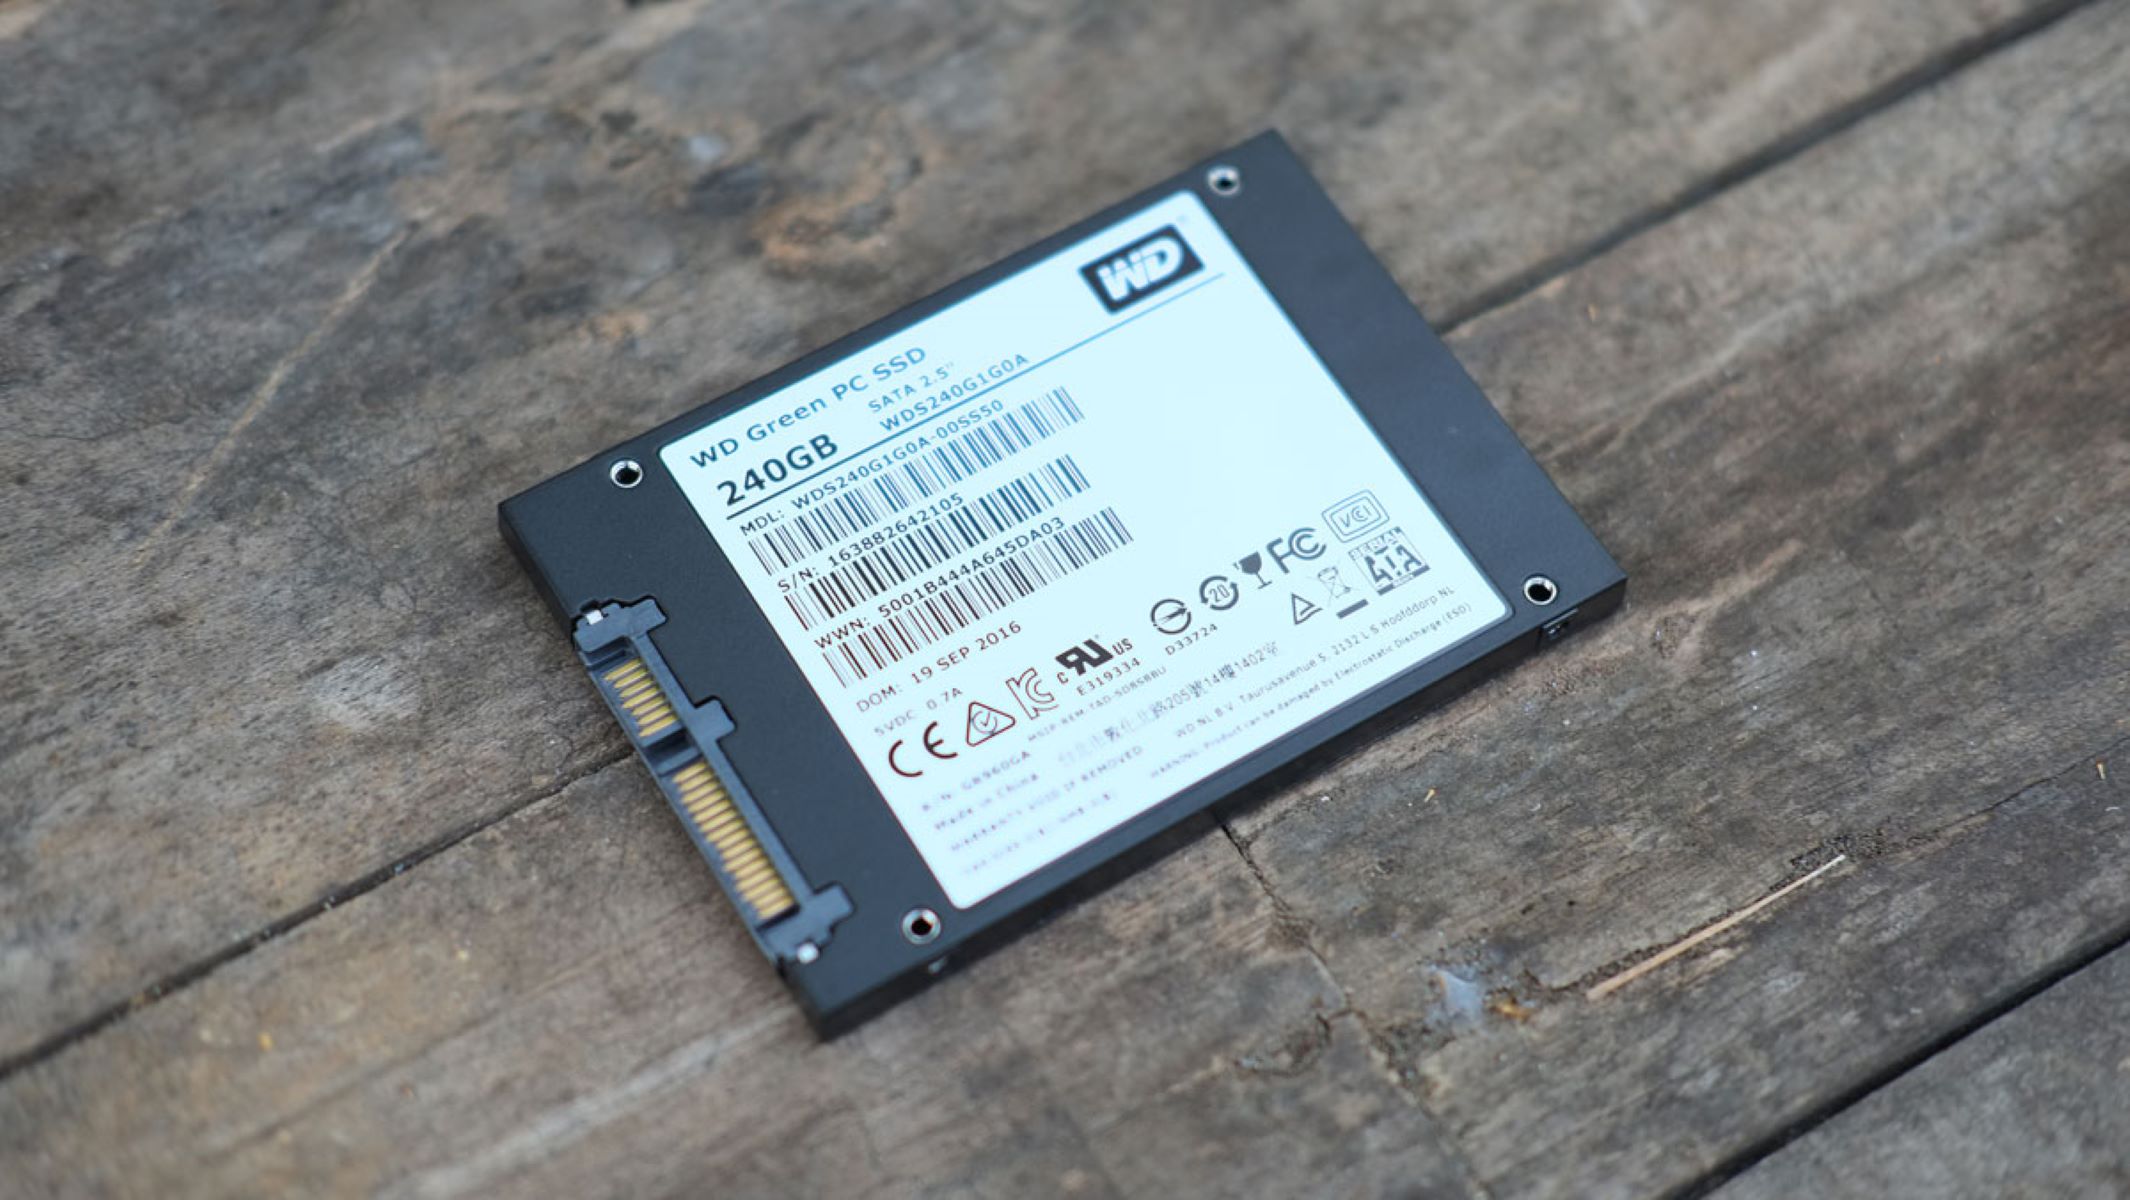
- Locate the old solid state drive: Identify the existing solid state drive inside your computer or laptop. It may be located in a drive bay or secured with screws or brackets. Take note of its position, connections, and any other components attached to it.
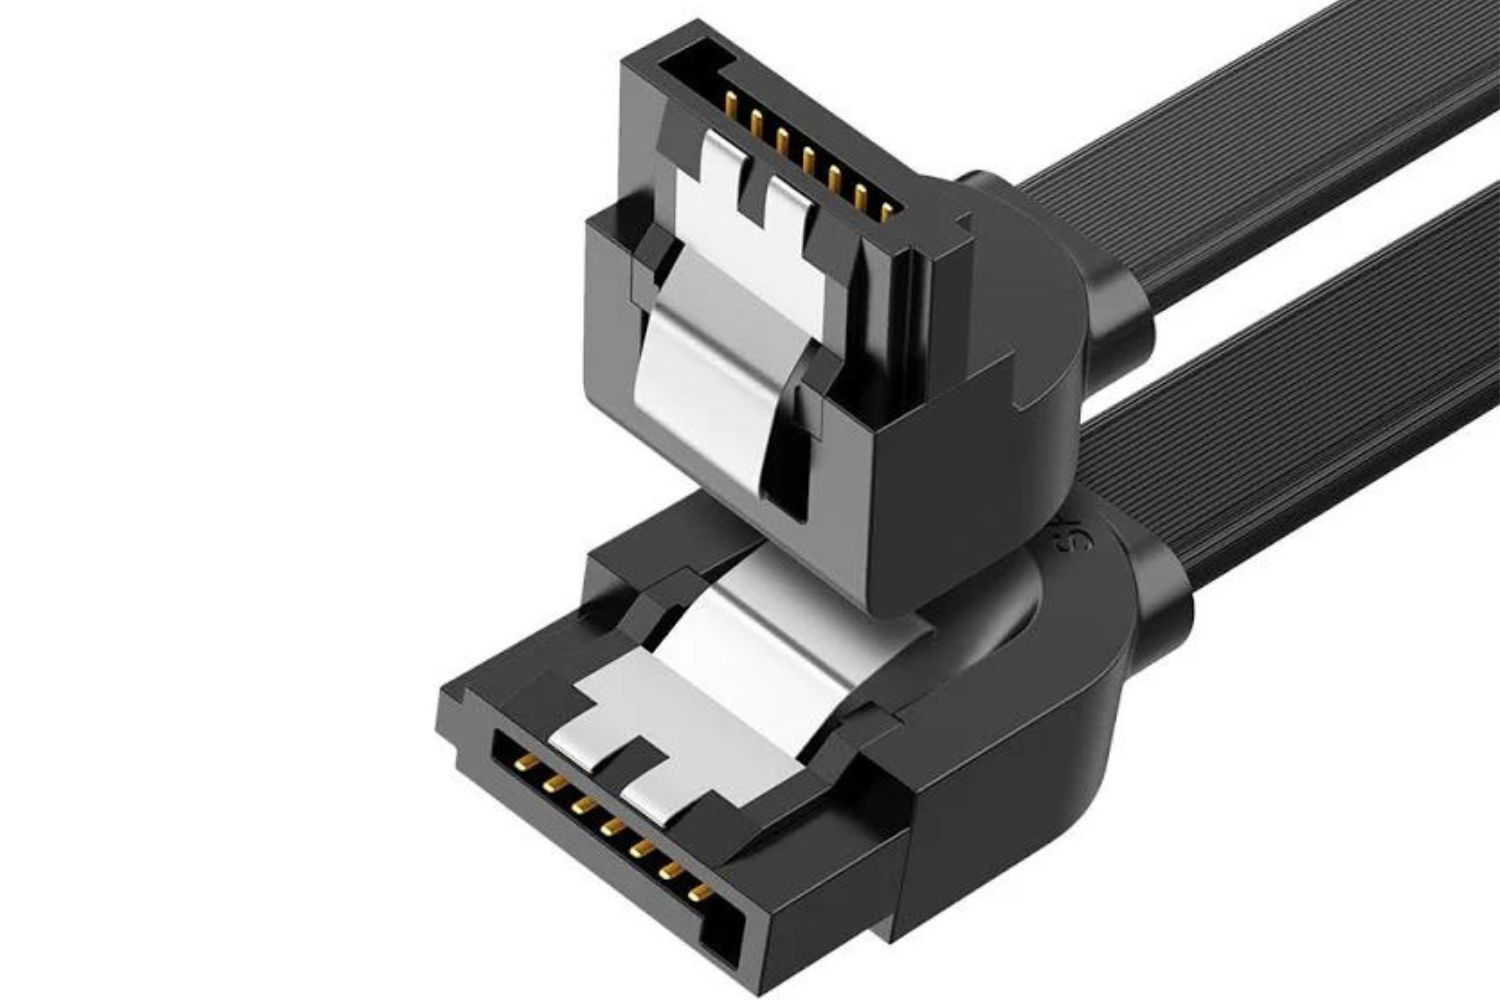
- Disconnect the cables: Gently disconnect the cables connected to the old solid state drive. This may include the SATA data cable and the power cable, depending on your device. Take care to detach them properly to avoid damaging the connectors.
- Remove any mounting brackets: If your old solid state drive is secured with mounting brackets or screws, carefully remove them. Keep track of these components as you may need them later when installing the new drive.
- Slide out or lift the old drive: Once all the cables and brackets are disconnected, gently slide out the old solid state drive from its slot or lift it out, depending on how it is positioned in your device. Take care not to force anything or apply excessive pressure, as this could cause damage.
With the old solid state drive removed, you have completed the third step of the replacement process. Keep the old drive in a safe place, as it may still contain valuable data or serve as a backup in case anything goes wrong during the installation of the new drive. Now, it’s time to move on to installing the new solid state drive.
Step 4: Installing the New Drive
Now that you have successfully removed the old solid state drive, it’s time to install the new one. Follow these steps to ensure a smooth and secure installation:
- Prepare the new solid state drive: Take your new solid state drive out of its packaging and ensure that it is compatible with your computer or laptop. Check the manufacturer’s instructions or documentation to confirm any specific requirements or recommendations.
- Attach any necessary brackets: If your new solid state drive requires mounting brackets, attach them according to the manufacturer’s guidelines. These brackets help secure the drive in place and prevent any unnecessary movement.
- Select an available drive bay: Determine the appropriate drive bay for your new solid state drive. Desktop computers typically have multiple drive bays, while laptops may only have one dedicated slot. Check the documentation or search for guides specific to your device if you are unsure.
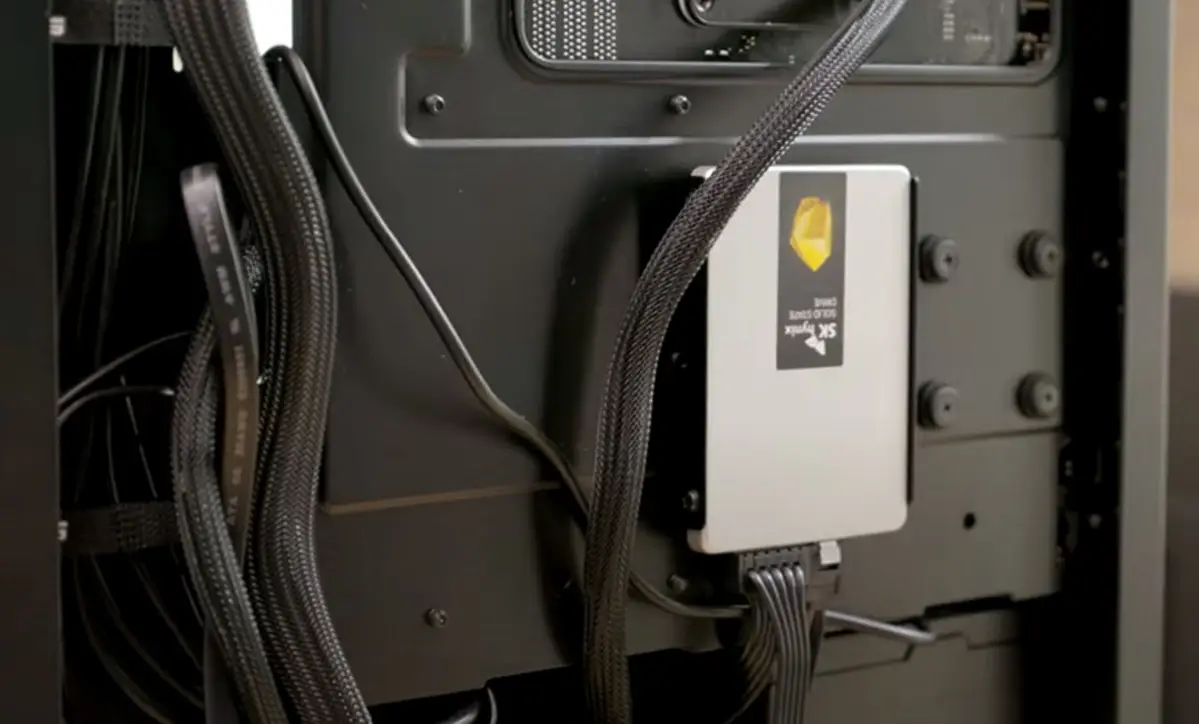
- Insert the new drive: Carefully align the new solid state drive with the drive bay and gently slide it in. Ensure that it is fully seated and properly connected to any available connectors or ports. Apply gentle pressure if required, but avoid forcing it into place.
- Secure the drive: If your new solid state drive requires screws or brackets to secure it in place, carefully attach them. Use the appropriate screws and ensure that they are tightened enough to hold the drive securely, without overtightening and risking damage.
- Connect the cables: Reattach the necessary cables to the new solid state drive. Connect the SATA data cable and the power cable, ensuring they are firmly in place. Double-check the connections to guarantee a secure fit.
With the new solid state drive securely installed, you have completed the fourth step of the replacement process. Now, proceed to the final step: restoring your data.
Step 5: Restoring Your Data
With the new solid state drive successfully installed, it’s now time to restore your data from the backup you created earlier. Follow these steps to complete the final phase of the replacement process:
- Access the backup: Depending on the backup method you used, access your backup storage device or service where your data is stored. Connect external hard drives or access cloud storage accounts, ensuring you have the necessary login credentials.
- Select the files to restore: Identify the files, folders, or documents you want to restore to your new solid state drive. This may include your personal files, work documents, photos, videos, or any other data you backed up earlier.
- Initiate the restoration process: Use your chosen backup method to restore the files to the appropriate location on your new solid state drive. Follow the instructions provided by the backup software or service to ensure a successful restoration.
- Verify the restored data: Once the restoration process is complete, double-check that all the files you intended to restore are now on your new solid state drive. Open a few files to confirm their integrity and ensure that they are accessible without any issues.
- Organize and personalize: Take the opportunity to organize your files and folders on your new solid state drive. Create appropriate directories and move files into them for easy access and management. Customize your settings according to your preferences to optimize your new storage solution.
- Test the functionality: To ensure that everything is working smoothly, test your newly restored files, applications, and settings. Open different programs, access various types of files, and perform basic tasks to check for any possible issues.
With your data successfully restored, you have completed the final step of the solid state drive replacement process. Congratulations! You now have a new, efficient storage solution that can enhance the performance and capabilities of your computer or laptop.
Remember to keep your backup storage device updated regularly, so you always have a current backup of your important data. This ensures that you can easily restore your files in case of any future issues or upgrades.
Enjoy the speed, reliability, and improved performance that your new solid state drive brings to your computing experience!
Conclusion
Replacing a solid state drive can seem like a daunting task, but with the right tools, knowledge, and guidance, it can be a straightforward process. In this guide, we have walked you through the step-by-step process of replacing a solid state drive, from understanding what an SSD is to backing up your data, removing the old drive, installing the new drive, and restoring your data.
By upgrading to a solid state drive, you can enjoy faster data transfer speeds, quicker boot-up times, improved system performance, and increased durability. SSDs have become the go-to choice for storage in modern devices, and with their many benefits, it’s no wonder why.
Remember to gather the necessary tools, such as a screwdriver, static wrist strap, and anti-static mat, before you begin. Additionally, backing up your data is an essential step to ensure that none of your valuable files are lost during the replacement process.
Furthermore, removing the old solid state drive and installing the new one requires care and attention to detail. Always follow the manufacturer’s instructions and make sure to secure the new drive properly to prevent any damage or data loss.
Finally, restoring your data from the backup allows you to seamlessly transition to your new solid state drive. Take the time to verify that all your important files have been successfully restored and organized to ensure a smooth and efficient computing experience.
With the completion of these steps, you can now reap the benefits of a new solid state drive and enjoy the enhanced performance and improved storage capabilities it provides.
Remember, if you ever need assistance during the process, consult the manufacturer’s documentation or seek guidance from a professional to ensure a successful replacement.
Embrace the world of solid state drives and take your computing experience to the next level!