Introduction
Welcome to this guide on how to unlock your Lenovo Thinkpad Ultrabook Windows 10 keyboard. We understand how frustrating it can be when your keyboard becomes locked and you are unable to type or access any of its functionalities. The good news is that there are several methods you can try to unlock your keyboard and restore its full functionality.
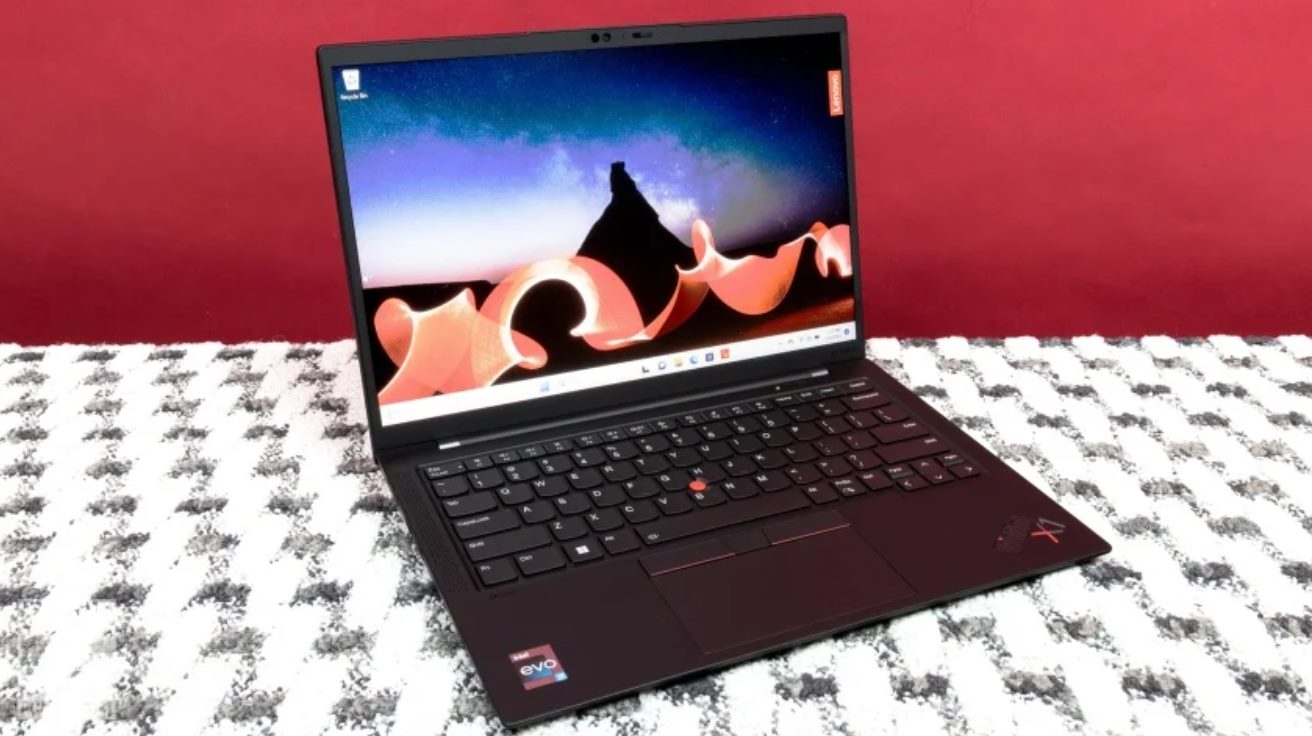
Lenovo Thinkpad Ultrabooks are renowned for their reliability and performance, making them a popular choice among professionals and students alike. However, sometimes, the keyboard can become locked due to various reasons. It can be caused by accidental key combinations, driver issues, or software glitches. Whatever the cause may be, it is essential to know how to unlock your keyboard quickly and efficiently.
In this guide, we will walk you through several methods that can help you unlock your Lenovo Thinkpad Ultrabook keyboard. These methods are easy-to-follow and do not require any advanced technical skills. You can try them one by one until you find the solution that works for you.
Before moving on to the methods, please ensure that your Lenovo Thinkpad Ultrabook is powered on and functioning. Also, be sure to check if there are any external devices connected to your laptop that might interfere with the keyboard functionality.
Now, let”s dive into the various methods that can help you unlock your Lenovo Thinkpad Ultrabook keyboard and get you back to typing without any hassle.
Why is my Lenovo Thinkpad Ultrabook keyboard locked?
If you find that your Lenovo Thinkpad Ultrabook keyboard is locked, it’s important to understand the potential causes behind this issue. By identifying the root cause, you can effectively troubleshoot and resolve the problem. Here are some possible reasons why your keyboard may be locked:
Accidental key combination: One common reason for a locked keyboard is accidentally pressing specific key combinations that activate the keyboard lock function. This can happen when you unknowingly press the Fn key along with other keys on your keyboard. This locks the keyboard and disables your ability to type.
Driver issues: Outdated, incompatible, or corrupt keyboard drivers can also cause your Lenovo Thinkpad Ultrabook keyboard to become locked. Drivers are responsible for facilitating communication between the keyboard hardware and the operating system. If there is an issue with the driver, it can lead to keyboard lock problems.
Software glitches: Sometimes, software glitches or conflicts can occur within the operating system or specific applications, causing the keyboard to lock. These glitches can be temporary and usually resolve themselves after a system restart or troubleshooting steps.
Filter Keys enabled: Filter Keys is a Windows accessibility feature that can be enabled to ignore brief or repeated keystrokes. However, if Filter Keys is accidentally enabled, it can make your keyboard appear locked or cause delays in keystrokes. Disabling this feature may resolve the issue.
Hardware malfunction: In rare cases, a hardware malfunction or physical damage to the keyboard itself may be the cause of the lock. This can happen due to liquid spills, excessive dust accumulation, or mechanical issues with the keyboard components.
Now that you have a better understanding of why your Lenovo Thinkpad Ultrabook keyboard may be locked, let’s explore the methods to unlock it and get you back to typing smoothly.
Method 1: Check the keyboard lock key
Before diving into more complex troubleshooting methods, it’s important to check if you accidentally activated the keyboard lock function on your Lenovo Thinkpad Ultrabook. Many laptops have a dedicated key or key combination that can lock or unlock the keyboard. Here’s what you can do:
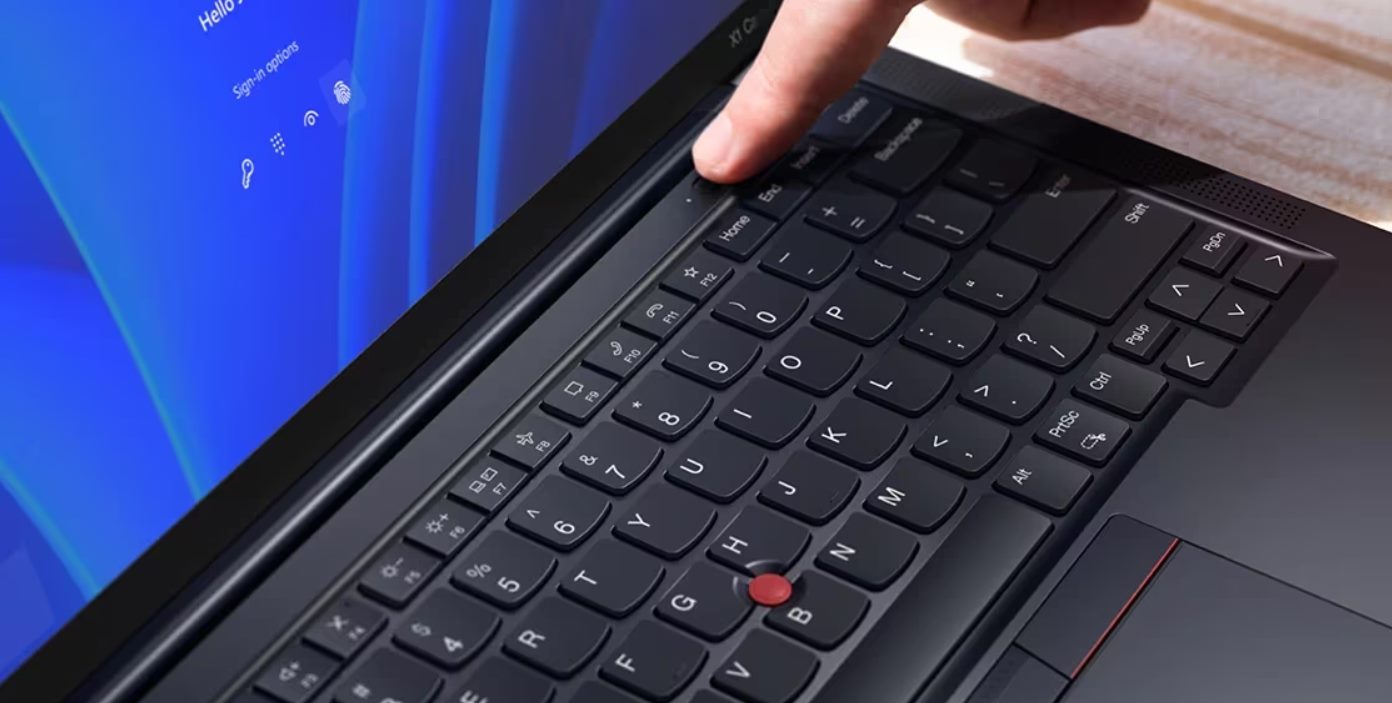
1. Look closely at your keyboard for any keys with lock symbols or icons. Common lock symbols include a padlock or a keyboard-shaped lock. These symbols are often printed on function keys (F1, F2, etc.) or the Escape (Esc) key.
2. If you find a key with a lock symbol, press it once to toggle the lock status. Some laptops require you to hold the Fn key along with the lock key, so be sure to try different combinations if a single key press doesn’t work.
3. After pressing the key, check if your keyboard is now unlocked. Try typing on a text document or any other application to verify if the issue is resolved.
4. If your keyboard remains locked, try pressing the key combination again to see if it unlocks. In some cases, the keyboard lock function may require multiple key presses to toggle.
5. If none of the keys with lock symbols unlock your keyboard, proceed to the next troubleshooting method.
Checking the keyboard lock key is the first step in resolving keyboard lock issues on your Lenovo Thinkpad Ultrabook. It is a simple and quick method that can potentially solve the problem without any further troubleshooting. If this method doesn’t unlock your keyboard, don’t worry – there are still several other methods we can try.
Method 2: Restart your Lenovo Thinkpad Ultrabook
If your Lenovo Thinkpad Ultrabook keyboard is still locked after trying Method 1, a simple restart of your device can often resolve the issue. Restarting your laptop can help refresh the system and clear any temporary glitches that may be causing the keyboard lock. Here’s how you can do it:
1. Save any unsaved work and close all open applications.
2. Click on the “Start” button in the bottom left corner of your screen.
3. Select “Restart” from the power options menu that appears. Alternatively, you can also press the Windows key + X and choose “Restart” from the list.
4. Wait for your Lenovo Thinkpad Ultrabook to shut down and restart.
5. Once your device has fully restarted, test if the keyboard lock issue is resolved by typing on a text document or any other application.
If your keyboard is still locked after restarting, proceed to the next troubleshooting method.
Restarting your Lenovo Thinkpad Ultrabook is a quick and straightforward method that can often fix minor software or system-related issues. It allows the operating system to start fresh and can clear any temporary glitches that might be causing the keyboard lock. Give it a try before moving on to the next method.
Method 3: Update keyboard drivers
If your Lenovo Thinkpad Ultrabook keyboard is still locked, outdated or incompatible keyboard drivers could be the culprit. Updating the keyboard drivers can help resolve compatibility issues and ensure smooth communication between your keyboard and the operating system. Here’s how you can update your keyboard drivers:
1. Press the Windows key + X on your keyboard and select “Device Manager” from the list of options.
2. In the Device Manager window, expand the “Keyboards” category to view the list of installed keyboards.
3. Right-click on the keyboard driver and select “Update driver” from the context menu. Alternatively, you can also double-click on the keyboard driver to open its properties and select the “Driver” tab, then click on the “Update driver” button.
4. Choose the option to automatically search for updated driver software. Windows will then search online for any available updates for your keyboard driver.
5. If any updates are found, follow the on-screen instructions to download and install them. It may take a few minutes to complete the driver update process.
6. After the driver update is complete, restart your Lenovo Thinkpad Ultrabook to apply the changes.
7. Test to see if the keyboard lock issue is resolved by typing on a text document or any other application.
If updating the keyboard drivers doesn’t unlock your keyboard, proceed to the next troubleshooting method.
Updating the keyboard drivers is an important step in troubleshooting keyboard lock issues. Newer drivers can fix bugs, improve compatibility, and enhance overall performance. By ensuring that you have the latest keyboard drivers installed, you increase the chances of resolving the keyboard lock problem on your Lenovo Thinkpad Ultrabook.
Method 4: Disable Filter Keys
Filter Keys is a Windows accessibility feature designed to ignore brief or repeated keystrokes. While it can be helpful for some users, it can also cause the keyboard to appear locked or delay keystrokes. Disabling Filter Keys can often resolve keyboard lock issues on your Lenovo Thinkpad Ultrabook. Here’s how you can disable it:
1. Press the Windows key + I on your keyboard to open the Windows Settings.
2. Click on “Ease of Access” to access the accessibility settings.
3. In the left-hand menu, select the “Keyboard” option.
4. Scroll down on the right-hand side until you find the “Filter Keys” section.
5. Toggle the switch for “Ignore brief or repeated keystrokes” to Off.
6. Close the Settings window.
Now, test if the keyboard lock issue is resolved by typing on a text document or any other application.
If disabling Filter Keys doesn’t unlock your keyboard, move on to the next troubleshooting method.
Disabling Filter Keys can help resolve keyboard lock issues caused by delays or restrictions in keystrokes. By turning off this accessibility feature, you regain full control over your Lenovo Thinkpad Ultrabook keyboard and eliminate any potential hindrances that may have been causing the keyboard lock. Give it a try before proceeding to the next method.
Method 5: Run the Keyboard Troubleshooter
If you’re still facing issues with a locked keyboard on your Lenovo Thinkpad Ultrabook, running the Keyboard Troubleshooter can help identify and resolve any underlying problems. This built-in Windows tool can automatically detect and fix common keyboard-related issues. Follow these steps to run the Keyboard Troubleshooter:
1. Press the Windows key + I on your keyboard to open the Windows Settings.
2. Click on “Update & Security” to access the update and security settings.
3. In the left-hand menu, select the “Troubleshoot” option.
4. Scroll down on the right-hand side and click on “Keyboard.”
5. Click on the “Run the troubleshooter” button and follow the on-screen instructions.
The Keyboard Troubleshooter will now scan your system for any keyboard-related issues and attempt to fix them automatically.
Once the troubleshooting process is complete, restart your Lenovo Thinkpad Ultrabook and check if the keyboard lock problem is resolved.
If the Keyboard Troubleshooter doesn’t unlock your keyboard, proceed to the next troubleshooting method.
The Keyboard Troubleshooter is a helpful tool that can identify and resolve common keyboard issues. By running this troubleshooter, you allow Windows to automatically detect and fix any underlying problems with your Lenovo Thinkpad Ultrabook keyboard. Try it out before moving on to the next method.
Method 6: Reinstall the keyboard driver
If the previous methods didn’t resolve the keyboard lock issue on your Lenovo Thinkpad Ultrabook, reinstalling the keyboard driver can be an effective solution. This process involves uninstalling the current keyboard driver and allowing Windows to automatically reinstall it. Follow these steps to reinstall the keyboard driver:
1. Press the Windows key + X on your keyboard and select “Device Manager” from the list of options.
2. In the Device Manager window, expand the “Keyboards” category to view the list of installed keyboards.
3. Right-click on the keyboard driver and select “Uninstall device” from the context menu. Confirm the action if prompted.
4. After the driver is uninstalled, restart your Lenovo Thinkpad Ultrabook.
5. Upon restarting, Windows will automatically detect and install the generic keyboard driver.
6. Test if the keyboard lock issue is resolved by typing on a text document or any other application.
If reinstalling the keyboard driver doesn’t unlock your keyboard, proceed to the next troubleshooting method.
Reinstalling the keyboard driver can help resolve any issues with the current driver installation by starting fresh with a default driver. This process can resolve conflicts or corruption that may have been causing the keyboard lock on your Lenovo Thinkpad Ultrabook. Give it a try before moving on to the next method.
Method 7: Perform a System Restore
If you’re still unable to unlock the keyboard on your Lenovo Thinkpad Ultrabook, performing a System Restore can help revert your system settings to a previous point in time when the keyboard was functioning properly. This method is particularly useful if you recently installed new software or made system changes that may have caused the keyboard lock. Here’s how you can perform a System Restore:
1. Press the Windows key + R on your keyboard to open the Run dialog box.
2. Type “rstrui.exe” and hit Enter to open the System Restore window.
3. Click on “Next” to proceed with the restoration process.
4. Select a restore point that predates the occurrence of the keyboard lock issue. You can choose a restore point based on the date and description provided.
5. Follow the on-screen instructions to complete the System Restore process. This may take some time, and your computer will restart during the process.
6. After the System Restore is complete, test your Lenovo Thinkpad Ultrabook keyboard to check if it is unlocked.
If a System Restore doesn’t resolve the keyboard lock problem, proceed to the final troubleshooting method.
Performing a System Restore allows you to revert your system back to a previous state where the keyboard was working correctly. It can help undo any recent changes that may have caused the keyboard lock on your Lenovo Thinkpad Ultrabook. Give it a try before considering the final method.
Method 8: Contact Lenovo Support
If all previous methods have been unsuccessful in unlocking the keyboard on your Lenovo Thinkpad Ultrabook, it may be time to reach out to Lenovo Support for further assistance. Lenovo’s dedicated support team has the expertise to diagnose and address complex hardware or software issues that could be causing the keyboard lock problem. Here’s how you can get in touch with Lenovo Support:
1. Visit the Lenovo Support website and navigate to the appropriate support section for your region.
2. Look for the “Contact Us” or “Support” page, which will provide options for reaching out to Lenovo’s support team.
3. Depending on your preference, you can choose to contact Lenovo Support via phone, email, or through their online chat platform.
4. When contacting Lenovo Support, be prepared to provide details about your Lenovo Thinkpad Ultrabook model, the specific issue you are facing with the keyboard lock, and any relevant troubleshooting steps you have already attempted.
5. Lenovo Support will guide you through additional troubleshooting steps or recommend further actions based on your specific situation. They may also advise you to bring your Lenovo Thinkpad Ultrabook to an authorized service center if necessary.
Remember to be patient and cooperative when communicating with Lenovo Support. They are there to assist you and provide the best possible solution to your keyboard lock problem.
Contacting Lenovo Support can give you access to professional assistance and ensure that your Lenovo Thinkpad Ultrabook keyboard lock issue is addressed in the most appropriate manner.
By following the methods mentioned in this guide and seeking help from Lenovo Support if needed, you can hopefully unlock your Lenovo Thinkpad Ultrabook keyboard and regain full functionality once again.