Introduction
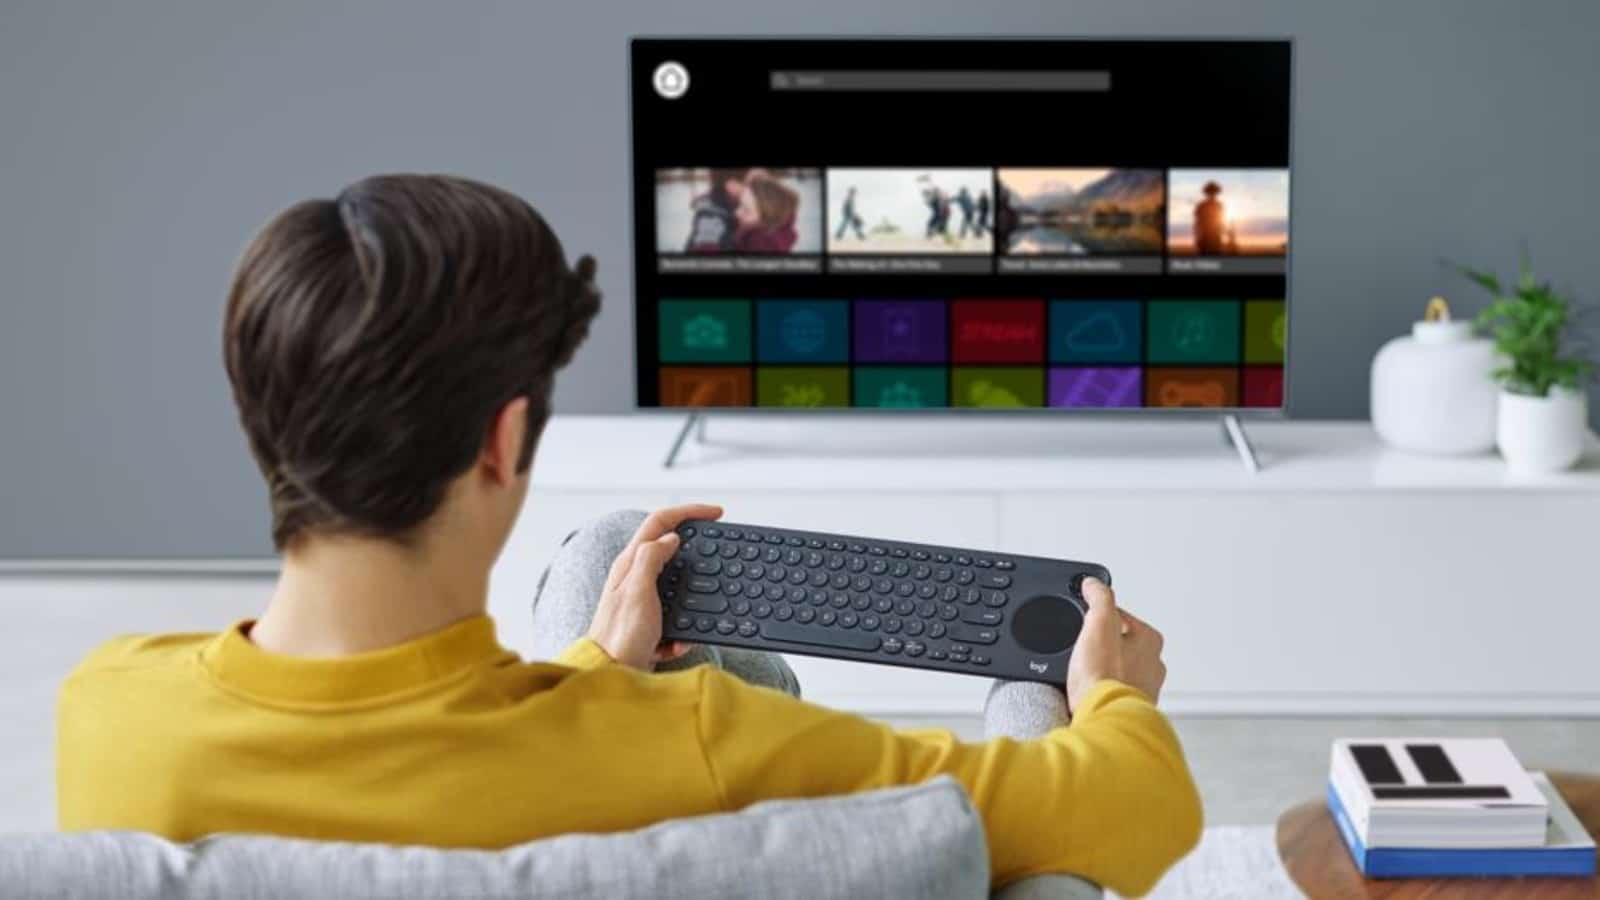
Having a Samsung Smart TV is a fantastic way to enjoy a wide range of entertainment options right from the comfort of your own living room. However, if you want to take your viewing experience to the next level, you may be wondering how to make your Samsung Smart TV wireless. By connecting your TV to your home Wi-Fi network, you can unlock a world of streaming services, apps, and online content without the need for any additional cables or devices.
Ensuring that your Samsung Smart TV is wireless requires a straightforward setup process that can be completed in just a few steps. In this guide, we will walk you through each step, from checking if your TV has built-in Wi-Fi to troubleshooting any connectivity issues that may arise.
Whether you want to stream your favorite shows and movies, enjoy online gaming, or access a whole host of other Smart TV features, establishing a wireless connection is essential. So, let’s dive in and learn exactly how to make your Samsung Smart TV wireless and elevate your entertainment experience.
Step 1: Check for built-in Wi-Fi
The first step in making your Samsung Smart TV wireless is to determine whether your TV has built-in Wi-Fi capabilities. Most Samsung Smart TVs manufactured in recent years come with built-in Wi-Fi, allowing you to connect directly to your home network without the need for additional hardware.
To check if your TV has built-in Wi-Fi, start by accessing the TV’s Settings menu. You can typically find the Settings icon on the main screen or by pressing the Menu button on your remote control. Navigate through the menu options until you find the Network or Network Settings section.
Within the Network settings, you should see an option for Wireless or Wi-Fi. Select this option to see if your TV detects your home Wi-Fi network. If you see your network listed, it means your TV has built-in Wi-Fi capabilities and can be easily connected wirelessly. If you don’t see a Wi-Fi option or your network is not listed, it likely means that your TV does not have built-in Wi-Fi and you will need to explore alternative options.
If you determine that your Samsung Smart TV does not have built-in Wi-Fi, don’t worry. Many Samsung Smart TVs can still be made wireless by using an external wireless adapter. These adapters can be purchased separately and connected to your TV via the USB or Ethernet port, allowing you to enjoy wireless connectivity.
Once you have confirmed that your Samsung Smart TV has built-in Wi-Fi or have obtained an external wireless adapter, you are ready to proceed to the next step. In the following section, we will guide you through the process of connecting your TV to your home Wi-Fi network.
Step 2: Connect to your Wi-Fi network
Now that you have confirmed that your Samsung Smart TV has built-in Wi-Fi or have obtained an external wireless adapter, it’s time to connect your TV to your home Wi-Fi network. Follow these steps to establish a wireless connection:
- Access the Network settings: Start by accessing the TV’s Settings menu. Look for the Settings icon on the main screen or press the Menu button on your remote control. Navigate through the menu options and find the Network or Network Settings section.
- Select Wi-Fi: Once in the Network settings, look for the Wi-Fi or Wireless option. Choose this option to activate the Wi-Fi connection on your TV.
- Scan for available networks: Your TV will display a list of available Wi-Fi networks in your vicinity. Select your home Wi-Fi network from the list. If your network is hidden, you may need to manually enter the network name (SSID) and password.
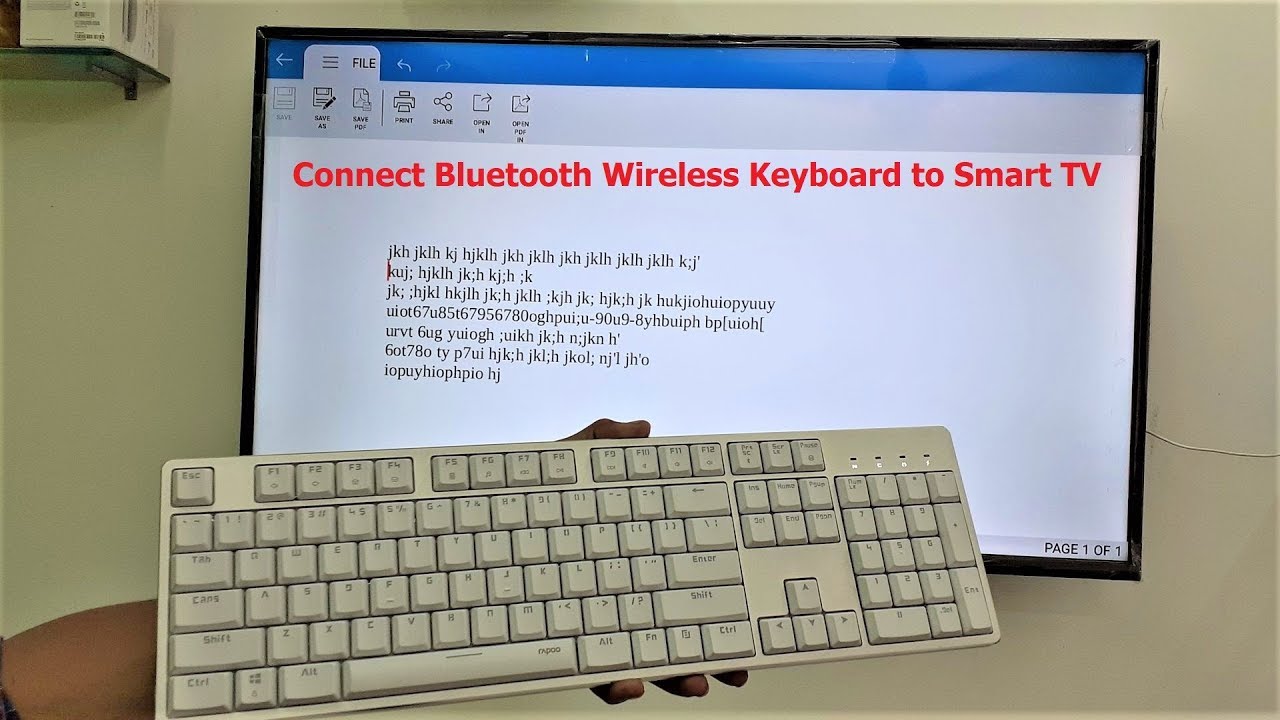
- Enter the Wi-Fi password: If your Wi-Fi network is password protected, you will be prompted to enter the network password. Use the remote control to navigate the on-screen keyboard and input the password correctly. Take note that the password is case sensitive, so ensure your inputs match the password exactly.
- Connect to the network: Once you have entered the Wi-Fi password, select the “Connect” or “OK” button on the screen. Your TV will attempt to establish a connection to the selected Wi-Fi network. It may take a moment for the connection to be established.
After following these steps, your Samsung Smart TV should now be successfully connected to your Wi-Fi network. You may see a confirmation message indicating that the connection was successful. You can verify the connection by accessing various online services or streaming apps available on your Smart TV. Enjoy the convenience and freedom of wirelessly accessing a world of entertainment and information right from your Samsung Smart TV!
Step 3: Troubleshoot connectivity issues
While connecting your Samsung Smart TV to your Wi-Fi network may go smoothly, there can be instances where you encounter connectivity issues. Here are some troubleshooting tips to help resolve common connectivity problems:
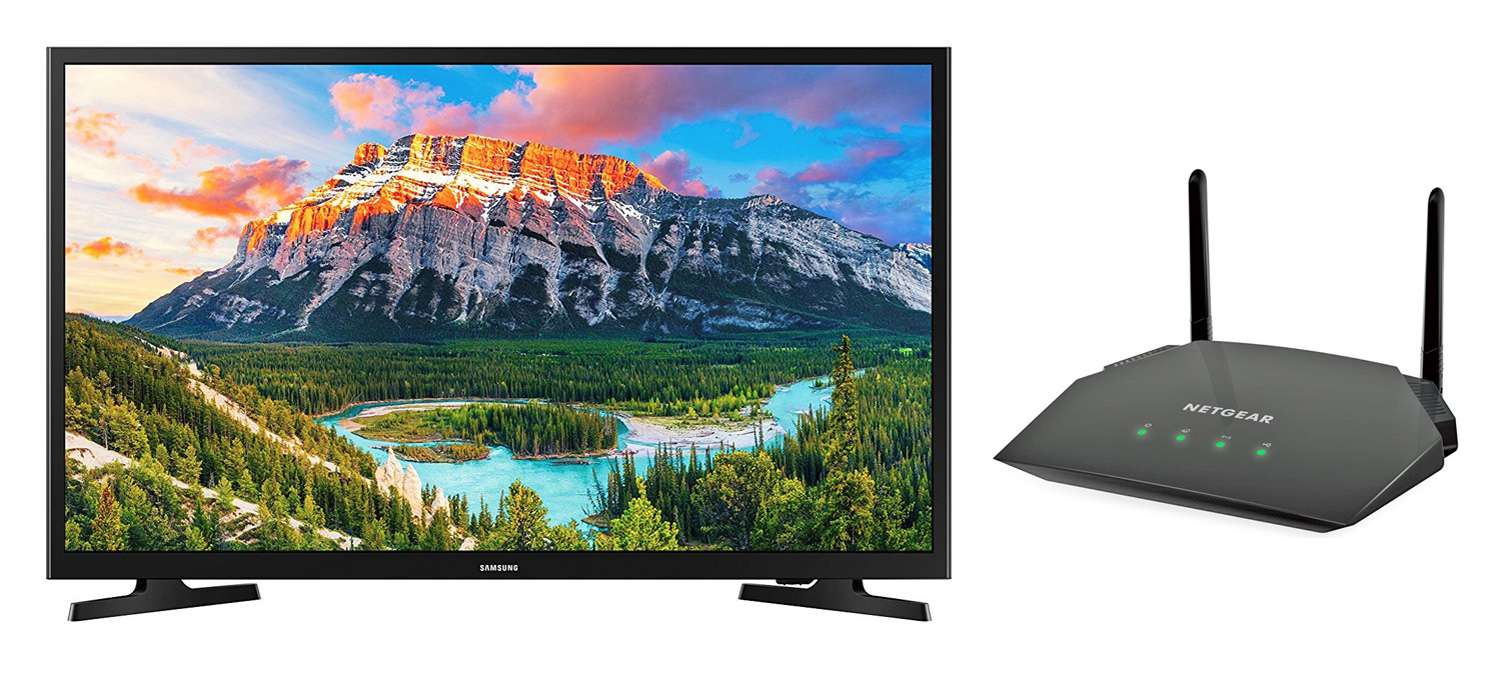
1. Restart your TV and router: Sometimes, a simple restart can fix connectivity issues. Power off your TV and router by unplugging them from the power source. Wait for a few minutes, then plug them back in and power them on. This process helps refresh the network connection and can resolve temporary glitches.
2. Check your Wi-Fi signal strength: A weak Wi-Fi signal can cause connection problems. Ensure that your TV is within range of your Wi-Fi router, preferably in the same room. If possible, move your router closer to your TV to improve the signal strength. Avoid obstacles like walls or other electronic devices that may interfere with the signal.
3. Update your TV’s software: Outdated firmware can sometimes cause Wi-Fi connectivity issues. Check for any available software updates for your Samsung Smart TV. Access the TV’s Settings menu and navigate to the Support or System Update section. Follow the instructions to update the software if an update is available.
4. Double-check the Wi-Fi password: If your TV is unable to connect to your Wi-Fi network, verify that you have entered the correct password. Ensure that the password is accurate and free from any typos or mistakes. You can also try forgetting the network on your TV and re-entering the password to establish a fresh connection.
5. Reset network settings: If all else fails, you can try resetting the network settings on your TV. Access the Network settings menu and look for the option to reset or delete network settings. Keep in mind that this will remove all saved Wi-Fi networks, and you will need to set up the connection again from scratch.
By following these troubleshooting steps, you can often resolve connectivity issues and get your Samsung Smart TV connected to your Wi-Fi network. If you continue to experience problems, it may be worth contacting Samsung support or your internet service provider for further assistance.
Step 4: Set up a wireless adapter (if applicable)
If your Samsung Smart TV does not have built-in Wi-Fi capabilities, you can still make it wireless by using an external wireless adapter. Follow these steps to set up a wireless adapter:
- Purchase a compatible wireless adapter: Before starting the setup process, ensure that you have a wireless adapter that is compatible with your Samsung Smart TV model. You can find this information in your TV’s user manual or by checking the manufacturer’s website.
- Locate the USB or Ethernet port: Look for the USB or Ethernet port on your TV. The USB port is typically located on the side or back panel of the TV, while the Ethernet port is commonly found on the back. Different models may have different port locations, so refer to your TV’s user manual for specific details.
- Connect the wireless adapter: Connect the wireless adapter to the USB or Ethernet port on your TV. Ensure that the connection is secure and that the adapter is properly inserted. If using an Ethernet adapter, connect one end of the Ethernet cable to the adapter and the other end to your router.
- Power on the TV: Turn on your Samsung Smart TV and wait for it to recognize the wireless adapter. The TV should detect the adapter and prompt you to set up the wireless connection.
- Follow on-screen instructions: Once prompted, carefully follow the instructions displayed on your TV screen to configure the wireless adapter. You may be asked to select your Wi-Fi network from a list, enter the Wi-Fi password, or adjust other settings specific to the adapter.
- Complete the setup process: After completing the necessary steps, your Samsung Smart TV should be connected to your Wi-Fi network via the wireless adapter. You can verify the connection by accessing online services, apps, or streaming platforms on your TV.
Setting up a wireless adapter allows you to enjoy the convenience of wireless connectivity on your Samsung Smart TV, even if it doesn’t have built-in Wi-Fi. With the wireless adapter in place, you can access a world of entertainment, stream movies and shows, play online games, and enjoy other Smart TV features without the need for cables or additional devices.
Step 5: Enjoy wireless streaming on your Smart TV
Now that you have successfully connected your Samsung Smart TV to your Wi-Fi network, it’s time to sit back, relax, and enjoy the benefits of wireless streaming. Here’s how you can make the most of your newly wireless Smart TV:
1. Explore streaming services: Take advantage of the wide range of streaming services available on your Samsung Smart TV. From popular platforms like Netflix, Hulu, and Amazon Prime Video to specialized apps for sports, news, and more, you’ll have an endless selection of content to enjoy.
2. Download apps: Browse the app store on your Smart TV to discover and download apps that cater to your interests. Whether you’re into fitness, cooking, gaming, or any other niche, there’s likely an app that will enhance your entertainment experience.
3. Stream from your mobile devices: Many Samsung Smart TVs support screen mirroring or allow you to connect your mobile devices wirelessly. Take advantage of this feature to stream photos, videos, or music directly from your smartphone or tablet to your TV’s larger screen.
4. Play online games: If you’re a gaming enthusiast, explore the selection of online games available on your Smart TV. Many Smart TVs offer gaming apps and allow you to connect external gaming controllers for a more immersive gaming experience.
5. Stay updated with news and weather: Access news apps and weather widgets on your Smart TV to stay informed about current events and weather forecasts without needing to switch on your computer or smartphone.
6. Customize your settings: Take a moment to explore the various settings and features on your Samsung Smart TV. Adjust picture and audio settings, enable parental controls, or set up personalized profiles for different members of your household.
By fully utilizing the features and capabilities of your wireless Samsung Smart TV, you can transform your entertainment experience. With wireless streaming, you have the freedom to access a wide range of content right from your living room, all without the hassle of additional cables or devices.
Remember to regularly check for software updates for your Smart TV to ensure you have the latest features and security enhancements. So grab the remote control, settle into your favorite spot, and immerse yourself in the world of wireless entertainment with your Samsung Smart TV.
Conclusion
Making your Samsung Smart TV wireless is a simple and effective way to enhance your entertainment experience. Whether your TV has built-in Wi-Fi capabilities or requires an external wireless adapter, the steps outlined in this guide have provided you with the knowledge to establish a wireless connection and enjoy a variety of streaming options, online services, and apps without the need for cables.
By checking if your TV has built-in Wi-Fi, connecting to your home Wi-Fi network, troubleshooting any connectivity issues, setting up a wireless adapter (if applicable), and exploring the possibilities of wireless streaming, you have unlocked a world of entertainment at your fingertips.
Remember to keep your Smart TV’s software up to date, as this ensures you have the latest features and improvements. Additionally, optimizing your Wi-Fi signal strength and properly configuring your network settings will help maintain a seamless and reliable wireless connection.
With wireless streaming on your Samsung Smart TV, you can relax and enjoy your favorite movies, shows, games, and more from the comfort of your living room. So sit back, grab the remote control, and let your wireless Smart TV take your entertainment experience to new heights.