Introduction
If you’re a gaming enthusiast, chances are you’ve heard of the Nintendo Wii. Known for its innovative motion controls and family-friendly games, the Wii has captured the hearts of gamers young and old. If you’ve recently purchased a C7P OLED TV and are wondering how to hook up your Wii using the component hook-up option, you’re in the right place. In this article, we will guide you through the step-by-step process of connecting your Wii to your C7P OLED TV using component cables.
The component hook-up option provides a high-quality video connection that allows you to experience the vibrant colors and sharp images that the C7P OLED TV is known for. With the added benefit of backward compatibility, you can dust off your Wii console and enjoy your favorite games on the big screen.
Whether you’re setting up your Wii for the first time or looking to upgrade your gaming experience, this guide will walk you through the process in a clear and concise manner. We’ll cover everything from gathering the necessary components to configuring the settings on your Wii and TV.
So, grab your Wii console and let’s dive into the world of gaming on your C7P OLED TV. By the end of this guide, you’ll be able to enjoy a seamless gaming experience with stunning visuals and immersive gameplay. Let’s get started!
Step 1: Gather the necessary components
Before you can hook up your Wii using the component hook-up option on your C7P OLED TV, you’ll need to gather a few essential components. Here’s what you’ll need:
- Wii console: This is the main gaming unit that you’ll be connecting to your TV.
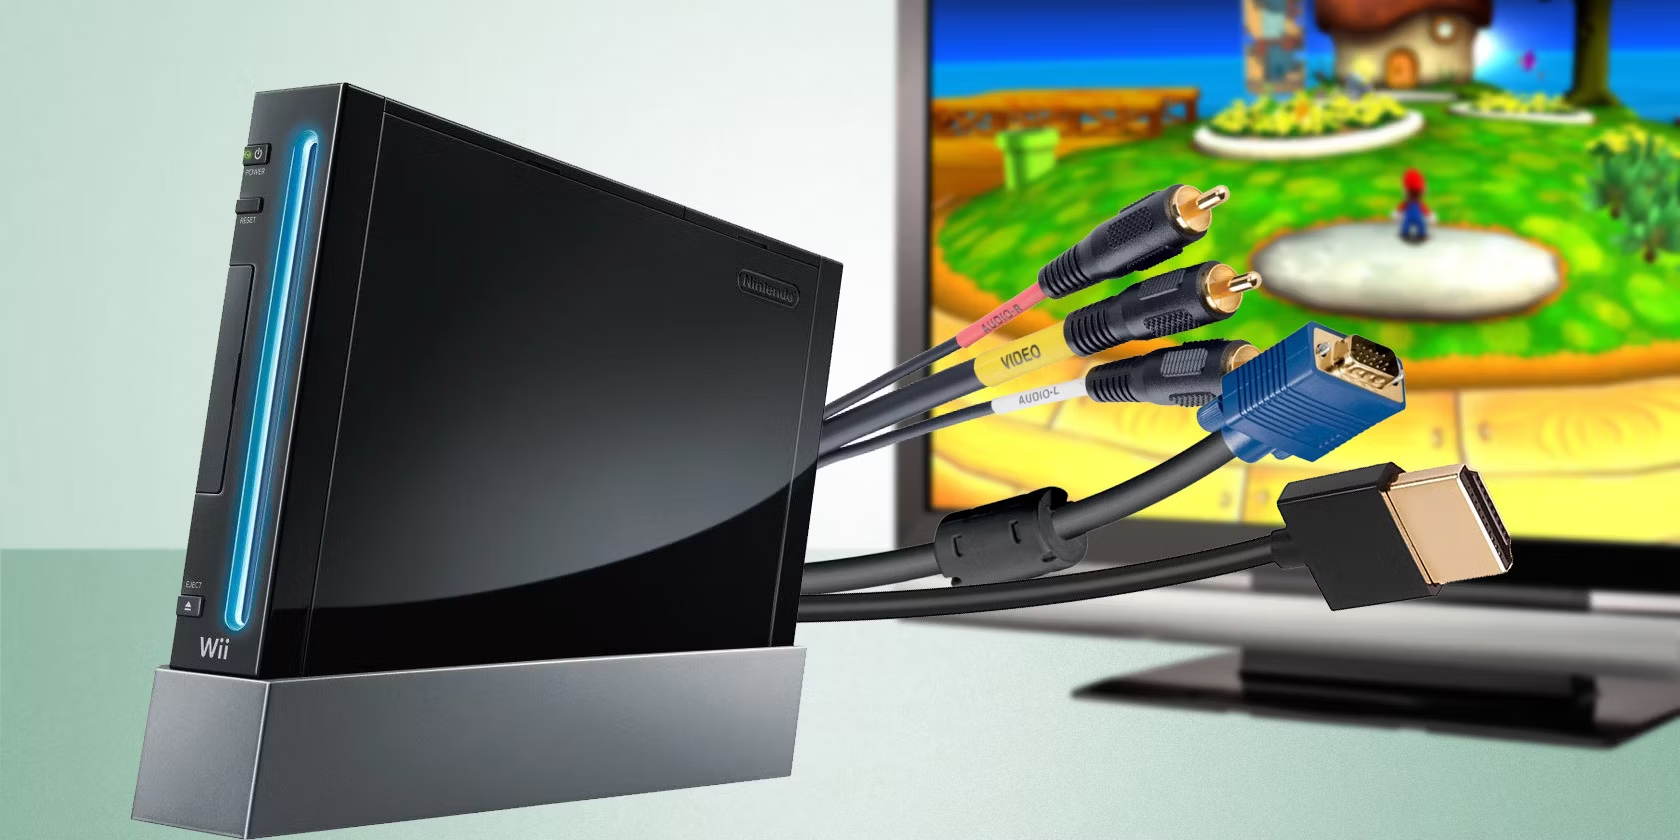
- Component cables: The Wii comes with a composite cable by default, but for optimal video quality, it’s best to use component cables. These cables are color-coded and consist of three video connectors (red, blue, and green) and two audio connectors (red and white).
- Audio cables (optional): If your component cables do not have audio connectors, you’ll need separate audio cables to transmit the sound from your Wii to your TV or external speakers. These cables usually have red and white connectors, corresponding to the left and right audio channels.
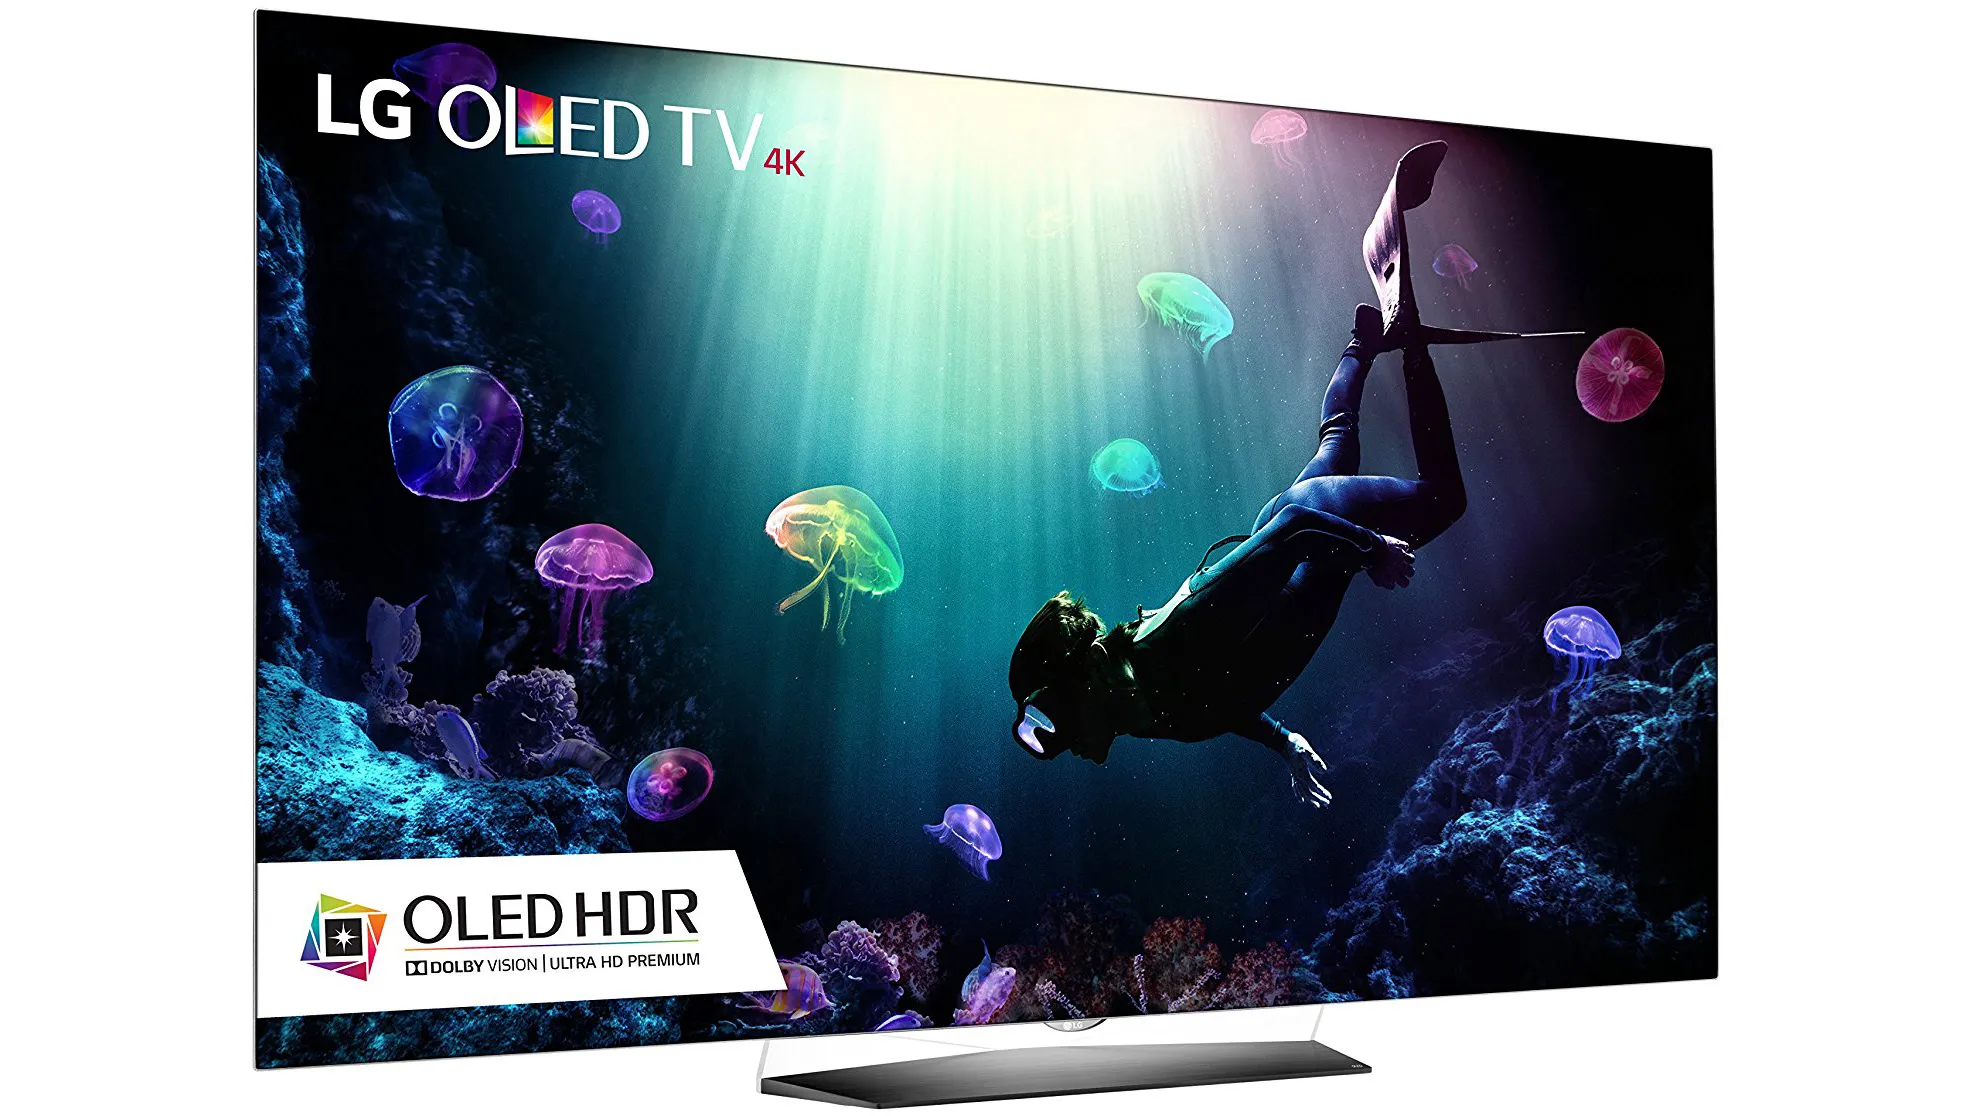
- C7P OLED TV: Of course, you’ll need your C7P OLED TV ready to connect your Wii and enjoy the gaming experience on the big screen.
Before proceeding to the next step, make sure you have all the necessary components readily available. This will ensure a smooth and hassle-free setup process. Once you have everything, it’s time to move on to connecting the component cables.
Remember to handle the cables with care, ensuring that they are not tangled or twisted. This will help to avoid any signal interference and maintain the quality of the video and audio output. With the necessary components in hand, you’re now ready to move on to the next step: connecting the component cables to your Wii and C7P OLED TV.
Step 2: Connect the component cables
Now that you have gathered all the necessary components, it’s time to connect the component cables to your Wii and C7P OLED TV. Follow these steps to ensure a proper connection:
- Locate the AV Multi Out port on the back of your Wii console. This is where you will plug in the component cables. It is a rectangular port with multiple small holes.
- Take the component cables and identify the three video connectors – red, blue, and green. Insert these connectors into the corresponding color-coded video input ports on your C7P OLED TV. These ports are usually labeled “Component In” or “Y/Pb/Pr.”
- If your component cables have separate audio connectors (red and white), plug them into the matching audio input ports on your C7P OLED TV. These ports are usually labeled “Audio In” or “L/R.”
- Ensure that each connector is securely plugged in. You should feel a slight click when the connectors are properly inserted.
Once you have connected the component cables, take a moment to double-check that all connections are secure and properly aligned. This will help prevent any video or audio signal disruptions during gameplay.
It’s worth noting that the component cables transmit analog signals, so they do not support high-definition (HD) video. However, they still provide a significantly better picture quality compared to the default composite cables. If you’re looking for a high-quality video connection for your Wii, consider upgrading to component cables.
With the component cables securely connected to your Wii and C7P OLED TV, you’ve successfully completed the second step. Now, let’s move on to the next step: plugging in the audio cables (if necessary).
Step 3: Plug in the audio cables
In the previous step, you connected the component cables to your Wii and C7P OLED TV to ensure optimal video quality. Now, it’s time to take care of the audio. If your component cables do not have audio connectors, or if you prefer a separate audio connection, follow these steps to plug in the audio cables:
- Locate the red and white audio connectors on your audio cables.
- Insert the red connector into the red audio input port on your C7P OLED TV.
- Insert the white connector into the white audio input port on your C7P OLED TV.
Ensure that the audio connectors are securely plugged in, just like you did with the video connectors. A firm connection will prevent any audio disturbances during gameplay and provide you with clear and immersive sound.
If you have a separate audio system or external speakers, you can also connect the audio cables directly to those devices instead of your C7P OLED TV. This allows you to enjoy the sound through your preferred audio output. Simply locate the corresponding audio input ports on your audio system or speakers and connect the red and white connectors accordingly.
Once you have plugged in the audio cables and confirmed that they are securely connected, you’re ready to move on to the next step: connecting the other end of the cables to your Wii. This will complete the physical connections, bringing you one step closer to enjoying your Wii gaming experience on your C7P OLED TV.
Step 4: Connect the other end of the cables to the Wii
Now that you have connected the component and audio cables to your C7P OLED TV, it’s time to complete the setup by connecting the other end of the cables to your Wii. Follow these steps to ensure a proper connection:
- Locate the AV Multi Out port on the back of your Wii console.
- Take the component cables and match the colors of the connectors to the corresponding color-coded ports on the AV Multi Out port. Insert the red connector into the red port, the blue connector into the blue port, and the green connector into the green port.
- If you have audio cables, plug the red and white connectors into the matching audio output ports on the AV Multi Out port. The red connector should go into the red audio port, and the white connector should go into the white audio port.
- Ensure that each connector is firmly plugged in and secure.
Once you have connected the cables to your Wii, take a moment to double-check that all connections are tight and properly aligned. This will help ensure a stable and uninterrupted gaming experience without any audio or video glitches. If any cables appear loose, gently push them in until you feel a slight click, indicating a secure connection.
With the cables now connected to both your C7P OLED TV and Wii, you have successfully completed the physical setup. The next step involves setting up your C7P OLED TV to display the Wii’s video output. We’ll cover that in the next step to ensure you’re ready to start gaming in no time.
Step 5: Set up your C7P OLED TV
Now that your Wii is physically connected to your C7P OLED TV, it’s time to set up the TV settings to ensure optimal display performance. Follow these steps to configure your C7P OLED TV:
- Power on your C7P OLED TV by pressing the power button on the remote control or the TV itself. Wait for the TV to boot up.
- Using the remote control, navigate to the TV’s settings menu. This can usually be accessed by pressing the “Menu” or “Settings” button.
- Within the settings menu, look for the “Input” or “Source” section. This is where you can select the input source for your Wii. Check the TV’s user manual if you’re unsure of the exact location.
- Select the input source that corresponds to the port where you connected your Wii. In this case, you would choose the input source that corresponds to the component input.
- Once you have selected the correct input source, exit the settings menu to return to the TV’s home screen.
By setting up the correct input source, your C7P OLED TV will be ready to receive the video signal from your Wii. This ensures that you can see the gameplay on the screen without any issues. If you have multiple input sources connected to your TV, such as a cable box or a gaming console, make sure you switch to the appropriate input when you want to use your Wii.
It’s worth noting that the specific steps and menu options may vary slightly depending on the model of your C7P OLED TV. Consult the TV’s user manual for more detailed instructions tailored to your specific model if needed. Once you have set up your C7P OLED TV, it’s time to move on to the next step: configuring the settings on your Wii.
Step 6: Select the correct input source on your TV
With your C7P OLED TV set up and ready, the next step is to select the correct input source for your Wii. This ensures that the TV displays the video and audio from your Wii console correctly. Follow these steps to select the input source on your TV:
- Grab the Wii remote and press the power button to turn on your Wii console.
- Switch on your C7P OLED TV using the remote control or the power button on the TV itself.
- On your TV remote control, locate and press the “Input” or “Source” button. This button might have a different name depending on your TV model.
- A menu will appear on your TV screen showing a list of available input sources or ports. Use the arrow keys on your remote to navigate through the menu.
- Look for the input source that is associated with the component input where you connected your Wii. It might be labeled “Component”, “AV”, or something similar.
- Once you have highlighted the correct input source, press the “Enter” or “OK” button on your remote to select it.
After selecting the correct input source, your C7P OLED TV will display the video and audio output from your Wii console. If the connection is successful, you should see the Wii’s home screen or any active game displayed on the TV screen.
If the input source selection menu on your TV does not have specific labels, you can try cycling through the available input sources until you find the one that displays the Wii’s video output. Take note of the input source name for future reference, as you may need to switch to it each time you want to play your Wii.
Now that you have selected the correct input source on your TV, you’re almost ready to start gaming. However, there are a few more Wii settings to configure to ensure the best possible gaming experience. Let’s move on to the next step: configuring the settings on your Wii console.
Step 7: Configure the Wii settings
Now that your Wii is properly connected to your C7P OLED TV and the input source is selected, it’s time to configure the settings on your Wii console. By adjusting these settings, you can optimize your gaming experience and ensure that the visuals and audio are optimized for your C7P OLED TV. Follow these steps to configure the Wii settings:
- On your Wii console’s home screen, click on the “Wii” button in the lower-left corner to open the System Settings.
- Use the arrow keys on your Wii remote to navigate through the options and select “System Settings”. Press the “A” button to enter the System Settings menu.
- In the System Settings menu, locate and select “Display”. This is where you can adjust the display settings for your Wii.
- Within the Display settings, you may find options like screen size, display resolution, and display type. Adjust these settings according to your preference and the capabilities of your C7P OLED TV.
- If your C7P OLED TV supports high-definition (HD), set the display resolution to 480p or 720p to enjoy sharper and more detailed graphics.
- Once you have configured the display settings, navigate back to the System Settings menu and select “Sound”. Here, you can adjust the audio settings for your Wii console.
- Make sure that the audio output is set to “Stereo” or “Surround”, depending on your audio setup and preferences.
By configuring the display and sound settings on your Wii console, you can ensure that the visuals and audio are optimized for your C7P OLED TV. These settings may vary depending on the specific model of your Wii. Refer to the Wii’s user manual for more detailed instructions on adjusting display and sound settings.
Once you have finished configuring the settings, exit the System Settings menu and you’re ready to enjoy your Wii gaming experience on your C7P OLED TV. The next and final step is to simply relax and immerse yourself in the world of gaming!
Step 8: Enjoy your Wii gaming experience on your C7P OLED TV
Congratulations! You have successfully connected your Wii console to your C7P OLED TV using the component hook-up option. Now, it’s time to sit back, grab your Wii remote, and enjoy an immersive gaming experience like never before.
With the crisp and vibrant visuals of the C7P OLED TV, paired with the innovative motion controls of the Wii, you’ll feel fully engaged in the world of gaming. Whether you’re playing popular titles like Mario Kart, Super Mario Galaxy, or The Legend of Zelda, you’ll appreciate the stunning graphics and smooth gameplay that the combination of your Wii and C7P OLED TV provides.
Don’t forget to explore the variety of Wii games available, including family-friendly games that can be enjoyed with friends and loved ones. The Wii is truly a console that appeals to gamers of all ages and skill levels, making it perfect for social gatherings or solo gaming sessions.
As you dive into your gaming adventures, remember to take breaks and practice proper gaming habits. It’s important to maintain a comfortable posture, adjust the TV screen’s brightness and contrast settings to reduce eye strain, and ensure you have adequate lighting in the room for an optimal gaming experience.
Lastly, keep in mind that your C7P OLED TV may have additional features that can further enhance your gaming experience. Explore the TV’s settings menu to discover options such as game mode, which reduces input lag and improves response time for a more responsive gaming experience.
Now, it’s time to unleash your gaming skills and enjoy countless hours of fun with your Wii console on your C7P OLED TV. Get ready to embark on exciting virtual adventures and create unforgettable memories. Happy gaming!