Introduction
Google Chrome extensions are powerful tools that enhance the browsing experience by adding functionality and customization options. However, over time, you may accumulate a multitude of extensions, some of which may no longer serve a purpose or could potentially impact browser performance. In such cases, it becomes necessary to remove unwanted or unused extensions to streamline your browsing environment.
Removing Chrome extensions not only declutters the browser interface but also helps optimize its performance, ensuring a smoother and more efficient browsing experience. Whether you're seeking to address performance issues, enhance security, or simply tidy up your browser, the process of removing extensions is straightforward and can be accomplished in just a few simple steps.
In this guide, we'll walk you through the process of removing all Chrome extensions, providing clear and easy-to-follow instructions. By the end of this tutorial, you'll have the knowledge and confidence to manage your Chrome extensions effectively, ensuring that your browsing experience remains seamless and tailored to your specific needs. Let's dive in and explore the steps to remove all Chrome extensions from your browser.
Step 1: Open Google Chrome
To begin the process of removing all Chrome extensions, the first step is to open the Google Chrome web browser on your computer. You can do this by locating the Chrome icon on your desktop or by searching for "Google Chrome" in the Start menu or applications folder.
Once you have located the Chrome icon, simply double-click on it to launch the browser. Alternatively, if Chrome is pinned to your taskbar, you can single-click on the icon to open the browser window. If you are using a Mac, you can also open Chrome from the Dock or the Applications folder.
Upon opening Google Chrome, you will be greeted by the familiar interface, featuring the address bar, tabs, and various browser controls. Take a moment to ensure that Chrome has fully loaded and is ready for use. You will know that Chrome is ready when the browser window appears on your screen, displaying the default homepage or the last page you visited.
Once Google Chrome is open and ready, you are now prepared to proceed to the next step in the process of removing all Chrome extensions. With the browser at your fingertips, you are one step closer to optimizing your browsing experience by streamlining your collection of extensions.
Opening Google Chrome is the essential first step in the process of managing your extensions, and it sets the stage for the subsequent actions you will take to remove unwanted or unnecessary extensions from your browser. With Chrome now open, you are ready to move on to the next step and access the extensions menu, where you will have the opportunity to review and remove the extensions that are currently installed.
Step 2: Access the Extensions Menu
Accessing the extensions menu in Google Chrome is a fundamental step in the process of managing and removing extensions from your browser. By navigating to the extensions menu, you gain access to a comprehensive list of all installed extensions, allowing you to review their functionality and make informed decisions about which ones to remove.
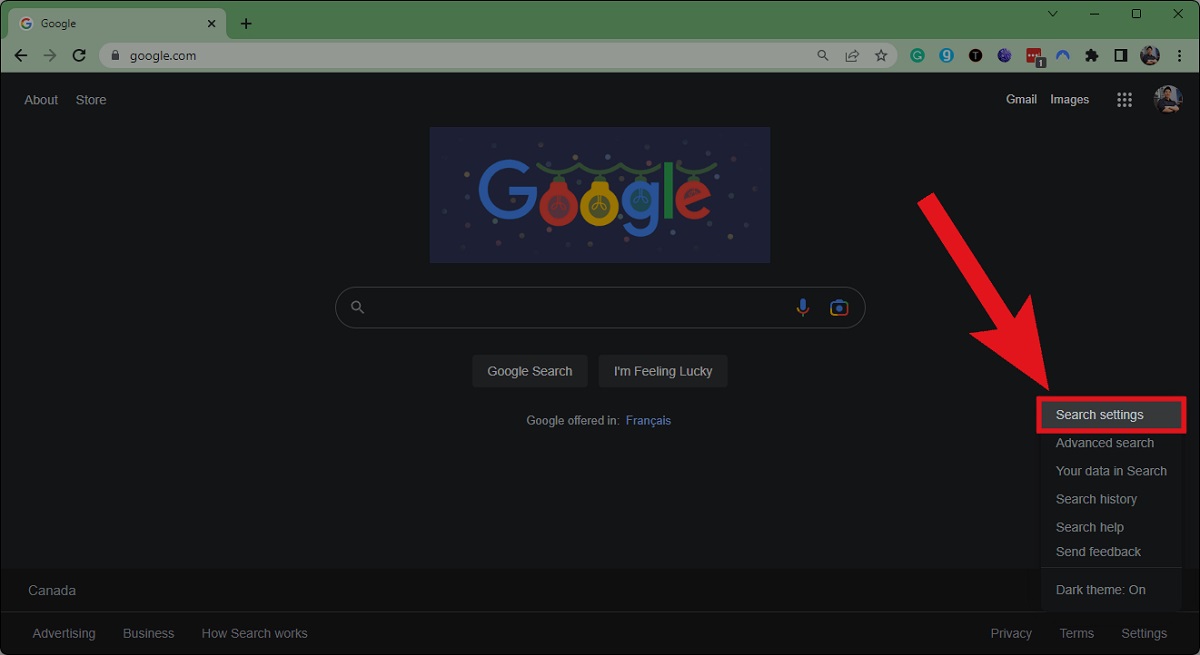
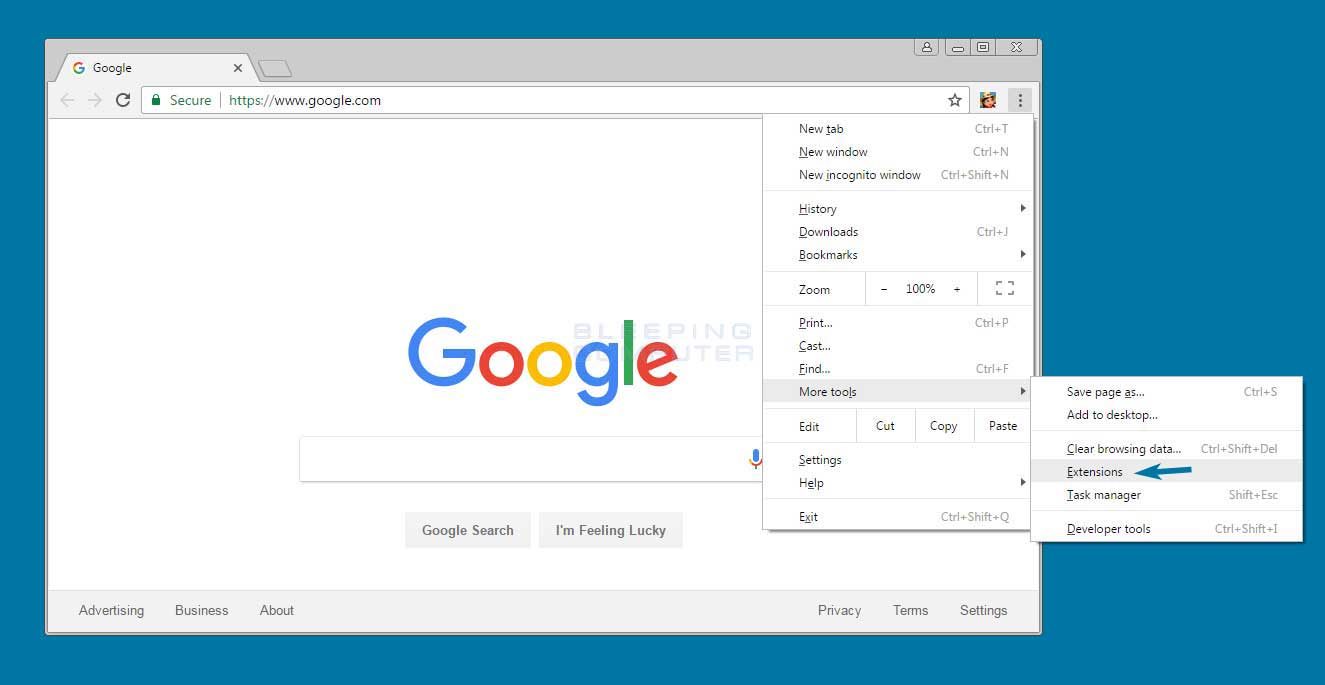
To access the extensions menu, start by locating and clicking on the three-dot menu icon in the top-right corner of the Chrome window. This icon, also known as the "More" icon, opens a dropdown menu containing various options for customizing and managing your browser settings. Once you click on the icon, a menu will appear, presenting a range of choices for controlling Chrome's features and preferences.
Within the dropdown menu, navigate your cursor to the "More tools" option. Upon hovering over this selection, a secondary menu will expand to the right, revealing additional tools and functions that can be accessed. Among these options, you will find "Extensions," which is the gateway to the comprehensive list of installed extensions within your browser.
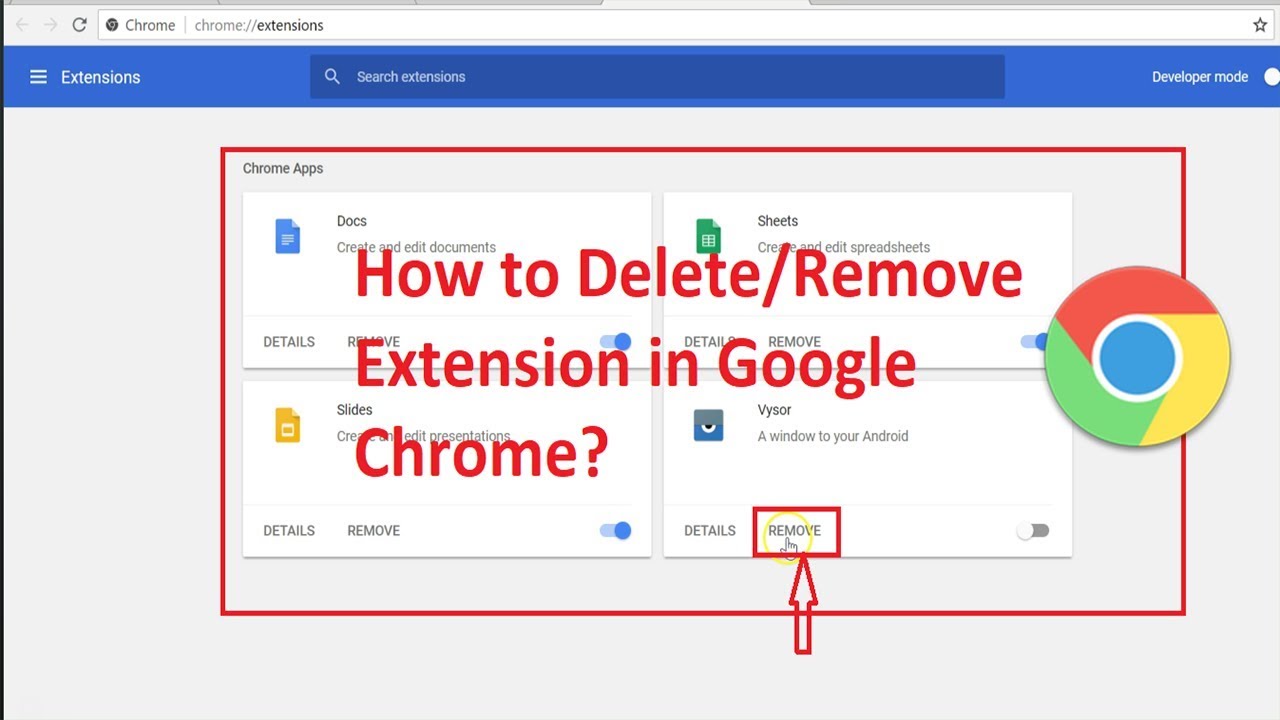
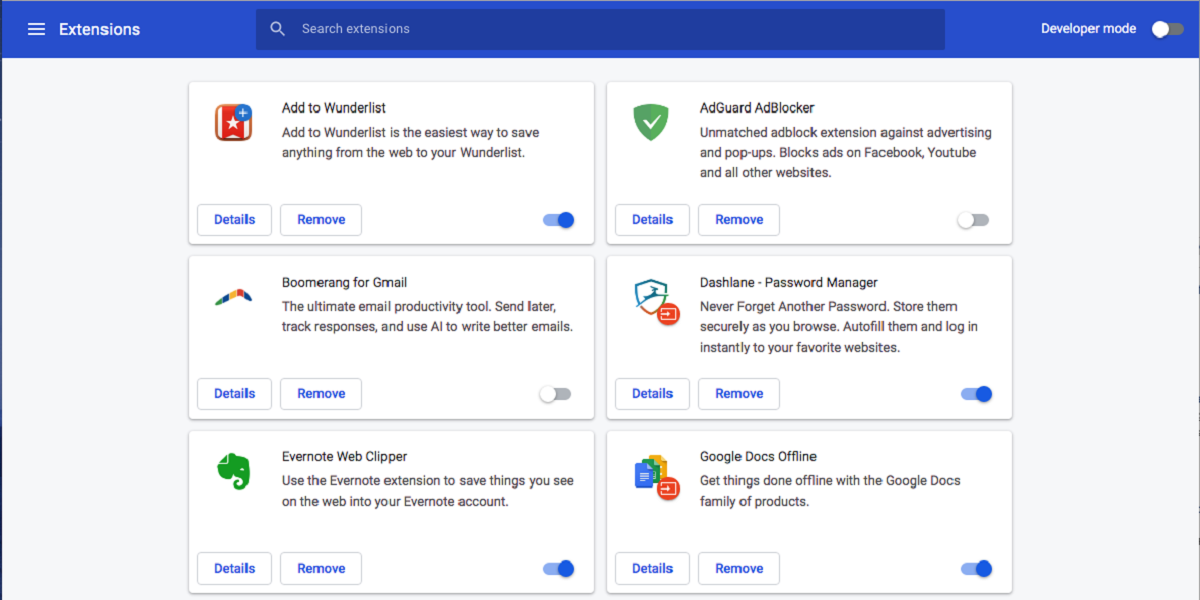
Click on the "Extensions" option to access the dedicated extensions menu. This action will direct you to a new browser tab, specifically designed for managing your Chrome extensions. Here, you will encounter a list of all the extensions currently installed in your browser, each accompanied by its respective icon, name, and a brief description of its functionality.
Upon reaching the extensions menu, take a moment to review the list of installed extensions. This is an opportunity to assess the purpose and utility of each extension, considering whether it aligns with your current browsing needs. By familiarizing yourself with the extensions listed, you can make informed decisions about which ones to remove, thereby optimizing your browsing environment and ensuring that only the most relevant and beneficial extensions remain active.
Accessing the extensions menu is a pivotal step that empowers you to take control of your browsing experience. By navigating to this dedicated section within Chrome, you gain visibility into the extensions that are influencing your browsing environment, enabling you to make strategic choices about which ones to retain and which ones to remove. With the extensions menu now accessible, you are poised to proceed to the next step and initiate the removal of unwanted or unnecessary extensions from your browser.
Step 3: Remove Extensions
After accessing the extensions menu in Google Chrome, the next crucial step is to remove the extensions that are no longer needed or desired. This process allows you to declutter your browsing environment, optimize browser performance, and ensure that only the most relevant and beneficial extensions remain active.
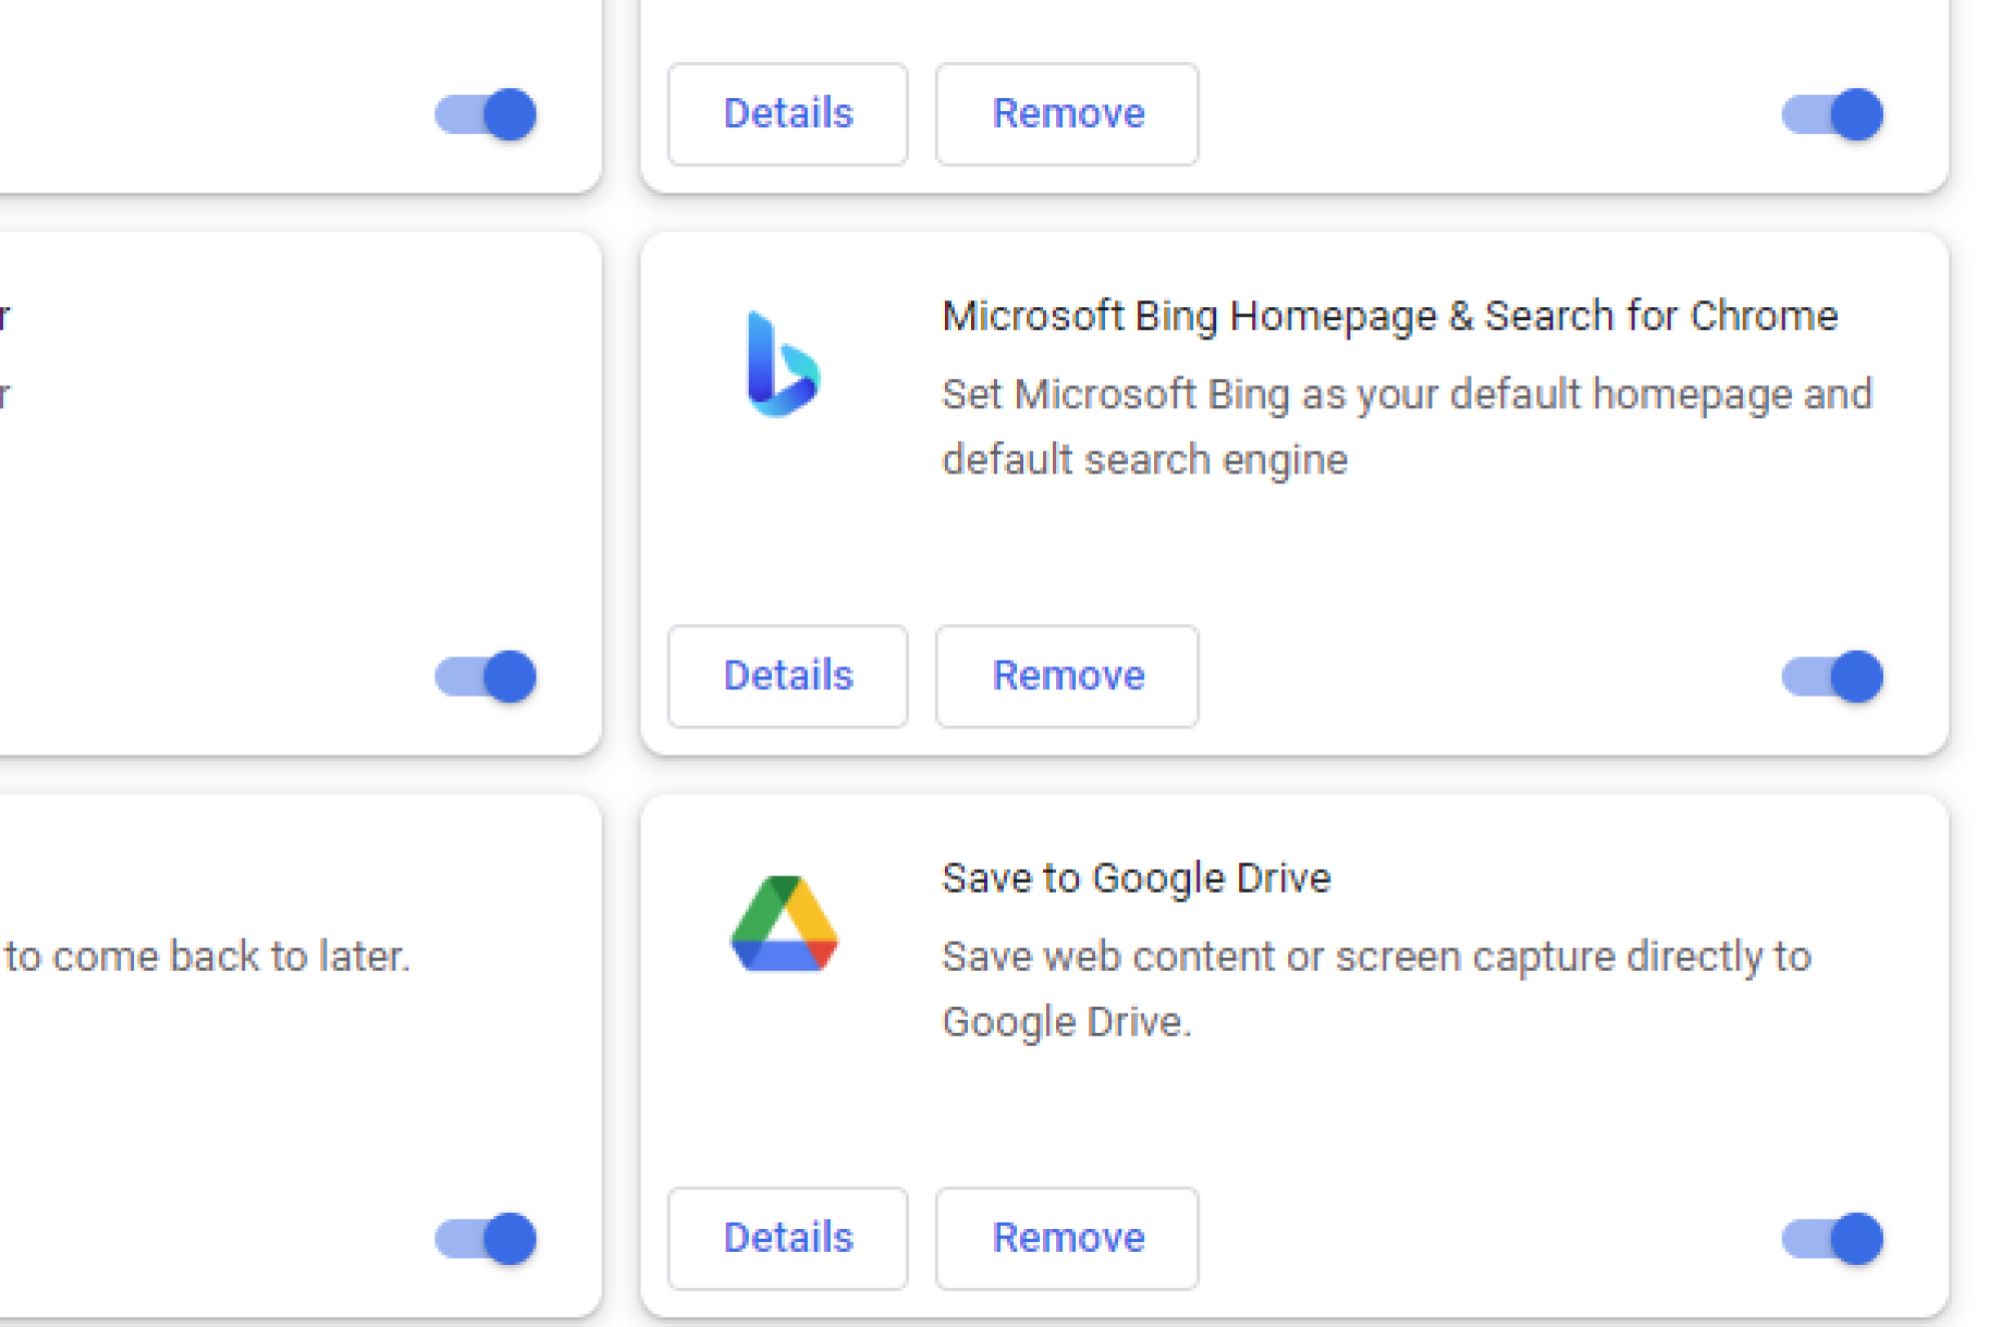
To remove an extension, locate the specific extension in the list displayed within the extensions menu. Each extension is accompanied by its icon, name, and a brief description of its functionality, providing you with valuable insights into its purpose and utility. Once you have identified the extension you wish to remove, proceed by following the steps outlined below:
-
Disable the Extension: Before removing the extension entirely, consider disabling it temporarily to assess any potential impact on your browsing experience. To disable an extension, simply toggle the switch located next to the extension's name. This action deactivates the extension, allowing you to evaluate its absence and determine whether its functionality is essential to your browsing activities.
-
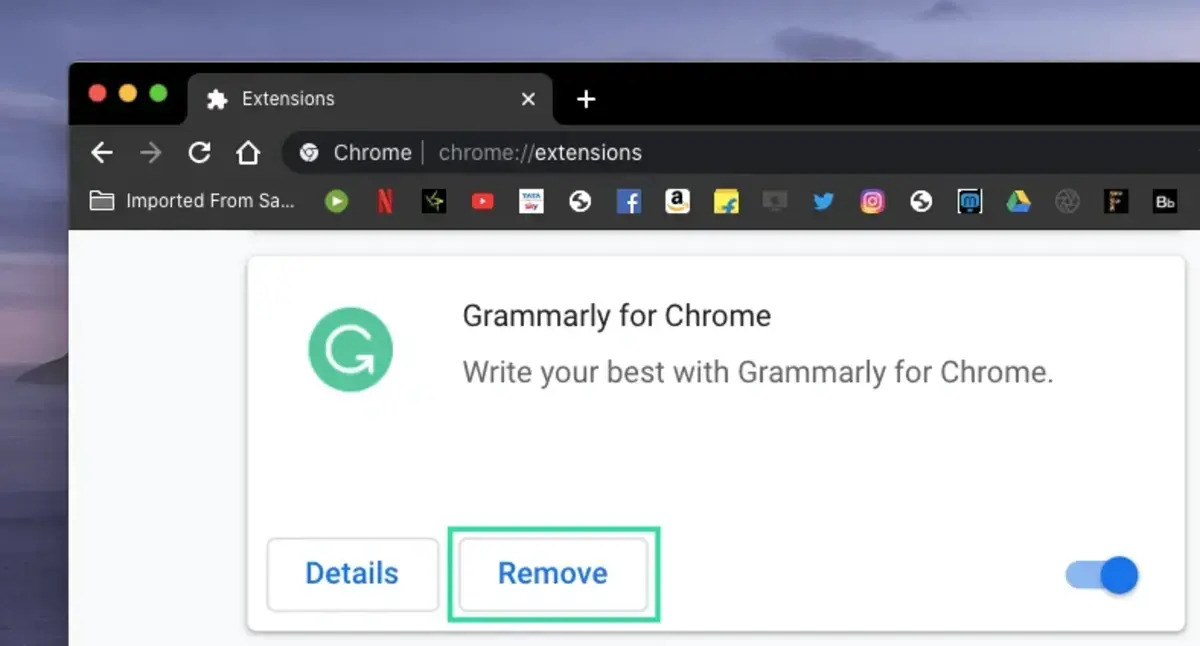
Remove the Extension: If you have determined that an extension is no longer necessary, you can proceed to remove it from your browser. To do this, click on the "Remove" button associated with the extension. A confirmation dialog may appear, asking you to confirm the removal of the extension. Review the information presented in the dialog, and if you are certain about removing the extension, proceed by clicking "Remove" to initiate the removal process.
-
Repeat as Needed: If you have multiple extensions to remove, repeat the process for each one, ensuring that you carefully evaluate the necessity of each extension before removing it. By systematically reviewing and removing extensions, you can tailor your browsing environment to align with your specific needs and preferences, optimizing the performance and functionality of your browser.
By following these steps, you can effectively remove unwanted or unnecessary extensions from your Google Chrome browser, streamlining your browsing experience and ensuring that only the most valuable and relevant extensions remain active. This proactive approach to managing extensions empowers you to maintain a well-organized and efficient browsing environment, enhancing your overall productivity and enjoyment while using Google Chrome.
Step 4: Confirm Removal
Once you have initiated the removal of an extension in Google Chrome, it is essential to confirm the removal to ensure that the process is carried out accurately and effectively. Confirming the removal of an extension provides a final checkpoint, allowing you to verify your decision and prevent accidental removals. This step adds an extra layer of assurance, ensuring that only the intended extensions are removed from your browser, while those you wish to retain remain unaffected.
Upon clicking the "Remove" button associated with an extension, Google Chrome may prompt you with a confirmation dialog to verify your intention to remove the selected extension. This dialog serves as a safeguard, preventing inadvertent removals and providing you with an opportunity to reconsider your decision before proceeding.
In the confirmation dialog, you will typically encounter a message informing you that the extension will be removed from Chrome. Additionally, the dialog may include a brief description of the extension and its functionality, serving as a reminder of the specific extension you are about to remove. This information is valuable, as it allows you to confirm that you are indeed removing the intended extension and not a different one.
To confirm the removal of the extension, you will typically be presented with a button labeled "Remove" or a similar action-oriented term. Clicking this button finalizes the removal process, effectively uninstalling the extension from your browser.
It is important to take a moment to review the information presented in the confirmation dialog before confirming the removal. This brief pause allows you to double-check your decision and ensures that you are proceeding with full awareness of the extension being removed. By confirming the removal, you affirm your choice to declutter your browsing environment and optimize the performance of your browser by removing the selected extension.
After confirming the removal, Google Chrome will promptly execute the removal process, uninstalling the extension from your browser. Once the removal is complete, the extension will no longer be active or visible within Chrome, effectively decluttering your extensions list and streamlining your browsing environment.
By confirming the removal of extensions, you exercise deliberate control over the management of your browsing experience, ensuring that only the most relevant and beneficial extensions remain active in your Google Chrome browser. This final confirmation step adds a layer of certainty to the removal process, empowering you to make informed decisions about the extensions that influence your browsing environment.
Conclusion
In conclusion, the process of removing all Chrome extensions is a straightforward yet impactful endeavor that empowers users to streamline their browsing environment, optimize browser performance, and ensure that only the most relevant and beneficial extensions remain active. By following the steps outlined in this guide, users can take proactive measures to manage their extensions effectively, enhancing their overall browsing experience within Google Chrome.
The journey begins with the simple act of opening Google Chrome, setting the stage for the subsequent actions that enable users to access the extensions menu and review the list of installed extensions. Navigating to the extensions menu provides valuable visibility into the extensions that influence the browsing environment, allowing users to make informed decisions about which ones to retain and which ones to remove.
Upon accessing the extensions menu, users are empowered to disable and remove extensions as needed, taking a deliberate approach to evaluating the necessity and impact of each extension on their browsing activities. This strategic process enables users to tailor their browsing environment to align with their specific needs and preferences, ensuring that only the most valuable and relevant extensions remain active within their browser.
Furthermore, the confirmation step adds an extra layer of assurance, allowing users to verify their decisions before finalizing the removal of extensions. This deliberate pause ensures that only the intended extensions are removed, preventing accidental removals and providing users with the confidence to manage their extensions effectively.
By embracing the process of removing all Chrome extensions, users can declutter their browsing environment, enhance browser performance, and maintain a well-organized and efficient browsing experience. This proactive approach to managing extensions not only optimizes the functionality of Google Chrome but also contributes to a seamless and personalized browsing experience tailored to the individual preferences and needs of each user.
In essence, the ability to remove all Chrome extensions empowers users to take control of their browsing environment, ensuring that their browser is equipped with the most relevant and beneficial extensions while eliminating unnecessary clutter. By leveraging the steps outlined in this guide, users can embark on a journey of optimization, enhancing their browsing experience and maximizing productivity within Google Chrome.