Introduction
Opening a JavaScript (JS) file in Chrome can be a valuable skill for developers, web designers, and anyone working with web applications. JavaScript is a versatile programming language that adds interactivity and dynamic functionality to websites. When it comes to testing and debugging JS code, being able to open and run JS files directly in the Chrome browser can streamline the development process and help identify and resolve issues more efficiently.
In this article, we will explore various methods for opening JS files in Chrome, each offering its own advantages and use cases. Whether you're a seasoned developer or just starting with JavaScript, understanding these methods can expand your capabilities and enhance your workflow.
By mastering the techniques outlined in this article, you can gain the ability to seamlessly execute and test JavaScript code within the Chrome browser, providing a convenient and effective way to validate your scripts and ensure they function as intended in a real-world browsing environment. Let's dive into the methods and discover how to open JS files in Chrome with ease and confidence.
Method 1: Using the "Open File" Feature in Chrome
Opening a JavaScript (JS) file in Chrome using the "Open File" feature is a straightforward method that allows you to directly load and execute local JS files in the browser. This approach is particularly useful for testing standalone JS scripts or small web applications without the need for a web server. Here's a step-by-step guide on how to utilize this feature:
-
Prepare Your JS File: First, ensure that the JS file you intend to open is saved locally on your computer. This could be a standalone script or a part of a web project.
-
Launch Chrome: Open the Chrome browser on your computer. Ensure that you are using the latest version of Chrome to access the most up-to-date features and security enhancements.
-
Access the "Open File" Dialog: In the Chrome browser, navigate to the "File" menu at the top-left corner of the window. From the dropdown menu, select "Open File" to initiate the file selection dialog.
-
Select Your JS File: Within the "Open File" dialog, browse to the location where your JS file is saved and select it. Click "Open" to load the JS file into the Chrome browser.
-
View and Interact with the JS File: Once the JS file is opened in Chrome, you can interact with it as you would with any web page. The browser will execute the JavaScript code, allowing you to observe its behavior and functionality directly within the browser environment.
-
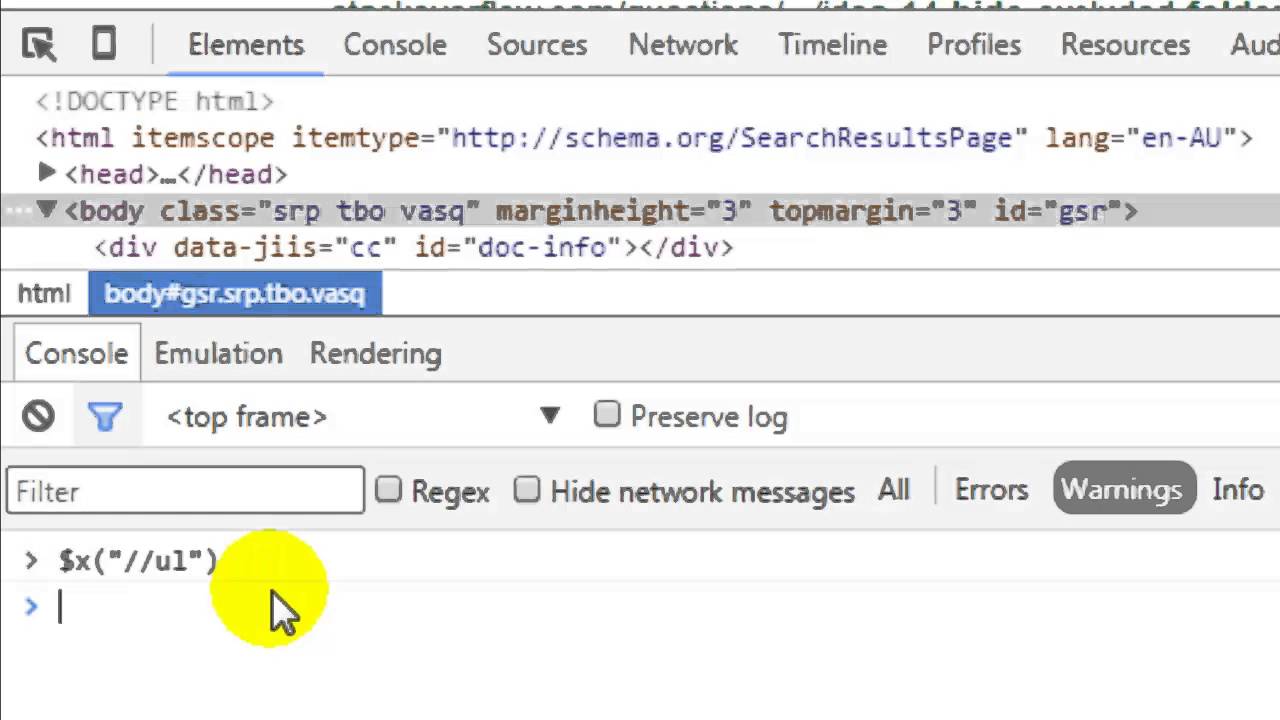
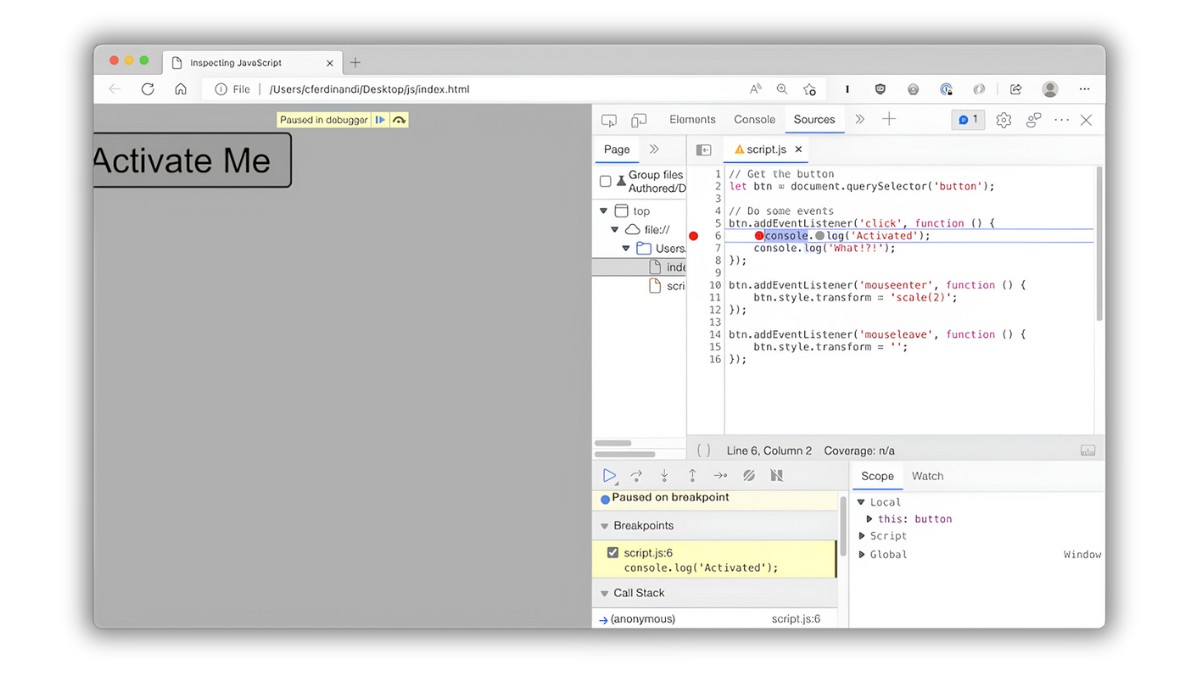
Debug and Test: Use Chrome's built-in developer tools, such as the Console and Debugger, to debug and test the JS code. This enables you to identify and resolve any issues or errors within the script, enhancing the overall quality and performance of your JavaScript applications.
By leveraging the "Open File" feature in Chrome, you can seamlessly load and execute local JS files, providing a convenient way to test and validate JavaScript code without the need for a web server. This method empowers developers and web enthusiasts to efficiently work with JS files, fostering a more streamlined and productive development process.
Method 2: Using a Local Server
Utilizing a local server to open JavaScript (JS) files in Chrome offers a robust and flexible approach, especially when working on larger web projects or applications that require server-side interactions. By setting up a local server environment, developers can simulate a live web server on their own machine, enabling seamless execution of JS files within the Chrome browser. Here's a detailed exploration of this method and the steps involved in leveraging a local server to open JS files in Chrome.
Setting Up a Local Server
-
Choose a Local Server Solution: Select a local server solution that best suits your development needs. Popular options include Apache, Nginx, or lightweight server packages like XAMPP or WampServer for Windows, and MAMP for macOS. These tools provide a comprehensive environment for hosting web projects locally.
-
Install and Configure the Local Server: Install the chosen local server software on your machine and configure it according to your project requirements. This typically involves setting up a root directory where your web files, including JS scripts, will be hosted.
-
Start the Local Server: Once the local server is set up and configured, start the server to initiate the hosting environment. This action establishes a local web server that can serve your web files, including HTML, CSS, and JS, to the Chrome browser.
Opening JS Files in Chrome
-
Access the Localhost URL: In the Chrome browser, navigate to the localhost URL provided by the local server. This URL typically starts with "http://localhost" or "http://127.0.0.1," followed by the designated port number.
-
Navigate to Your JS File: Within the local server environment, navigate to the directory where your JS file is located. Click on the link to the JS file to open it in the Chrome browser.
-
Execute and Test the JS Code: Once the JS file is loaded in Chrome, the browser will execute the JavaScript code within the local server environment. This allows you to interact with and test the JS functionality as if it were hosted on a live web server.
Benefits of Using a Local Server
- Server-Side Interactions: Enables testing of JS code that interacts with server-side components, such as APIs or databases, within a controlled local environment.
- Realistic Simulation: Provides a realistic simulation of how JS code behaves in a server-hosted environment, aiding in the identification of potential issues and optimizations.
- Collaborative Development: Facilitates collaborative development by allowing multiple team members to access the same local server for testing and debugging JS files.
By leveraging a local server to open JS files in Chrome, developers can harness the power of a simulated web server environment, enabling comprehensive testing and validation of JavaScript code within the familiar Chrome browser interface. This method empowers developers to create and refine dynamic web applications with confidence and efficiency.
Method 3: Using a Chrome Extension
Utilizing a Chrome extension to open JavaScript (JS) files in the Chrome browser introduces a convenient and customizable approach to managing and executing JS code directly within the browser environment. Chrome extensions, which are small software programs that can modify and enhance the functionality of the Chrome browser, offer a diverse range of tools tailored to various development and browsing needs. By leveraging a suitable Chrome extension, developers can streamline the process of opening and interacting with JS files, unlocking additional features and capabilities to enhance their workflow.
Exploring Chrome Extensions for JS File Management
-
Extension Selection: Begin by exploring the Chrome Web Store, the official repository for Chrome extensions, to identify and select a suitable extension for managing and executing JS files. Look for extensions specifically designed for JavaScript development or file management within the browser.
-
Installation and Setup: Once you've identified a relevant Chrome extension, install it in your Chrome browser. Follow the extension's setup instructions, which may involve configuring preferences or granting necessary permissions for file access and execution.
Opening and Interacting with JS Files
-
Accessing the Extension: After the extension is installed and set up, locate its interface within the Chrome browser. This may involve accessing the extension's icon in the browser toolbar or navigating to its designated menu within Chrome's settings.
-
Loading JS Files: Use the extension's file management features to load and open JS files directly within the browser. This could involve drag-and-drop functionality, file browsing capabilities, or integration with cloud storage services for seamless access to JS files.
-
Executing and Testing: Once the JS file is loaded through the extension, the browser will execute the JavaScript code, allowing you to interact with and test its functionality. Additionally, some extensions may offer integrated development environments (IDEs) or debugging tools to enhance the testing and debugging process.
Benefits of Using a Chrome Extension
-
Customization and Enhancements: Chrome extensions tailored for JS file management often provide customizable features and enhancements, empowering developers to tailor their workflow to specific preferences and requirements.
-
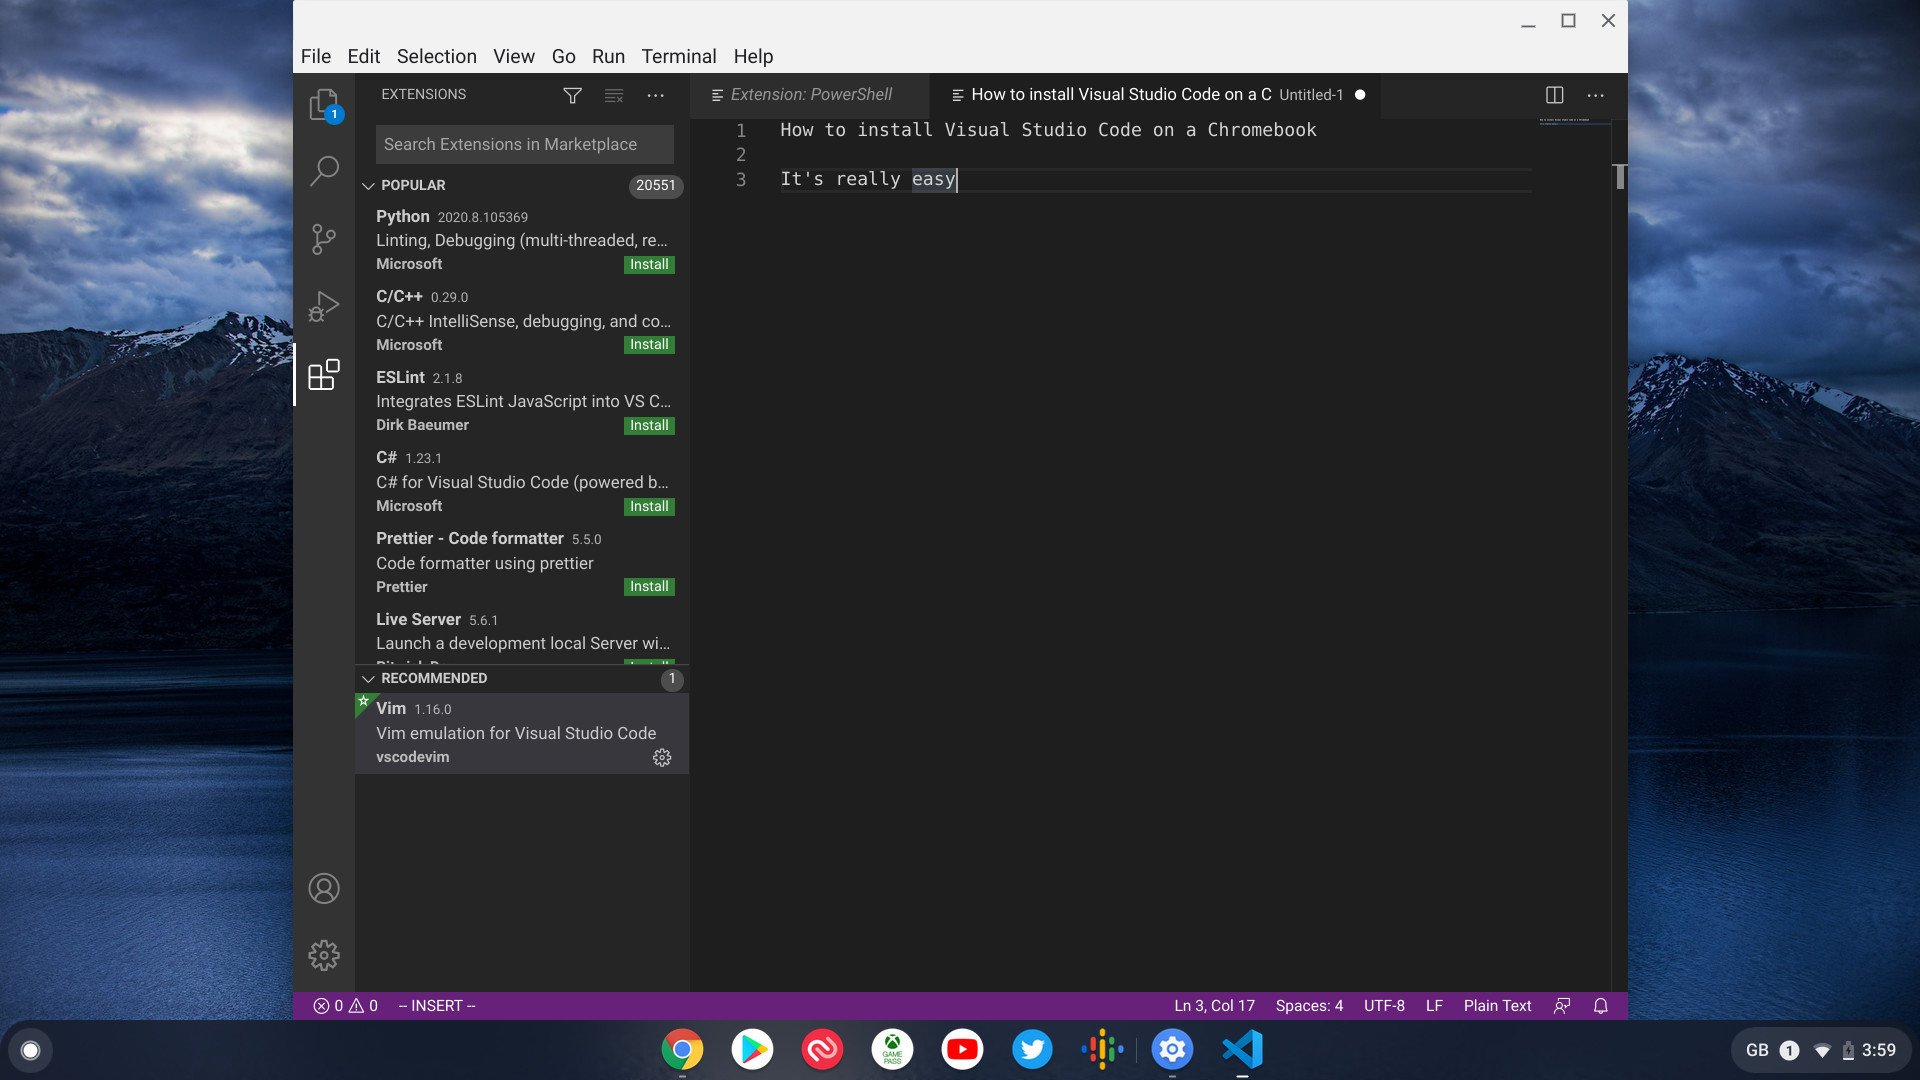
Integrated Tools: Many extensions offer integrated tools for code editing, syntax highlighting, and debugging, consolidating essential development functionalities within the browser environment.
-
Workflow Efficiency: By centralizing JS file management and testing within the Chrome browser, extensions contribute to a more efficient and seamless development workflow, reducing the need to switch between multiple applications or environments.
By leveraging a Chrome extension designed for JS file management, developers can elevate their JavaScript development experience within the Chrome browser, benefiting from enhanced features, streamlined workflows, and a more integrated testing and debugging environment.
Conclusion
In conclusion, the ability to open JavaScript (JS) files in the Chrome browser is a valuable asset for developers and web enthusiasts alike. Throughout this article, we have explored three distinct methods for achieving this capability, each offering its own advantages and use cases.
By utilizing the "Open File" feature in Chrome, individuals can seamlessly load and execute local JS files, providing a convenient way to test and validate JavaScript code without the need for a web server. This method is particularly useful for standalone scripts or small web applications, offering a straightforward approach to interact with JS files directly within the browser environment.
The utilization of a local server to open JS files in Chrome presents a robust and flexible approach, especially for larger web projects or applications that require server-side interactions. Setting up a local server environment allows developers to simulate a live web server on their own machine, facilitating comprehensive testing and validation of JavaScript code within the familiar Chrome browser interface.
Furthermore, leveraging a Chrome extension tailored for JS file management introduces a convenient and customizable approach to managing and executing JS code directly within the browser environment. These extensions offer a diverse range of tools tailored to various development and browsing needs, empowering developers to streamline their workflow and enhance their JavaScript development experience within the Chrome browser.
In essence, mastering the techniques outlined in this article equips individuals with the capability to seamlessly execute and test JavaScript code within the Chrome browser, fostering a more streamlined and productive development process. Whether it's for debugging, testing, or refining JavaScript applications, the ability to open JS files in Chrome enhances the efficiency and effectiveness of working with JavaScript, ultimately contributing to the creation of dynamic and robust web experiences.
By understanding and leveraging these methods, developers and web enthusiasts can expand their capabilities and enhance their workflow, ultimately contributing to the creation of dynamic and robust web experiences. Whether it's for debugging, testing, or refining JavaScript applications, the ability to open JS files in Chrome enhances the efficiency and effectiveness of working with JavaScript, ultimately contributing to the creation of dynamic and robust web experiences.