Introduction
When it comes to browsing the web, privacy and security are of utmost importance. Whether you're conducting research, shopping online, or simply enjoying your favorite websites, it's essential to maintain control over your browsing history and data. Fortunately, Google Chrome offers a convenient feature that allows you to automatically delete your browsing history and other data when you close the browser. This ensures that your online activities remain private and secure, without the need for manual intervention.
By configuring Chrome to automatically delete your browsing history upon closing the browser, you can enjoy peace of mind knowing that your sensitive information is not being stored indefinitely. This feature is particularly beneficial for individuals who share devices or use public computers, as it helps prevent unauthorized access to their browsing history and personal data.
In this guide, we'll walk you through the step-by-step process of enabling the automatic deletion of history in Chrome when closing the browser. By following these simple instructions, you can take control of your online privacy and enhance the security of your browsing experience. Let's dive in and explore how to leverage this powerful feature to safeguard your digital footprint.
Step 1: Open Chrome Settings
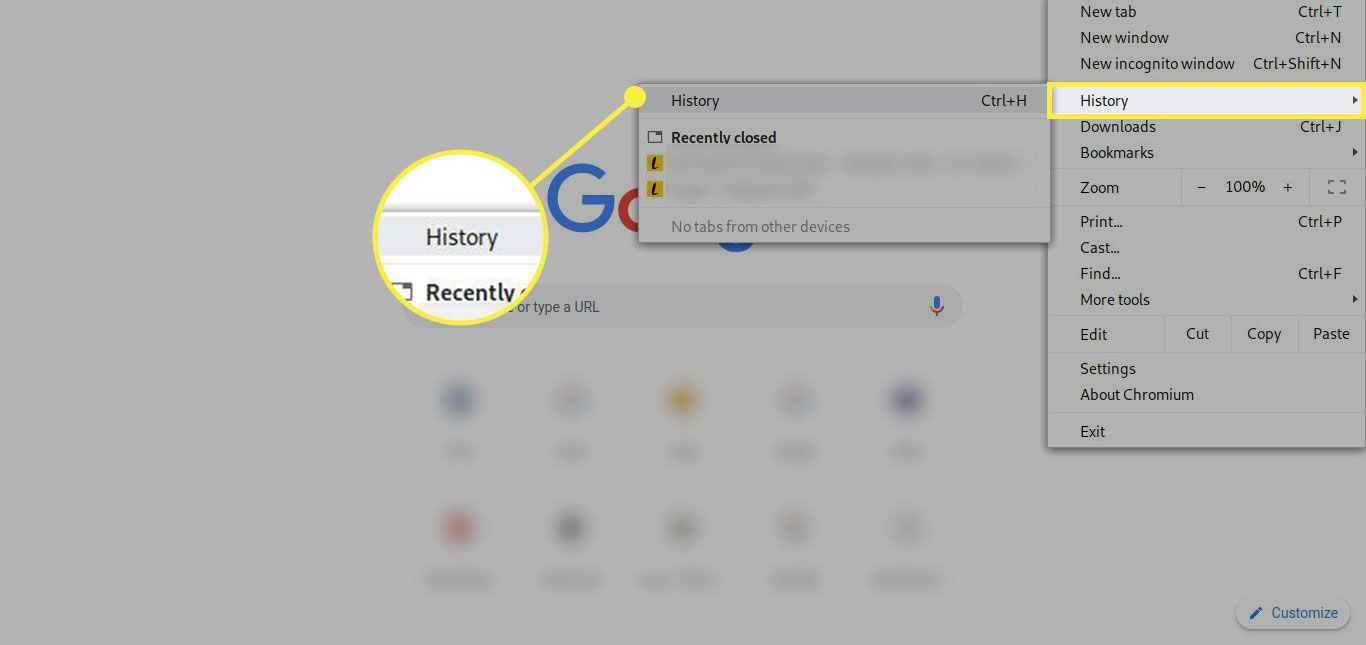
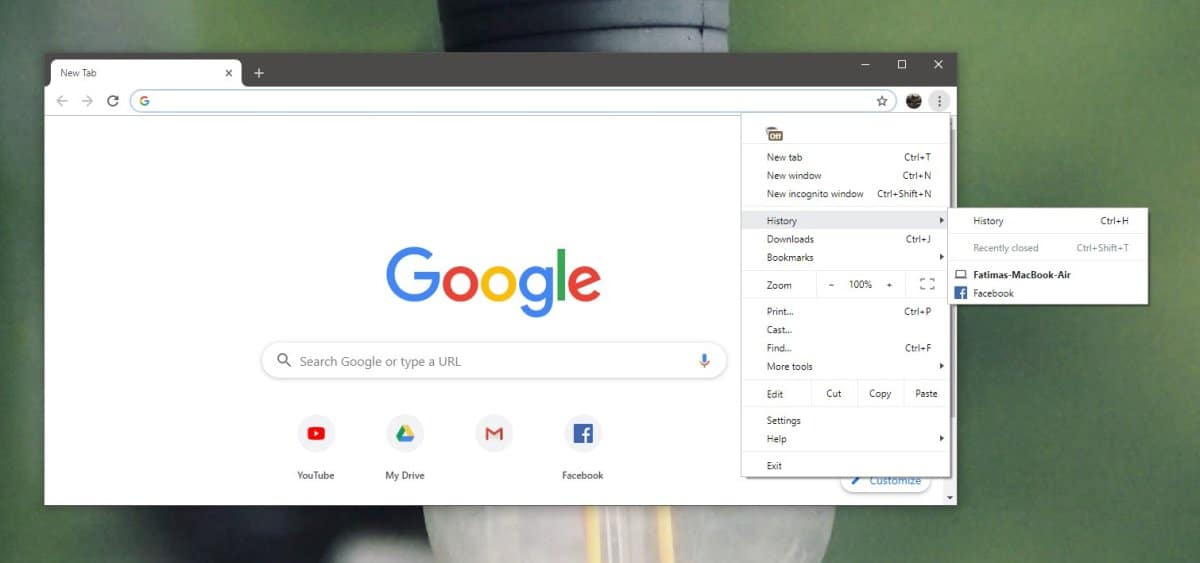
To initiate the process of configuring Chrome to automatically delete history when closing the browser, the first step is to access the browser's settings. This can be accomplished by clicking on the three-dot menu icon located in the top-right corner of the Chrome window. Upon clicking the icon, a dropdown menu will appear, presenting a range of options for customizing the browser's settings.
Once the dropdown menu is displayed, locate and select the "Settings" option, which is typically positioned towards the bottom of the list. Clicking on "Settings" will redirect you to the Chrome settings interface, where you can explore and modify various aspects of the browser's functionality.
Alternatively, you can directly access the Chrome settings by typing "chrome://settings/" into the address bar and pressing Enter. This action will instantly transport you to the settings page, bypassing the need to navigate through the dropdown menu.
Upon reaching the settings interface, you will encounter a plethora of options and configurations that enable you to personalize your browsing experience. From managing privacy and security settings to customizing appearance and functionality, the Chrome settings serve as a central hub for tailoring the browser to suit your preferences.
By successfully accessing the Chrome settings, you have laid the foundation for implementing the automatic deletion of history when closing the browser. This pivotal first step sets the stage for the subsequent actions that will empower you to take control of your browsing data and enhance your privacy and security while using Chrome.
With the Chrome settings now within reach, you are poised to embark on the next phase of this process, which involves navigating to the specific privacy and security settings that govern the automatic deletion of browsing data. By seamlessly progressing through each step, you will soon harness the full potential of this feature, fortifying your online privacy with minimal effort.
Step 2: Click on "Privacy and security"
Upon accessing the Chrome settings interface, the next crucial step in enabling the automatic deletion of browsing history when closing the browser is to navigate to the "Privacy and security" section. This pivotal section houses a myriad of privacy-centric features and controls, empowering users to manage their browsing data and fortify their online security.
To locate the "Privacy and security" settings, scroll down the left-hand navigation pane within the Chrome settings interface. As you peruse the available options, you will encounter the "Privacy and security" category, which is typically positioned towards the bottom of the list. Clicking on this category will unveil a range of privacy-related configurations, including those pertaining to content settings, site permissions, and security protocols.
Upon entering the "Privacy and security" section, you will be presented with a comprehensive array of options that allow you to customize how Chrome handles your browsing data and interacts with websites. From managing cookies and site permissions to configuring security protocols and clearing browsing data, this section serves as a central hub for safeguarding your online privacy and enhancing your browsing security.
By seamlessly navigating to the "Privacy and security" settings, you are one step closer to activating the automatic deletion of browsing history when closing the browser. This pivotal maneuver positions you to delve into the specific controls and configurations that govern the behavior of Chrome in relation to your browsing data, paving the way for a more secure and private online experience.
As you immerse yourself in the "Privacy and security" settings, take a moment to explore the diverse options available to you. Familiarize yourself with the various controls and configurations, as they hold the key to customizing Chrome's behavior in alignment with your privacy and security preferences. By gaining a comprehensive understanding of the available settings, you can make informed decisions that align with your individual needs and priorities.
With the "Privacy and security" settings now within reach, you are poised to embark on the subsequent steps that will empower you to configure Chrome to automatically delete your browsing history when closing the browser. By seamlessly progressing through each phase of this process, you are taking proactive strides towards fortifying your online privacy and enhancing the security of your digital footprint.
Step 3: Turn on "Clear browsing data when you quit Chrome"
Enabling the "Clear browsing data when you quit Chrome" feature is a pivotal stride towards fortifying your online privacy and security. This functionality empowers you to automatically purge your browsing history and other selected data each time you close the Chrome browser, ensuring that your digital footprint remains ephemeral and shielded from prying eyes.
To activate this feature, navigate to the "Privacy and security" section within the Chrome settings interface. Once there, locate and click on the "Site settings" option, which is positioned within the "Privacy and security" category. This action will unveil a range of site-specific controls and permissions that govern how Chrome interacts with websites and manages your browsing data.
Within the "Site settings" menu, scroll down to find the "Clear browsing data" option. Clicking on this feature will lead you to a dedicated interface where you can configure Chrome to automatically clear your browsing data when you quit the browser. To activate this functionality, toggle the switch adjacent to the "Clear browsing data when you quit Chrome" option, thereby enabling this powerful privacy-enhancing feature.
By turning on "Clear browsing data when you quit Chrome," you are taking a proactive stance towards safeguarding your online privacy. This feature serves as a digital eraser, ensuring that your browsing history, cookies, cached images and files, as well as other selected data, are promptly expunged each time you conclude a browsing session. This not only mitigates the risk of unauthorized access to your browsing history but also enhances the overall security of your online activities.
Furthermore, the ability to customize the types of data that are automatically cleared upon exiting Chrome provides a tailored approach to managing your digital footprint. By clicking on the "Clear data" option within the "Clear browsing data" interface, you can specify the types of data to be purged, including browsing history, cookies, cached images and files, download history, and more. This granular control empowers you to align the automatic data clearance with your specific privacy and security requirements, ensuring a personalized and comprehensive approach to safeguarding your browsing activities.
With "Clear browsing data when you quit Chrome" activated and customized to your preferences, you can navigate the web with confidence, knowing that your browsing history and selected data are ephemeral and shielded from unwarranted exposure. This feature exemplifies Chrome's commitment to empowering users with robust privacy and security controls, allowing you to embrace the digital realm with peace of mind and confidence in your online privacy.
Step 4: Customize what data to delete
Customizing the data to be deleted upon closing the Chrome browser is a pivotal aspect of fortifying your online privacy and tailoring the automatic data clearance to align with your specific preferences. Chrome offers a comprehensive array of options that empower you to fine-tune the types of data that are automatically purged, ensuring a personalized approach to managing your digital footprint.
Upon enabling the "Clear browsing data when you quit Chrome" feature, you gain access to a dedicated interface that allows you to customize the specific data categories to be deleted. To access this interface, navigate to the "Privacy and security" section within the Chrome settings and click on "Site settings." Within the "Site settings" menu, locate and click on the "Clear browsing data" option, which will lead you to the interface for customizing the data clearance settings.
Within the "Clear browsing data" interface, you are presented with a range of data categories that can be selected for automatic deletion. These categories include browsing history, cookies, cached images and files, download history, passwords, autofill form data, site settings, and hosted app data. By meticulously selecting or deselecting these categories, you can tailor the automatic data clearance to align with your individual privacy and security requirements.
For instance, if you frequently share a device with others and wish to maintain a semblance of privacy, you may opt to include browsing history, cookies, and other sensitive data in the automatic clearance process. Conversely, if you prefer to retain certain types of data for convenience and personalization, such as saved passwords and site settings, you have the flexibility to exclude these categories from the automatic deletion.
Furthermore, Chrome provides the option to set a time range for the data to be cleared, allowing you to specify whether the browsing history and other selected data should be purged from the past hour, day, week, month, or all time. This granular control empowers you to fine-tune the automatic data clearance based on your browsing habits and privacy preferences, ensuring that the clearance process aligns with your individual needs.
By customizing what data to delete when closing the Chrome browser, you are asserting control over your digital footprint and enhancing the security of your online activities. This tailored approach to data clearance exemplifies Chrome's commitment to empowering users with robust privacy controls, allowing you to navigate the web with confidence and peace of mind, knowing that your browsing data is managed in accordance with your preferences.
Step 5: Confirm the changes
After customizing the data clearance settings to align with your privacy and security preferences, it is imperative to confirm the changes to ensure that the automatic deletion of browsing data when closing Chrome is seamlessly integrated into your browsing experience. This pivotal step serves as the final checkpoint in the process, validating that your personalized data clearance configurations are effectively implemented and poised to safeguard your online privacy.
To confirm the changes, navigate to the "Clear browsing data" interface within the Chrome settings, where you initially customized the data categories to be automatically deleted. Within this interface, you will encounter a summary of your selected data clearance settings, providing a comprehensive overview of the types of data that will be purged upon closing the browser.
Take a moment to review the summary of your selected data clearance settings, ensuring that it accurately reflects your privacy and security preferences. Verify that the chosen data categories align with your individual requirements, encompassing the types of data you wish to automatically clear when concluding a browsing session.
Upon confirming the accuracy of your selected data clearance settings, proceed to close the "Clear browsing data" interface. This action finalizes the customization process, solidifying your personalized data clearance configurations within Chrome.
With the changes confirmed, you can navigate the web with confidence, knowing that your browsing history and selected data will be automatically purged when you close the Chrome browser. This seamless integration of privacy-enhancing features empowers you to embrace the digital realm with peace of mind, assured that your online activities are shielded from unwarranted exposure.
By confirming the changes, you have effectively tailored the automatic deletion of browsing data to align with your individual privacy and security requirements, harnessing the full potential of this feature to fortify your digital footprint. This proactive stance towards managing your online privacy exemplifies Chrome's commitment to empowering users with robust privacy controls, ensuring a secure and personalized browsing experience.
In essence, confirming the changes represents the culmination of the customization process, marking the seamless integration of your personalized data clearance settings into Chrome. With your privacy and security preferences effectively translated into actionable configurations, you are poised to navigate the web with enhanced confidence and assurance in the protection of your digital footprint.


