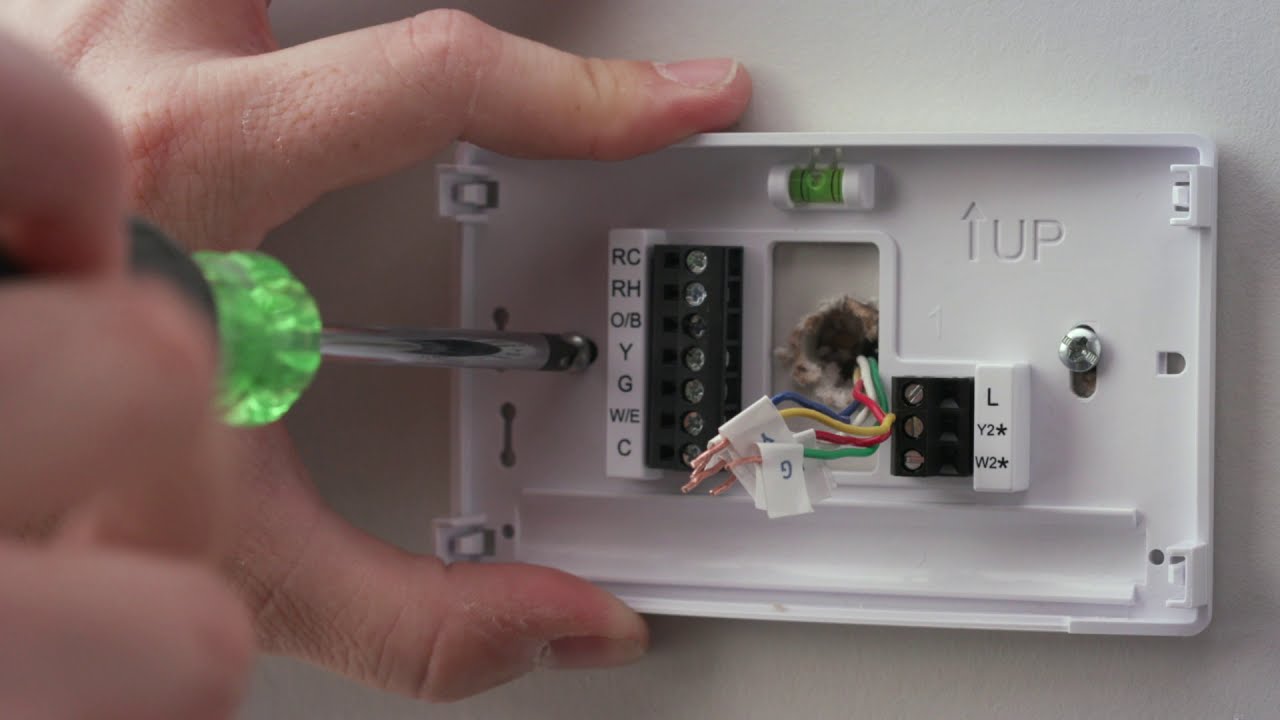
How To Install Sensi Smart Thermostat
To install a Sensi Smart Thermostat, you must first verify your HVAC system is compatible, then label and disconnect the old wires, mount the new base, connect the wires, snap on the display, restore power, and complete Wi-Fi and app setup. This step-by-step guide covers the entire process, with specific attention to c-wire requirements and compatibility checks so you can safely and correctly install your Sensi smart thermostat without damaging your equipment or voiding warranties. If you have a different model, you can install honeywell smart thermostat units using a similar wiring approach, or install an Amazon smart thermostat if you want a model that integrates natively with Alexa routines.
Before you install your Sensi smart thermostat: compatibility and tools
Before you begin the physical installation, confirm that your HVAC system works with a Sensi thermostat. Sensi thermostats are not compatible with line voltage systems (typically 110V/220V baseboard heating), proprietary or communicating systems, or 12VDC RV/camper systems. If you have any of those, stop here and consider a different thermostat model.
The c-wire (common wire) requirement depends on which Sensi model you own. For Sensi Touch and Sensi Touch 2, a c-wire is required for all system types. For Sensi Smart and Sensi Lite, a c-wire is required for heat-only, cool-only, and heat pump systems, but not for most conventional heating and cooling systems. If your system needs a c-wire and you don't have one, you have three options: use an unused wire already in the wall, convert the G-wire (fan wire) to serve as the c-wire, or install an Add-a-Wire Kit. Check the wires behind your old thermostat, if you see a wire connected to a "C" terminal, you're set. If not, count the available wires; an unused wire can often be repurposed.
Gather these tools before starting: a flathead and Phillips screwdriver, a drill with bits (if you need new mounting holes), the Sensi thermostat with its base plate and screws, and the provided wire label stickers. You'll also need your Wi-Fi network name and password, but note that Sensi thermostats are only compatible with 2.4GHz Wi-Fi networks, not 5GHz. If your router broadcasts both bands, make sure you can select the 2.4GHz network during setup.
Finally, turn off power to your HVAC system at the circuit breaker or fuse panel. Locate the breaker labeled "heating" or "cooling" and switch it to the off position, or remove the fuse. Some systems also have a separate power switch near the air handler or furnace, turn that off too. Confirm power is off by attempting to turn on your heating or cooling; if nothing happens, you're safe to proceed.
Remove your old thermostat and label the wires
With the power off, remove your old thermostat's faceplate by gently pulling it away from the wall. Then unscrew the mounting plate that holds the thermostat to the wall, most are secured with two or more screws. Pull the thermostat away from the wall to expose the wiring.
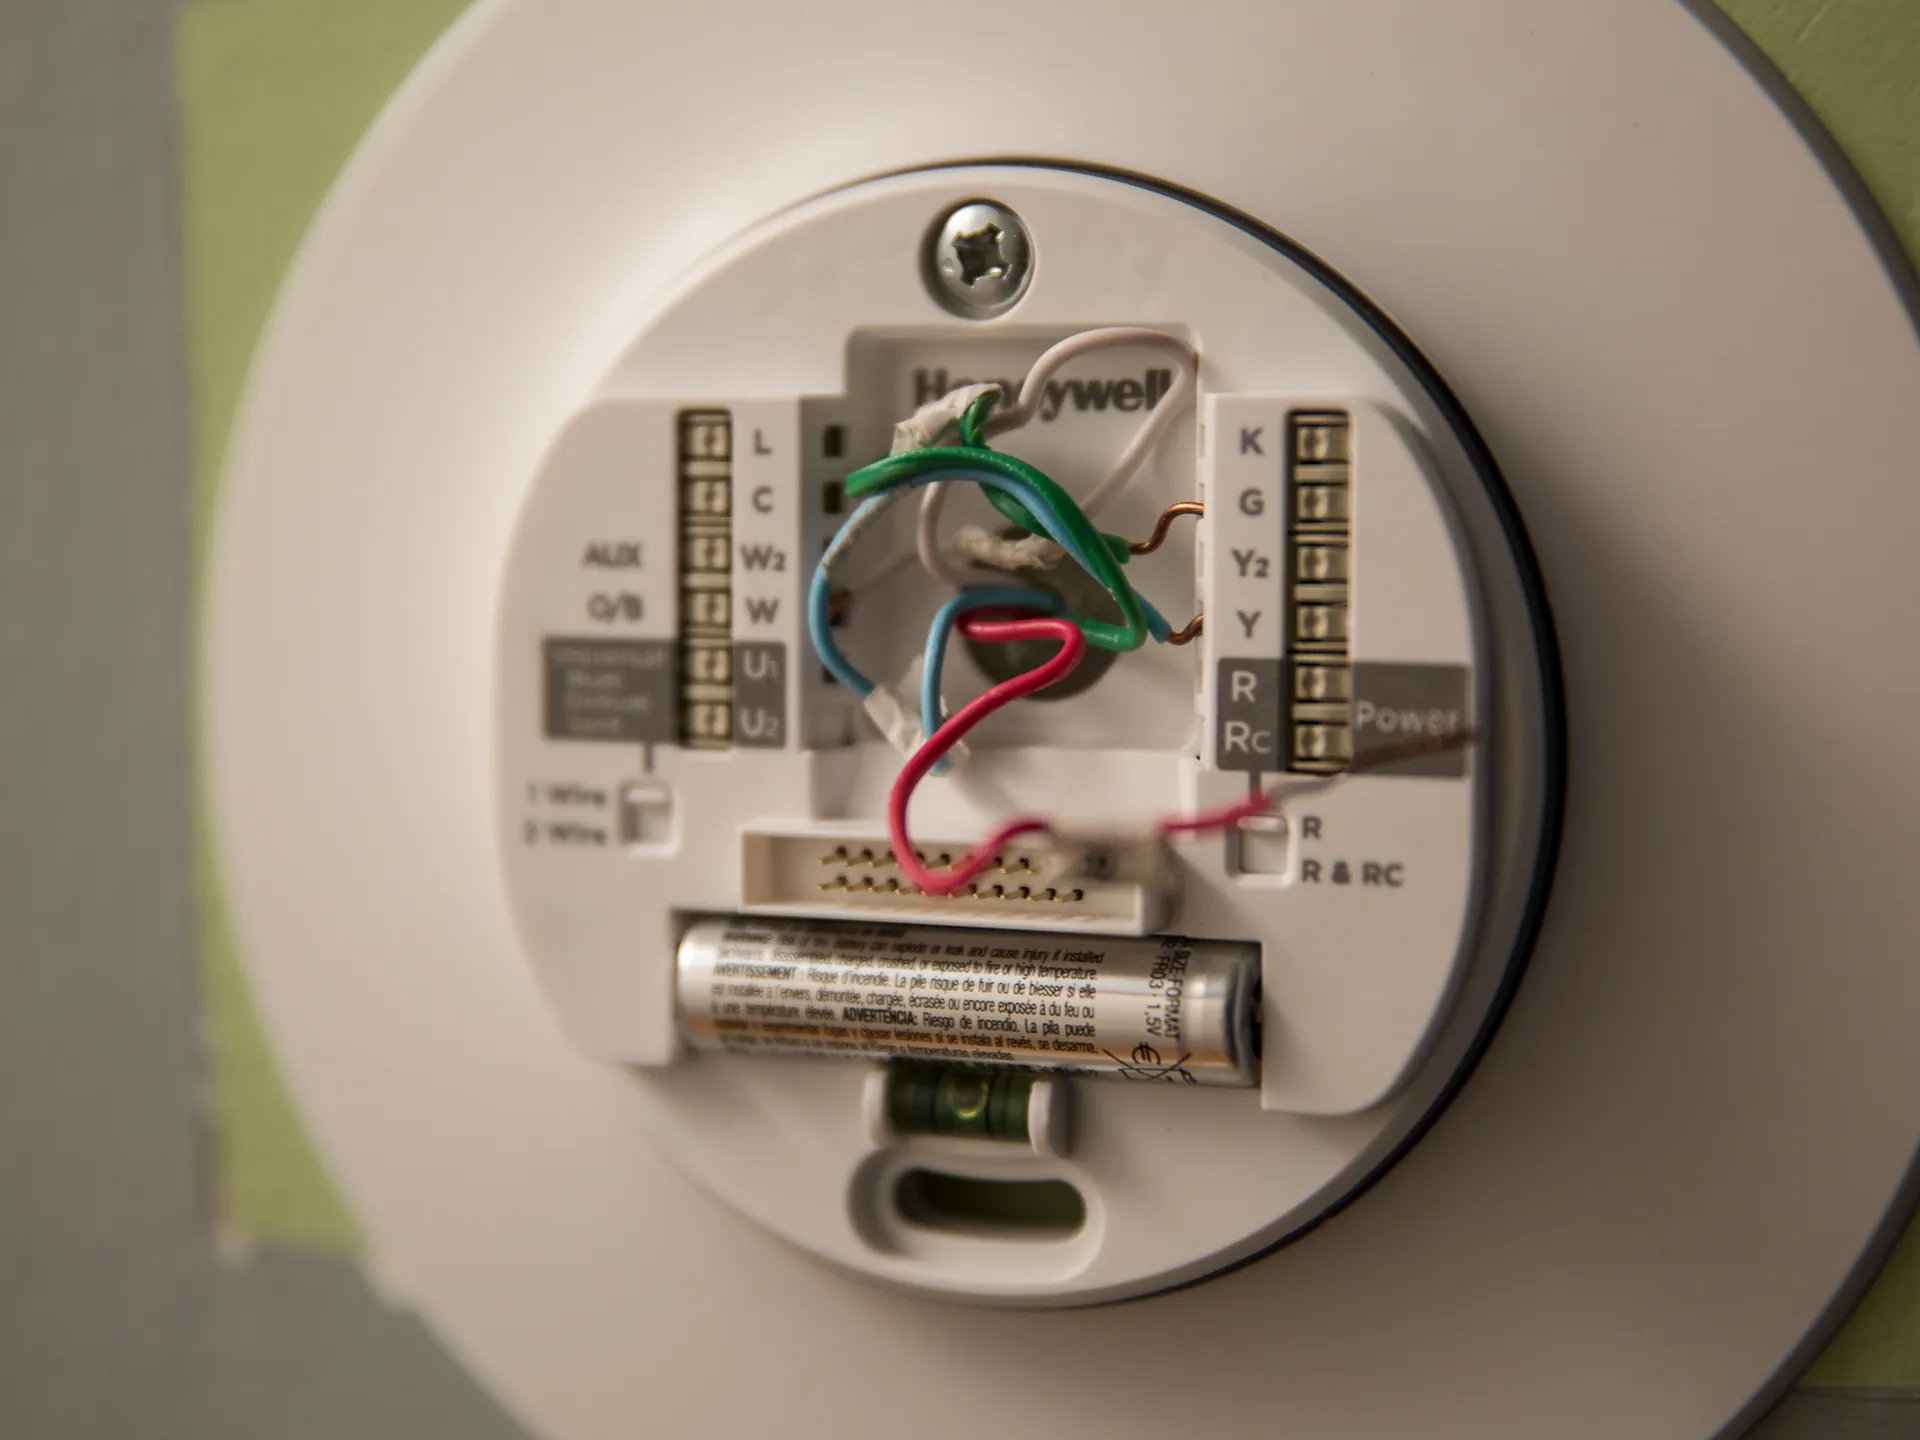
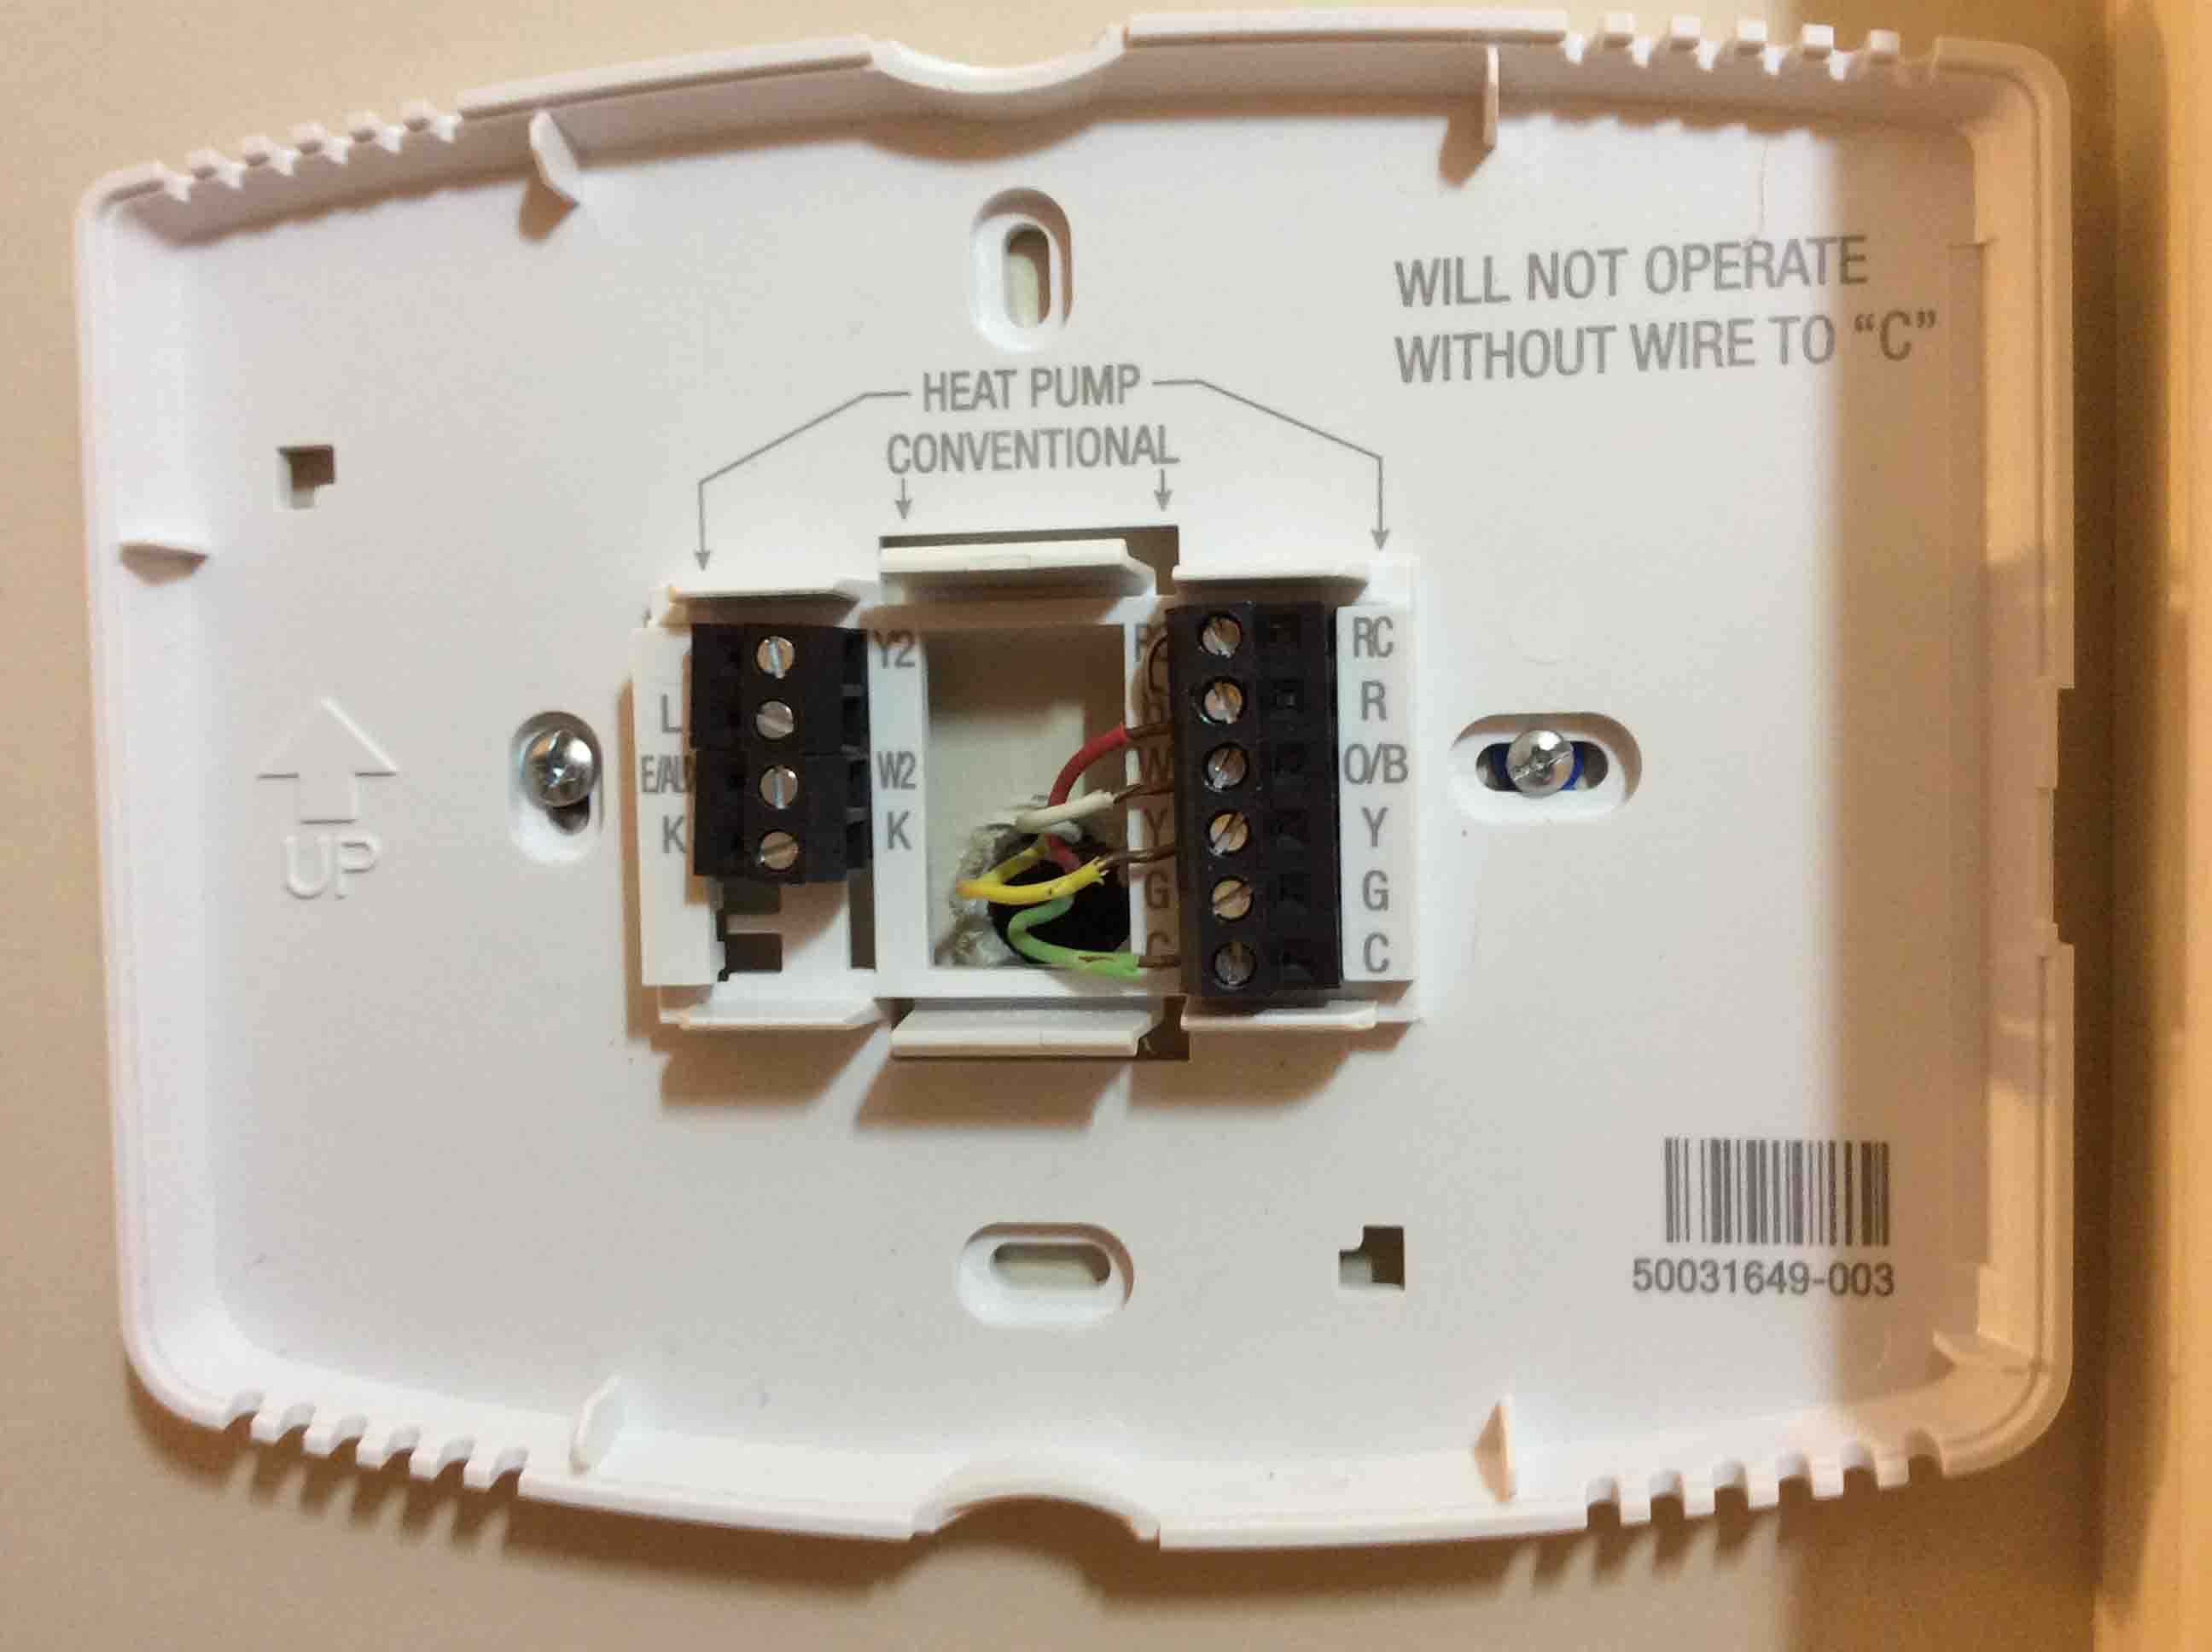
Before touching any wires, take a clear photo of the existing wiring with your smartphone. This photo will serve as your reference during reconnection, so make sure the terminal letters (R, W, Y, G, C, etc.) are visible. Next, use the provided Sensi wire label stickers to tag each wire as you disconnect it. Start with the first wire, place the matching label sticker around it near the end, then loosen its terminal screw and pull the wire out. Repeat this process for every wire, one at a time, so you never lose track of which wire belongs to which terminal.
Once all wires are labeled and disconnected, remove the old thermostat base from the wall. Set it aside. Clean the wall area around the old mounting holes to remove dust and debris, providing a clean surface for the new Sensi base.
Mount the new Sensi thermostat base and connect the wires
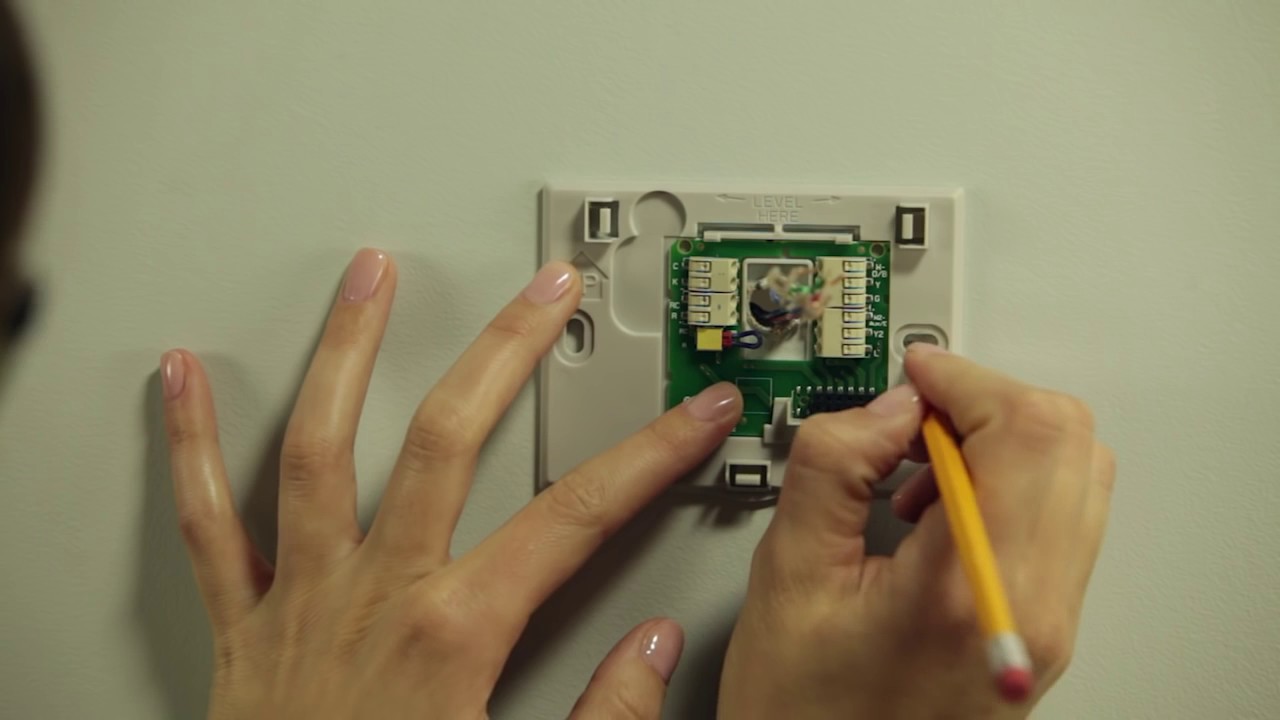
Position the Sensi base plate over the existing holes, or mark new hole locations if needed. Make sure the base is level and straight against the wall. Using the provided screws, secure the base to the wall. Tighten the screws until the base is firmly attached, but be careful not to overtighten and crack the plastic.
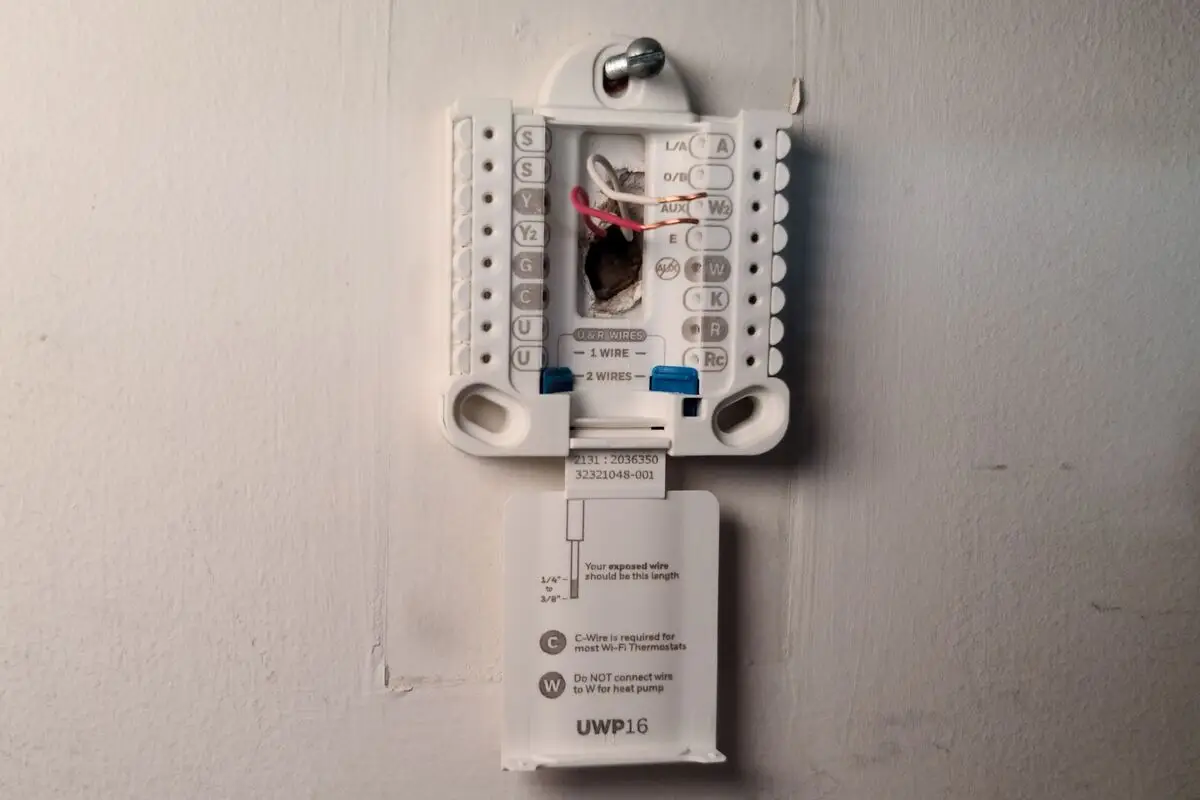
Now connect the labeled wires to the corresponding terminals on the Sensi base. Refer to your photo or the wiring diagram in the Sensi installation guide to match each wire to its correct terminal. Loosen each terminal screw, insert the wire fully into the opening, and tighten the screw securely. Give each wire a gentle tug to confirm it's properly seated, a loose connection can cause intermittent operation or system failure. Repeat this process for every wire.
If your Sensi base has different terminal labels than your old thermostat, consult the included installation guide for the correct mapping.
Attach the display, restore power, and connect to Wi-Fi
With all wires connected, align the pins on the back of the Sensi display with the corresponding slots on the base. Gently push the display onto the base until it clicks into place. Ensure there are no visible gaps between the display and the base, this indicates a proper connection. If the display doesn't sit evenly, detach it and reattach, making sure the pins align correctly.
Return to your electrical panel and switch the circuit breaker or replace the fuse to restore power to your HVAC system. Wait a few moments for the thermostat to power up. The Sensi display will light up and begin its initial setup sequence.
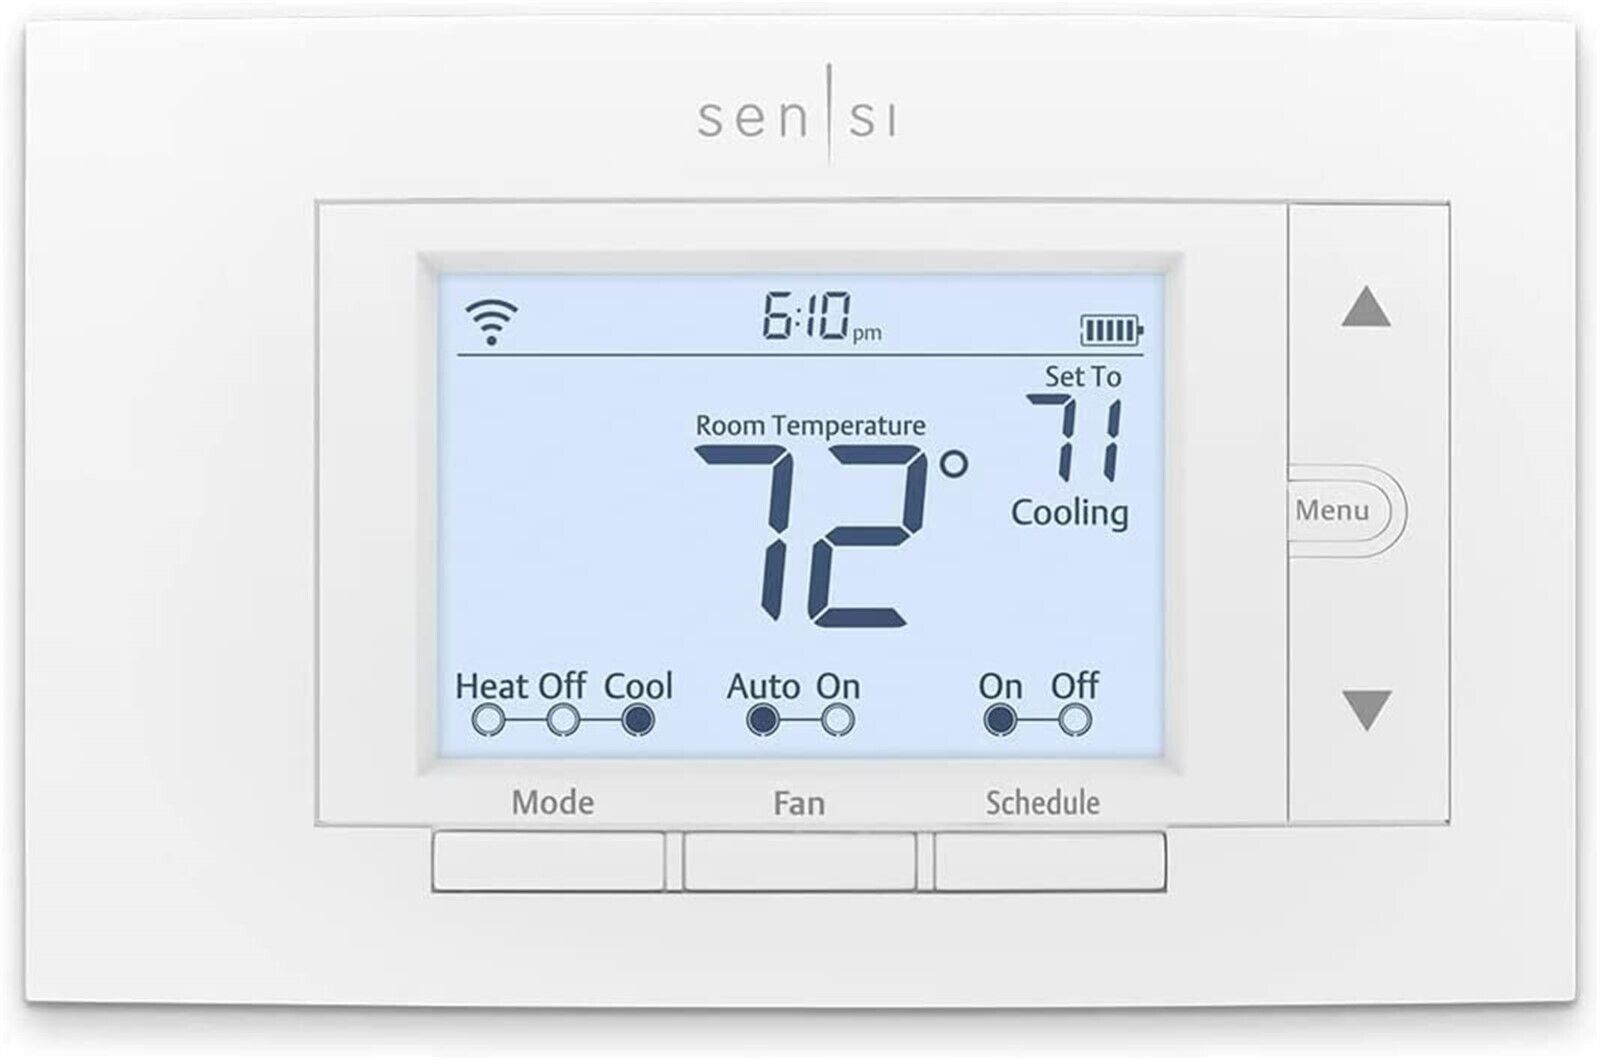
For the first Wi-Fi connection, press "Menu" then "Mode" on a Sensi Smart thermostat, or "Menu" then "Wi-Fi" on a Sensi Touch 2. This starts the wireless radio so the thermostat can broadcast its own setup network. On your smartphone, go to Wi-Fi settings and look for a network named "Sensi" or similar, join it. Then open the Sensi app and follow the prompts to connect the thermostat to your home's 2.4GHz Wi-Fi network. Enter your Wi-Fi password when prompted. The thermostat will attempt to connect and confirm once successful. If you have trouble, ensure you're selecting the 2.4GHz band and not a 5GHz network, as Sensi thermostats only support 2.4GHz.
Set up the Sensi app and configure your system
Download the Sensi app from the Apple App Store or Google Play Store. Open the app and create a new account, or log in if you already have one. Once logged in, tap the "+" sign in the app's main screen, select your Sensi product model, and choose "New Installation" or "No, it needs to be installed" to begin the guided setup process.
The app will walk you through connecting to your thermostat's Wi-Fi network and then prompt you to configure your HVAC equipment. Answer the questions about your system type, such as conventional heating/cooling, heat pump, or multi-stage, based on the wires you connected. The app will ask which wires are installed and what they're connected to, using the information you labeled earlier. Follow the on-screen instructions to set your system preferences, including fan control, heating/cooling stages, and any auxiliary heat options if applicable.
Once configuration is complete, the app will sync your settings to the thermostat. You can then customize schedules, set temperature preferences, and enable features like geofencing or smart home integration from the app's dashboard.
Test your Sensi smart thermostat and next steps
After setup, verify the system operates correctly. Ensure your HVAC system is powered on, then from the app or the thermostat display, set the temperature a few degrees above room temperature to test heating. Listen for the furnace or heat pump to kick on and confirm warm air flows from the vents. Then set the temperature a few degrees below room temperature to test cooling, and verify cold air comes out. If your system has a fan setting, test that too.
Check the app's remote control feature by adjusting the temperature from your phone and confirming the thermostat responds promptly. If you enabled geofencing or smart home integration, test those features as well to ensure they function correctly.
If something isn't working, first double-check all wire connections at the Sensi base, a loose wire is the most common issue. Verify the circuit breaker is fully on and the HVAC system has power. If problems persist, consult the Sensi user manual or contact Sensi customer support for troubleshooting assistance. For common issues like an unresponsive display or lost Wi-Fi connection, you may need to reset a smart thermostat to factory defaults and repeat the setup process. With your Sensi properly installed and configured, you can now enjoy remote control, energy-saving schedules, and insights into your home's heating and cooling usage.