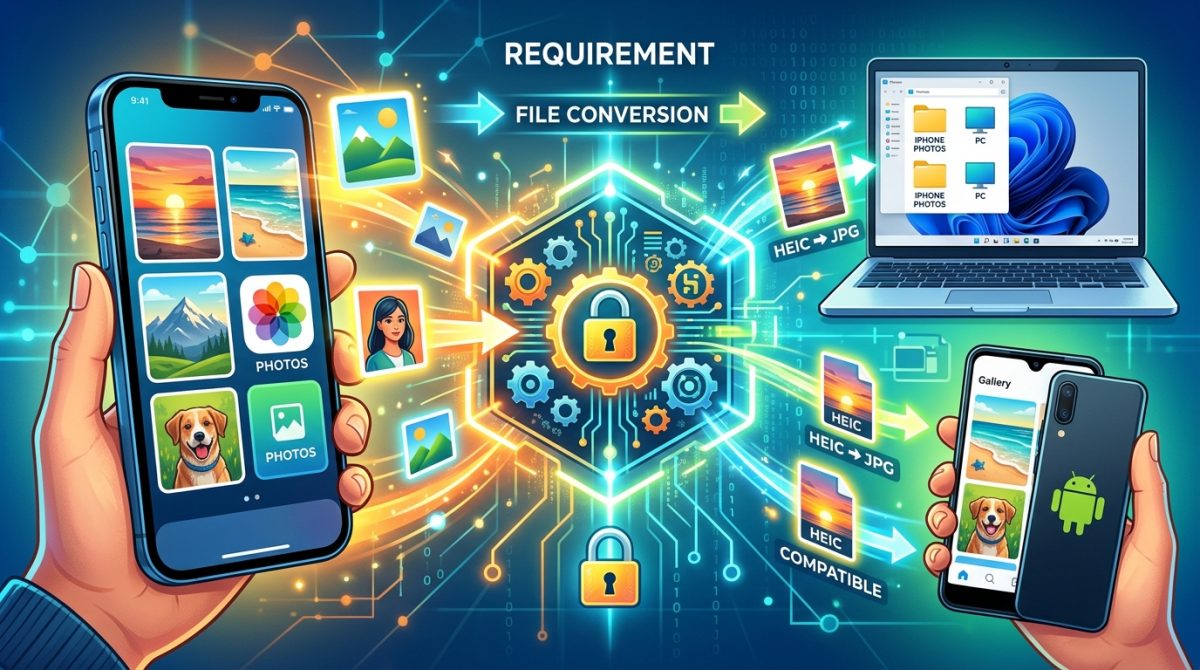
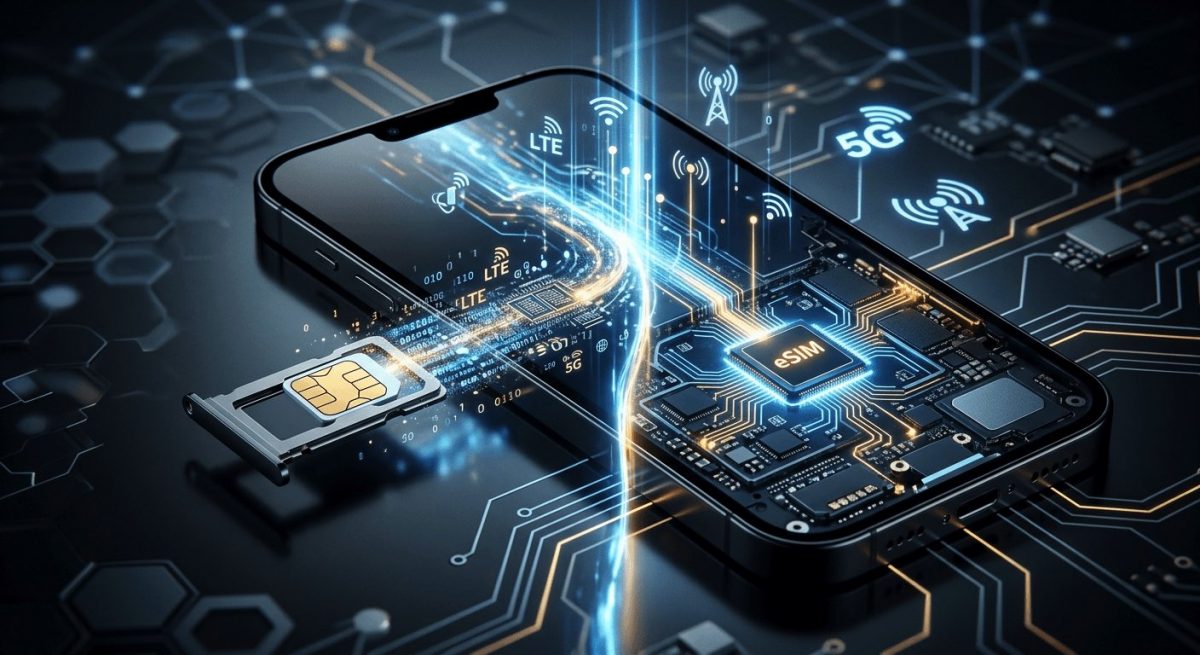
To transfer an eSIM to a new phone, the path depends on whether you are moving between iPhones, moving to a Pixel, or replacing a travel eSIM profile from a provider. On supported iPhones and Pixels, the transfer can happen through the device setup flow or in Settings, but carriers and operators still determine whether the line can move automatically or must be reissued.
Move an eSIM to a new iPhone
Apple says that if your carrier supports eSIM Quick Transfer, you can move a number from a previous iPhone to a new iPhone without contacting the carrier. Apple's eSIM transfer guidance says both devices must be signed in with the same Apple Account, the previous iPhone must be unlocked with its passcode, both devices must be nearby with Bluetooth on, and both devices must be on iOS 18.4 or later.
If you are setting up the new iPhone, Apple says you may be prompted to transfer your physical SIM or eSIM during setup. If not, open Settings > Cellular and tap Set Up Cellular or Add eSIM. Then choose a cellular plan to transfer from another iPhone. If you do not see a list of numbers, tap Transfer From Nearby iPhone.
- On the new iPhone, tap Transfer on the confirmation screen, or enter the verification code shown on the new iPhone if prompted.
- Wait for the cellular plan to activate on the new iPhone.
- Apple says the plan on the new iPhone deactivates the previous SIM when activation completes.
- If a banner appears that says Finish Setting Up Your Carrier's Cellular Plan, tap it to go to the carrier’s webpage to transfer the eSIM.
If the carrier does not support eSIM Quick Transfer, Apple says you need carrier help.
Move an eSIM to a Pixel
Google's Pixel eSIM guidance says the transfer experience varies by operator and where the device was purchased. Google also documents transfer paths for moving an eSIM from an iPhone or another Android phone to a Pixel, and it notes that some transfers depend on carrier support.
For Pixel-to-Pixel or other supported transfers, Google’s setup flow uses Settings > Network & internet > SIMs > Add SIM > Transfer SIM from another device. Google also documents a flow for iPhone to Pixel transfer that begins on the iPhone when prompted and then continues on the Pixel under Settings > Network and Internet > SIMs > Add SIM > Transfer a SIM from another phone > iPhone.
- Google says the iPhone-to-Pixel experience can vary by operator and purchase channel.
- If the transfer option does not appear, Google says the device or carrier may not currently support eSIM transfer and you should contact your carrier.
- Google documents Android 12 or later and the current version of Google Play services for the Android transfer flow.
Replace a travel eSIM profile instead of moving the old one
A travel eSIM is usually tied to a specific plan or QR/code issued by the provider, so the workflow is often replacement rather than device-to-device transfer. In that case, install the new profile on the new phone through the provider’s own instructions and retire the old one after the new plan is active.
If the provider or carrier issued the travel eSIM, follow that provider’s activation flow for the new device and treat the old profile as no longer needed once the new profile is working. Some operators document transfer support, while others require a new activation or a carrier-issued replacement, so the exact method depends on the provider and plan.
Clean up the old phone after activation
After the new phone is active, remove the old line or profile only if the transfer documentation says it is safe to do so. Apple states that the old SIM deactivates when the new iPhone’s plan activates, but Google’s documentation and carrier documentation can vary by operator.
- On the old phone, confirm the cellular plan is no longer the primary active line before deleting anything.
- Remove the old eSIM profile only after the new phone can place calls, use data, and receive texts on the transferred line.
- If the carrier redirected you to its webpage or requires a separate transfer step, finish that step before wiping the old device.
What changes by device, region, carrier, or purchase channel
The supported path can differ by platform, carrier, and where the phone was bought. Apple limits its quick-transfer flow to carriers that support eSIM Quick Transfer and requires iOS 18.4 or later on both iPhones. Google says Pixel eSIM transfer behavior can vary by operator and purchase source, and it documents different paths for iPhone-to-Pixel and Android-to-Pixel transfers.
- Apple iPhone transfer: supported when the carrier supports eSIM Quick Transfer and both devices meet Apple’s setup conditions.
- Pixel transfer: supported behavior varies by operator and purchase channel; some flows may require carrier help.
- Travel eSIM: usually replaced with a new profile from the provider rather than transferred as-is.
Practical order of operations
A simple device-change workflow is to activate the line on the new phone first, verify that calls, messages, and data work, and only then remove the old phone’s eSIM or factory-reset the old device. That sequence avoids losing service before the new line is live.
If the phone setup screen offers transfer, use it. If not, follow the carrier or provider’s own activation steps, because the phone maker’s transfer tools do not override operator rules for every plan.