Introduction
Setting up a reliable and efficient home Wi-Fi network is essential in today's connected world. The Amazon Eero Mesh Wi-Fi System offers a seamless solution to eliminate dead zones and ensure consistent connectivity throughout your home. Whether you're streaming, gaming, or simply browsing the web, the Eero Mesh Wi-Fi System provides the necessary infrastructure for a smooth and uninterrupted online experience.
In this guide, we will walk you through the process of setting up the Amazon Eero Mesh Wi-Fi System, from unboxing the components to configuring the network. By following these step-by-step instructions, you can optimize your home network and enjoy a robust Wi-Fi signal in every corner of your living space.
The Eero Mesh Wi-Fi System is designed to be user-friendly, making it accessible to individuals with varying levels of technical expertise. With its intuitive app-based setup and expandable mesh network, the Eero system offers a hassle-free approach to enhancing your home's Wi-Fi coverage.
Whether you're a tech enthusiast or a casual user looking to improve your home network, this guide will provide you with the knowledge and confidence to set up the Amazon Eero Mesh Wi-Fi System with ease. Let's embark on this journey to transform your home Wi-Fi experience and unlock the full potential of a reliable, high-performance network.
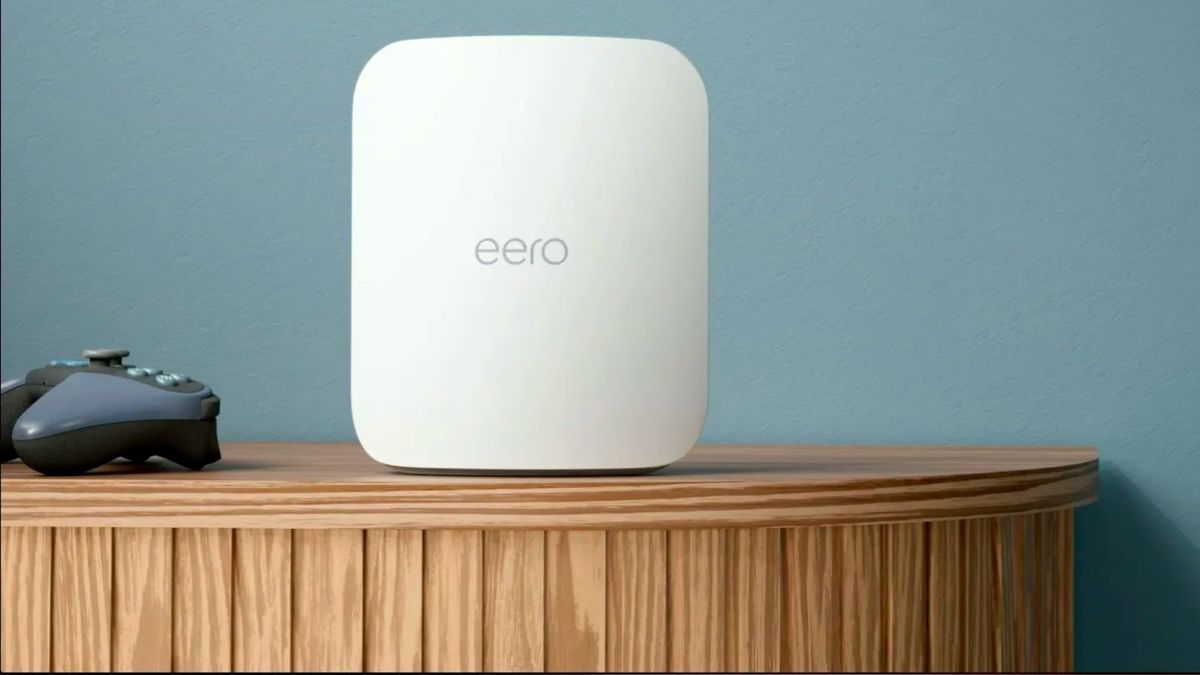
Step 1: Unboxing the Amazon Eero Mesh Wi-Fi System
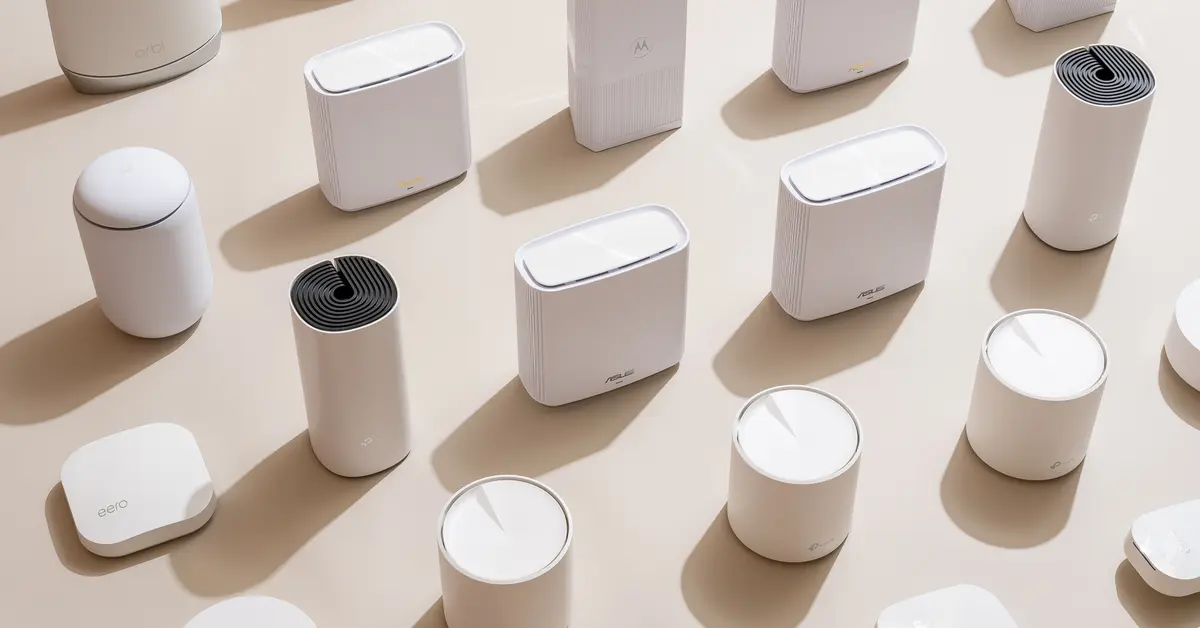
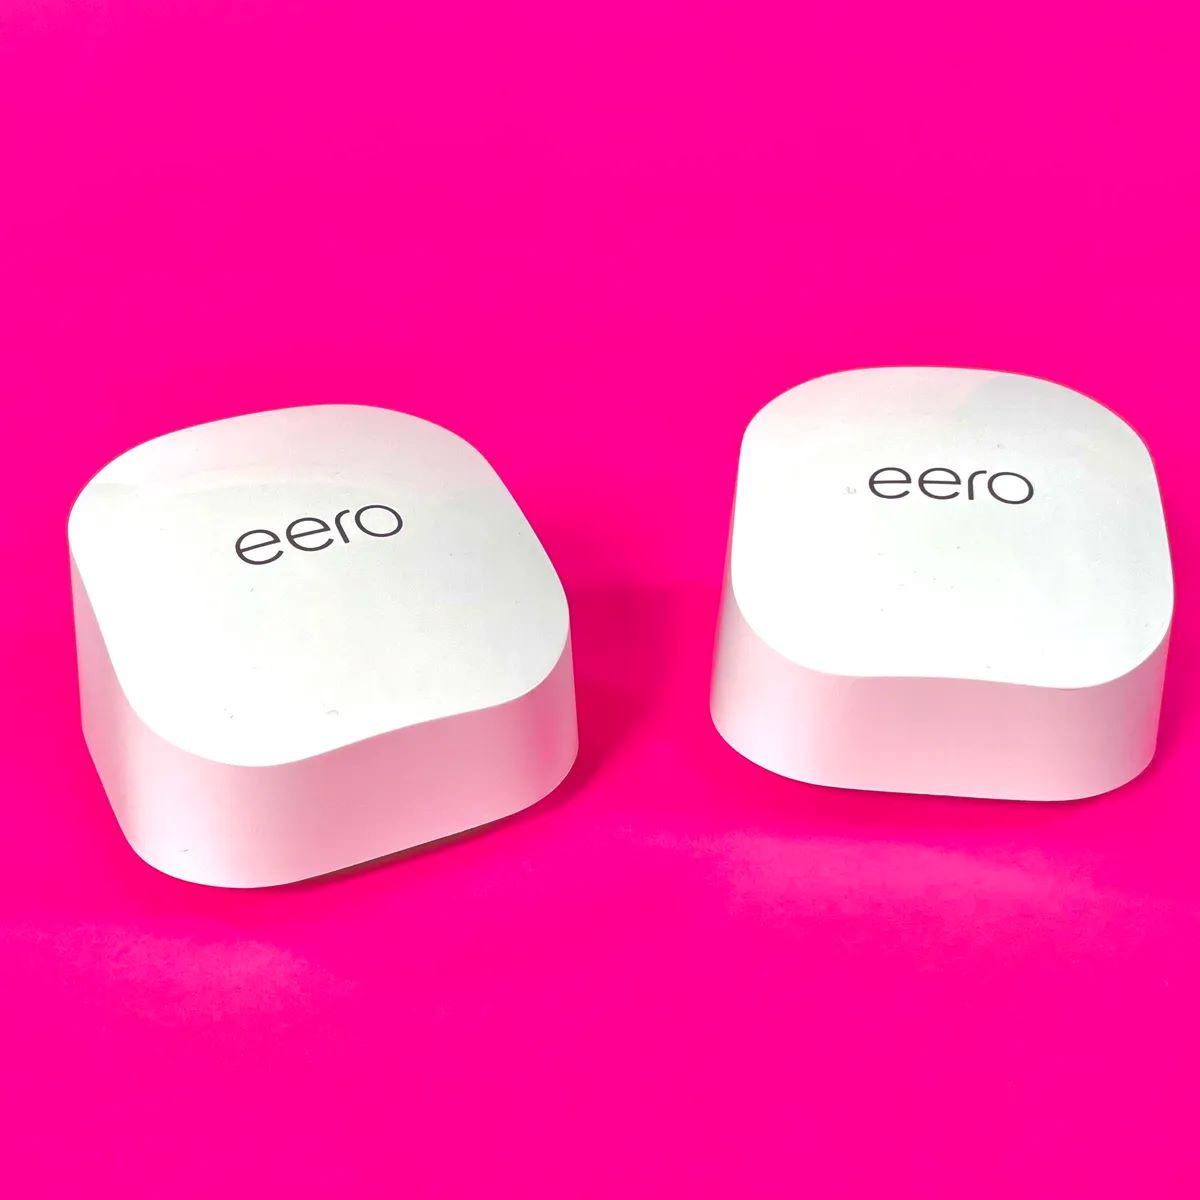
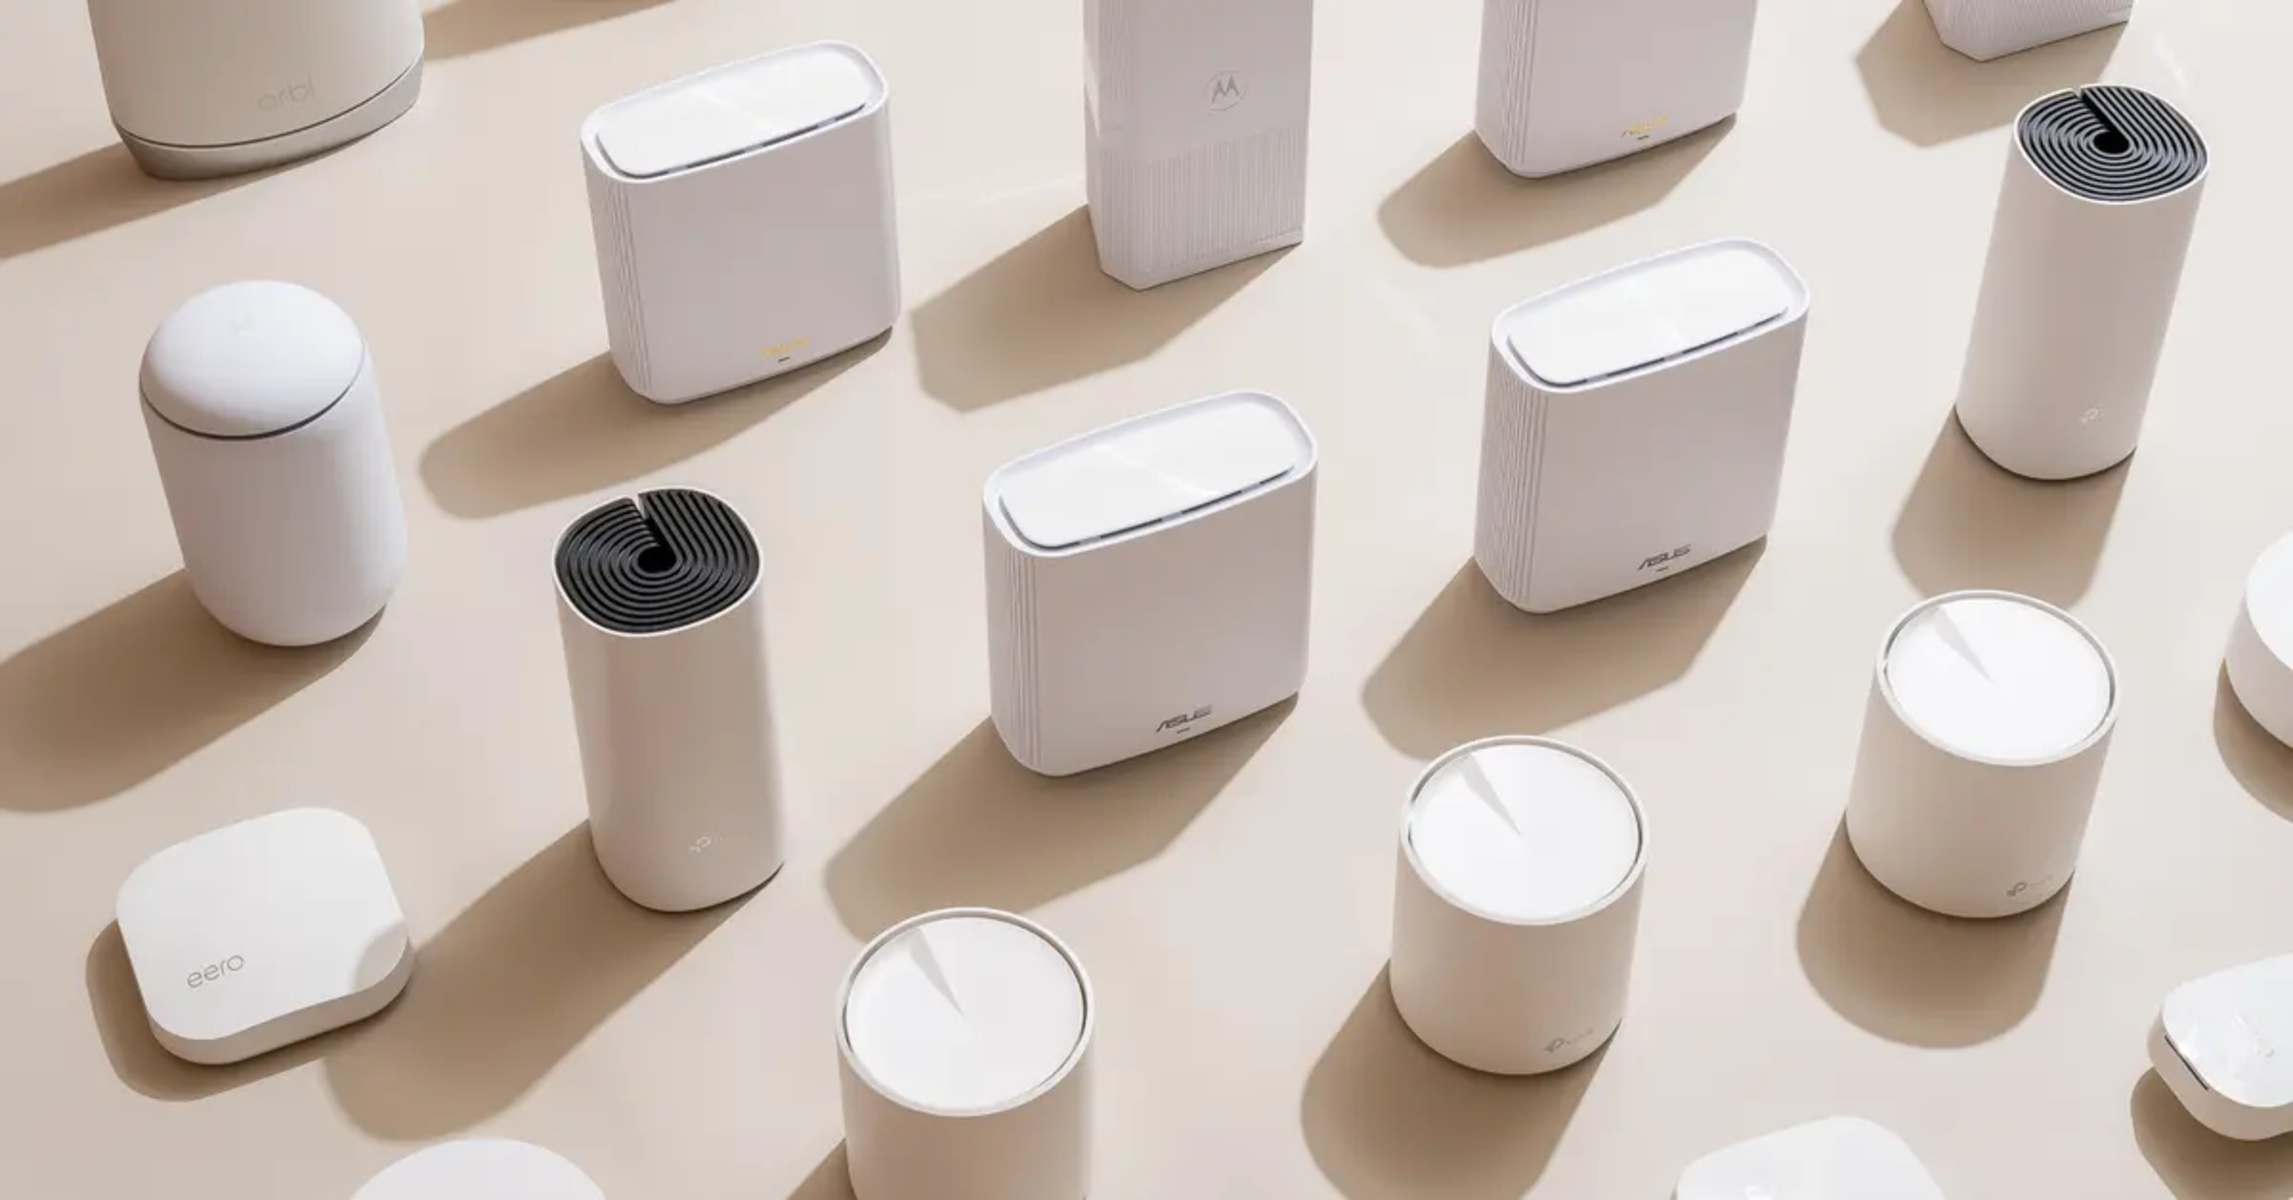
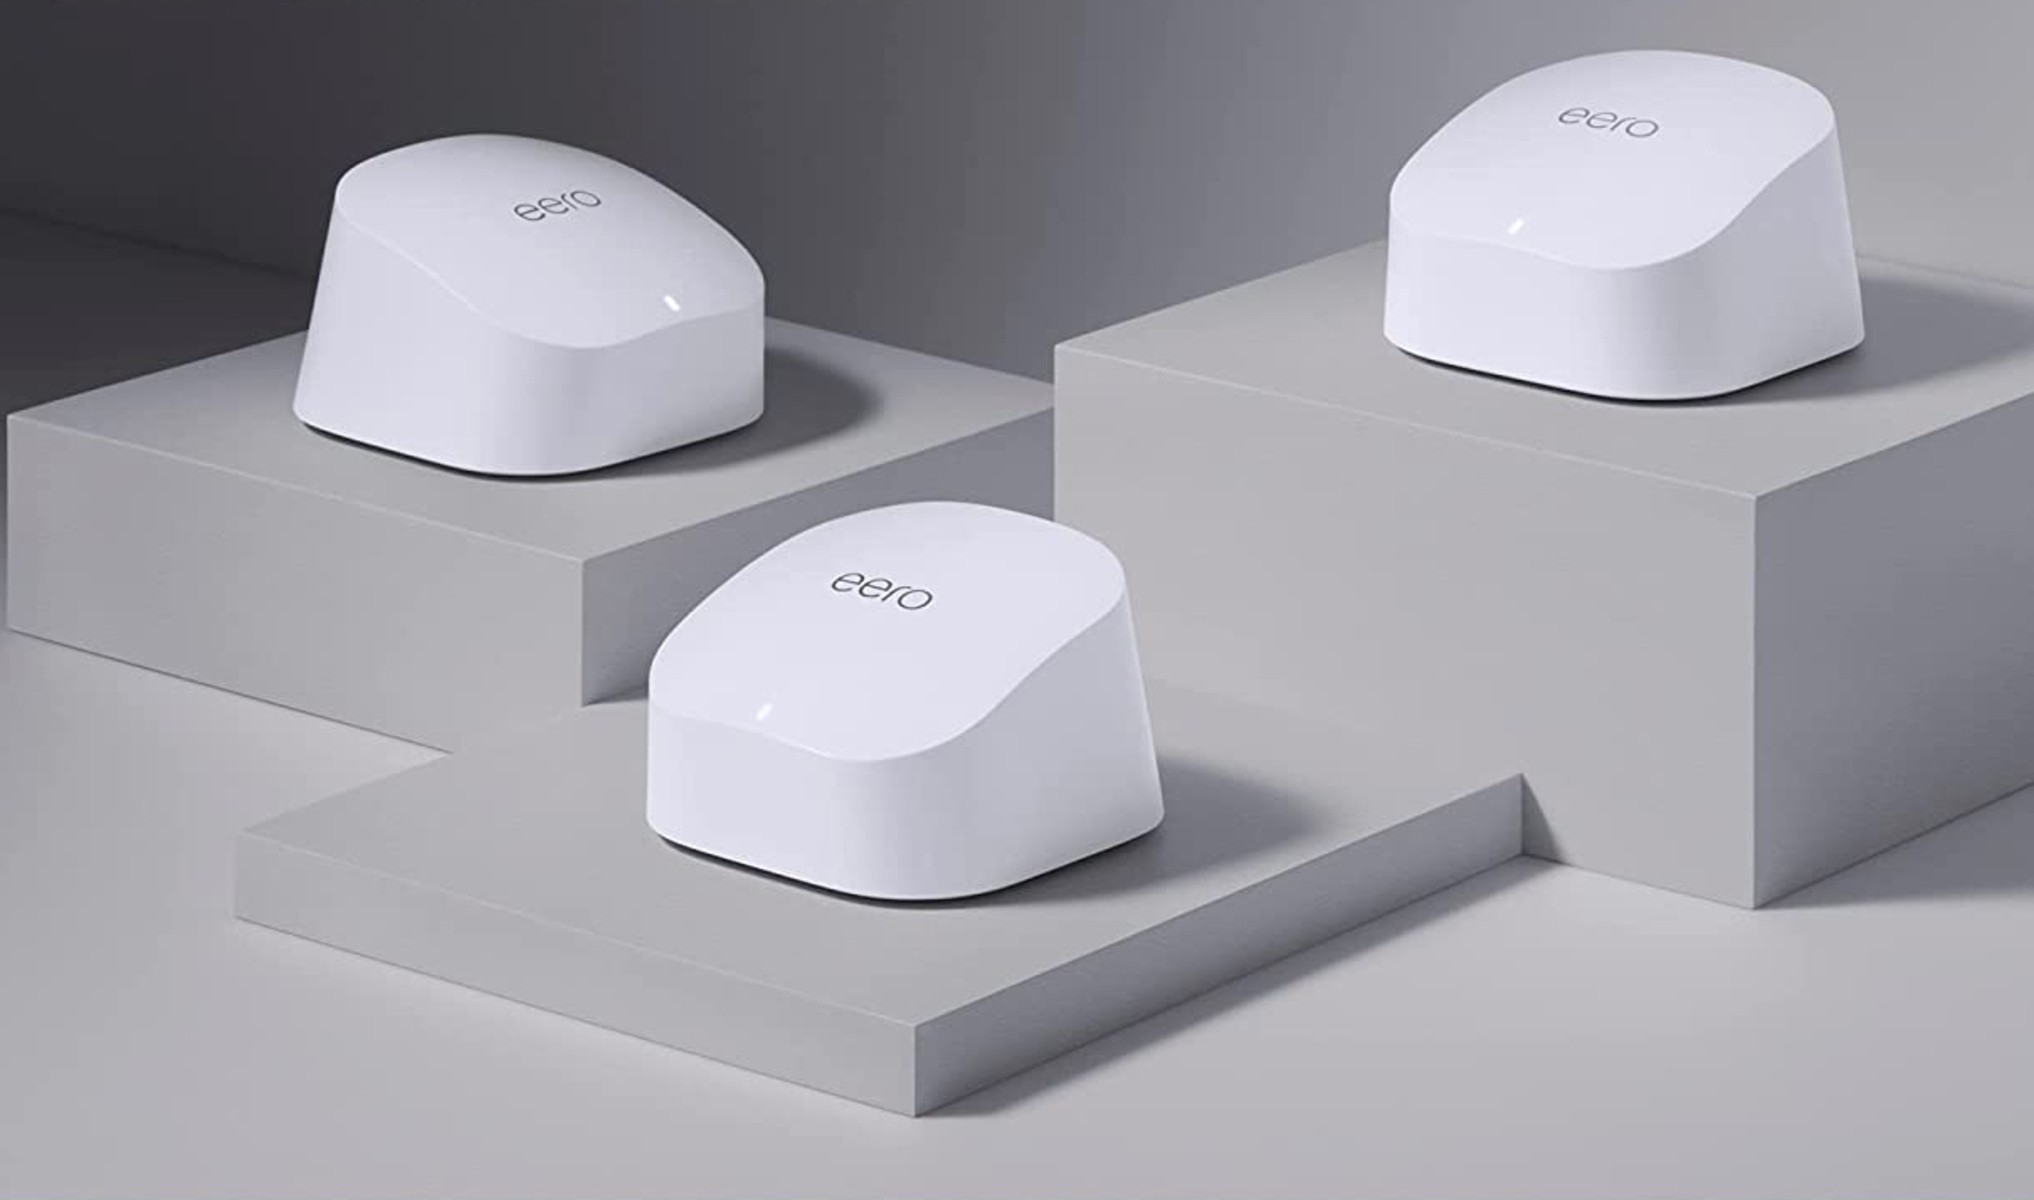
Upon receiving your Amazon Eero Mesh Wi-Fi System, the first step is to unbox the components and familiarize yourself with the contents. The package typically includes the Eero router, power adapters, Ethernet cable, and any additional Eero nodes or beacons, depending on the specific kit you’ve purchased.
As you open the box, you’ll be greeted by the sleek and modern design of the Eero devices. The compact and minimalist aesthetic ensures that the Eero components seamlessly blend into your home environment while delivering powerful Wi-Fi coverage.
Inspect the contents to ensure that all the necessary components are present and undamaged. Take a moment to review the included documentation, which often contains setup instructions and important safety information. Familiarizing yourself with the contents and documentation will set the stage for a smooth and organized setup process.
It’s essential to identify the primary Eero router and distinguish it from any additional nodes or beacons included in the package. Understanding the role of each component will be instrumental in the subsequent steps of the setup process.
By unboxing the Amazon Eero Mesh Wi-Fi System meticulously and acquainting yourself with the components, you’ll be well-prepared to proceed to the next step of connecting the Eero router and commencing the setup process.
Step 2: Connecting the Eero Router
Once you have unboxed the Amazon Eero Mesh Wi-Fi System and familiarized yourself with the components, it’s time to embark on the next crucial step: connecting the Eero router. This step lays the foundation for establishing a robust and seamless Wi-Fi network within your home.
Locate a central position in your home to place the Eero router. This strategic placement will facilitate optimal Wi-Fi coverage throughout your living space. Ensure that the chosen location is within reach of a power outlet and in proximity to your broadband modem or gateway, as the Eero router will need to be connected to it.
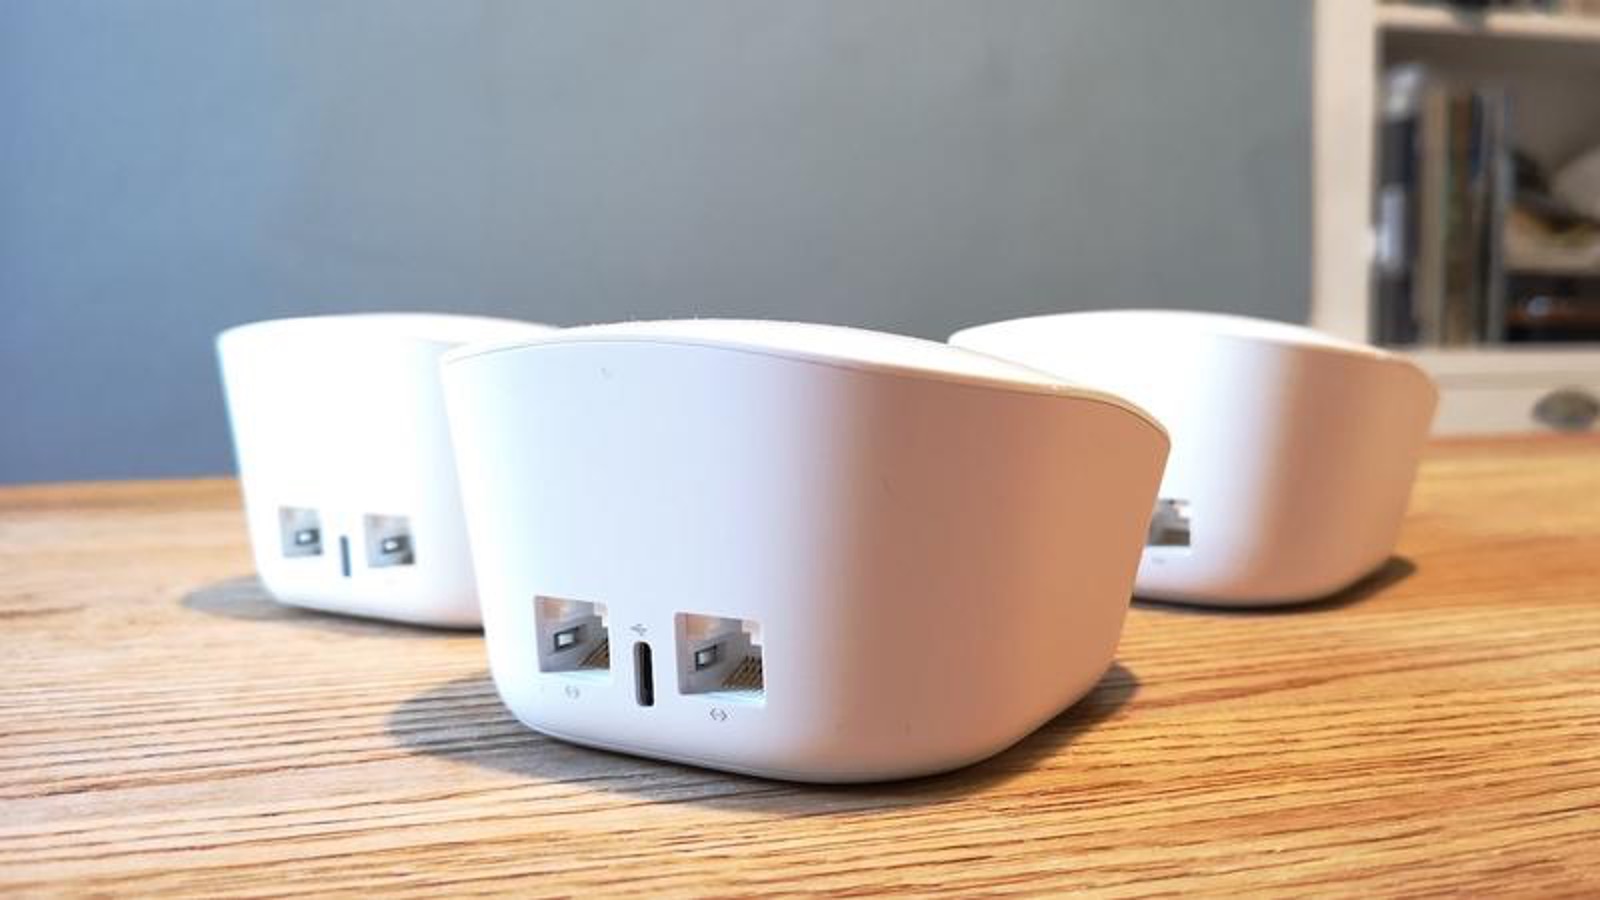
Connect the Eero router to the power supply using the provided power adapter. Once powered, use the Ethernet cable to establish a connection between the Eero router and your broadband modem or gateway. This direct connection will enable the Eero router to access the internet and begin broadcasting a Wi-Fi signal.
Upon establishing the physical connections, the Eero router will power on and initiate its setup process. This may involve a series of indicator lights or prompts to guide you through the initial configuration. Additionally, you may need to download the Eero mobile app, which serves as a central hub for managing and configuring your Eero network.
As the Eero router initializes and connects to the internet, you’re one step closer to experiencing a robust and reliable home Wi-Fi network. The next phase will involve setting up any additional Eero nodes or beacons to expand the mesh network and further enhance your Wi-Fi coverage.
Step 3: Setting Up Additional Eero Nodes
Expanding the coverage of your Amazon Eero Mesh Wi-Fi System involves setting up additional Eero nodes or beacons to create a seamless mesh network. These additional nodes work in harmony with the primary Eero router to ensure consistent and reliable Wi-Fi signal strength throughout your home.
Identify key areas in your home where Wi-Fi signal strength may be weaker or where you frequently use wireless devices. These locations are ideal for placing the additional Eero nodes or beacons to effectively extend the coverage of your mesh network.
Once you’ve identified the optimal placement for the additional Eero nodes, proceed to unbox and power them using the provided adapters. The Eero nodes will seamlessly integrate with your existing Eero network, enhancing the Wi-Fi coverage and eliminating potential dead zones.
Using the Eero mobile app, you can conveniently add the new nodes to your network and configure their settings. The app provides step-by-step guidance, making the setup process intuitive and user-friendly. As you add each node, the app will assist in optimizing their placement to maximize the effectiveness of the mesh network.
Upon successfully setting up the additional Eero nodes, they will seamlessly communicate with the primary Eero router, creating a unified and expansive Wi-Fi network. This interconnected mesh network ensures that your devices seamlessly transition between nodes, providing a consistent and uninterrupted online experience regardless of your location within your home.
With the additional Eero nodes integrated into your mesh network, you can now proceed to the next step of configuring and customizing the Eero network to suit your specific preferences and requirements.
Step 4: Configuring the Eero Network
Configuring the Amazon Eero Mesh Wi-Fi System allows you to personalize and optimize the network settings to suit your specific needs and preferences. The intuitive Eero mobile app serves as a central platform for managing and customizing various aspects of your home Wi-Fi network.
Upon launching the Eero app, you will be guided through the initial configuration process, which includes creating a network name and password. This information will be used to secure and identify your Wi-Fi network, ensuring that only authorized users can access it.
Furthermore, the Eero app provides a range of customization options, allowing you to prioritize devices, set up parental controls, and create guest networks. Prioritizing devices enables you to allocate bandwidth to specific devices or activities, ensuring a seamless and optimized online experience for essential tasks such as video streaming or online gaming.
Parental controls empower you to manage and monitor the online activities of family members, providing a safe and secure online environment. Additionally, the ability to create guest networks allows you to grant temporary Wi-Fi access to visitors without compromising the security of your primary network.
Another noteworthy feature of the Eero app is the seamless integration of smart home devices. By incorporating smart home technology into your Eero network, you can effortlessly manage and monitor connected devices, ranging from smart thermostats to security cameras, all within the app’s interface.
As you configure and customize the Eero network to align with your specific requirements, the app provides real-time feedback and insights into your network’s performance. This transparency empowers you to make informed decisions and adjustments to optimize your Wi-Fi network’s efficiency and reliability.
With the Eero network configured to your preferences, you are now poised to test and experience the enhanced performance and seamless connectivity provided by your meticulously designed mesh Wi-Fi network.
Step 5: Testing the Eero Mesh Wi-Fi System
After completing the setup and configuration of the Amazon Eero Mesh Wi-Fi System, it’s essential to conduct comprehensive testing to ensure that the network is delivering the expected performance and coverage. This crucial step allows you to validate the effectiveness of your newly established mesh Wi-Fi system and address any potential issues that may arise.
Begin by conducting a thorough assessment of the Wi-Fi signal strength and coverage throughout your home. Use a combination of Wi-Fi-enabled devices, such as smartphones, tablets, and laptops, to test the connectivity in various areas, including previously problematic spots where signal strength was inadequate.
Utilize speed test applications or websites to measure the internet speed and latency across different locations within your home. This will provide valuable insights into the consistency and reliability of your Wi-Fi network, ensuring that all areas are receiving optimal performance.
Test the seamless transition between Eero nodes by moving around your home with a connected device. The mesh network’s ability to facilitate uninterrupted connectivity as you move from one area to another is a key indicator of its effectiveness in eliminating dead zones and maintaining a consistent signal.
Engage in activities that demand a robust and stable internet connection, such as streaming high-definition video content or engaging in online gaming. By doing so, you can assess the network’s ability to handle bandwidth-intensive tasks without interruptions or buffering, providing a seamless and immersive online experience.
Furthermore, consider connecting a variety of devices to the network simultaneously to gauge its capacity to support multiple users and activities. This comprehensive stress test will reveal the network’s ability to maintain performance under varying levels of demand.
Throughout the testing phase, closely monitor the network performance using the Eero app’s diagnostic tools and real-time metrics. Any areas of concern can be addressed by fine-tuning the network settings or adjusting the placement of Eero nodes to optimize coverage and performance.
By rigorously testing the Eero Mesh Wi-Fi System, you can confidently validate its capabilities and identify any areas for improvement, ensuring that your home network delivers a seamless and reliable online experience for all connected devices.
Conclusion
Setting up the Amazon Eero Mesh Wi-Fi System has transformed your home network experience, providing robust coverage and reliable connectivity throughout your living space. By following the step-by-step process outlined in this guide, you have successfully established a seamless mesh network that eliminates dead zones and ensures consistent Wi-Fi signal strength.
From the initial unboxing of the Eero components to the comprehensive testing of the network, you have navigated through each stage with confidence and precision. The intuitive nature of the Eero system, coupled with the user-friendly Eero app, has simplified the setup and configuration process, making it accessible to individuals with varying levels of technical expertise.
The strategic placement of the Eero router and additional nodes has optimized Wi-Fi coverage, allowing you to enjoy a reliable and uninterrupted online experience in every corner of your home. The ability to customize and manage the network settings through the Eero app has empowered you to tailor the network to your specific preferences, whether it involves prioritizing devices, implementing parental controls, or integrating smart home devices seamlessly.
As a result of your meticulous setup and testing, you can now revel in the seamless transition between Eero nodes, the consistent performance across multiple devices, and the robust capacity of your network to handle bandwidth-intensive activities. The Eero Mesh Wi-Fi System has not only enhanced your home network but also provided a foundation for a reliable and efficient online experience for all your connected devices.
With the Amazon Eero Mesh Wi-Fi System in place, you are well-equipped to embrace the possibilities of a seamlessly connected home, where Wi-Fi dead zones are a thing of the past, and uninterrupted connectivity is the new norm. Your journey to optimize your home network has culminated in a robust and reliable Wi-Fi ecosystem that caters to your diverse digital needs and elevates your online experiences.
Congratulations on successfully setting up and optimizing your Amazon Eero Mesh Wi-Fi System, and may your home be forever enriched by the seamless connectivity and reliable performance it provides.