Introduction
Welcome to the world of seamless connectivity! Installing a network switch into your Comcast home internet system can significantly enhance your network’s performance and flexibility. Whether you’re a tech enthusiast or simply looking to optimize your home network, this guide will walk you through the process step by step. By adding a network switch, you can expand the number of devices connected to your network, improve data transfer speeds, and streamline your home internet setup.
Network switches play a crucial role in modern home networking by allowing multiple devices to communicate with each other efficiently. With the increasing number of smart devices, gaming consoles, and streaming devices in our homes, having a reliable and robust network infrastructure is essential. By integrating a network switch into your Comcast home internet, you can ensure that all your devices are seamlessly connected and can communicate with each other without any lag or connectivity issues.
In this guide, you’ll learn how to install a network switch into your Comcast home internet system, empowering you to create a robust and efficient network environment that meets the demands of your digital lifestyle. So, let’s dive in and transform your home network into a high-performing, interconnected ecosystem!
Step 1: Gather Necessary Equipment
Before embarking on the installation process, it’s essential to gather the necessary equipment to ensure a smooth and efficient setup. Here’s what you’ll need:
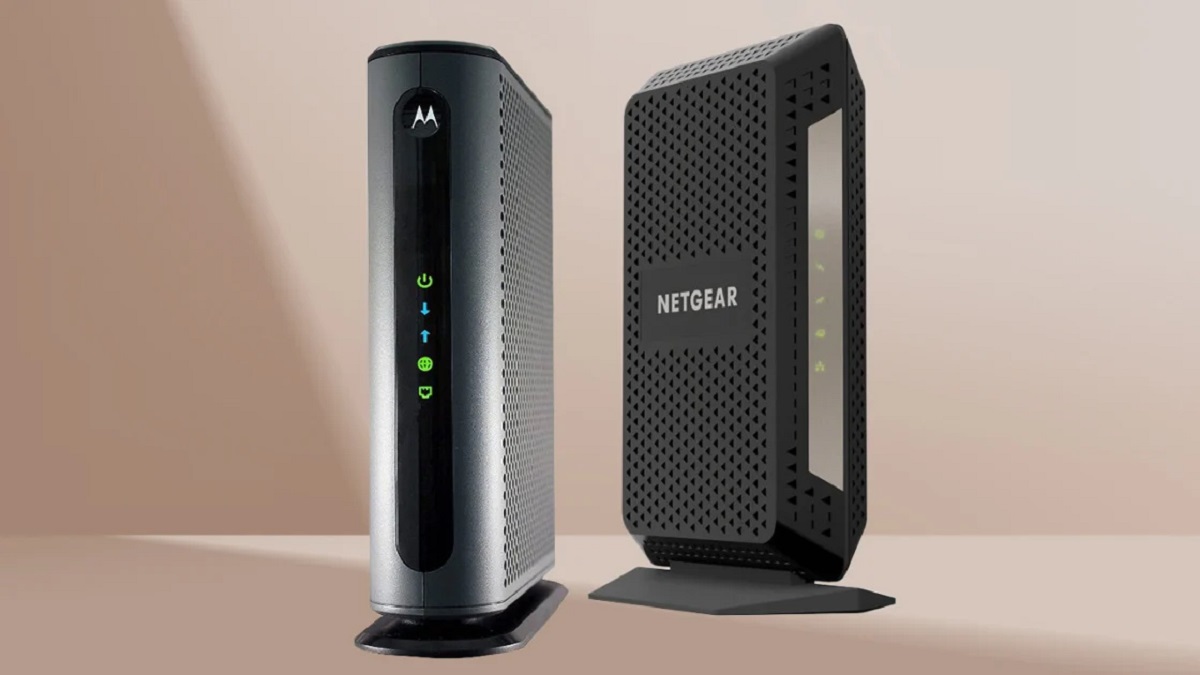
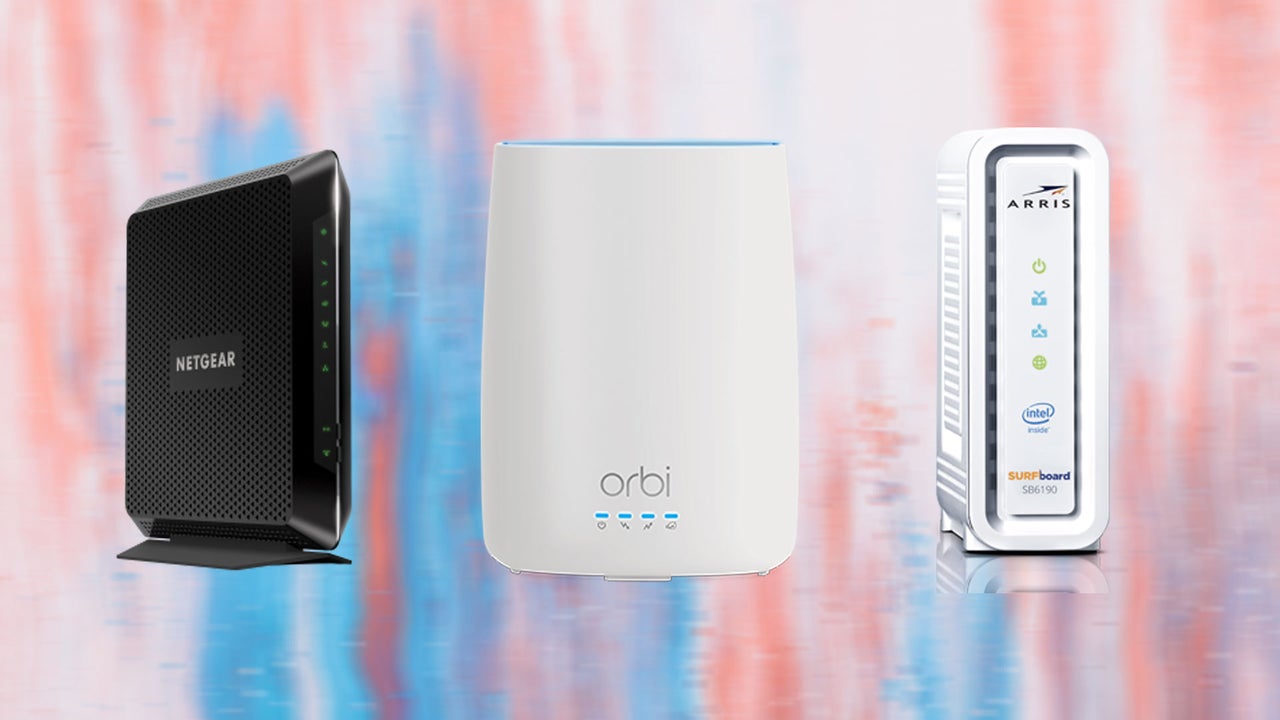
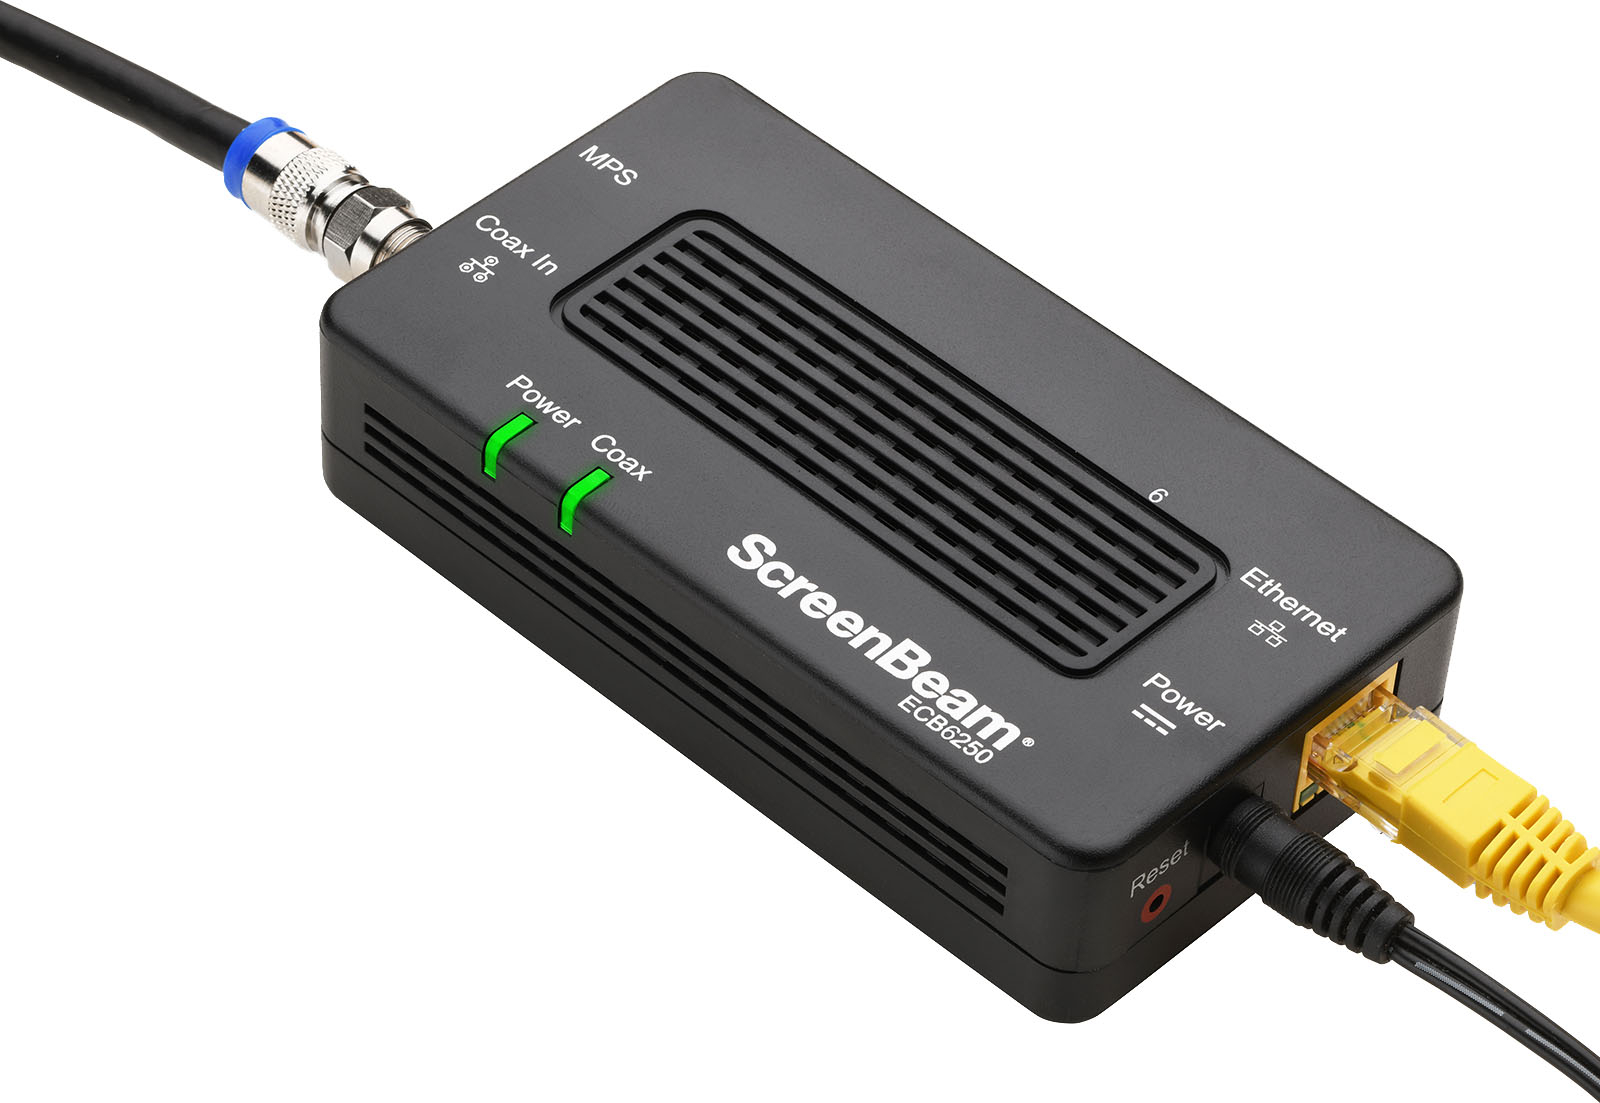
- Network Switch: Select a high-quality network switch that meets your specific requirements in terms of the number of ports and data transfer speeds. Ensure that the switch is compatible with your Comcast home internet system.
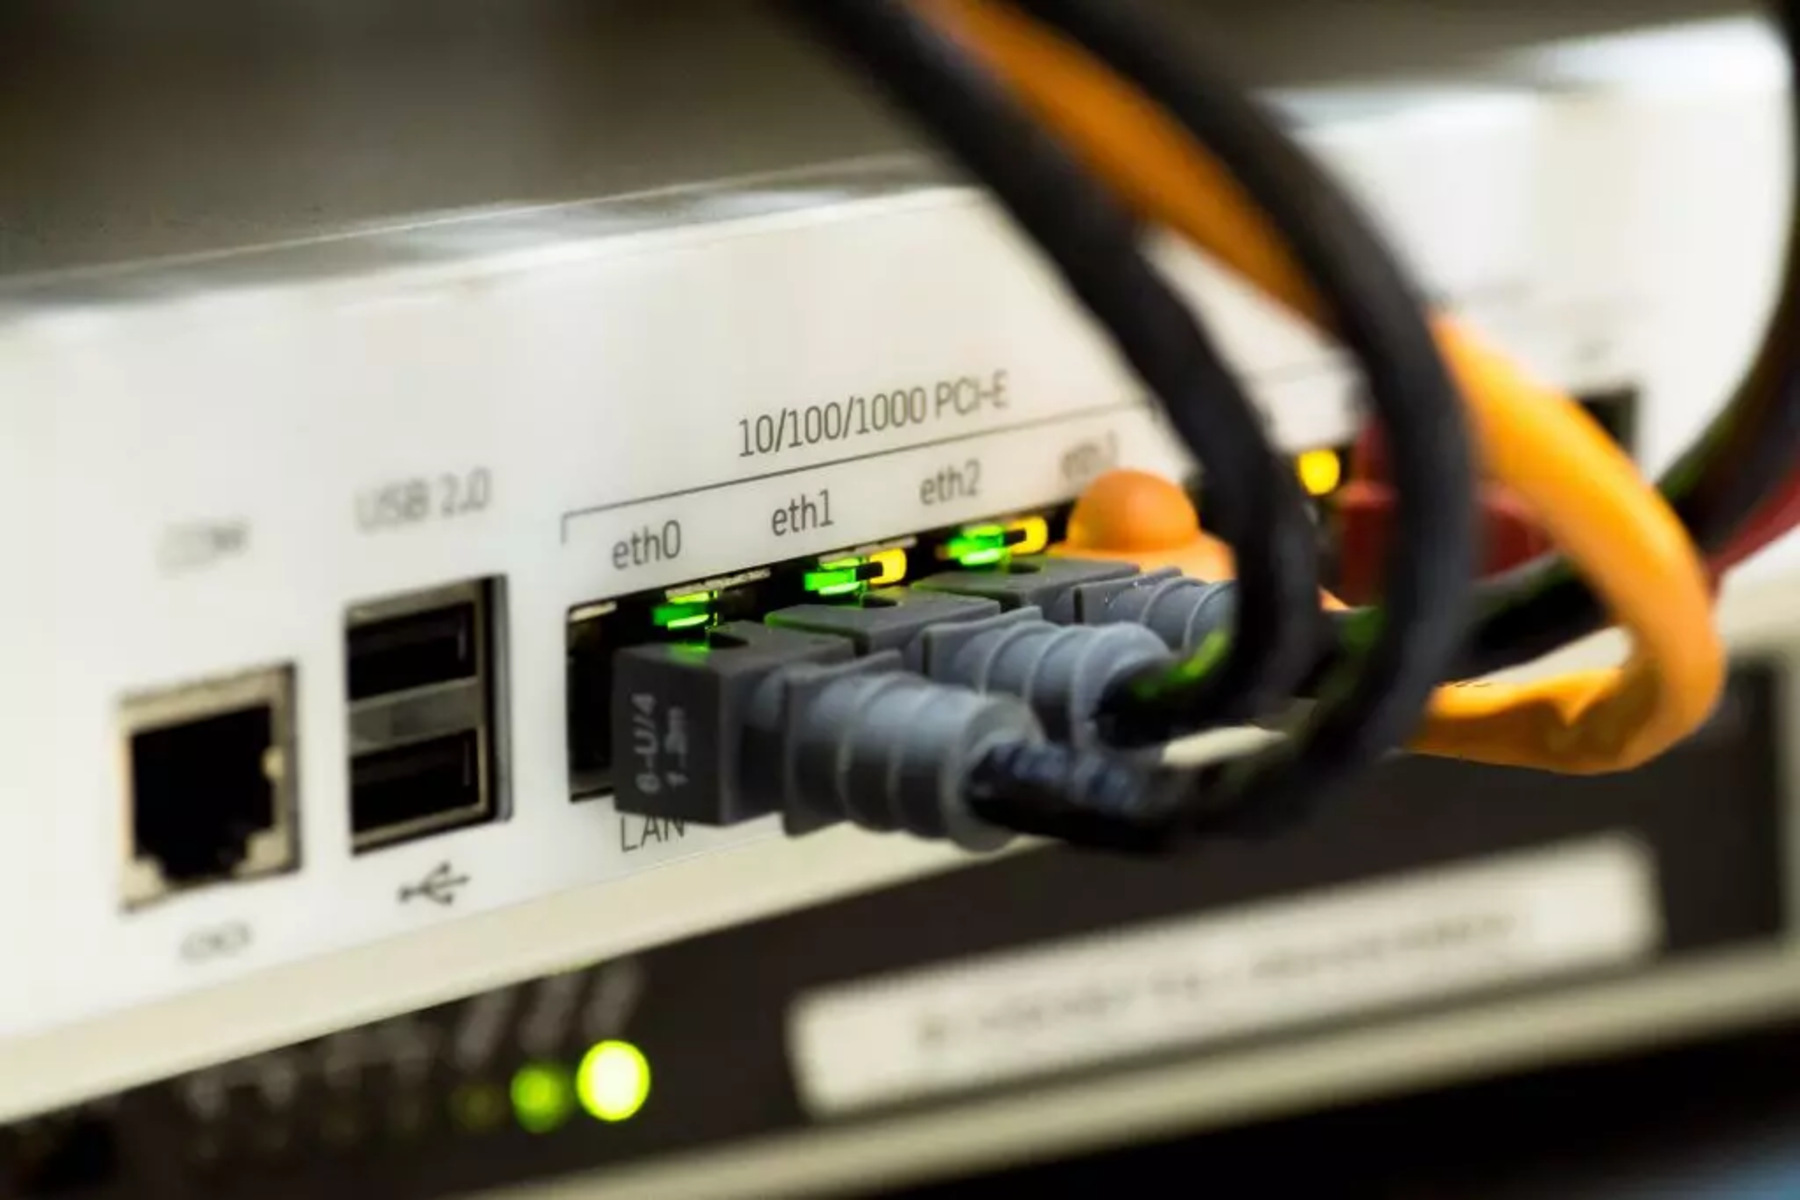
- Ethernet Cables: Acquire Ethernet cables of sufficient length to connect your devices to the network switch. Consider the locations of your devices and the layout of your home to determine the required cable lengths.
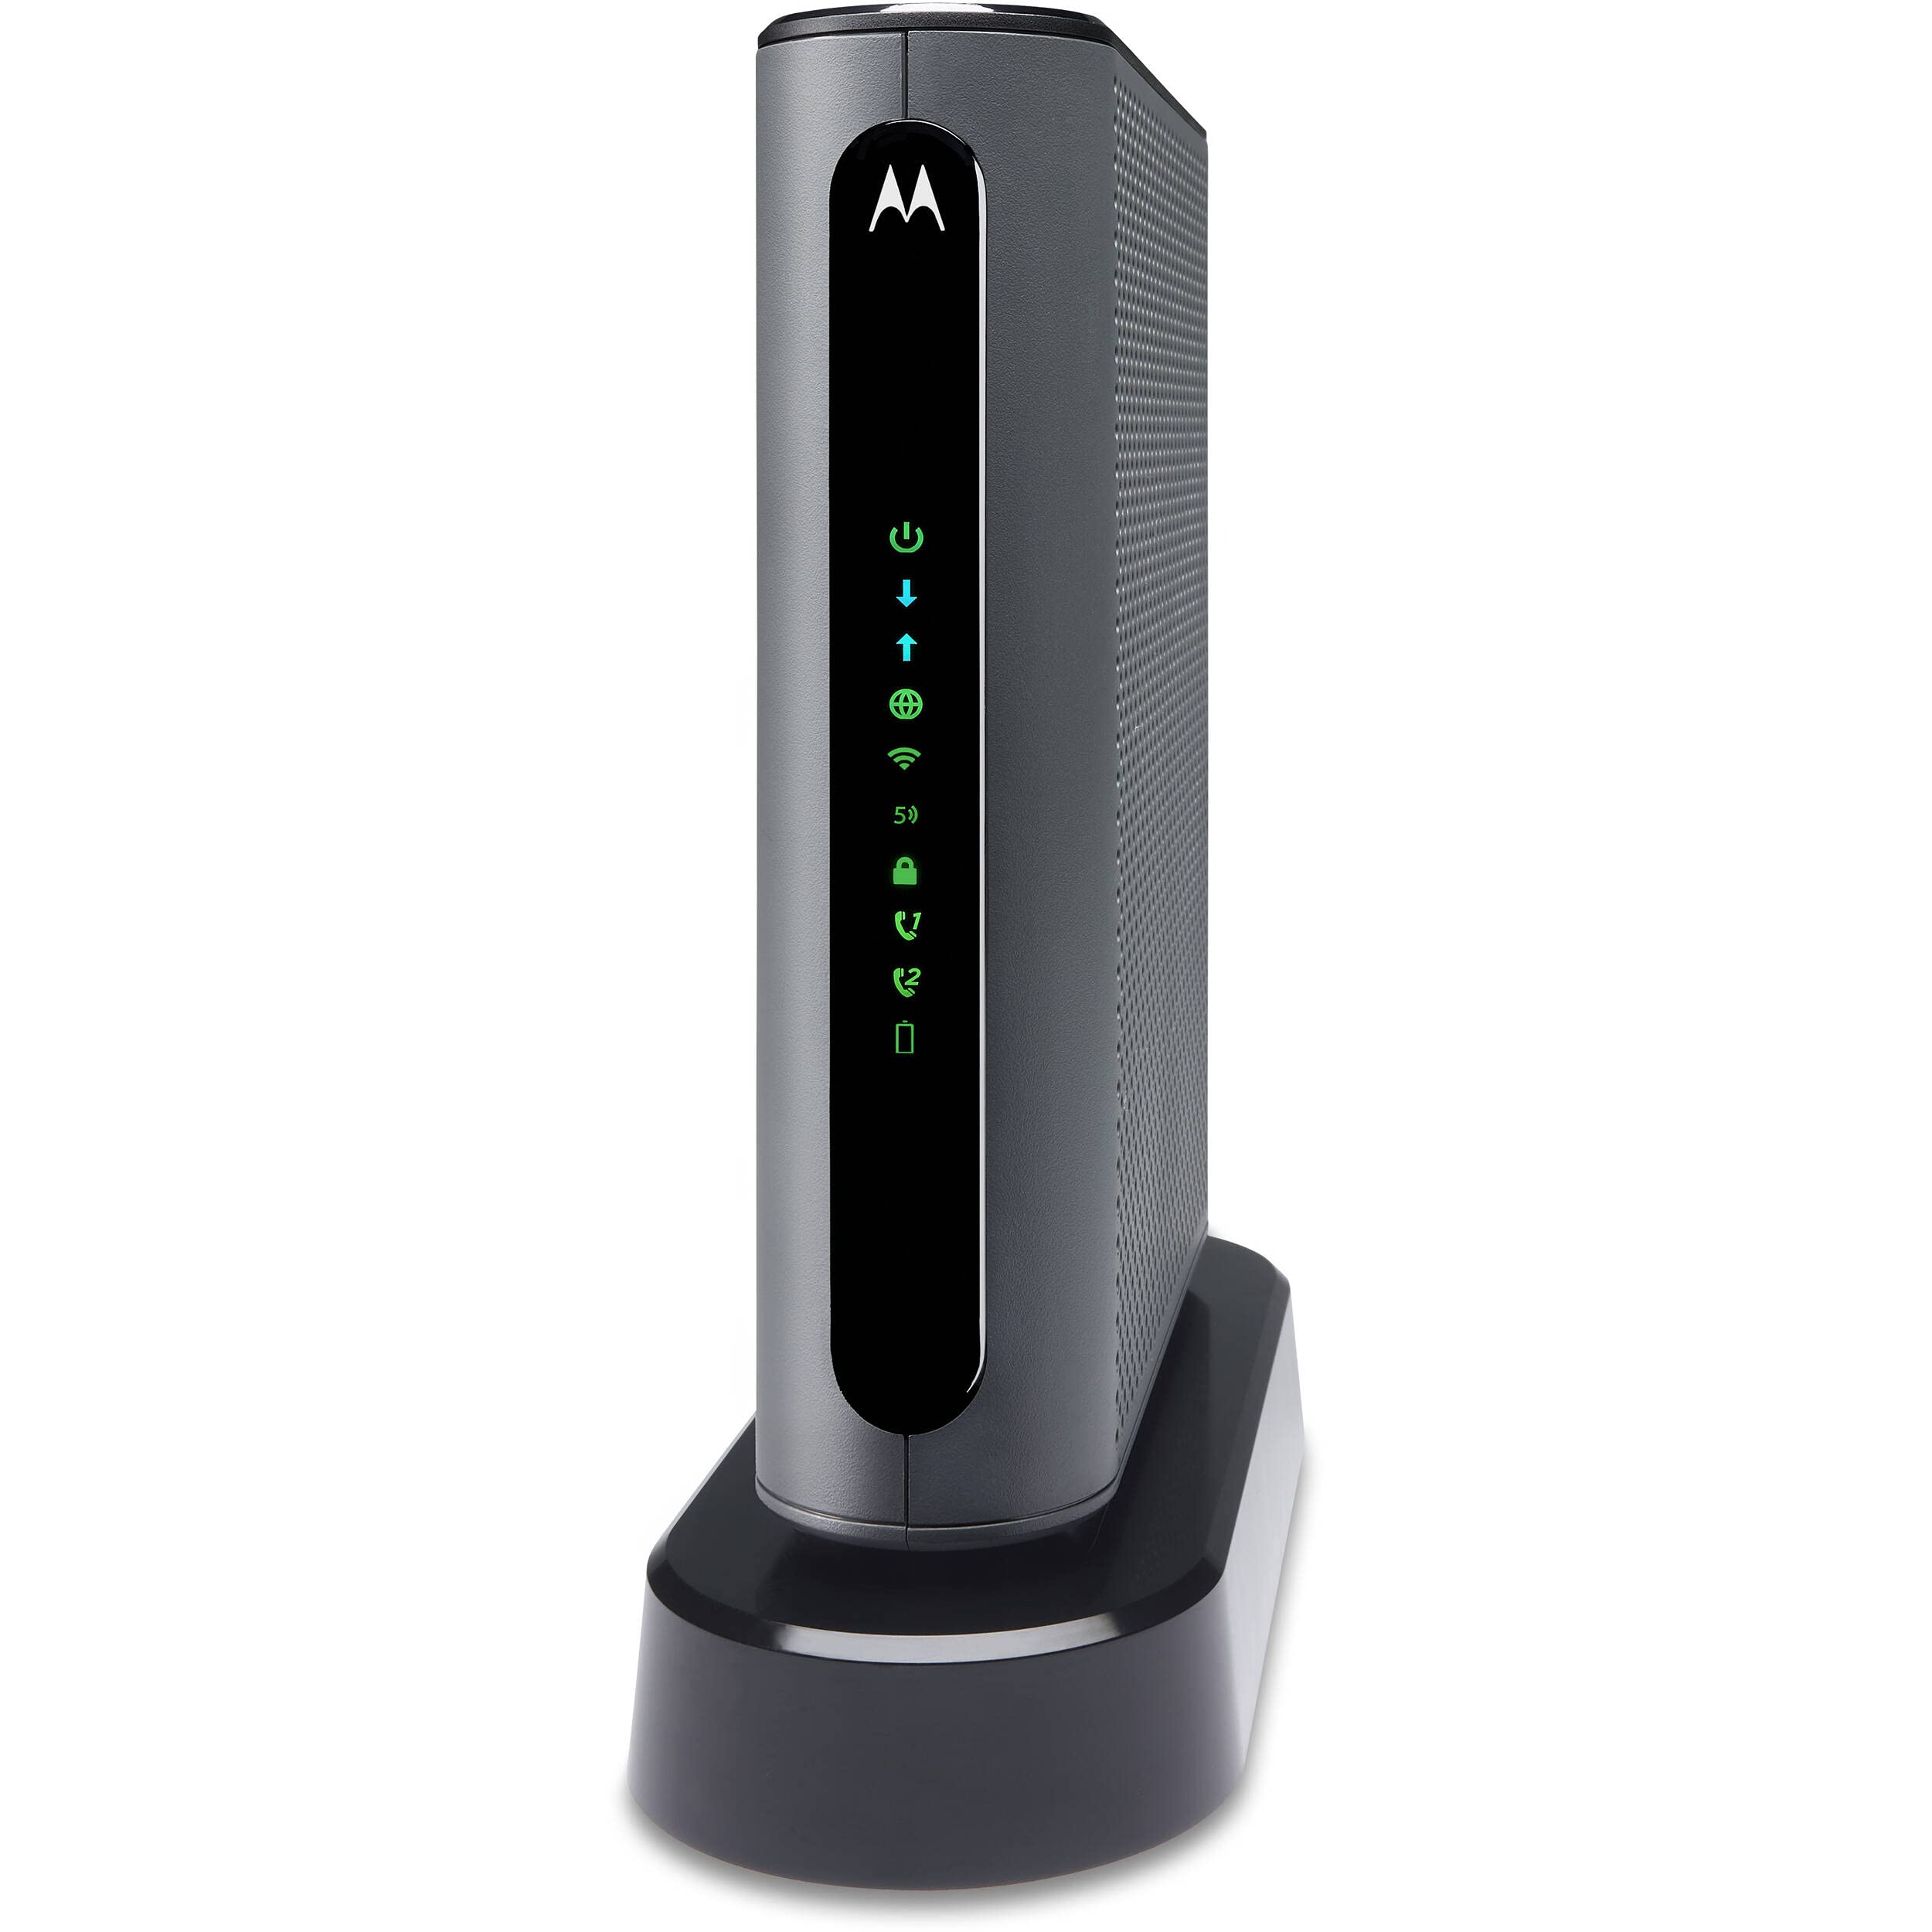
- Comcast Modem: Your existing Comcast modem will be the central point of your home internet system. Make sure it is powered off before proceeding with the installation.
- Power Adapter: If your network switch requires a separate power source, ensure that the power adapter is included and readily available.
- Device to Configure the Switch: Prepare a laptop, desktop computer, or mobile device to configure the network switch if necessary. Check the manufacturer’s instructions for any specific configuration requirements.
Gathering the required equipment beforehand will streamline the installation process and minimize any potential disruptions. With the necessary components at your disposal, you’ll be well-prepared to seamlessly integrate the network switch into your Comcast home internet system.
Step 2: Power off Your Comcast Modem
Before proceeding with the installation of the network switch, it is crucial to power off your Comcast modem to ensure a safe and effective setup process. Follow these steps to power off your modem:
- Locate Your Comcast Modem: Identify the location of your Comcast modem, which is typically situated in a central area of your home or where the main internet connection enters your living space.
- Unplug the Power Cable: Carefully unplug the power cable from the back of the modem. Ensure that the power adapter is disconnected from the power outlet as well.
- Allow Time for Shutdown: After disconnecting the power source, allow the Comcast modem to power down completely. This may take a few minutes, so exercise patience during this process.
- Verify Power Down: Check the modem’s indicator lights to confirm that it has powered off. The lights should be inactive, indicating that the modem is no longer operational.
Powering off your Comcast modem is a critical preparatory step that ensures a safe and stable installation of the network switch. By following these simple yet essential steps, you’ll create a secure environment for integrating the switch into your home internet system.
Step 3: Connect the Network Switch
With your Comcast modem safely powered off, you’re ready to proceed with connecting the network switch to your home internet system. Follow these steps to seamlessly integrate the switch:
- Position the Network Switch: Select an optimal location for the network switch, considering factors such as accessibility, ventilation, and cable management. Choose a central area to ensure that connected devices have equal and efficient access to the network.
- Connect the Power Adapter: If your network switch requires a separate power source, connect the power adapter to the switch and plug it into a power outlet. Ensure that the switch receives adequate power to operate effectively.
- Link the Comcast Modem and Network Switch: Use an Ethernet cable to establish a connection between one of the switch’s ports and the Ethernet port on your Comcast modem. This direct link will facilitate the flow of data between the modem and the switch.
- Connect Devices to the Switch: Using additional Ethernet cables, connect your various devices, such as computers, gaming consoles, smart TVs, and streaming devices, to the available ports on the network switch. Ensure a secure and snug connection for each device.
- Configure the Network Switch (If Required): If your network switch requires any specific configuration, refer to the manufacturer’s instructions to set it up according to your preferences and network requirements. This may involve accessing the switch’s management interface via a web browser on a connected device.
By meticulously following these steps, you’ll effectively integrate the network switch into your Comcast home internet system, paving the way for a robust and interconnected network environment.
Step 4: Power on Your Comcast Modem
After successfully connecting the network switch to your home internet system, the next vital step is to power on your Comcast modem. Follow these steps to ensure a seamless activation process:
- Reconnect the Power Cable: Plug the power cable back into the Comcast modem, ensuring a secure connection. Additionally, connect the power adapter to a power outlet if it was disconnected during the setup process.
- Power on the Modem: Once the power cable is reconnected, switch on the Comcast modem using the designated power button or switch. Allow the modem to initialize and establish a stable connection to your internet service provider’s network.
- Monitor the Indicator Lights: Observe the indicator lights on the modem to track its startup progress. The lights will indicate various stages of the startup process, including network connectivity and data transmission.
- Wait for Initialization: Give the Comcast modem sufficient time to initialize and establish a secure connection to your internet service provider’s network. This process may take a few minutes, so exercise patience as the modem establishes a stable connection.
- Confirm Connectivity: Once the modem has powered on and established a connection, verify that the indicator lights reflect stable network connectivity. This confirmation indicates that your Comcast modem is operational and ready to facilitate internet access throughout your network.
Powering on your Comcast modem is a crucial step that finalizes the integration of the network switch into your home internet system. By following these steps diligently, you’ll ensure a smooth and reliable transition to an enhanced network environment.
Step 5: Test Your Network Connection
After completing the installation of the network switch and powering on your Comcast modem, it’s essential to conduct a comprehensive network connectivity test to ensure that all devices are seamlessly integrated and functioning optimally. Follow these steps to verify the performance of your network:
- Device Connectivity: Check each connected device, including computers, smart TVs, gaming consoles, and other network-enabled devices, to ensure that they are successfully linked to the network switch and can access the internet.
- Internet Access: Using a connected device, such as a computer or smartphone, open a web browser and verify that you can access various websites without encountering connectivity issues. Test both common and resource-intensive websites to gauge the overall performance of your network connection.
- File Transfer Speeds: If applicable, initiate file transfers between devices connected to the network switch to assess the data transfer speeds and the efficiency of data exchange within your network environment.
- Streaming and Online Gaming: Test the performance of streaming services and online gaming platforms on connected devices to ensure smooth and uninterrupted streaming and gaming experiences, indicating a robust network connection.
- Network Switch Functionality: Verify that the network switch is operating as expected by checking its indicator lights and ensuring that all connected devices are communicating effectively through the switch.
By meticulously testing your network connection using the aforementioned steps, you can identify and address any potential issues, ensuring that your home internet system, now enhanced with a network switch, delivers a seamless and high-performance networking experience for all connected devices.
Conclusion
Congratulations on successfully installing a network switch into your Comcast home internet system! By following the step-by-step process outlined in this guide, you’ve expanded the capabilities of your home network, allowing for increased device connectivity, improved data transfer speeds, and enhanced network management.
Integrating a network switch into your home internet setup empowers you to create a robust and efficient network environment that caters to the demands of your digital lifestyle. Whether you’re a casual user with a few connected devices or a tech enthusiast with a multitude of smart gadgets, the addition of a network switch enhances the overall performance and connectivity of your home network.
With the network switch in place, you can seamlessly connect a diverse range of devices, from computers and smart TVs to gaming consoles and streaming devices, without compromising on network performance. This expanded connectivity ensures that all your devices can communicate with each other efficiently, fostering a seamless digital experience within your home.
Furthermore, the installation of a network switch opens up opportunities for future expansion and customization of your home network, allowing you to adapt to evolving technological needs and integrate new devices seamlessly. Whether it’s expanding your smart home ecosystem or accommodating additional devices, the network switch serves as a foundational element in creating a versatile and scalable network infrastructure.
By completing the installation process and testing the network connection, you’ve taken a proactive step towards optimizing your home internet system, ensuring that it meets the demands of modern connectivity and digital innovation. With a stable and efficient network environment in place, you can enjoy seamless internet access, smooth data transfers, and uninterrupted entertainment experiences throughout your home.
Embrace the enhanced capabilities of your network and revel in the seamless connectivity that a well-integrated network switch brings to your Comcast home internet system. Your investment in optimizing your home network will undoubtedly yield benefits in the form of improved performance, expanded connectivity, and a future-ready network infrastructure.