Introduction
Connecting to the internet through a TP-Link network switch provides a reliable and efficient way to expand your network connectivity. Whether you're setting up a home network or optimizing your business infrastructure, the TP-Link network switch allows you to connect multiple devices and enjoy seamless internet access. In this guide, we'll walk you through the step-by-step process of connecting to the internet using a TP-Link network switch. By following these instructions, you can ensure that your devices are properly linked to the network switch, allowing for smooth data transmission and internet connectivity.
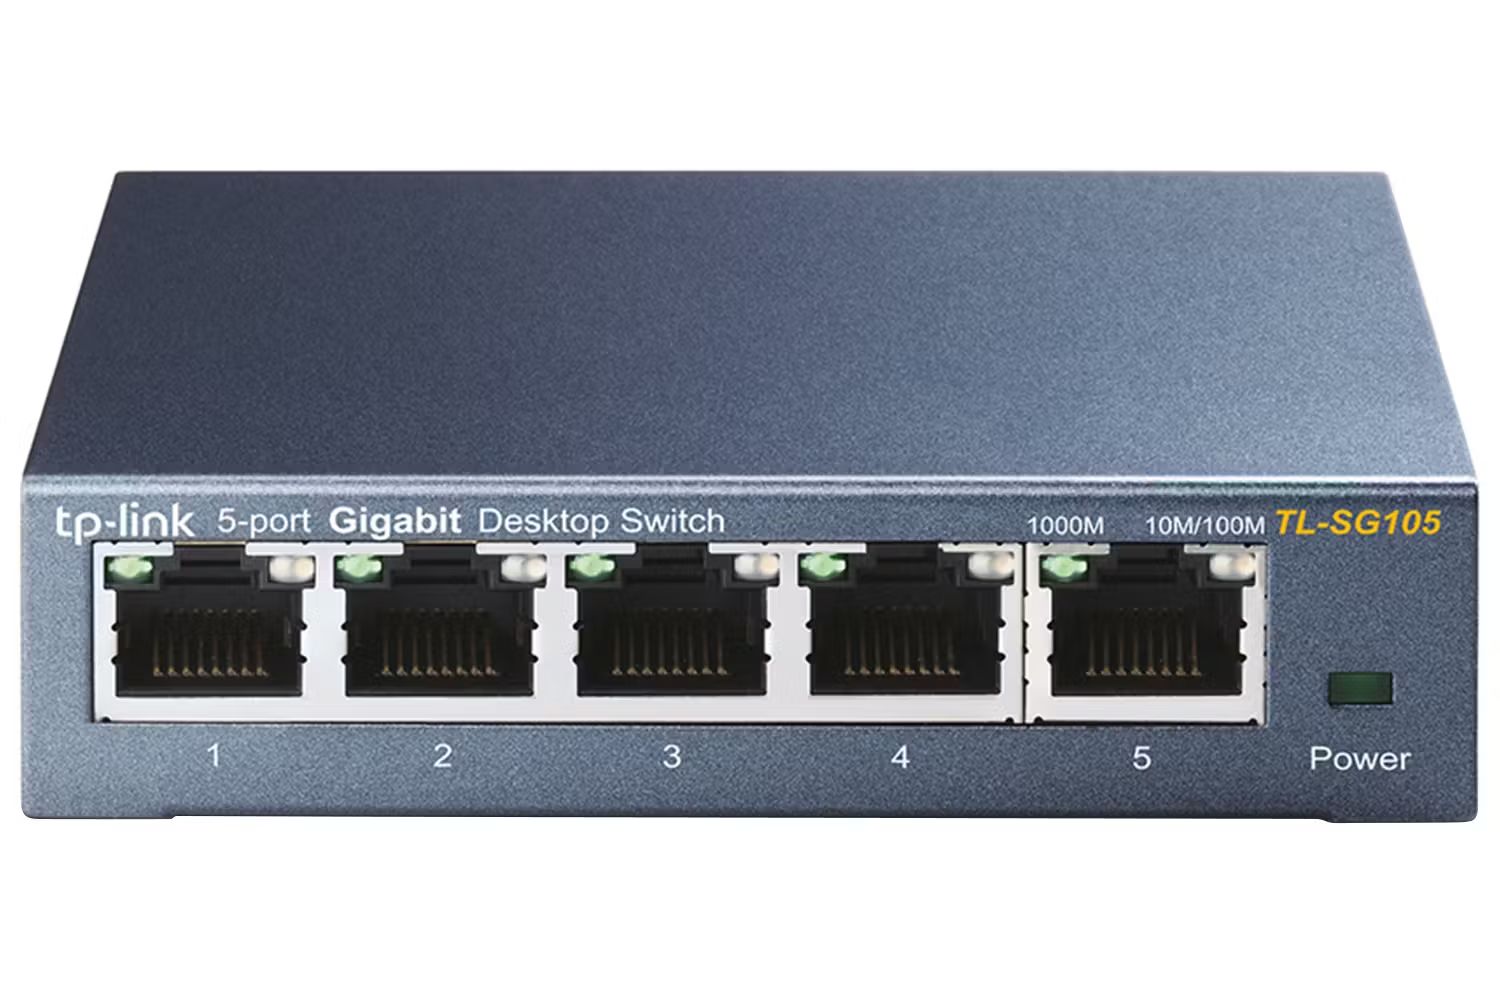
A TP-Link network switch serves as a central hub for connecting various devices, such as computers, printers, and other networking equipment. This versatile device enables you to consolidate your network connections and manage them efficiently. With the ability to support multiple devices simultaneously, the TP-Link network switch is a valuable asset for both personal and professional networking needs.
In the following steps, we will cover the essential equipment required for the setup, the process of connecting the network switch to the router, and the subsequent connection of devices to the network switch. Additionally, we will guide you through the process of powering on the network switch and configuring network settings to ensure seamless internet connectivity. By the end of this guide, you will have a comprehensive understanding of how to effectively connect to the internet through a TP-Link network switch, empowering you to optimize your network infrastructure with confidence. Let's get started on this networking journey!
Step 1: Gather Necessary Equipment
Before embarking on the process of connecting to the internet through a TP-Link network switch, it’s crucial to gather the necessary equipment to ensure a smooth setup. Here’s a list of essential items you will need:
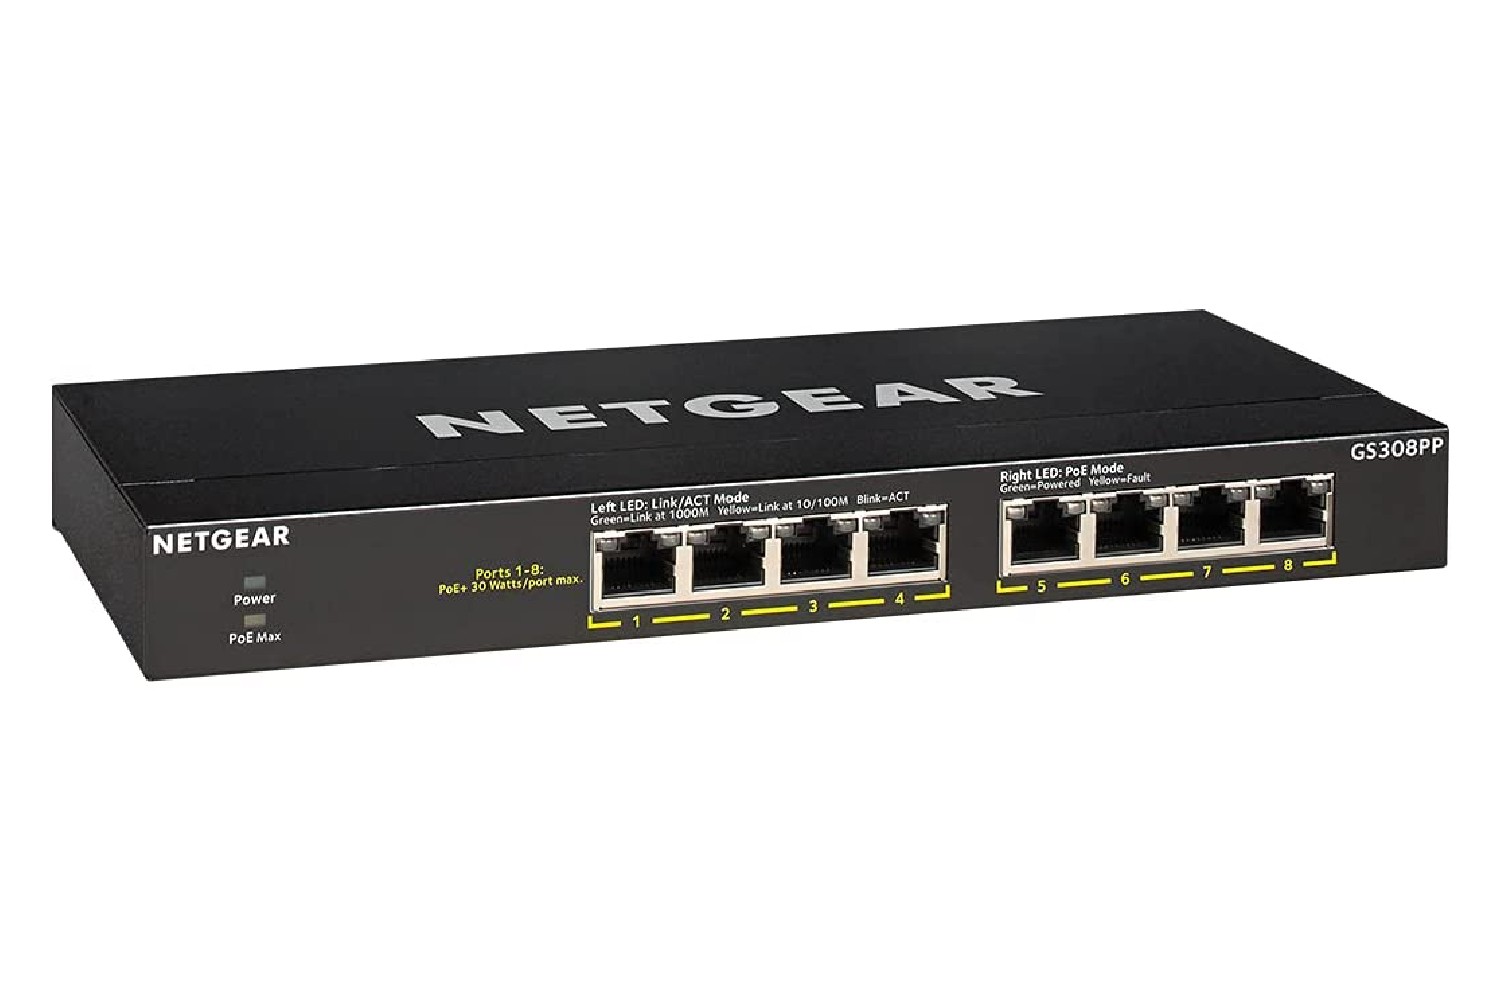
- TP-Link Network Switch: Select a TP-Link network switch that aligns with your network requirements. Whether you opt for an unmanaged switch for basic connectivity or a managed switch offering advanced features, ensure that it meets your specific networking needs.
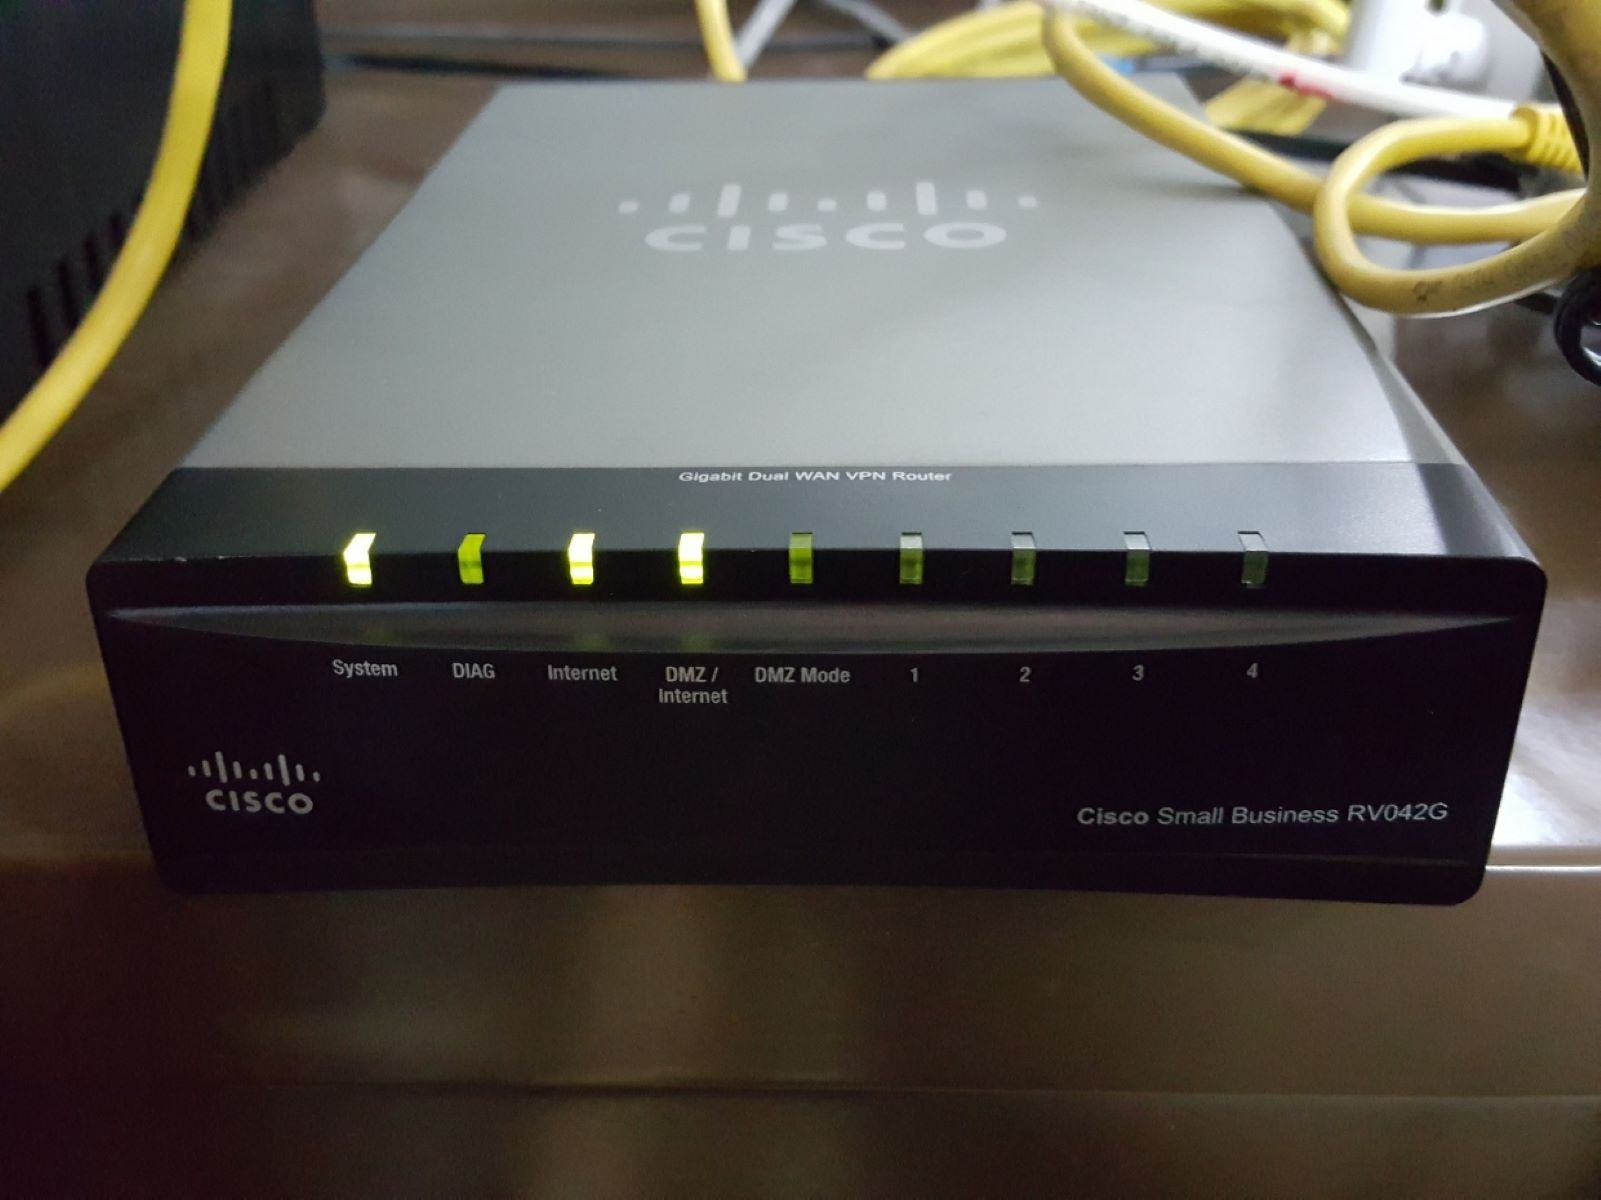
- Router: A router serves as the gateway for your network, providing internet connectivity to all connected devices. Ensure that your router has available Ethernet ports to facilitate the connection with the network switch.
- Ethernet Cables: Prepare Ethernet cables of sufficient length to connect the devices to the network switch. These cables are essential for establishing the physical connections between the switch, router, and connected devices.
- Devices for Connection: Identify the devices that will be connected to the network switch, such as computers, printers, IP cameras, or other networking equipment. Ensure that each device has an available Ethernet port for connection.
- Power Adapter: Depending on the model of your TP-Link network switch, ensure that you have the corresponding power adapter to supply the necessary power to the switch.
By gathering these essential components, you can proceed with confidence, knowing that you have all the necessary equipment to establish a robust network infrastructure. With these items in hand, you’re ready to move on to the next step of connecting the network switch to the router, laying the foundation for seamless internet connectivity.
Step 2: Connect the Network Switch to the Router
Once you have gathered the necessary equipment, the next crucial step is to establish the connection between the TP-Link network switch and the router. This connection serves as the backbone of your network infrastructure, enabling the seamless flow of data and internet connectivity. Follow these steps to connect the network switch to the router:
- Locate Available Ethernet Ports: Identify the available Ethernet ports on your router. These ports are typically labeled as LAN ports and are used to establish wired connections between devices.
- Connect Ethernet Cable: Take an Ethernet cable and plug one end into an available LAN port on the router. Ensure a secure connection to guarantee reliable data transmission.
- Connect the Other End to the Network Switch: Take the other end of the Ethernet cable and connect it to one of the Ethernet ports on the TP-Link network switch. Choose an available port on the switch to establish the connection.
- Repeat for Additional Connections: If you have multiple Ethernet devices to connect, repeat the process by using additional Ethernet cables to establish connections between the router and the network switch. Each connected device should have a dedicated Ethernet cable running from the switch to the respective device.
By completing these steps, you have successfully connected the TP-Link network switch to the router, creating a foundational link within your network infrastructure. This connection allows for the seamless transmission of data between the router, network switch, and connected devices, setting the stage for efficient internet connectivity and network expansion.
With the network switch now linked to the router, you’re ready to proceed to the next step of connecting devices to the network switch, further enhancing your network’s capabilities and accessibility.
Step 3: Connect Devices to the Network Switch
With the network switch successfully connected to the router, the next step involves linking your devices to the TP-Link network switch. This pivotal stage allows for the seamless integration of various devices into your network, expanding connectivity and facilitating efficient data transfer. Follow these steps to connect your devices to the network switch:
- Identify Available Ethernet Ports: Locate the available Ethernet ports on the TP-Link network switch. These ports are where you will establish connections with your devices.
- Prepare Ethernet Cables: Ensure you have the necessary Ethernet cables to connect your devices to the network switch. Select cables of appropriate length to facilitate smooth connections.
- Connect Devices to the Switch: Take an Ethernet cable and connect one end to the Ethernet port on your device. The other end of the cable should be connected to an available port on the TP-Link network switch. Ensure secure connections to facilitate uninterrupted data transmission.
- Repeat for Additional Devices: If you have multiple devices to connect, repeat the process by using additional Ethernet cables to establish connections between the devices and the network switch. Each device should have a dedicated Ethernet cable running from its port to an available port on the switch.
By following these steps, you have successfully integrated your devices into the network infrastructure by connecting them to the TP-Link network switch. This process allows for seamless communication between the connected devices, the switch, and the router, fostering a cohesive network environment.
With your devices now linked to the network switch, you’re ready to proceed to the next step of powering on the network switch, bringing your network infrastructure to life and preparing for the final configuration steps to enable internet connectivity.
Step 4: Power On the Network Switch
After successfully connecting the TP-Link network switch to the router and linking your devices to the switch, the next crucial step is to power on the network switch. This action activates the switch, allowing it to facilitate the seamless transmission of data and enable connectivity across your network. Follow these steps to power on the network switch:
- Locate the Power Adapter: Retrieve the power adapter that corresponds to your TP-Link network switch model. Ensure that the power adapter is suitable for the electrical specifications in your region.
- Connect the Power Adapter: Plug the power adapter into a power outlet near the location of your network switch. Ensure that the power outlet is easily accessible and provides a stable power supply.
- Connect the Switch to Power: Take the other end of the power adapter and connect it to the power input port on the TP-Link network switch. Ensure a secure connection to provide stable power to the switch.
- Power On the Switch: Locate the power button or switch on the network switch and press it to power on the device. Once powered on, the switch will initiate its operation and prepare to facilitate network connectivity.
By completing these steps, you have successfully powered on the TP-Link network switch, activating its functionality within your network infrastructure. The switch is now ready to manage data transmission and facilitate seamless connectivity between the connected devices and the router.
With the network switch powered on, you’re ready to proceed to the final step of configuring network settings, ensuring that your network is optimized for internet connectivity and efficient data transfer.
Step 5: Configure Network Settings
Configuring the network settings is the final step in the process of connecting to the internet through a TP-Link network switch. This critical phase involves setting up the network parameters to ensure seamless internet connectivity and efficient data transfer within your network. Follow these essential steps to configure the network settings:
- Access the Switch Interface: Using a computer or device connected to the network, open a web browser and enter the IP address of the TP-Link network switch in the address bar. This allows you to access the switch’s interface for configuration.
- Log In to the Interface: Enter the required login credentials to access the switch’s interface. If you haven’t changed the default login details, refer to the switch’s documentation for the default username and password.
- Configure Basic Settings: Within the switch’s interface, navigate to the basic settings section. Here, you can set parameters such as the switch’s name, IP address, subnet mask, and default gateway to ensure proper network communication.
- Enable VLANs (If Required): If your network requires virtual LAN (VLAN) configuration, navigate to the VLAN settings within the switch’s interface. Configure VLANs to segment your network and optimize traffic flow based on specific criteria.
- Apply and Save Settings: After configuring the necessary parameters, apply the settings within the switch’s interface and save the changes. This ensures that the configured network settings are implemented within the switch’s operational framework.
By following these steps, you have effectively configured the network settings within the TP-Link network switch, optimizing your network for seamless internet connectivity and efficient data transfer. The switch is now primed to facilitate robust network communication, ensuring that your connected devices can access the internet and communicate with each other seamlessly.
With the network settings configured, you have completed the essential steps to connect to the internet through a TP-Link network switch. Your network infrastructure is now equipped to deliver reliable connectivity and efficient data transmission, empowering you to harness the full potential of your network environment.
Conclusion
Connecting to the internet through a TP-Link network switch is a fundamental process that empowers you to expand your network connectivity and optimize data transmission. By following the step-by-step guide outlined in this article, you have successfully established a robust network infrastructure, enabling seamless internet access and efficient communication between your devices. From gathering the necessary equipment to configuring network settings, each step has contributed to the creation of a reliable and versatile network environment.
Through the careful connection of the TP-Link network switch to the router and the subsequent integration of devices into the network, you have laid the foundation for a cohesive and efficient network infrastructure. The powering on of the network switch has activated its functionality, allowing it to manage data transmission and facilitate connectivity across your network.
Furthermore, the configuration of network settings within the TP-Link network switch has optimized your network for seamless internet connectivity and efficient data transfer. By customizing essential parameters and enabling VLANs where necessary, you have ensured that your network is capable of meeting your specific connectivity requirements.
With these steps completed, your network infrastructure is now equipped to deliver reliable connectivity and seamless data transmission, empowering you to harness the full potential of your network environment. Whether for personal or professional use, the connectivity established through the TP-Link network switch provides a solid foundation for your networking needs.
By following this guide, you have gained a comprehensive understanding of how to effectively connect to the internet through a TP-Link network switch. Your network is now poised to support your digital activities with stability and efficiency, ensuring that you can make the most of your connected devices and enjoy uninterrupted internet access.