Introduction
Setting up a hotspot on your iPad can be incredibly useful, allowing you to share your device's internet connection with other devices such as laptops, tablets, or even other smartphones. Whether you're on the go, in a location with limited Wi-Fi access, or simply want to provide internet connectivity to multiple devices, enabling a hotspot on your iPad can be a game-changer.
The process of setting up a hotspot on your iPad is straightforward and can be completed in just a few simple steps. By following this step-by-step guide, you'll be able to create a secure and reliable hotspot, ensuring that you can stay connected wherever you are.
Enabling the hotspot feature on your iPad effectively turns it into a portable Wi-Fi router, allowing other devices to connect to it and access the internet through your cellular data connection. This can be particularly handy when traveling, attending meetings, or working in areas where traditional Wi-Fi networks are unavailable or unreliable.
In the following sections, we'll walk through the process of accessing the settings on your iPad, enabling the personal hotspot feature, configuring hotspot settings to suit your preferences, connecting devices to the hotspot, and finally, disabling the hotspot when it's no longer needed. By the end of this guide, you'll have a comprehensive understanding of how to set up and manage a hotspot on your iPad, empowering you to make the most of your device's connectivity capabilities. Let's dive into the step-by-step process of setting up a hotspot on your iPad and expanding your connectivity options.
Step 1: Accessing the Settings
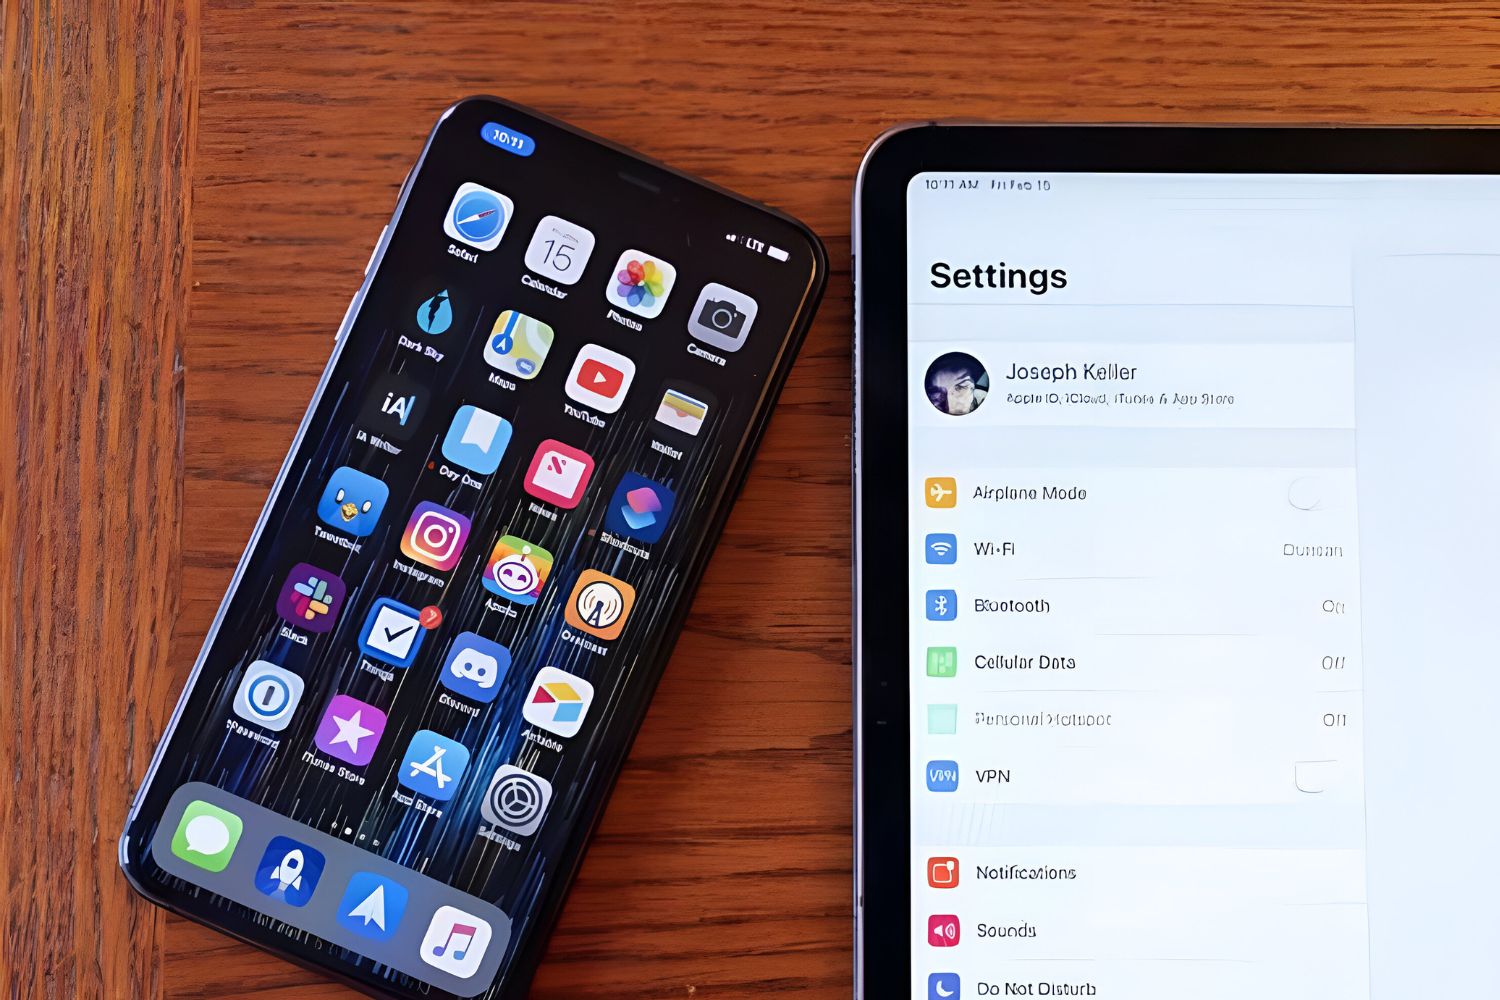
Accessing the settings to enable the hotspot feature on your iPad is the initial step towards creating a portable Wi-Fi network. To begin, unlock your iPad and navigate to the home screen. The settings app, represented by a gear icon, is where you'll need to go next. Once you've located the settings app, tap on it to open the settings menu.
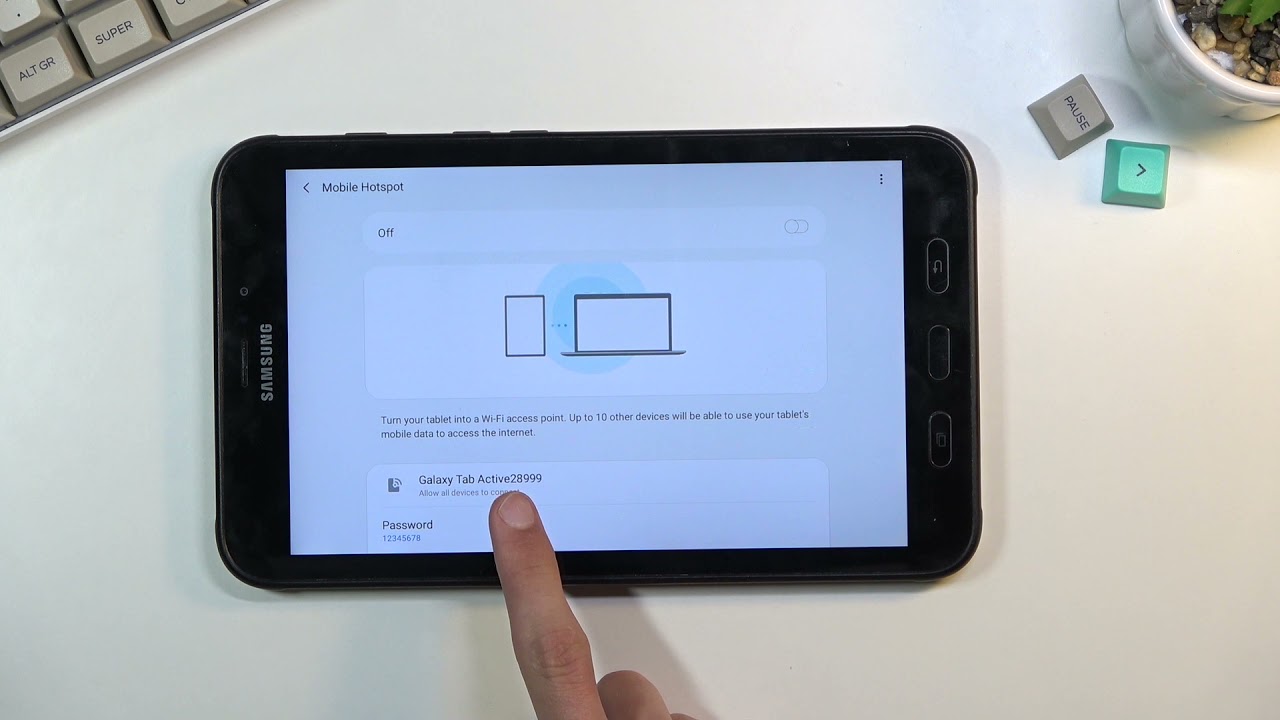
Upon entering the settings menu, you'll find a list of options that allow you to customize various aspects of your iPad's functionality. To proceed with setting up the hotspot, look for the "Personal Hotspot" option. This option is typically located near the top of the settings menu, often alongside other connectivity features such as Wi-Fi, Bluetooth, and Cellular.
When you tap on the "Personal Hotspot" option, you'll be directed to a screen where you can manage and configure hotspot settings. Here, you'll have the ability to enable the hotspot, set a Wi-Fi password for secure access, and adjust other related preferences to tailor the hotspot to your specific needs.
Accessing the settings is the crucial first step in the process of setting up a hotspot on your iPad. By familiarizing yourself with the settings menu and locating the "Personal Hotspot" option, you're laying the foundation for creating a reliable and secure Wi-Fi network that can be shared with other devices. Once you've successfully accessed the settings and entered the "Personal Hotspot" menu, you're ready to proceed to the next step of enabling the hotspot feature on your iPad.
Now that you've accessed the settings and located the "Personal Hotspot" option, you're well on your way to unleashing the full potential of your iPad's connectivity capabilities. With the first step completed, you're now prepared to move on to the next stage of enabling the personal hotspot feature, bringing you closer to creating a versatile and convenient Wi-Fi network that can be utilized wherever you go.
Step 2: Enabling Personal Hotspot
Enabling the personal hotspot feature on your iPad is a straightforward process that transforms your device into a portable Wi-Fi hotspot, allowing other devices to connect and access the internet using your cellular data connection. This feature is particularly useful when you need to provide internet connectivity to devices that are out of range of traditional Wi-Fi networks or when you're in a location with limited connectivity options.
To enable the personal hotspot on your iPad, begin by accessing the settings menu and navigating to the "Personal Hotspot" option. Once you've located the "Personal Hotspot" settings, you'll find a toggle switch that allows you to activate the hotspot feature. Simply slide the toggle switch to the "On" position to enable the personal hotspot.
Upon enabling the personal hotspot, your iPad will automatically broadcast a Wi-Fi network that other devices can connect to. In addition to Wi-Fi, devices can also connect to the hotspot using Bluetooth or a USB cable. This versatility ensures that a wide range of devices, including laptops, tablets, and smartphones, can easily connect to your iPad's hotspot and benefit from its internet connectivity.
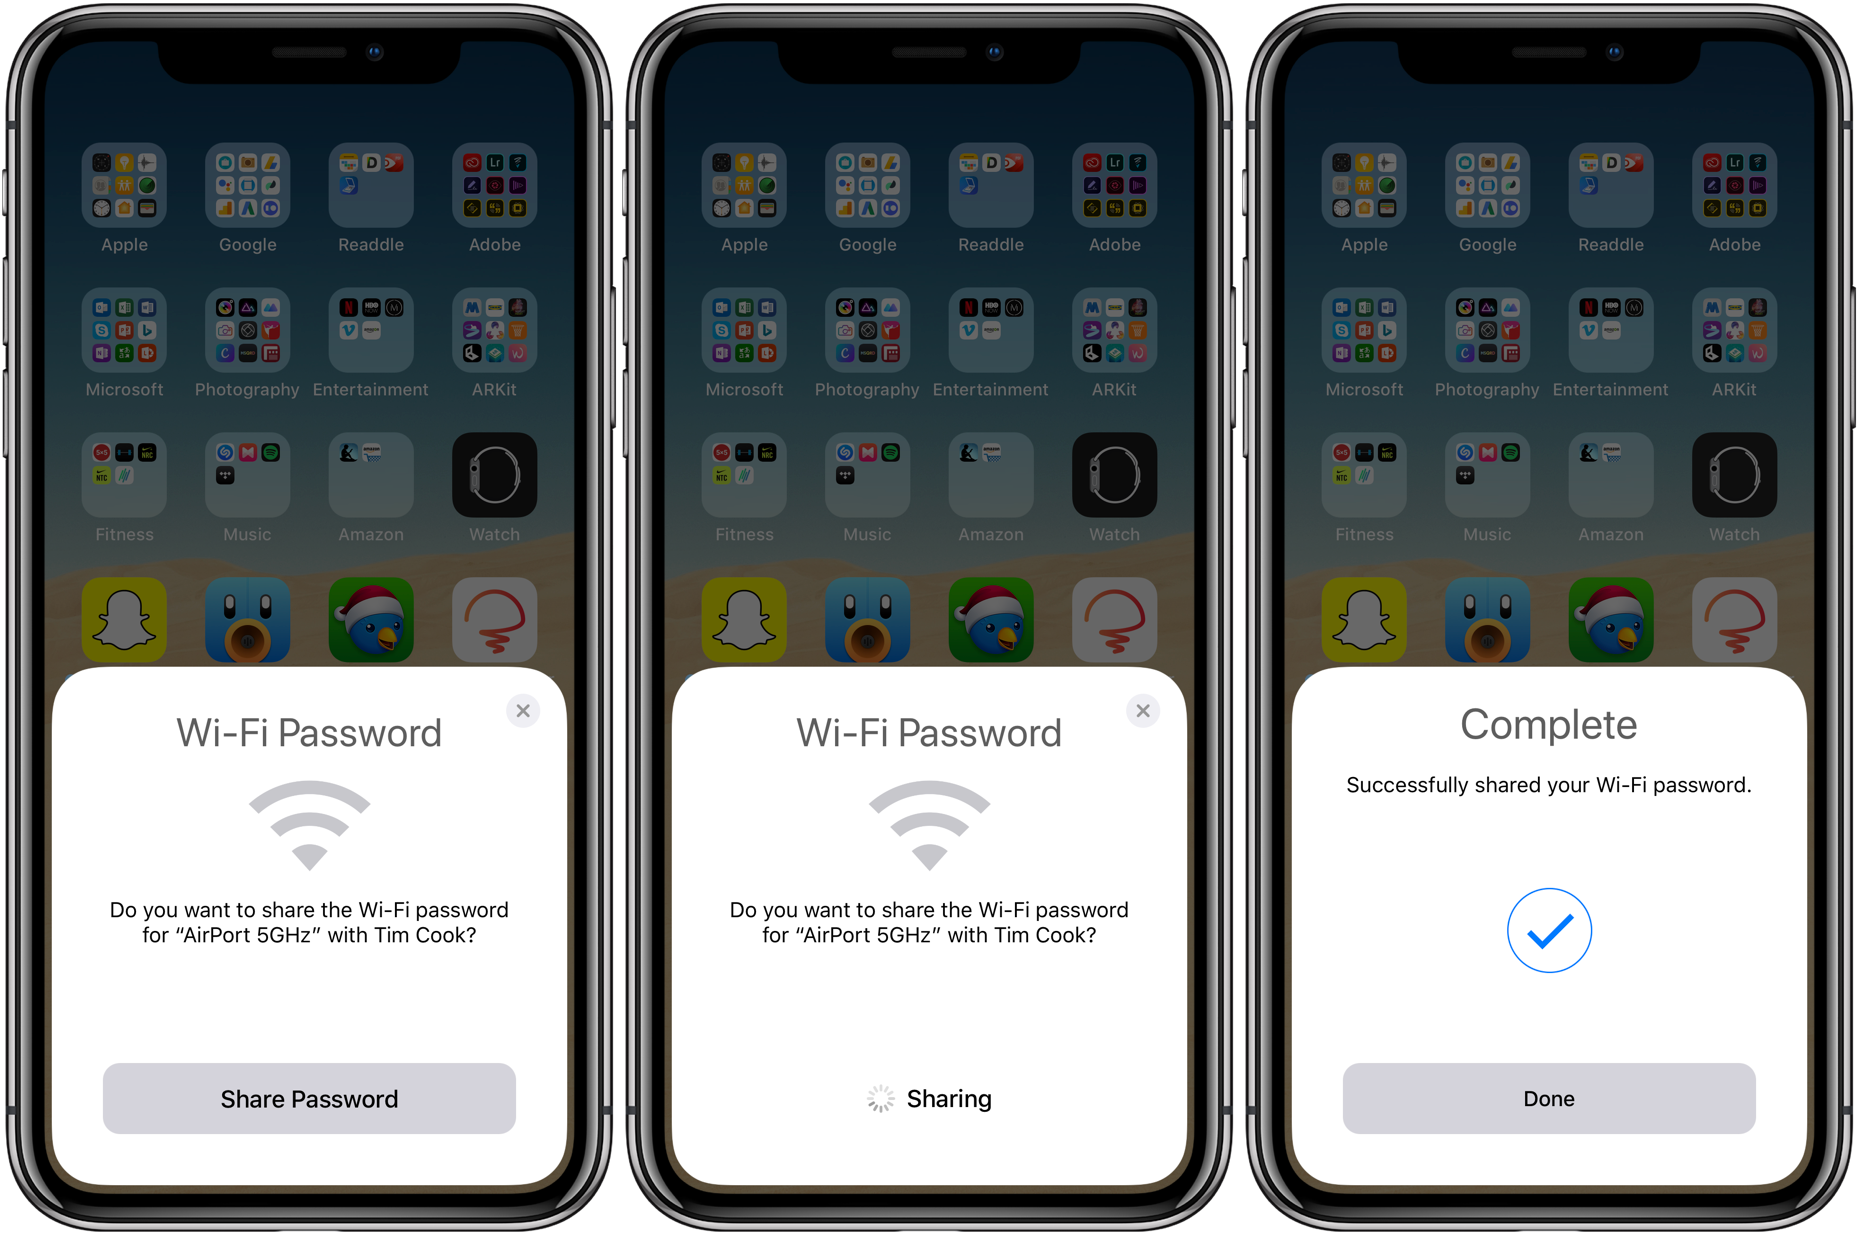
To ensure the security of your hotspot, you have the option to set a Wi-Fi password. This password acts as a barrier, preventing unauthorized access to your hotspot and ensuring that only individuals with the password can connect to the network. By setting a strong and unique password, you can safeguard your hotspot and control who can access it, providing peace of mind when sharing your internet connection with other devices.
Enabling the personal hotspot feature on your iPad expands your connectivity options and empowers you to stay connected in various situations. Whether you're traveling, attending meetings, or working in remote locations, the ability to create a reliable and secure Wi-Fi network using your iPad can be a game-changer. By following the simple steps to enable the personal hotspot, you're harnessing the full potential of your device and enhancing your ability to share internet connectivity with other devices seamlessly.
Now that you've successfully enabled the personal hotspot on your iPad, you're ready to proceed to the next step of configuring hotspot settings to tailor the network to your specific preferences. With the hotspot feature activated, you're one step closer to creating a versatile and convenient Wi-Fi network that can be utilized wherever you go.
Step 3: Configuring Hotspot Settings
Configuring hotspot settings on your iPad allows you to customize various aspects of the hotspot network, tailoring it to your specific preferences and ensuring a seamless and secure connectivity experience for connected devices. Once you've enabled the personal hotspot feature, the next step involves delving into the settings to fine-tune the network according to your requirements.
Upon entering the "Personal Hotspot" settings menu, you'll encounter several options for configuring the hotspot to suit your needs. One of the key settings you'll have the opportunity to adjust is the Wi-Fi password. Setting a strong and unique password for your hotspot is essential for ensuring the security of the network. By creating a robust password, you can prevent unauthorized access and control who can connect to the hotspot, safeguarding your internet connection from unauthorized usage.
In addition to setting a Wi-Fi password, you may have the option to adjust the network name (SSID) of the hotspot. Customizing the network name allows you to personalize the hotspot, making it easily identifiable when other devices search for available Wi-Fi networks. This can be particularly useful in crowded or public settings, where distinguishing your hotspot from others can streamline the connection process for devices seeking to join the network.
Furthermore, certain iPad models may offer additional configuration options, such as choosing the type of connection method for devices to join the hotspot. Depending on your preferences and the capabilities of your iPad, you may have the flexibility to allow devices to connect using Wi-Fi, Bluetooth, or a USB cable. This versatility enables you to accommodate a wide range of devices, ensuring that various types of gadgets, including laptops, tablets, and smartphones, can seamlessly connect to your hotspot based on their compatibility and your preferred connection method.
By customizing hotspot settings to align with your specific requirements, you're optimizing the functionality of the hotspot and tailoring it to your unique usage scenarios. Whether you're sharing the hotspot with colleagues during a business meeting, providing internet access to family members while traveling, or simply seeking to establish a reliable and secure Wi-Fi network, configuring hotspot settings empowers you to create a personalized connectivity experience that meets your needs.
With the hotspot settings configured to your preferences, you're now equipped to seamlessly connect devices to the hotspot, facilitating internet access for a wide range of devices and enhancing your ability to share your iPad's internet connectivity in a secure and efficient manner.
Step 4: Connecting Devices to the Hotspot
Once you have successfully set up and configured the hotspot on your iPad, the next step is to connect other devices to the hotspot and leverage your iPad's internet connection. Whether you need to provide internet access to a laptop, tablet, or smartphone, connecting devices to the hotspot is a seamless process that expands the reach of your connectivity options.
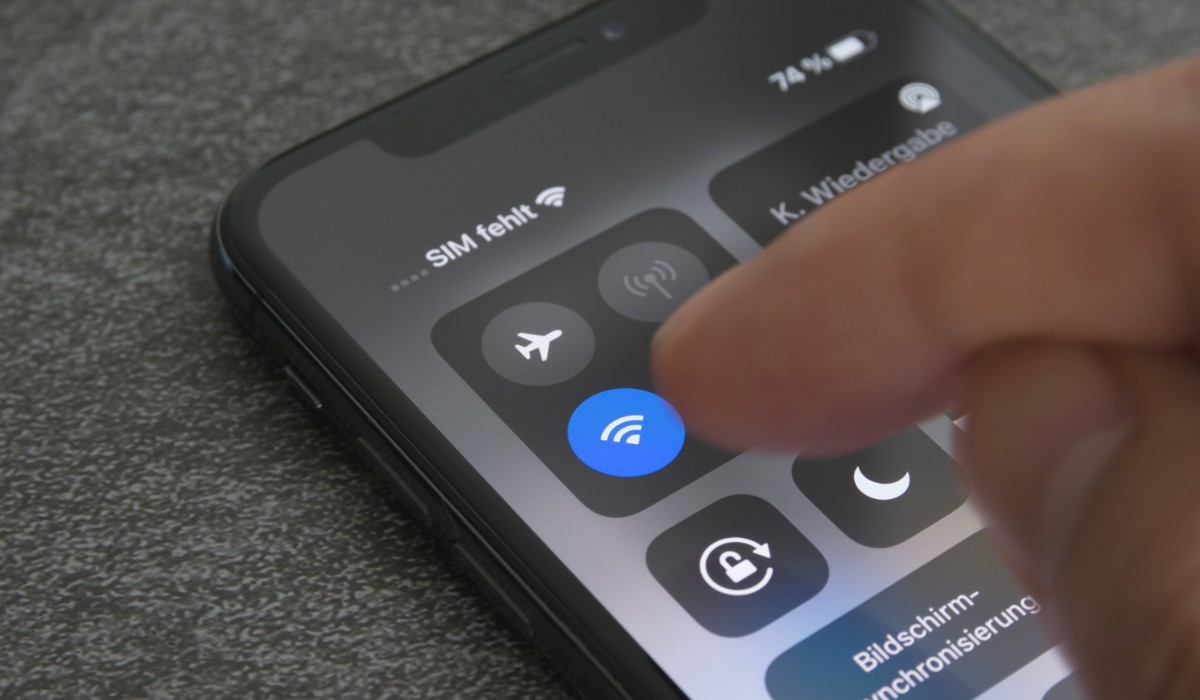
To connect a device to the hotspot, begin by accessing the Wi-Fi settings on the device you wish to connect. In the list of available Wi-Fi networks, you should see your iPad's hotspot network name (SSID) displayed. Tap on the network name to initiate the connection process.
If you've set a Wi-Fi password for your hotspot, you'll be prompted to enter the password to authenticate the connection. Once the correct password is entered, the device will establish a connection to the hotspot, allowing it to access the internet using your iPad's cellular data connection.
In addition to connecting via Wi-Fi, devices can also join the hotspot using Bluetooth or a USB cable, depending on the capabilities of your iPad and the preferences of the connected device. This versatility ensures that a wide range of devices, including laptops, tablets, and smartphones, can easily benefit from your iPad's hotspot, regardless of their connectivity options.
By connecting devices to the hotspot, you're extending the reach of your iPad's internet connectivity and providing a reliable and secure internet access point for other devices. Whether you're collaborating with colleagues, sharing internet access with family and friends, or simply seeking to expand your connectivity options, the ability to connect devices to your iPad's hotspot empowers you to stay connected wherever you go.
As you connect devices to the hotspot, you're leveraging the full potential of your iPad's connectivity capabilities and enhancing your ability to share internet access seamlessly. With devices successfully connected to the hotspot, you're now equipped to make the most of your iPad's hotspot feature, providing internet access to a wide range of devices and expanding your connectivity options in various scenarios.
Step 5: Disabling the Hotspot
Disabling the hotspot on your iPad is a straightforward process that allows you to conserve battery life and cellular data usage when the hotspot is no longer needed. Whether you've finished sharing your iPad's internet connection with other devices or you simply want to deactivate the hotspot to minimize power consumption, disabling the hotspot ensures that your iPad returns to its standard connectivity mode.
To disable the hotspot, begin by accessing the settings on your iPad. Navigate to the "Personal Hotspot" option, which you previously used to enable the hotspot. Once you've located the "Personal Hotspot" settings, you'll find a toggle switch that allows you to deactivate the hotspot feature. Simply slide the toggle switch to the "Off" position to disable the hotspot.
Upon disabling the hotspot, your iPad will no longer broadcast the Wi-Fi network, and connected devices will no longer have access to the internet through your iPad's cellular data connection. This action effectively returns your iPad to its standard connectivity mode, where it solely utilizes its cellular data for its own internet access, without sharing it with other devices.
Disabling the hotspot is particularly useful when you no longer require other devices to connect to your iPad for internet access. By deactivating the hotspot, you can conserve battery life and cellular data, ensuring that your iPad's resources are utilized efficiently based on your current connectivity needs.
Furthermore, disabling the hotspot provides a layer of security by ensuring that other devices can no longer connect to your iPad's network. This can be beneficial in situations where you want to restrict access to your iPad's internet connection, maintaining control over who can utilize your device's connectivity resources.
By following the simple steps to disable the hotspot, you're effectively managing your iPad's connectivity features and optimizing its functionality based on your usage requirements. Whether you're concluding a meeting, returning home from a trip, or simply seeking to conserve battery and data, the ability to disable the hotspot empowers you to control your iPad's connectivity and ensure that it operates in alignment with your current needs.
With the hotspot successfully disabled, you've effectively concluded the process of managing the hotspot feature on your iPad, allowing you to seamlessly transition your device back to its standard connectivity mode.
Conclusion
In conclusion, setting up a hotspot on your iPad is a valuable capability that expands your connectivity options and empowers you to share your device's internet connection with other devices seamlessly. Through a series of simple steps, you can transform your iPad into a portable Wi-Fi hotspot, providing internet access to laptops, tablets, and smartphones, regardless of traditional Wi-Fi network availability.
By accessing the settings, enabling the personal hotspot feature, configuring hotspot settings, connecting devices to the hotspot, and ultimately disabling the hotspot when no longer needed, you've gained a comprehensive understanding of how to manage and utilize the hotspot feature on your iPad effectively.
The ability to create a secure and reliable Wi-Fi network using your iPad's cellular data connection opens up a myriad of possibilities, from staying connected during travel to facilitating internet access for colleagues, friends, and family members. Whether you're in a remote location, attending meetings, or simply seeking to expand your connectivity options, the hotspot feature on your iPad serves as a versatile tool that enhances your digital connectivity experience.
By customizing hotspot settings, setting a strong Wi-Fi password, and managing the connection of devices to the hotspot, you've taken proactive steps to ensure the security and efficiency of your iPad's hotspot. This attention to detail not only enhances the usability of the hotspot but also provides peace of mind, knowing that you can share your internet connection in a controlled and secure manner.
Disabling the hotspot, when no longer required, demonstrates your ability to manage your iPad's connectivity features and optimize its functionality based on your current needs. This proactive approach to managing the hotspot ensures that your iPad operates in alignment with your usage requirements, conserving resources and maintaining control over internet access.
In essence, the process of setting up and managing a hotspot on your iPad empowers you to harness the full potential of your device's connectivity capabilities. By following this step-by-step guide, you've gained the knowledge and skills to create a reliable and secure Wi-Fi network, expanding your connectivity options and enhancing your ability to share internet access with other devices seamlessly.