Introduction
Welcome to our step-by-step guide on how to replace the Geek Squad UPS battery GS 1285U. The UPS battery is an essential component of any computer system, providing backup power in the event of an electrical outage. Over time, these batteries can become worn out and need to be replaced to ensure the continued protection of your valuable equipment.
In this guide, we will walk you through the process of replacing the UPS battery for the Geek Squad GS 1285U model. We will cover each step in detail, from gathering the necessary equipment to testing the new battery, so even those with minimal technical knowledge can easily follow along.
Before we begin, it is important to note that safety should always be a priority when working with electrical equipment. Make sure to turn off and unplug the UPS from the power source before attempting any battery replacements. If you are unsure about any of the steps or encounter any difficulties, it is recommended to consult a professional or contact the Geek Squad for assistance.
Now, let’s get started on replacing the battery in your Geek Squad UPS GS 1285U and ensure that your computer system remains protected during unexpected power interruptions.
Step 1: Gather the necessary equipment
Before you begin the process of replacing the Geek Squad UPS battery GS 1285U, it is important to gather all the necessary tools and equipment. This will ensure a smooth and hassle-free battery replacement. Here are the items you will need:
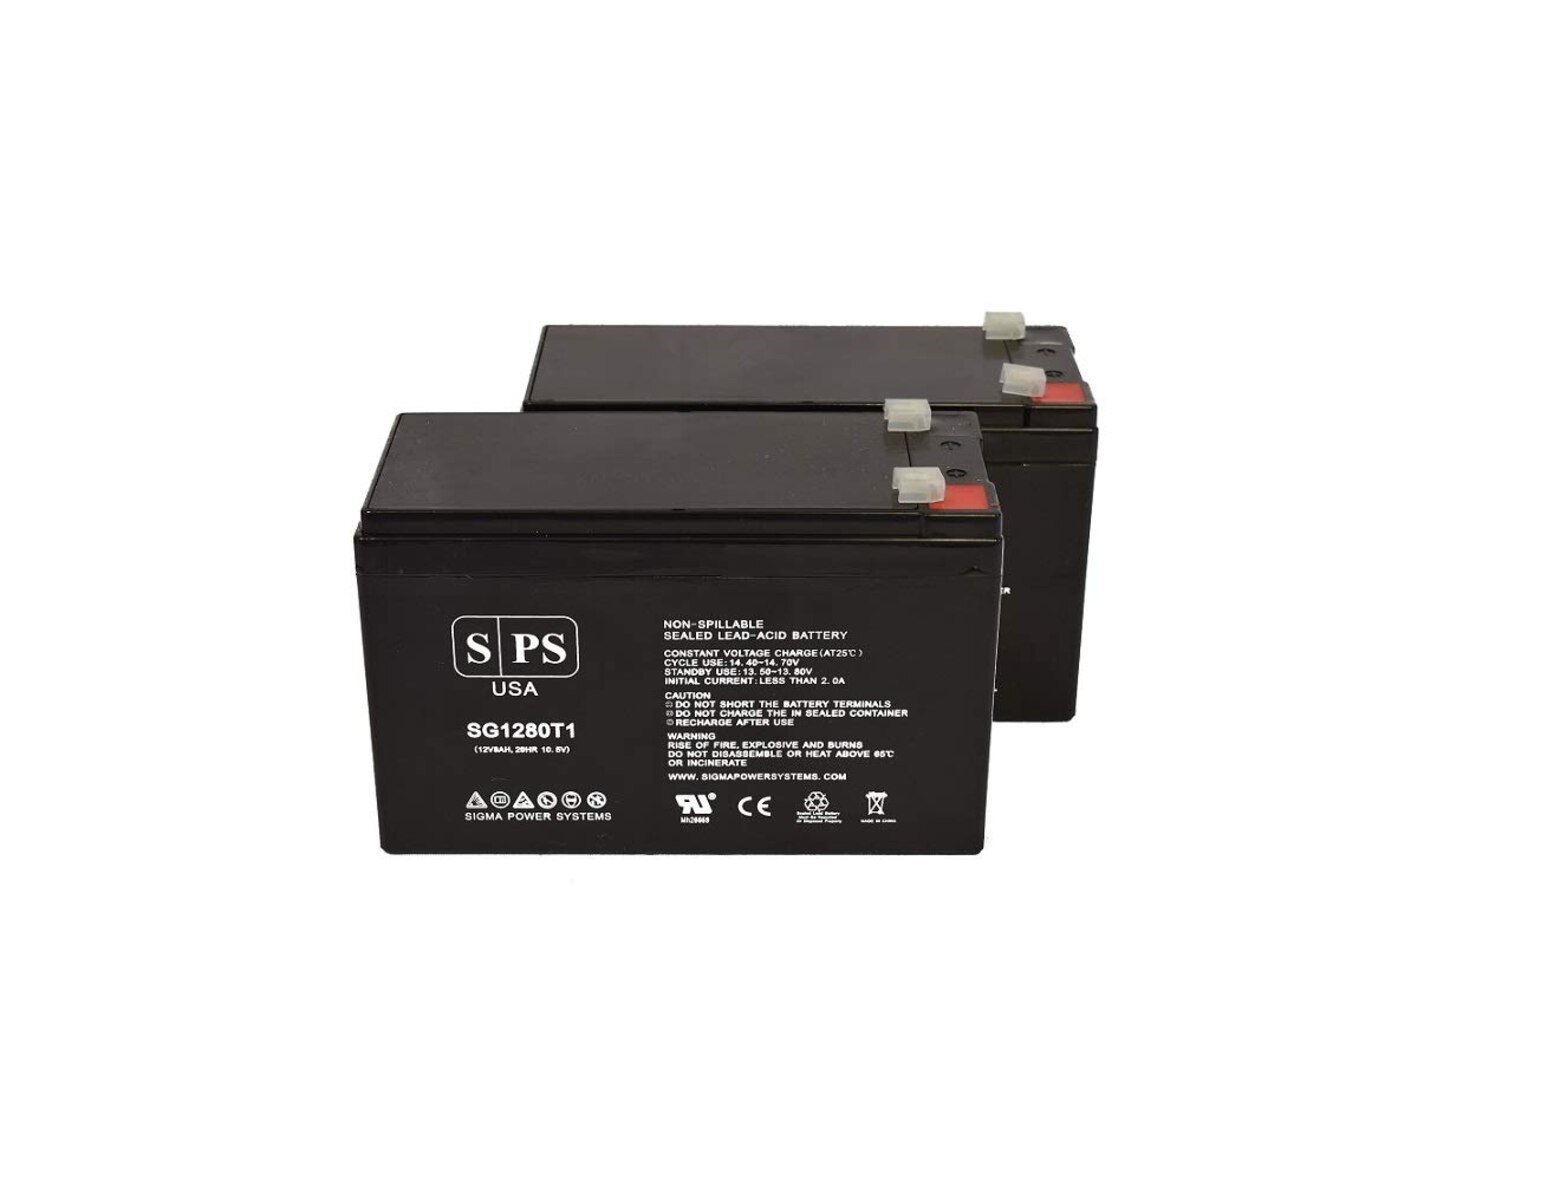
- New UPS Battery: Make sure to purchase a compatible replacement battery for the Geek Squad GS 1285U UPS model. Check the specifications of your UPS or refer to the manufacturer’s website for the correct battery model.
- Work Surface: Find a clean and well-lit area where you can comfortably work on replacing the UPS battery. Make sure there is enough space to place the UPS and lay out the tools.
- Protective Gear: It is always a good idea to wear protective gear, such as gloves and safety glasses, when handling electrical components. This will prevent any accidental injuries and ensure your safety.
- Screwdriver or Wrench: Depending on the model of your UPS, you may need either a screwdriver or a wrench to remove the battery cover. Check the type of screws or bolts holding the cover in place and have the appropriate tool ready.
- Anti-static wrist strap (optional): If you want to take extra precautions against static electricity, you can use an anti-static wrist strap. This will help prevent any potential damage to sensitive electronic components during the battery replacement process.
Take your time to gather all the necessary equipment before proceeding to the next step. This will ensure that you have everything you need within reach, making the process more efficient and less prone to interruptions.
Step 2: Disconnect the UPS from power
Before you start replacing the Geek Squad UPS battery GS 1285U, it is crucial to disconnect the UPS from the power source. This ensures your safety and prevents any accidental damage or electrical shocks. Here’s how to disconnect the UPS from power:
- Turn off the UPS: Locate the power switch on the UPS and make sure it is in the “Off” position. This will shut down the UPS and prevent any power flow during the battery replacement process.
- Unplug the UPS: Carefully unplug the power cord connected to the UPS from the wall outlet. Ensure that there are no other cables or cords still attached to the UPS.
- Wait for power discharge (optional): In some cases, it may be beneficial to wait a few minutes before proceeding to the next step. This allows time for any residual power to discharge from the UPS, ensuring that there is no electricity running through the internal components.
It is essential to follow these steps to avoid any potential risks while handling the UPS or replacing the battery. By disconnecting the UPS from power, you can safely proceed to the next steps without the risk of electric shock or damage to the internal components.
Step 3: Remove the battery cover
With the Geek Squad UPS disconnected from power, you can now move on to removing the battery cover. The battery cover protects the battery and is usually secured in place by screws or bolts. Follow these steps to remove the battery cover:
- Locate the battery cover: On the UPS, identify the battery cover. It is typically located on the back or top of the UPS enclosure. The cover may have a label or marking indicating the battery compartment.
- Prepare your tools: Depending on the type of screws or bolts securing the battery cover, you may need a screwdriver or wrench. Ensure you have the appropriate tool handy.
- Remove the screws or bolts: Carefully loosen and remove the screws or bolts that hold the battery cover in place. Keep them in a safe place so you can easily reassemble the UPS later.
- Set aside the battery cover: Once the screws or bolts are removed, gently lift the battery cover and set it aside. Take care not to damage any wires or components inside the UPS enclosure.
By following these steps, you can successfully remove the battery cover of the Geek Squad UPS GS 1285U. The battery cover removal allows access to the old battery and prepares the UPS for the next step of the battery replacement process.
Step 4: Disconnect the old battery
Now that the battery cover has been removed, you can proceed to disconnecting the old battery from the Geek Squad UPS GS 1285U. This step ensures the safe removal of the old battery and prepares the UPS for the installation of a new one. Follow these steps to disconnect the old battery:
- Identify the old battery: Inside the UPS enclosure, locate the old battery. It is typically a rectangular or cylindrical component connected to the UPS through wires or cables.
- Inspect the battery connections: Take a close look at how the old battery is connected to the UPS. Note the position and orientation of the wires or cables.
- Disconnect the battery cables: Using your fingers or a pair of pliers, carefully remove the connectors or clips attached to the battery terminals. Start with the negative (-) terminal and then disconnect the positive (+) terminal.
- Remove the battery: Once the cables are disconnected, gently lift the old battery out of the UPS enclosure. Be cautious not to damage any other components or wires.
By following these steps, you can safely disconnect the old battery from the Geek Squad UPS GS 1285U. Remember to handle the old battery with care, as it may still contain a charge. Properly dispose of the old battery according to your local regulations or recycle it at a designated facility.
Step 5: Insert the new battery
With the old battery removed, it’s time to insert the new battery into the Geek Squad UPS GS 1285U. It is crucial to use a compatible replacement battery for proper functioning and safety. Follow these steps to insert the new battery:
- Check the battery connectors: Examine the connectors or terminals on the new battery to ensure they match the connections in the UPS. The positive (+) and negative (-) terminals should align with the respective cables in the UPS.
- Align the battery: Position the new battery inside the UPS enclosure, aligning it with the designated space or brackets. Ensure that the battery sits securely and does not move or tip over.
- Connect the battery cables: Starting with the positive (+) terminal, attach the connector or clip to the corresponding battery terminal. Repeat the same process for the negative (-) terminal. Ensure a snug and secure connection.
- Double-check the connections: Confirm that the battery cables are securely fastened to the new battery. Gently tug on the cables to ensure they are properly attached and will not come loose during operation.
Once these steps are completed, the new battery should be successfully inserted into the Geek Squad UPS GS 1285U. Ensure that the battery is securely connected and properly positioned within the enclosure to prevent any damage or disruptions to the UPS functionality.
Step 6: Reattach the battery cover
Now that the new battery is securely inserted into the Geek Squad UPS GS 1285U, it’s time to reattach the battery cover. The battery cover protects the battery and ensures proper functioning of the UPS. Follow these steps to reattach the battery cover:
- Retrieve the battery cover: Pick up the battery cover that you set aside earlier during the battery removal process. Ensure it is clean and free from any debris or damage.
- Align the battery cover: Position the battery cover over the UPS enclosure, aligning it with the screw or bolt holes. Ensure that the cover sits flush and evenly on the enclosure surface.
- Secure the battery cover: Using the appropriate screwdriver or wrench, reinsert and tighten the screws or bolts to securely fasten the battery cover in place. Ensure that each screw or bolt is tightened evenly.
- Double-check the battery cover: After securing the battery cover, visually inspect it to ensure it is properly aligned and securely attached. Gently press down on the cover to confirm there are no loose edges or gaps.
By following these steps, you can successfully reattach the battery cover to the Geek Squad UPS GS 1285U. The cover provides protection and keeps the battery in place, ensuring the integrity and functionality of the UPS during operation.
Step 7: Reconnect the UPS to power
After successfully reattaching the battery cover, the next step is to reconnect the Geek Squad UPS GS 1285U to power. This will provide the necessary electrical supply for the UPS to function properly. Follow these steps to reconnect the UPS to power:
- Locate the power cord: Find the power cord that came with the UPS or use the original cord that was disconnected earlier.
- Plug in the power cord: Insert the power cord into an available wall outlet or surge protector. Ensure that the outlet is functioning and provides the appropriate voltage for the UPS.
- Connect the power cord to the UPS: Locate the power input port on the rear panel of the UPS and securely connect the power cord to it.
- Turn on the UPS: Locate the power switch on the UPS and flip it to the “On” or “Power” position.
- Check for power indication: Look for any indicator lights or displays on the UPS that indicate it is receiving power. This confirms that the UPS is properly connected to the power source.
By following these steps, you can reconnect the Geek Squad UPS GS 1285U to power. Ensure that the power cord and connections are secure to prevent any disruptions to the UPS functionality. Once reconnected, the UPS will be ready to provide backup power and protection to your valuable equipment.
Step 8: Test the new battery
Now that the Geek Squad UPS GS 1285U is fully reconnected to power, it is important to test the new battery to ensure its functionality and performance. By conducting a battery test, you can verify that the UPS can provide backup power during an electrical outage. Follow these steps to test the new battery:
- Perform a self-test: Most UPS models, including the Geek Squad GS 1285U, have a self-test feature. Refer to the user manual or manufacturer’s instructions to initiate the self-test.
- Observe the test results: During the self-test, monitor the UPS and check for any warning indicators or error messages. Note the duration for which the UPS can sustain power on battery backup.
- Verify proper functionality: Ensure that the UPS is correctly switching to battery power during the test. Verify that connected devices are receiving continuous power and that the UPS is providing the expected backup time.
- Recharge the battery: If the self-test indicates a low battery level, allow the UPS to recharge for a sufficient period. Refer to the user manual for the recommended recharge time.
- Repeat the test if needed: If any issues or abnormalities are detected during the initial battery test, consider repeating the test. This will help ensure the accuracy and reliability of the results.
By following these steps, you can test the new battery in the Geek Squad UPS GS 1285U effectively. A successful battery test confirms the proper functioning of the new battery and assures you that your equipment will remain protected during power outages or fluctuations.
Conclusion
Congratulations! You have successfully replaced the Geek Squad UPS battery GS 1285U. By following the step-by-step guide, you were able to safely disconnect the UPS from power, remove the old battery, insert the new battery, and reattach the battery cover. Finally, you reconnected the UPS to power and tested the new battery to ensure its proper functioning.
Remember, maintaining a reliable UPS is crucial for protecting your valuable equipment from power interruptions and fluctuations. Regularly monitoring and replacing the UPS battery is essential to ensure optimal performance and uninterrupted power backup. If you encounter any challenges during the battery replacement process, it is always wise to consult a professional or reach out to the Geek Squad for assistance.
We hope that this guide has provided you with the necessary information and guidance to replace the Geek Squad UPS battery GS 1285U successfully. By properly maintaining and replacing the battery, you can continue to safeguard your devices and data, even during unforeseen power disruptions.
Thank you for choosing Geek Squad, and we wish you uninterrupted power and peace of mind with your newly replaced UPS battery!