Introduction
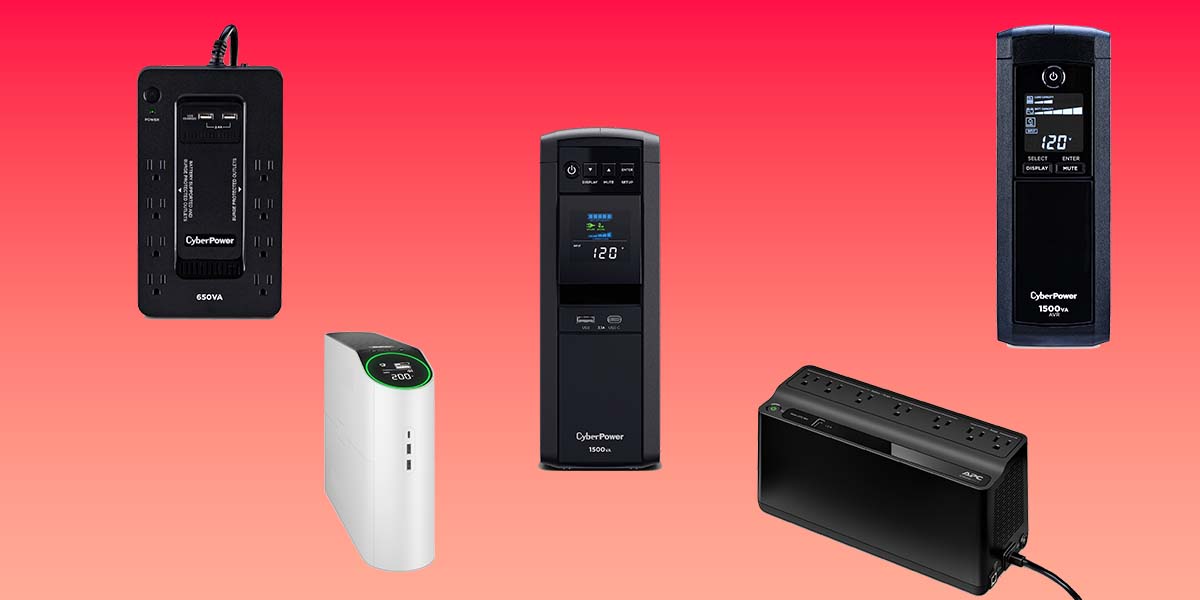
Welcome to this guide on how to charge the Cyberpower Green Power UPS Battery Backup 425VA. The Cyberpower Green Power UPS is a reliable and efficient device that provides essential backup power for your electronic devices during power outages or voltage fluctuations. It is crucial to ensure that the UPS battery is fully charged and maintained properly to maximize its performance and longevity.
In this article, you will find step-by-step instructions on how to charge the UPS battery and helpful tips for maintenance and safety. Before we delve into the charging process, let’s explore the prerequisites and ensure that you have everything you need for a successful setup.
To proceed with charging your Cyberpower Green Power UPS Battery Backup 425VA, you will need the following:
- A Cyberpower Green Power UPS Battery Backup 425VA unit
- The provided power cord
- A suitable power source (wall outlet)
With these essentials in hand, you’re now ready to begin the process of charging your UPS battery. Let’s move on to the first step of unpacking the UPS unit.
Prerequisites
Before you start charging your Cyberpower Green Power UPS Battery Backup 425VA, there are a few prerequisites to keep in mind. These are essential to ensure a smooth setup process and optimal performance of your UPS. Let’s take a look at what you need:
1. Cyberpower Green Power UPS Battery Backup 425VA Unit: Ensure that you have purchased the correct UPS unit – the Cyberpower Green Power UPS Battery Backup 425VA. It’s important to have the right model to follow the specific instructions mentioned in this guide.
2. Power Cord: Locate the power cord provided with your UPS. This cord is essential for connecting the UPS to a power source and for charging the battery. Make sure the cord is in good condition without any visible wear or damage.
3. Suitable Power Source: Identify a suitable power source, preferably a standard wall outlet, where you will plug in the UPS. Ensure that the power source is easily accessible and not overloaded with other devices to guarantee uninterrupted charging.
4. Knowledge of Basic Electrical Safety: It’s important to have a basic understanding of electrical safety measures. Make sure you are familiar with appropriate precautions, such as not exposing the UPS to moisture or extreme temperatures, and avoiding overloading the UPS beyond its specified limits.
By fulfilling these prerequisites, you will be well-prepared to charge your Cyberpower Green Power UPS Battery Backup 425VA. Once you have all these elements in place, proceed to the next section to learn how to unpack the UPS and get started with the charging process.
Step 1: Unpacking the UPS
Before you can begin charging your Cyberpower Green Power UPS Battery Backup 425VA, you need to unpack the unit. Follow these steps to ensure a smooth and careful unpacking process:
1. Find a Suitable Workspace: Select a clean and well-lit area to unpack the UPS. Ensure that you have enough space to maneuver the unit and access all sides without any obstructions.
2. Unbox the UPS: Carefully remove the UPS from its packaging, keeping an eye out for any included accessories or documentation. Set aside the packaging for recycling.
3. Inspect for Damage: Before proceeding, visually inspect the UPS for any signs of damage that may have occurred during transit. Check for dents, scratches, or loose parts. If you notice any issues, contact the retailer or manufacturer for assistance.
4. Remove Packaging Materials: Remove any protective packaging materials such as foam inserts, plastic covers, or tapes. These materials are added to protect the UPS during transportation but are not required for the charging and operation of the device.
5. Read the Manual: Take a moment to familiarize yourself with the user manual provided with the UPS. The manual contains important information about setup, operation, and safety guidelines. It’s always wise to have a good understanding of the device you are working with.
By following these steps, you have successfully unpacked your Cyberpower Green Power UPS Battery Backup 425VA. Now you’re ready to move to the next step, which involves plugging in the UPS.
Step 2: Plugging in the UPS
Now that you have unpacked your Cyberpower Green Power UPS Battery Backup 425VA, it’s time to plug it in. Follow these steps to ensure a proper and safe connection:
1. Locate the Power Cord: Retrieve the power cord that came with your UPS. Ensure that it is free from any knots or tangles.
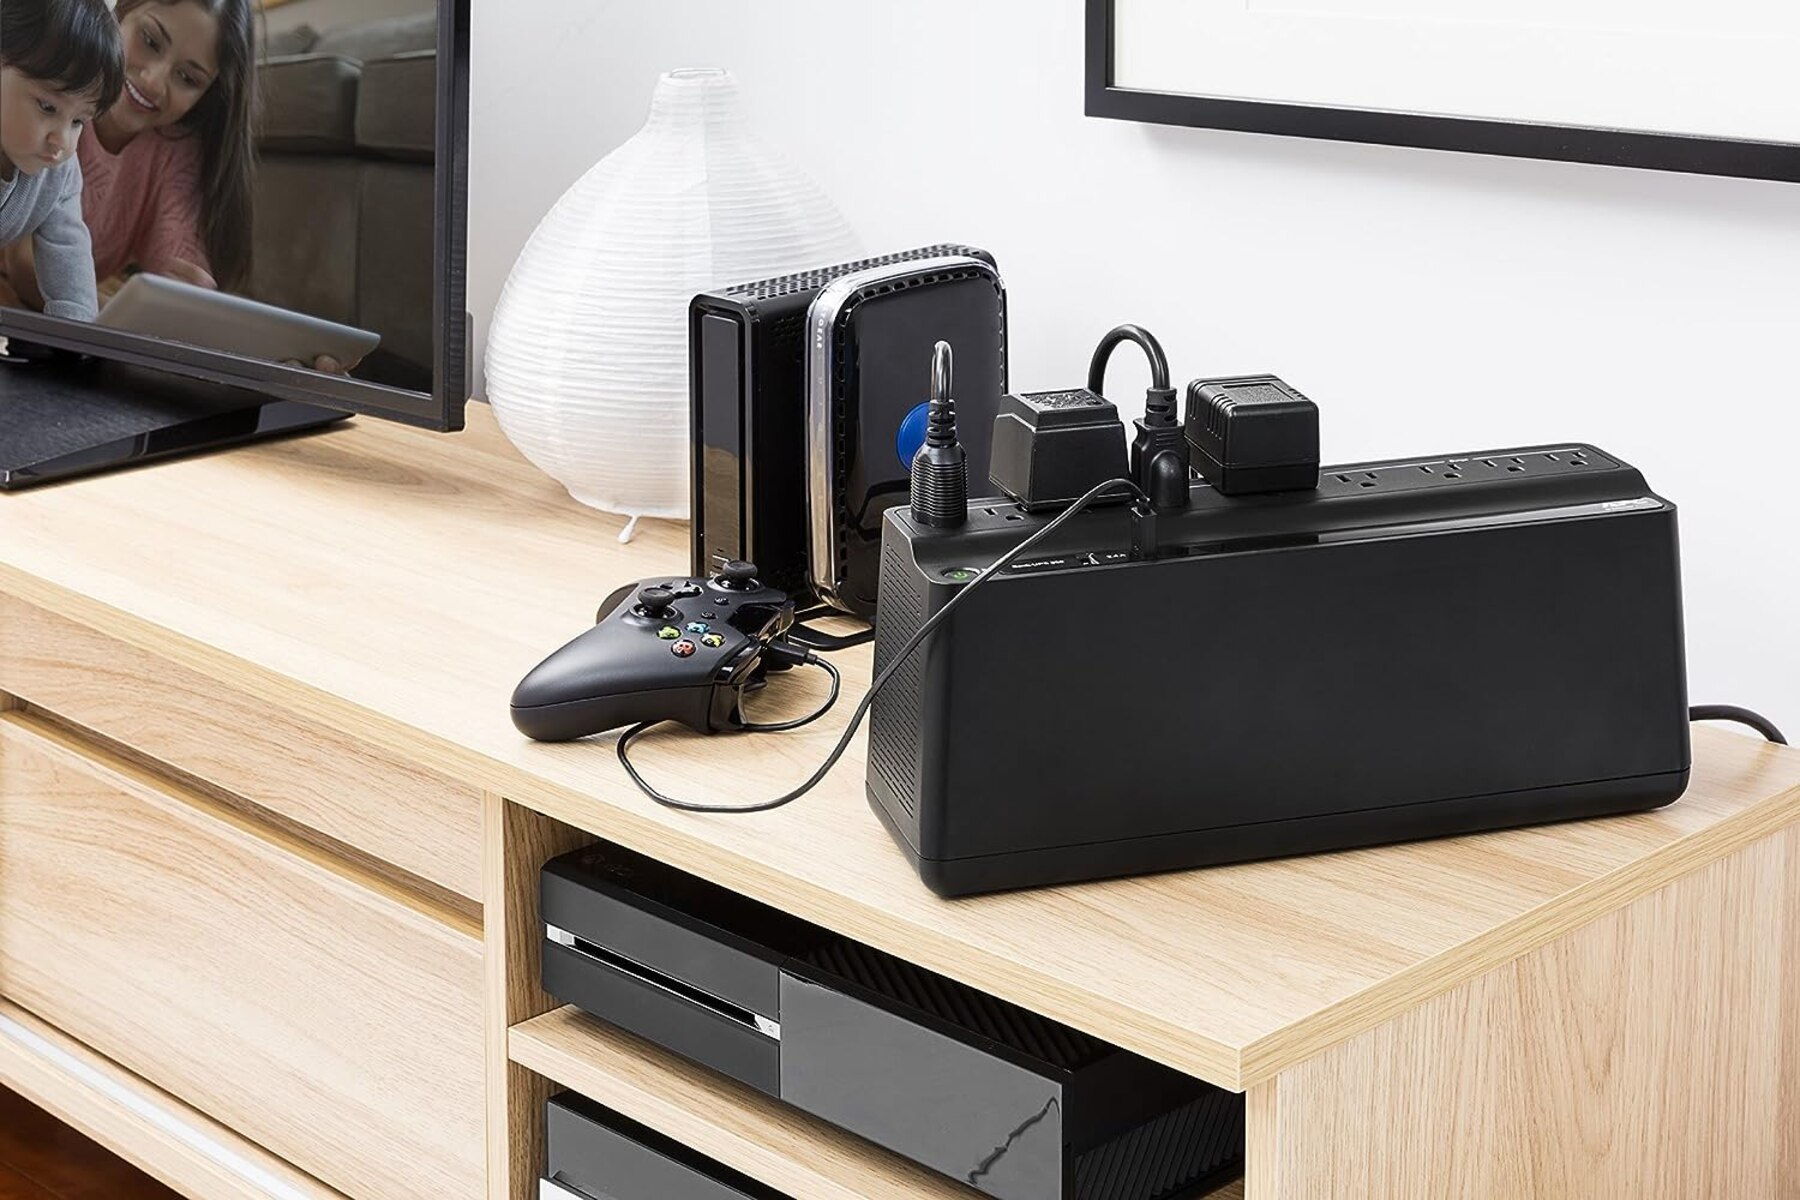
2. Position the UPS: Place the UPS in a convenient location near the power source where it will be easily accessible. Ensure that there is enough space around the UPS to allow for proper ventilation and heat dispersion.
3. Connect the Power Cord: Insert the power cord into the designated power input port on the back of the UPS. Ensure that it fits securely, and you hear a click indicating it is properly connected.
4. Connect to a Wall Outlet: Plug the other end of the power cord into a standard wall outlet. Make sure the outlet is functioning and provides a stable power supply.
5. Power On the UPS: Locate the power button or switch on the front or side of the UPS. Press the button or flip the switch to power on the UPS.
Once you have completed these steps, the Cyberpower Green Power UPS Battery Backup 425VA is now connected to a power source. The next section will guide you through the process of connecting the battery to the UPS.
Step 3: Connecting the Battery
With the Cyberpower Green Power UPS Battery Backup 425VA plugged in, the next step is to connect the battery. Follow these instructions to ensure a secure and proper battery connection:
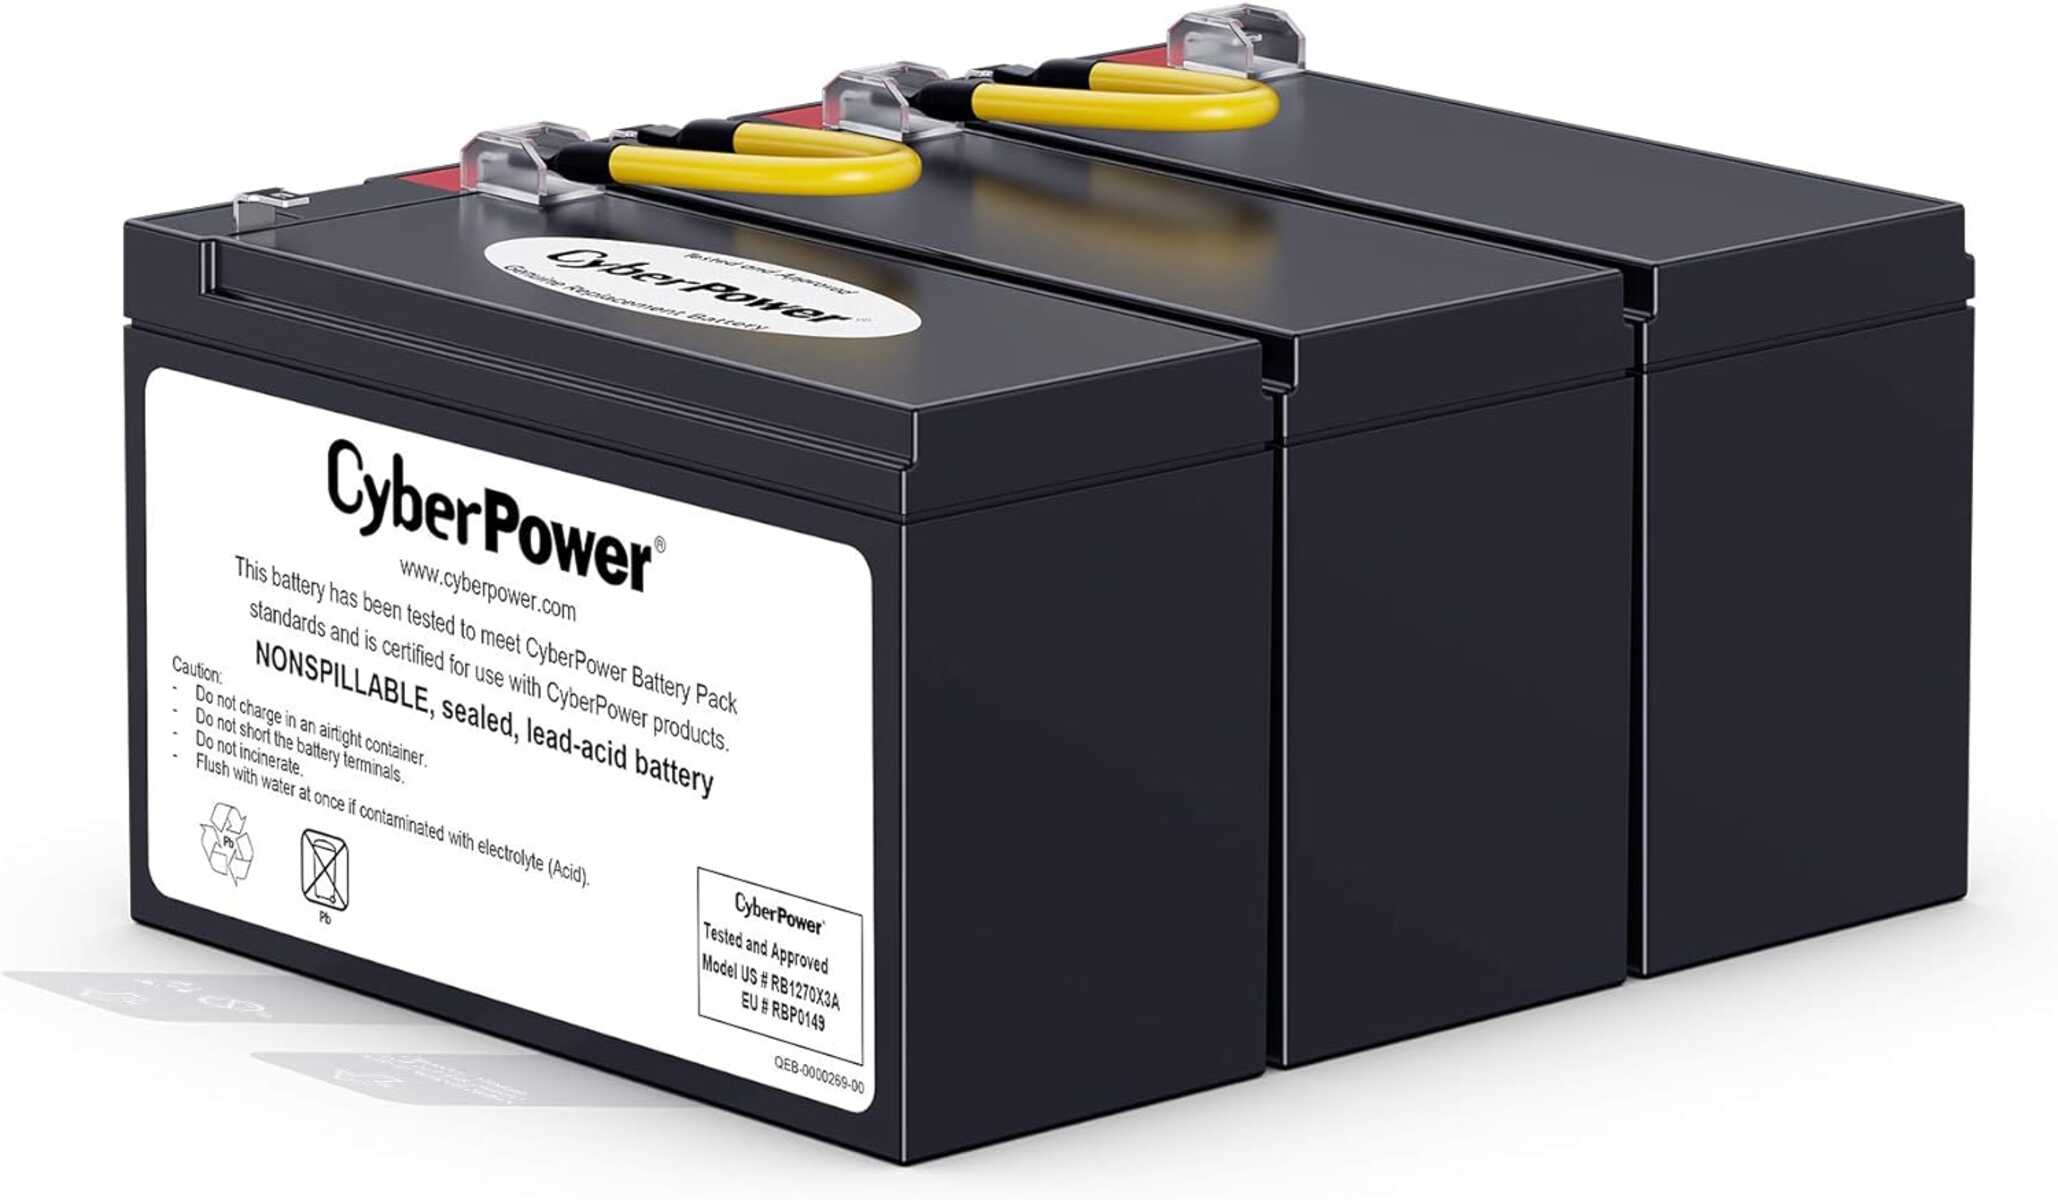
1. Locate the Battery Compartment: Look for the battery compartment on the back or bottom of the UPS. It is typically marked with a battery symbol.
2. Remove the Battery Compartment Cover: Open the battery compartment by removing the cover. This may involve sliding or lifting the cover, depending on the design of your UPS model.
3. Insert the Battery: Take the battery provided with your UPS and carefully place it inside the compartment. Ensure that the battery connectors align with the corresponding connectors in the compartment.
4. Secure the Battery: Once the battery is properly positioned, secure it in place by fastening any clips or brackets provided. This will prevent the battery from moving during operation or transportation.
5. Close the Battery Compartment: Carefully close and secure the battery compartment cover. Ensure it is fully locked or securely fastened to prevent any accidental opening.
By following these steps, you have successfully connected the battery to your Cyberpower Green Power UPS Battery Backup 425VA. The next section will guide you through the process of charging the battery to ensure optimal performance.
Step 4: Charging the Battery
Once you have connected the battery to your Cyberpower Green Power UPS Battery Backup 425VA, it’s time to start charging it. Follow these steps to ensure a proper and complete charging process:
1. Power On the UPS: Ensure that the UPS is powered on by pressing the power button or flipping the switch. This activates the charging circuit and prepares the UPS for battery charging.
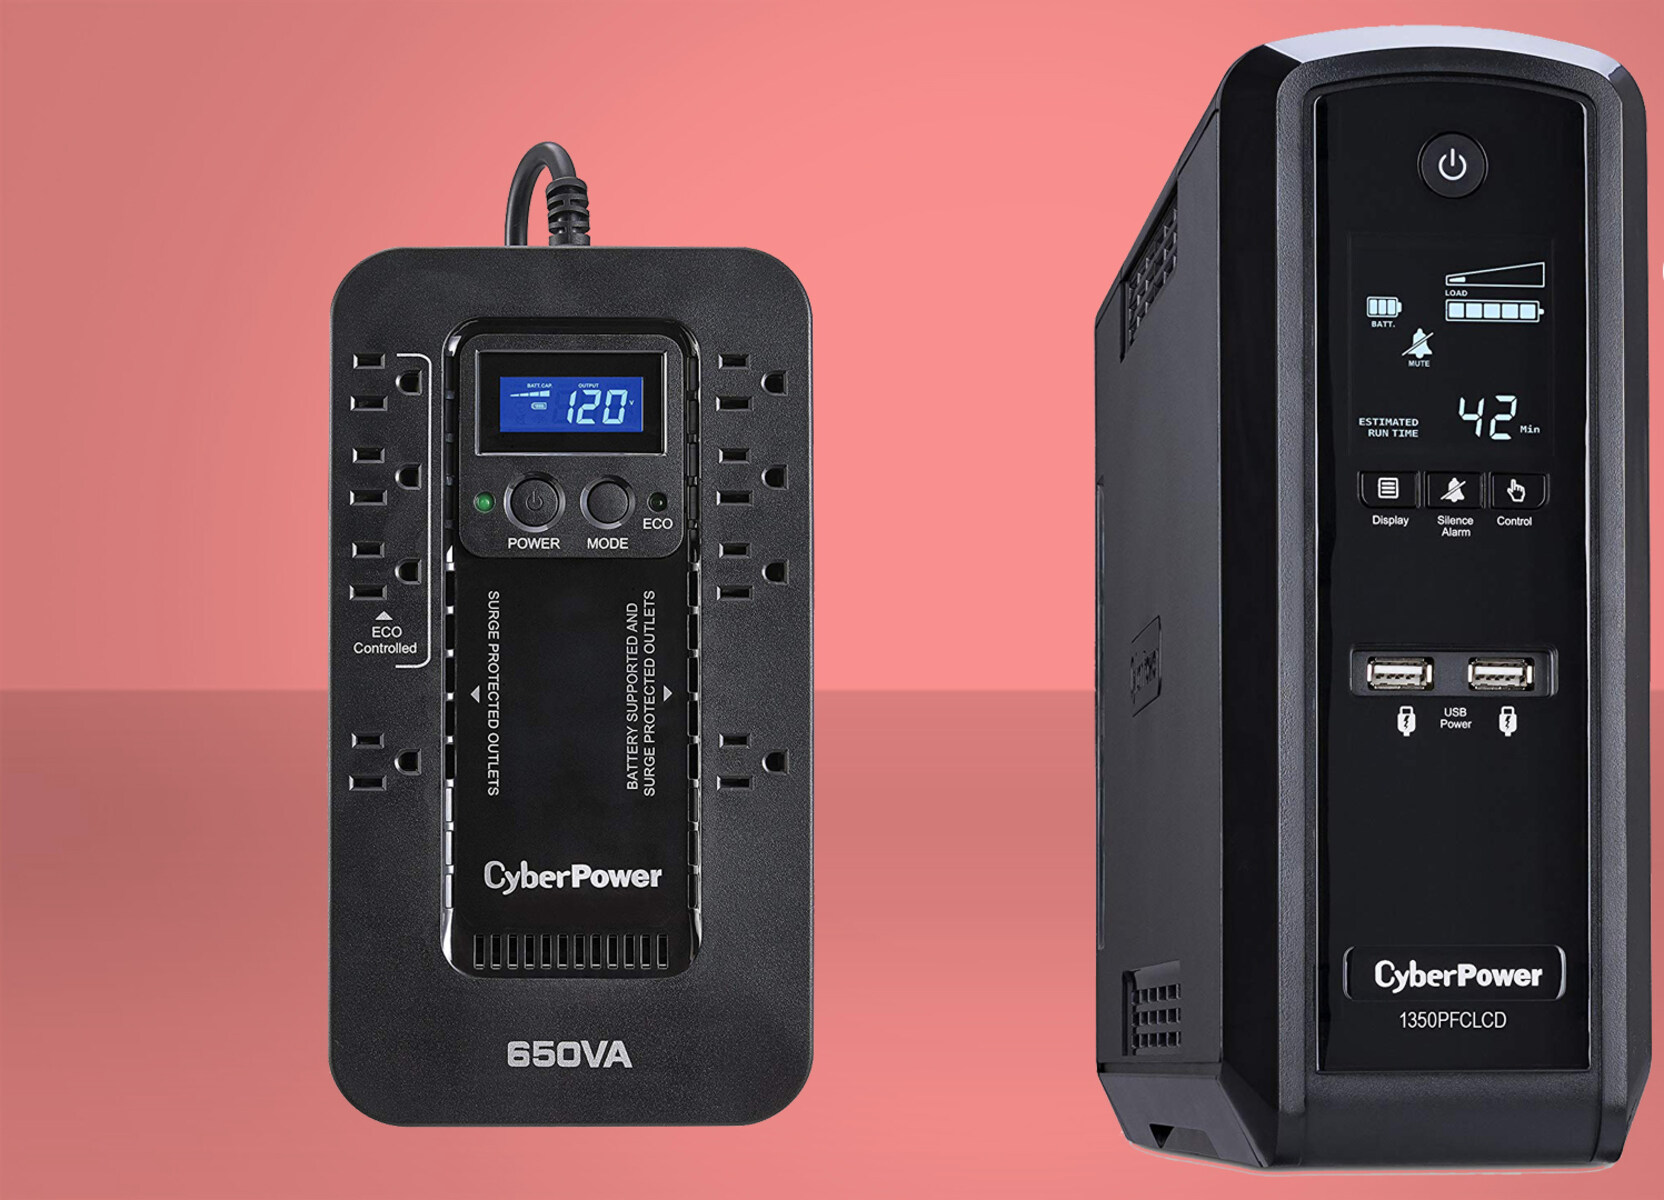
2. Monitor the LED Indicators: Look for the LED indicators on the front panel of the UPS. These indicators provide information about the UPS and its battery status. Pay attention to the battery status LED, which should indicate that the battery is charging.
3. Allow Sufficient Charging Time: Charging the battery may take several hours, depending on its initial charge level and capacity. It is recommended to leave the UPS connected to a power source and allow it to charge uninterrupted until the battery is fully charged.
4. Check the Battery Status LED: Periodically check the battery status LED to monitor the charging progress. It will typically change color or status to indicate when the battery is fully charged or if any issues are detected.
5. Ensure Proper Ventilation: While the battery is charging, ensure that the UPS has proper ventilation to prevent overheating. Keep the UPS in a well-ventilated area and avoid covering it or placing it in confined spaces.
By following these steps, you will successfully charge the battery of your Cyberpower Green Power UPS Battery Backup 425VA. Once the battery is fully charged, you can proceed to the next step and test the UPS to ensure its functionality.
Step 5: Testing the UPS
After charging the battery of your Cyberpower Green Power UPS Battery Backup 425VA, it is essential to test the UPS to ensure that it is operating correctly and ready to provide backup power when needed. Follow these steps to conduct a simple test of the UPS:
1. Disconnect Power Source: To simulate a power outage, unplug the power cord from the wall outlet. This will disconnect the UPS from the main power supply.
2. Monitor the UPS: Observe the UPS and its LED indicators during the power outage simulation. Pay attention to any changes in the LED status or any audible alarms that may indicate a problem.
3. Verify Backup Power: Check if the UPS seamlessly switches to backup power mode. Your connected devices should continue to receive power from the UPS, allowing them to stay operational during the simulated power outage.
4. Test Run Time: Monitor the run time of the UPS during the simulation. This is the duration for which the UPS can sustain the connected devices on backup power. The UPS user manual or specifications should provide an estimate of the run time for your specific model.
5. Reconnect Power Source: Once you have tested the UPS, reconnect the power cord to the wall outlet. The UPS should automatically switch back to normal power mode and start recharging the battery.
By performing this simple test, you can ensure that your Cyberpower Green Power UPS Battery Backup 425VA is functioning properly and ready for any power outage situation. In the next step, we will explore some maintenance and safety tips to help you keep your UPS in optimal condition.
Step 6: Maintenance and Safety Tips
Maintaining your Cyberpower Green Power UPS Battery Backup 425VA is crucial for its long-term performance and reliability. Here are some maintenance and safety tips to keep in mind:
1. Regularly Inspect the UPS: Periodically check the UPS for any signs of physical damage, such as frayed cables, loose connectors, or unusual noises. If you notice any issues, contact the manufacturer for assistance.
2. Keep the UPS Clean: Dust and debris can accumulate on the surface and vents of the UPS, affecting its cooling and overall performance. Use a soft cloth or brush to gently clean the exterior of the UPS.
3. Ensure Proper Ventilation: The UPS generates heat during operation, so it is essential to provide adequate ventilation. Keep the UPS in an open area away from obstructions that could impede airflow.
4. Test the Battery Regularly: Perform regular battery tests to ensure its health and ability to provide backup power. Refer to the user manual for instructions on how to conduct a battery test specific to your UPS model.
5. Replace Battery When Necessary: Over time, the battery of your UPS may lose its capacity to hold a charge effectively. If you find that the runtime has significantly decreased, consider replacing the battery with a new one recommended by the manufacturer.
6. Follow Operating Guidelines: Adhere to the operating guidelines provided by the manufacturer. This includes not exceeding the UPS’s maximum load capacity and avoiding connecting high-power devices that can overload the UPS.
7. Protect the UPS from Extreme Conditions: Avoid exposing the UPS to excessive heat, direct sunlight, moisture, or extreme temperatures. These conditions can negatively impact the UPS’s performance and potentially damage its components.
8. Safely Dispose of Old Batteries: When it comes time to replace the battery, dispose of the old battery in an environmentally friendly manner. Many communities have recycling programs for batteries, so be sure to utilize those resources.
By following these maintenance and safety tips, you can ensure the longevity and reliability of your Cyberpower Green Power UPS Battery Backup 425VA. Remember to refer to the user manual for specific instructions and guidelines that may apply to your model.
Conclusion
Congratulations! You have successfully learned how to charge the Cyberpower Green Power UPS Battery Backup 425VA. By following the step-by-step instructions provided in this guide, you have ensured that your UPS battery is properly connected, charged, and ready to provide backup power for your electronic devices.
Remember, it is essential to familiarize yourself with the user manual and follow the manufacturer’s guidelines for operating and maintaining your UPS. Regular maintenance, such as inspecting for damage, keeping the UPS clean, and testing the battery, will help ensure optimal performance and longevity.
Additionally, practicing electrical safety measures and following the recommended operating guidelines will help protect both your UPS and the devices connected to it from potential harm or damage.
Keep in mind that the UPS battery may require replacement over time. If you notice a significant decrease in its runtime or other signs of deterioration, refer to the manufacturer’s recommendations on how to replace the battery. Safely dispose of the old battery according to local recycling guidelines.
With your Cyberpower Green Power UPS Battery Backup 425VA properly charged and maintained, you can have peace of mind knowing that your electronic devices are protected against power outages and voltage fluctuations. Stay prepared and enjoy uninterrupted power for your critical equipment.
Thank you for following this guide. If you have any further questions or need assistance, refer to the user manual or reach out to the manufacturer’s customer support for additional help. Stay powered up!