Introduction
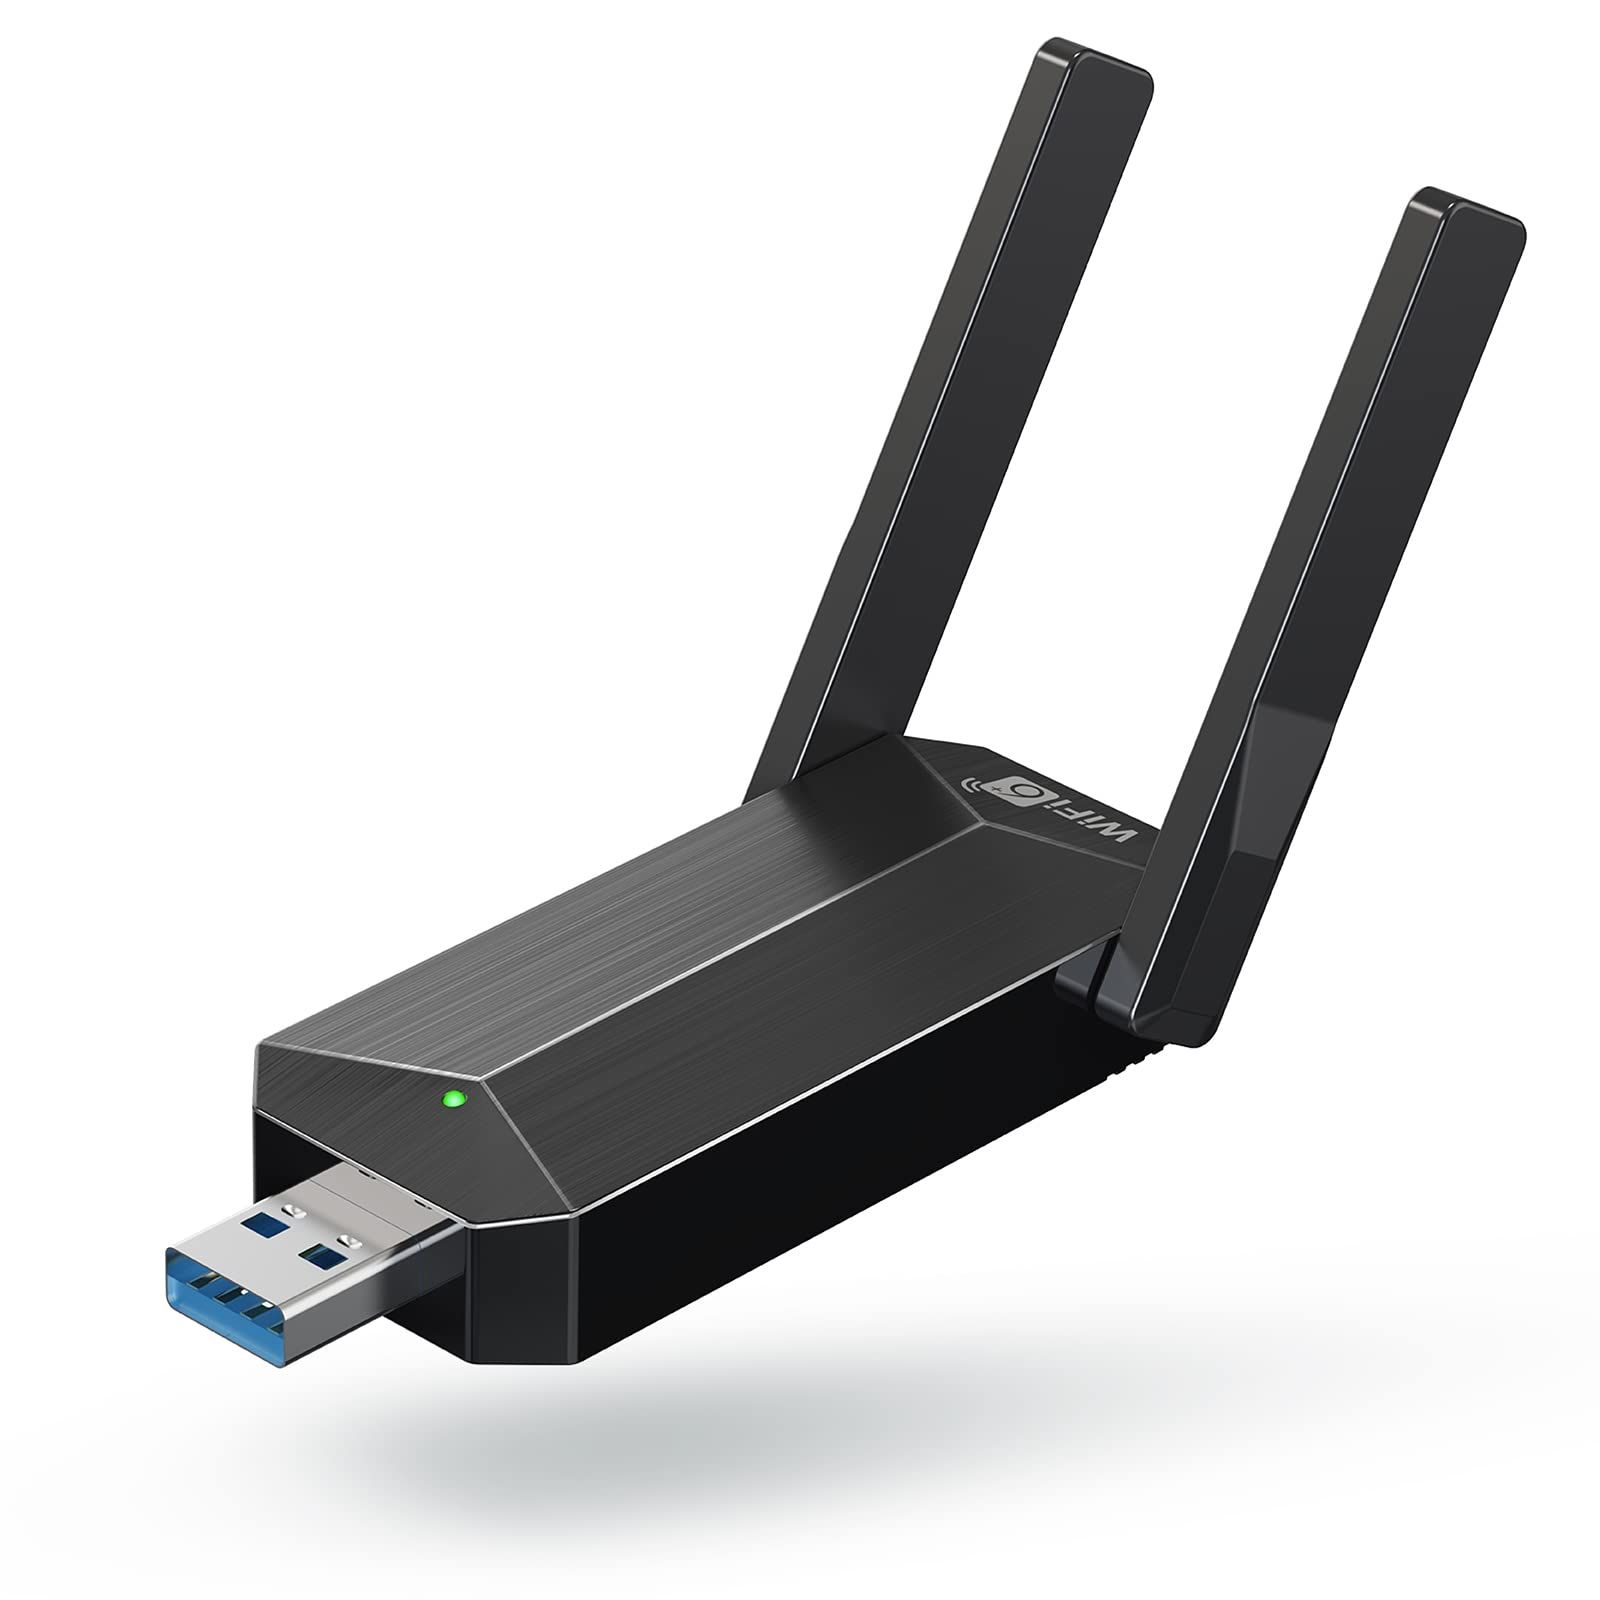
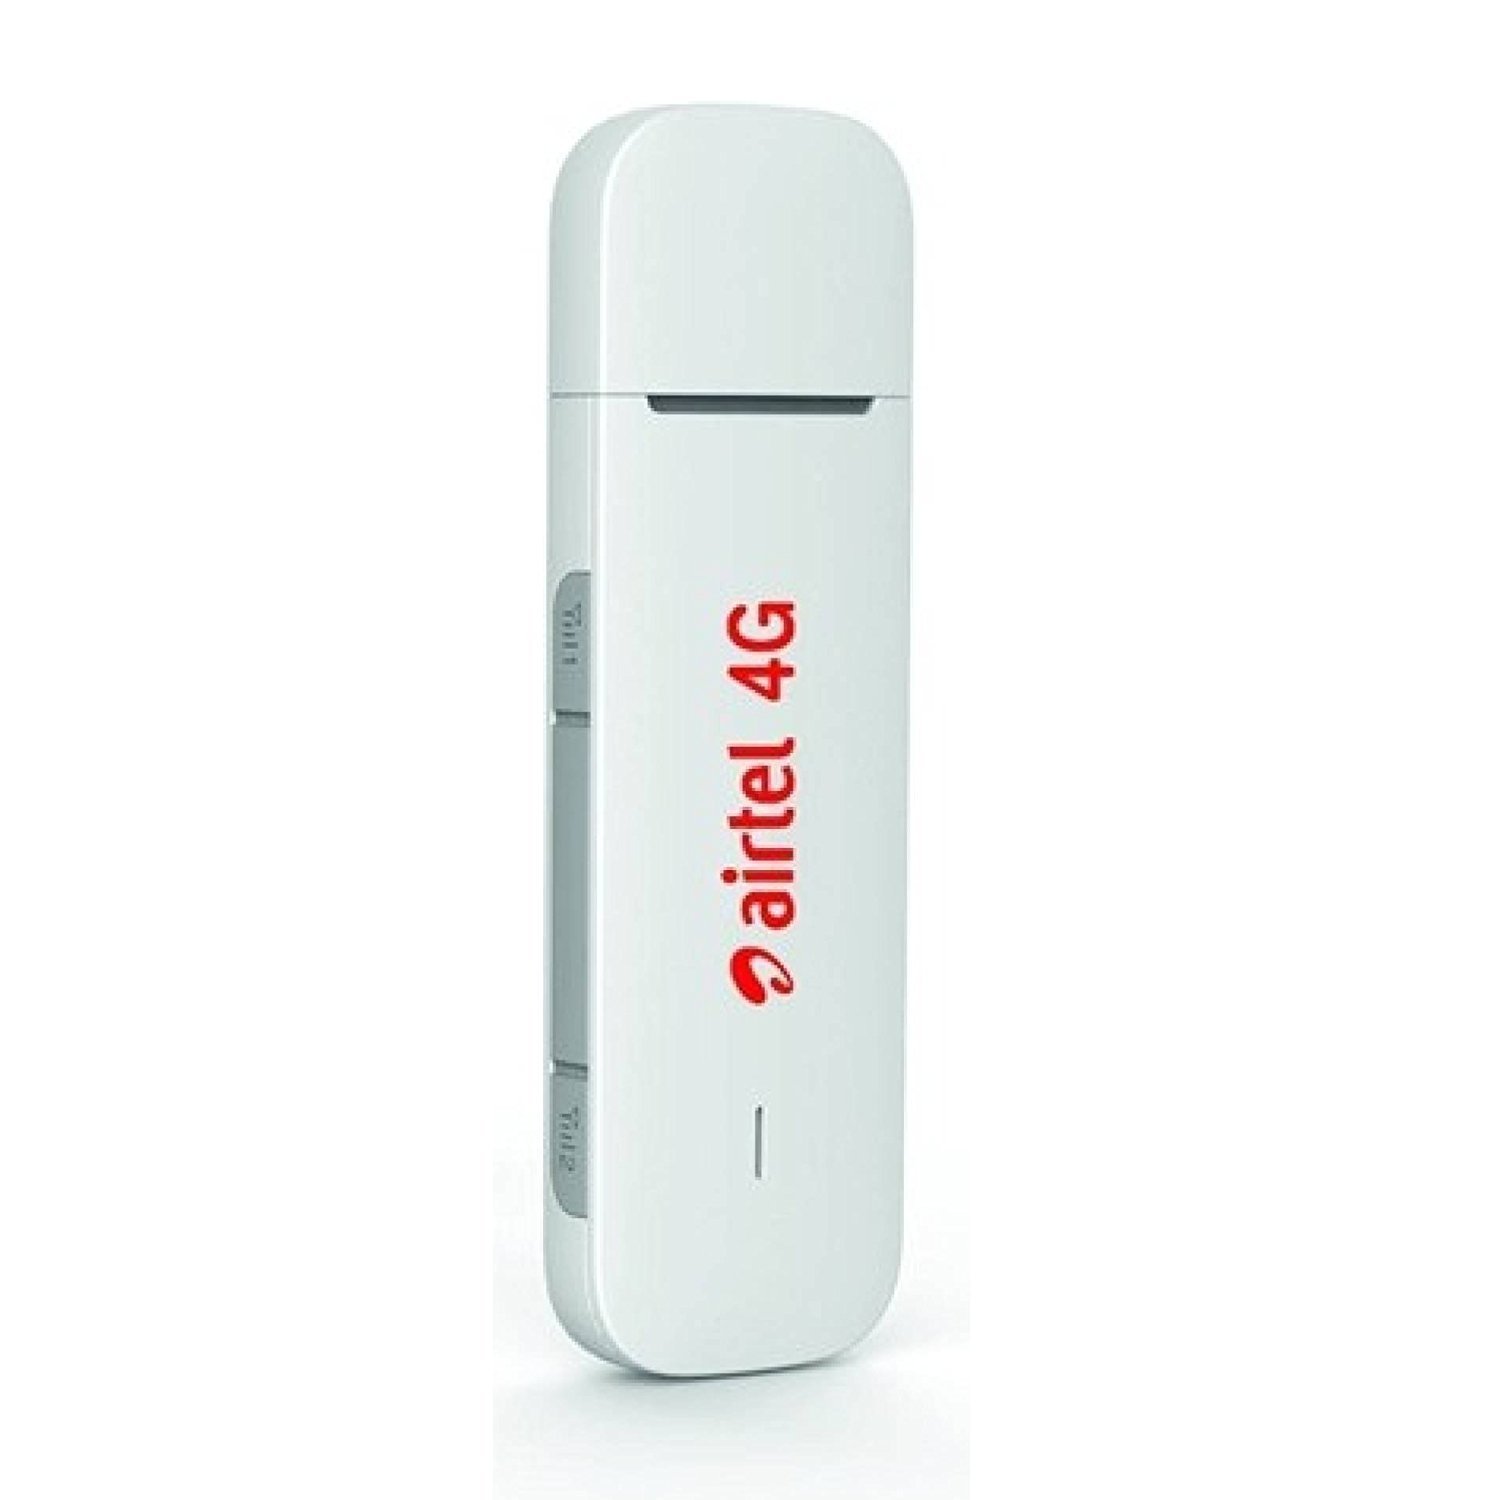
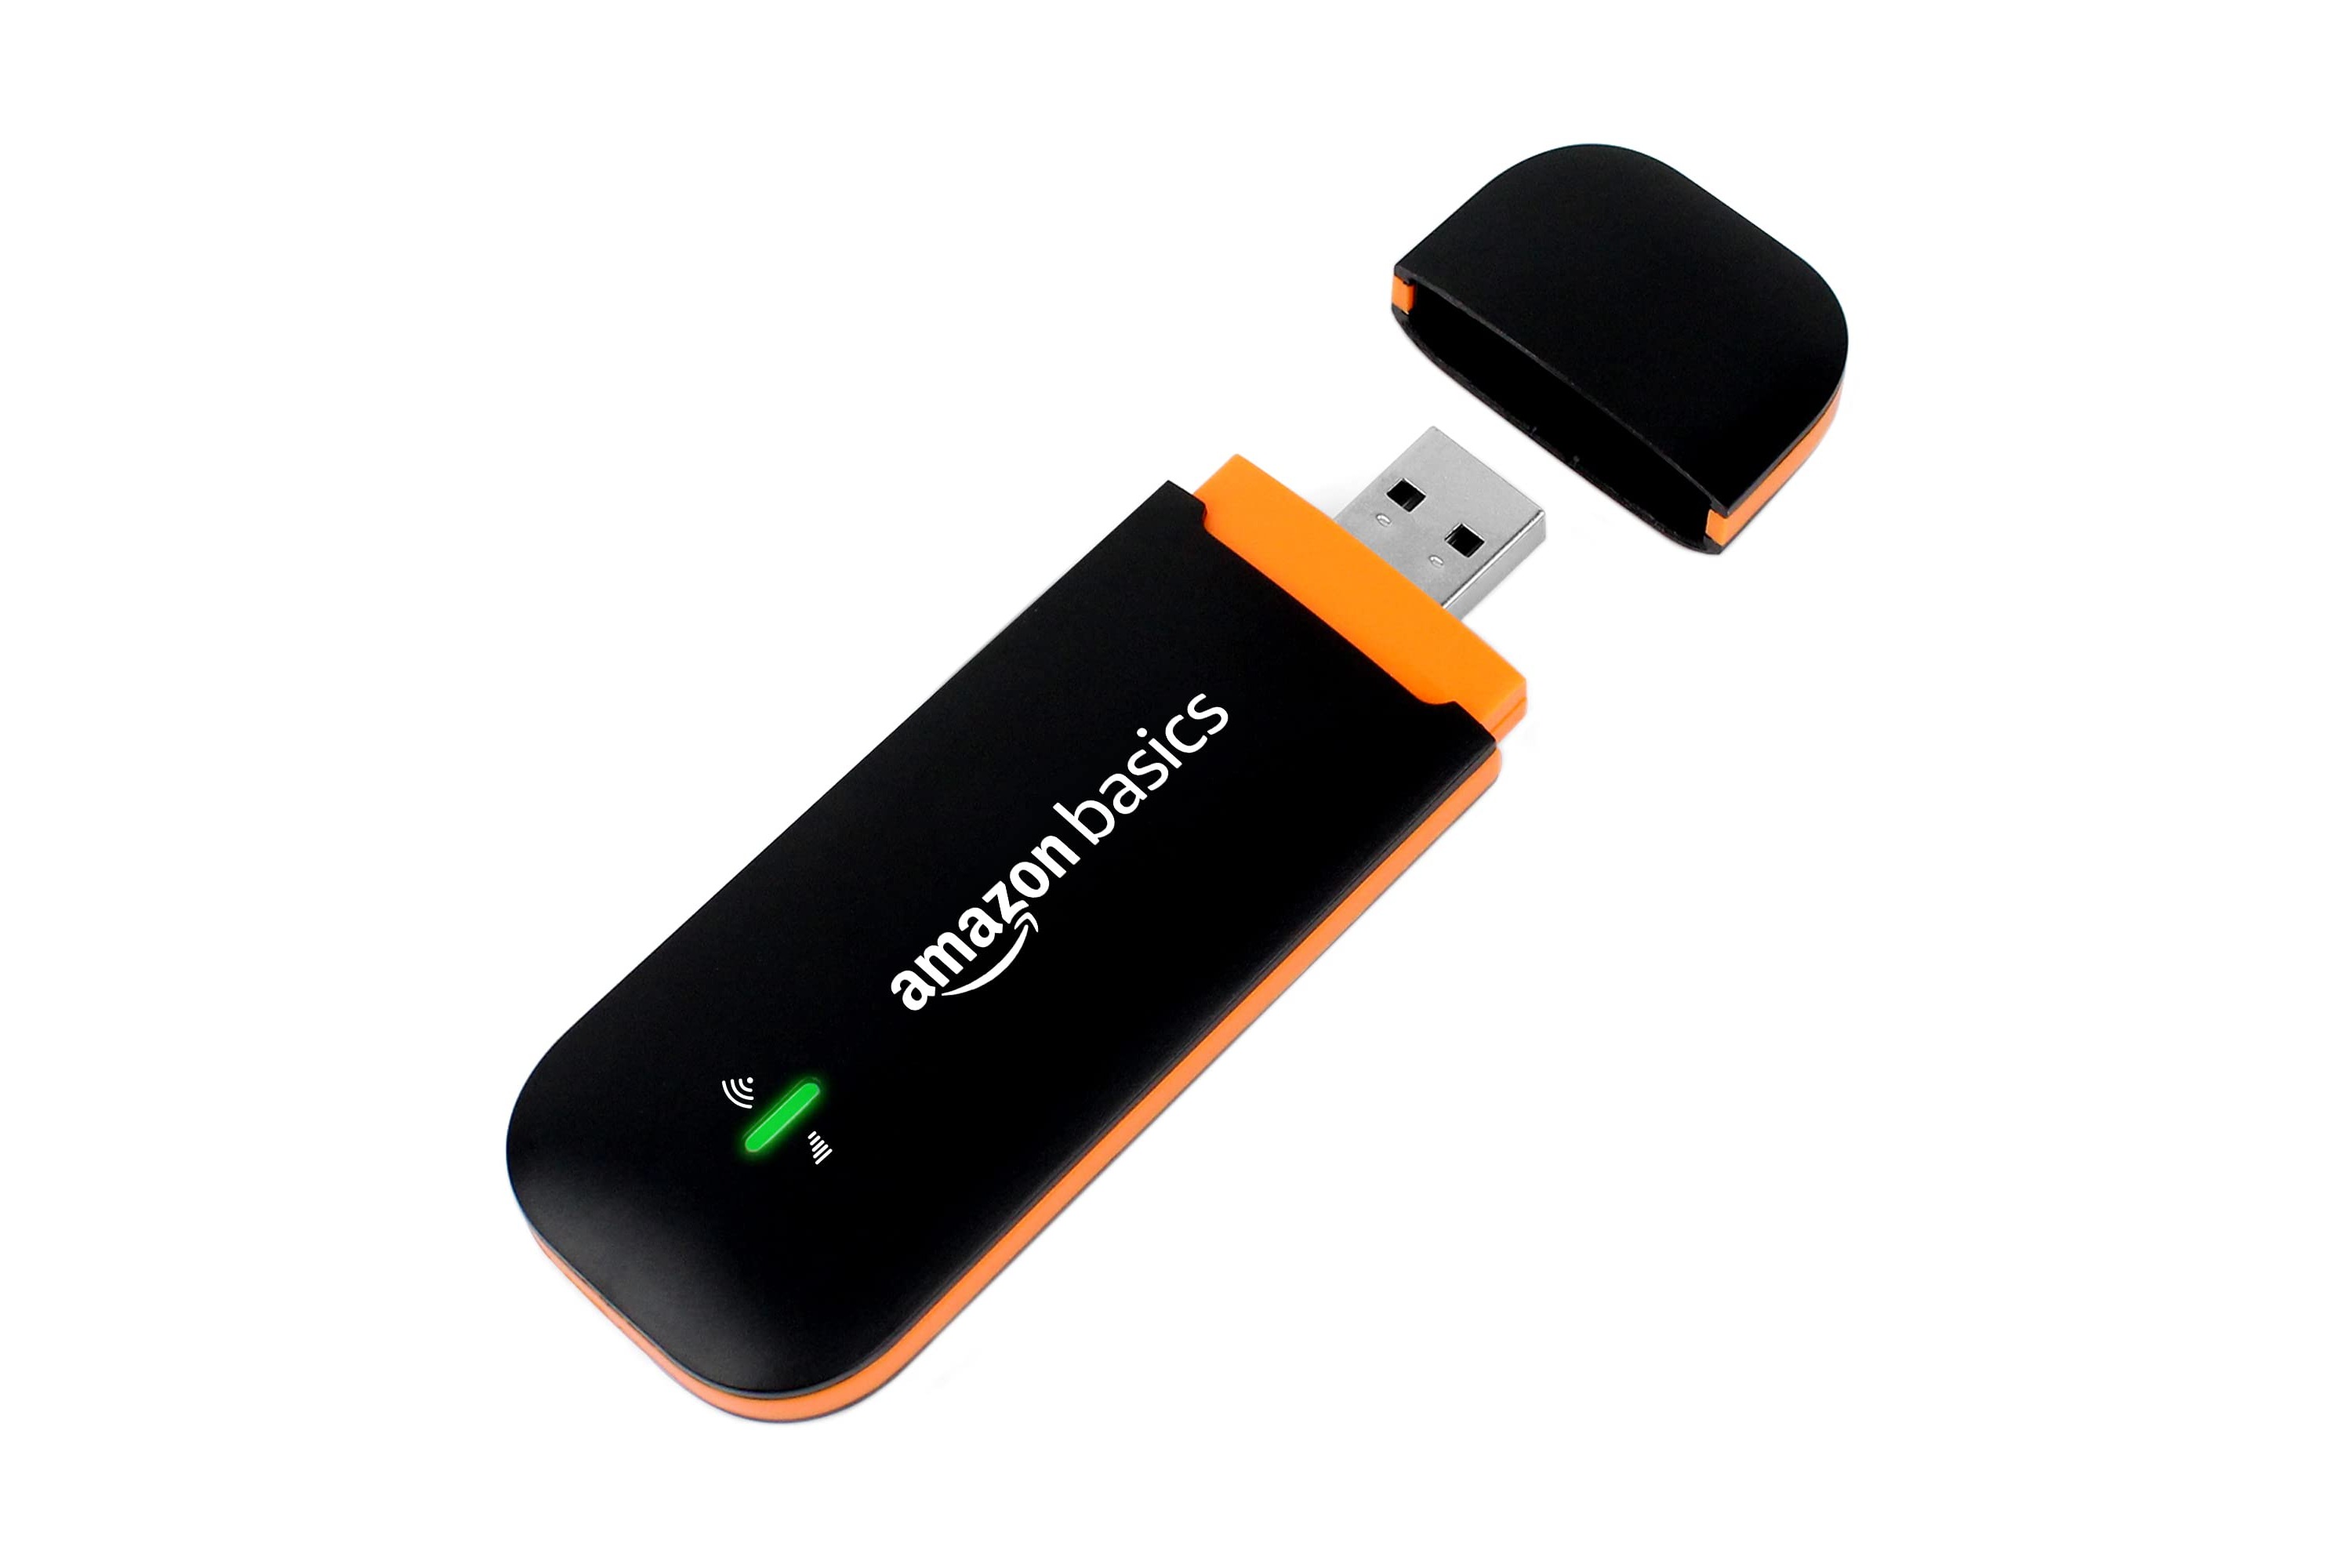
Setting up a Wi-Fi hotspot using a USB dongle can be a game-changer, especially when you find yourself in a location with limited or no internet access. By harnessing the power of a USB dongle, you can transform your laptop or desktop into a wireless access point, enabling other devices to connect and access the internet seamlessly.
Whether you're in a remote area, traveling, or simply looking for a backup internet solution, creating a Wi-Fi hotspot with a USB dongle can provide the connectivity you need. This method offers flexibility and convenience, allowing you to share your internet connection with multiple devices, such as smartphones, tablets, and other computers, without the need for a traditional router.
In this guide, we will walk through the step-by-step process of creating a Wi-Fi hotspot using a USB dongle. We'll cover everything from checking the compatibility of your USB dongle to configuring the hotspot settings and connecting devices. By the end of this tutorial, you'll have a clear understanding of how to leverage your USB dongle to establish a reliable Wi-Fi hotspot.
Without further ado, let's dive into the details of this exciting endeavor and unlock the potential of your USB dongle as a powerful tool for sharing internet connectivity.
Step 1: Check Compatibility of USB Dongle
Before delving into the process of creating a Wi-Fi hotspot with a USB dongle, it's crucial to ensure that your USB dongle is compatible with the necessary software and supports the functionality required for hotspot creation. Here's a detailed breakdown of the steps involved in checking the compatibility of your USB dongle:
1.1. Research and Documentation
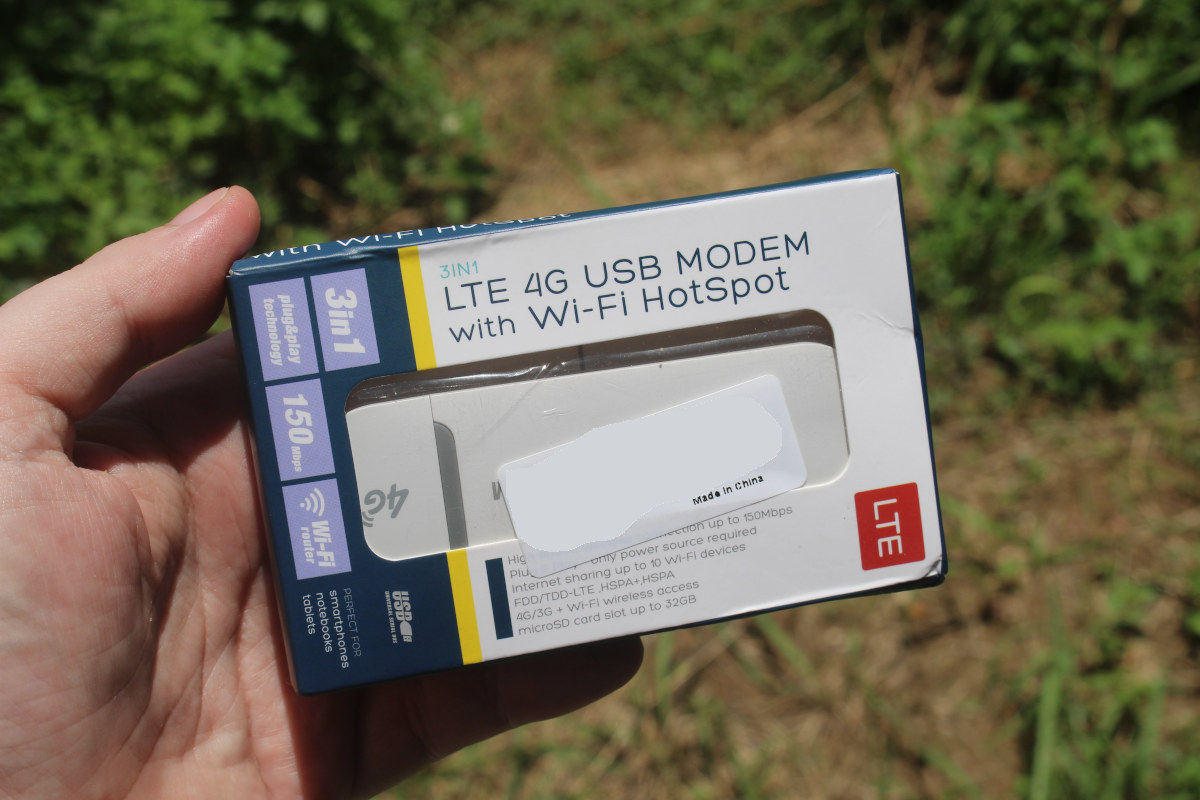
Begin by researching the specifications and capabilities of your USB dongle. Most USB dongles come with documentation that outlines their supported features and functionalities. Look for information related to Wi-Fi hotspot or internet sharing capabilities. If the documentation is unavailable, you can search for the product model online to find detailed specifications.
1.2. Operating System Compatibility
Check whether your USB dongle is compatible with the operating system running on your computer. Some USB dongles are designed specifically for certain operating systems, such as Windows, macOS, or Linux. Ensure that the drivers and software required for creating a Wi-Fi hotspot are available for your specific operating system.
1.3. Hotspot Creation Support
Verify whether the USB dongle supports the creation of a Wi-Fi hotspot. Not all USB dongles are equipped with this functionality, so it's essential to confirm that your device has the capability to act as a wireless access point. Look for features such as "internet sharing," "hotspot mode," or "wireless tethering" in the documentation or specifications of your USB dongle.
1.4. Driver Installation
If your USB dongle requires specific drivers to enable hotspot functionality, ensure that the drivers are available and compatible with your operating system. Check the manufacturer's website or support resources to download and install the necessary drivers for your USB dongle.
By thoroughly examining the compatibility of your USB dongle, you can proceed with confidence, knowing that your device is capable of supporting the creation of a Wi-Fi hotspot. This proactive approach helps prevent potential compatibility issues and ensures a smooth setup process for establishing a wireless access point using your USB dongle.
Once you have confirmed the compatibility of your USB dongle, you can proceed to the next step, which involves installing the necessary software to facilitate the creation of a Wi-Fi hotspot.
Next, we'll explore the essential steps for installing the required software to harness the full potential of your USB dongle for hotspot creation.
Step 2: Install Necessary Software
After confirming the compatibility of your USB dongle, the next crucial step in setting up a Wi-Fi hotspot involves installing the essential software required to enable hotspot functionality. The software acts as a bridge between your USB dongle and the operating system, allowing you to create and manage the Wi-Fi hotspot with ease. Here's a comprehensive guide to installing the necessary software for establishing a Wi-Fi hotspot using your USB dongle:
2.1. Identify Supported Software
Begin by identifying the supported software for your USB dongle. Some manufacturers provide dedicated software or drivers that enable hotspot functionality for their USB dongles. Check the documentation, product website, or support resources to locate the recommended software for creating a Wi-Fi hotspot with your specific USB dongle.
2.2. Download and Install Drivers
If your USB dongle requires specific drivers to enable hotspot functionality, proceed to download and install the drivers onto your computer. Visit the manufacturer's website or support portal to obtain the latest drivers compatible with your operating system. Follow the provided instructions to install the drivers, ensuring that they are properly integrated with your system.
2.3. Utilize Built-in Hotspot Features
In some cases, the operating system may offer built-in features for creating a Wi-Fi hotspot without the need for additional software. For instance, Windows 10 includes a native "Mobile Hotspot" feature that allows you to share your internet connection using a compatible USB dongle. Explore the settings and features of your operating system to determine if built-in hotspot capabilities are available.
2.4. Explore Third-Party Hotspot Software
Alternatively, you can explore third-party hotspot software that is compatible with your USB dongle and operating system. There are numerous reputable software solutions designed specifically for creating and managing Wi-Fi hotspots using various connectivity methods, including USB dongles. Research and select a reliable third-party software that aligns with your requirements and download it from a trusted source.
2.5. Follow Installation Instructions
Once you have obtained the necessary software or drivers, carefully follow the installation instructions provided by the manufacturer or software developer. Pay attention to any specific configuration settings or setup requirements to ensure a seamless installation process. Upon successful installation, the software should enable the Wi-Fi hotspot functionality of your USB dongle, allowing you to proceed to the next step of configuring the hotspot settings.
By diligently installing the required software, you equip your system with the tools needed to unleash the full potential of your USB dongle for creating a reliable and efficient Wi-Fi hotspot. With the software in place, you are prepared to move on to the crucial task of configuring the Wi-Fi hotspot settings to ensure optimal performance and accessibility for connected devices.
Step 3: Configure Wi-Fi Hotspot Settings
Configuring the Wi-Fi hotspot settings is a pivotal stage in the process of creating a Wi-Fi hotspot using a USB dongle. This step involves fine-tuning the parameters of the hotspot to ensure seamless connectivity, security, and optimal performance for the devices that will be accessing the network. Here's a detailed exploration of the essential aspects involved in configuring the Wi-Fi hotspot settings:
3.1. Access Hotspot Configuration Interface
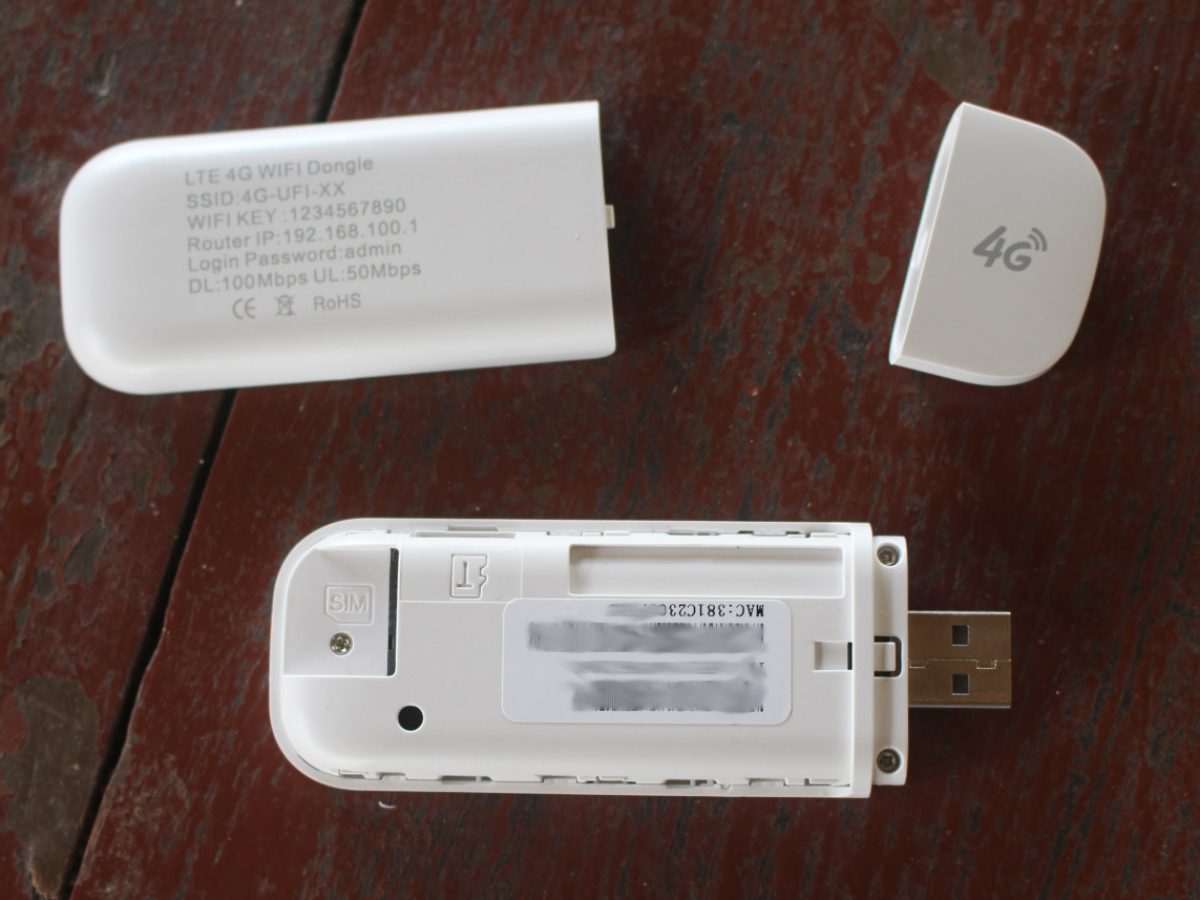
Begin by accessing the configuration interface of the software or drivers responsible for managing the Wi-Fi hotspot created by your USB dongle. This interface provides a centralized platform for adjusting various settings related to the hotspot, including network name (SSID), security protocols, password, and device management.
3.2. Customize Network Name (SSID)
The network name, also known as the Service Set Identifier (SSID), serves as the identifier for your Wi-Fi hotspot. Customize the SSID to reflect a recognizable and user-friendly name that distinguishes your hotspot from other available networks. Consider incorporating a personal touch or a descriptive label to make the hotspot easily identifiable to potential users.
3.3. Implement Security Measures
Security is paramount when establishing a Wi-Fi hotspot, as it safeguards the network from unauthorized access and potential threats. Select a robust security protocol, such as WPA2-PSK (Wi-Fi Protected Access 2 – Pre-Shared Key), to encrypt the data transmitted over the network. Create a strong, unique password that adheres to best practices for password security, combining alphanumeric characters and special symbols for enhanced protection.
3.4. Adjust Channel and Bandwidth Settings
Fine-tune the channel and bandwidth settings of the Wi-Fi hotspot to optimize the wireless signal transmission. Select an appropriate channel with minimal interference from other nearby networks to ensure a stable and reliable connection. Additionally, adjust the bandwidth settings to align with the connectivity requirements of the devices that will be utilizing the hotspot, balancing speed and coverage based on the intended usage scenarios.
3.5. Enable Device Management Features
Explore the options for device management within the hotspot configuration interface. Some software or drivers offer features that allow you to monitor connected devices, set access controls, and manage bandwidth allocation. Utilize these capabilities to maintain oversight of the devices accessing the hotspot and implement tailored restrictions or permissions as needed.
3.6. Save and Apply Settings
Once you have configured the Wi-Fi hotspot settings according to your preferences, ensure to save and apply the changes within the configuration interface. This step finalizes the adjustments made to the hotspot parameters, ensuring that the settings are effectively implemented and ready for activation.
By meticulously configuring the Wi-Fi hotspot settings, you establish a secure, efficient, and tailored wireless access point using your USB dongle. These settings play a crucial role in shaping the user experience and network performance, providing a foundation for seamless connectivity and reliable internet access for connected devices. With the hotspot settings in place, you are poised to proceed to the next phase of connecting devices to the Wi-Fi hotspot and experiencing the benefits of your setup.
Step 4: Connect Devices to Wi-Fi Hotspot
With the Wi-Fi hotspot configured and ready for use, the next pivotal step is to connect devices to the newly established wireless access point. This process enables smartphones, tablets, laptops, and other compatible devices to leverage the internet connectivity provided by the Wi-Fi hotspot created using the USB dongle. Here's a comprehensive guide to seamlessly connecting devices to the Wi-Fi hotspot:
4.1. Device Discovery
Initiate the device discovery process on the devices you intend to connect to the Wi-Fi hotspot. Access the Wi-Fi settings or network preferences on each device and search for available wireless networks. The SSID configured for your Wi-Fi hotspot should be visible among the list of available networks.
4.2. Select Wi-Fi Hotspot
Identify the network name (SSID) of your Wi-Fi hotspot from the list of available networks on the device. Select the Wi-Fi hotspot's SSID to initiate the connection process. Depending on the device's operating system, you may be prompted to enter the password for the Wi-Fi hotspot at this stage.
4.3. Enter Hotspot Password
Enter the unique password set for the Wi-Fi hotspot during the configuration process. Ensure that the password is accurately entered to establish a secure and authenticated connection to the hotspot. The password authentication process may vary based on the device's interface and operating system.
4.4. Establish Connection
Upon successful entry of the hotspot password, the device will proceed to establish a connection to the Wi-Fi hotspot created by the USB dongle. The device's Wi-Fi indicator should reflect the successful connection, indicating the active internet access provided by the Wi-Fi hotspot.
4.5. Verify Connectivity
Once connected, verify the internet connectivity on the device by accessing web pages, streaming media, or performing network-dependent tasks. Ensure that the device seamlessly accesses the internet through the Wi-Fi hotspot, confirming the reliability and functionality of the established connection.
4.6. Repeat for Additional Devices
Repeat the aforementioned steps for each additional device that you wish to connect to the Wi-Fi hotspot. Provide the necessary credentials, including the SSID and password, to facilitate secure and efficient connections across multiple devices.
By following these steps, you can successfully connect a diverse array of devices to the Wi-Fi hotspot created using the USB dongle. This seamless connectivity empowers users to harness the internet connectivity provided by the hotspot, enabling productivity, entertainment, and communication across various platforms and devices.
With devices seamlessly connected to the Wi-Fi hotspot, you can leverage the full potential of your USB dongle as a versatile tool for sharing internet access. This marks the culmination of the setup process, allowing you to enjoy the benefits of a robust and accessible wireless network created through the ingenuity of your USB dongle.
Conclusion
In conclusion, the ability to create a Wi-Fi hotspot using a USB dongle presents a versatile and practical solution for establishing internet connectivity in diverse scenarios. By following the outlined steps, you can harness the potential of your USB dongle to transform your computer into a wireless access point, enabling seamless internet sharing with other devices.
The process begins with a meticulous check of the USB dongle's compatibility, ensuring that it supports the necessary functionalities for hotspot creation. This proactive approach mitigates potential compatibility issues and sets the stage for a smooth setup process.
Installing the essential software or drivers is a critical step that bridges the connection between the USB dongle and the operating system, unlocking the hotspot functionality. Whether utilizing built-in hotspot features or third-party software, the installation process equips your system with the tools needed to facilitate the creation and management of the Wi-Fi hotspot.
Configuring the Wi-Fi hotspot settings is a pivotal stage that tailors the wireless network to suit your preferences and security requirements. Customizing the network name (SSID), implementing robust security measures, and fine-tuning channel and bandwidth settings contribute to creating a secure, efficient, and user-friendly hotspot environment.
Connecting devices to the Wi-Fi hotspot marks the final step, enabling seamless internet access across smartphones, tablets, laptops, and other compatible devices. This process empowers users to leverage the internet connectivity provided by the Wi-Fi hotspot, facilitating productivity, communication, and entertainment on the go.
In essence, the ability to create a Wi-Fi hotspot with a USB dongle transcends conventional connectivity limitations, offering a flexible and on-the-go internet solution. Whether navigating remote locations, traveling, or seeking a backup internet option, the USB dongle's hotspot functionality provides a reliable bridge to the digital world.
By embracing the potential of your USB dongle, you can overcome connectivity barriers and empower yourself with a versatile tool for sharing internet access. The culmination of this endeavor marks the transformation of your USB dongle into a powerful conduit for connectivity, enhancing your digital experiences and fostering seamless internet accessibility in various environments.


