Introduction
Connecting your Hisense TV to a Wi-Fi hotspot can open up a world of entertainment possibilities, allowing you to stream your favorite shows, movies, and music without the need for traditional cable or satellite connections. Whether you're setting up your Hisense TV for the first time or looking to switch to a different Wi-Fi network, the process is relatively straightforward and can be completed in just a few simple steps. By following the instructions provided in this guide, you can ensure that your Hisense TV is seamlessly connected to your Wi-Fi hotspot, enabling you to enjoy a seamless and immersive viewing experience.
The ability to connect your Hisense TV to a Wi-Fi hotspot offers unparalleled convenience, giving you the freedom to access a wide range of online content without being tethered to a physical network connection. This flexibility is particularly beneficial for individuals who enjoy streaming content from popular platforms such as Netflix, Hulu, Amazon Prime Video, and YouTube, as well as those who prefer to access on-demand services and live TV streaming apps. Additionally, connecting your Hisense TV to a Wi-Fi hotspot can enable seamless integration with smart home devices and voice assistants, allowing for enhanced control and functionality from the comfort of your living room.
In the following sections, we will walk you through the step-by-step process of connecting your Hisense TV to a Wi-Fi hotspot, providing clear and concise instructions to ensure a smooth and hassle-free setup. By the end of this guide, you will have the knowledge and confidence to configure your Hisense TV to seamlessly connect to your preferred Wi-Fi hotspot, unlocking a world of entertainment possibilities at your fingertips. Let's dive into the details and get your Hisense TV connected to your Wi-Fi hotspot in no time!
Step 1: Turn on Hisense TV
The first step in connecting your Hisense TV to a Wi-Fi hotspot is to ensure that the television is powered on. This may seem like a simple task, but it is an essential starting point for the configuration process. Here's how you can effectively turn on your Hisense TV:
-
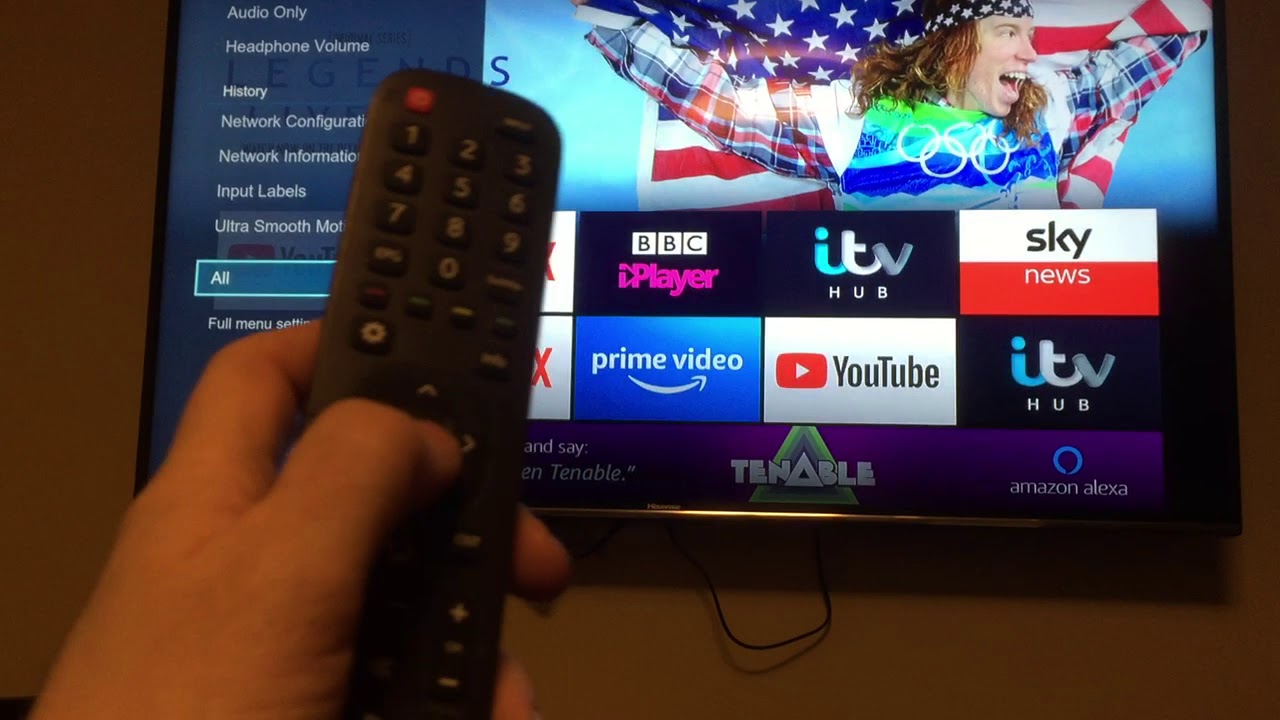
Locate the Power Button: Begin by locating the power button on your Hisense TV. Depending on the model, the power button may be located on the front panel of the television or on the remote control. If you are using the remote control, it typically has a dedicated power button that is easily identifiable.
-
Press the Power Button: Once you have located the power button, press it to turn on the Hisense TV. You should see the television screen illuminate as it powers up, indicating that the device is successfully booting up.
-
Wait for Initialization: After pressing the power button, allow the Hisense TV a few moments to initialize. During this time, the TV's startup sequence will commence, and the display will transition from a blank screen to the initial loading screen.
-
Access Standby Mode: In some instances, your Hisense TV may have been in standby mode rather than completely powered off. If this is the case, pressing the power button will prompt the TV to exit standby mode and resume normal operation.
By following these steps, you can ensure that your Hisense TV is turned on and ready to proceed with the subsequent configuration steps. Once the TV is powered on, you can move on to accessing the settings menu to initiate the process of connecting to a Wi-Fi hotspot.
Turning on your Hisense TV is the foundational step that sets the stage for establishing a wireless connection, paving the way for an enriched viewing experience that leverages the full potential of your smart TV capabilities. With the TV powered on, you are now ready to delve into the subsequent steps, which will guide you through the process of configuring the network settings and connecting to your desired Wi-Fi hotspot.
Step 2: Access TV Settings
Accessing the TV settings on your Hisense TV is a pivotal step in the process of connecting to a Wi-Fi hotspot. By navigating to the settings menu, you gain access to a range of configuration options that enable you to customize and optimize your TV's network connectivity. Here's a detailed guide on how to access the TV settings on your Hisense TV:
-
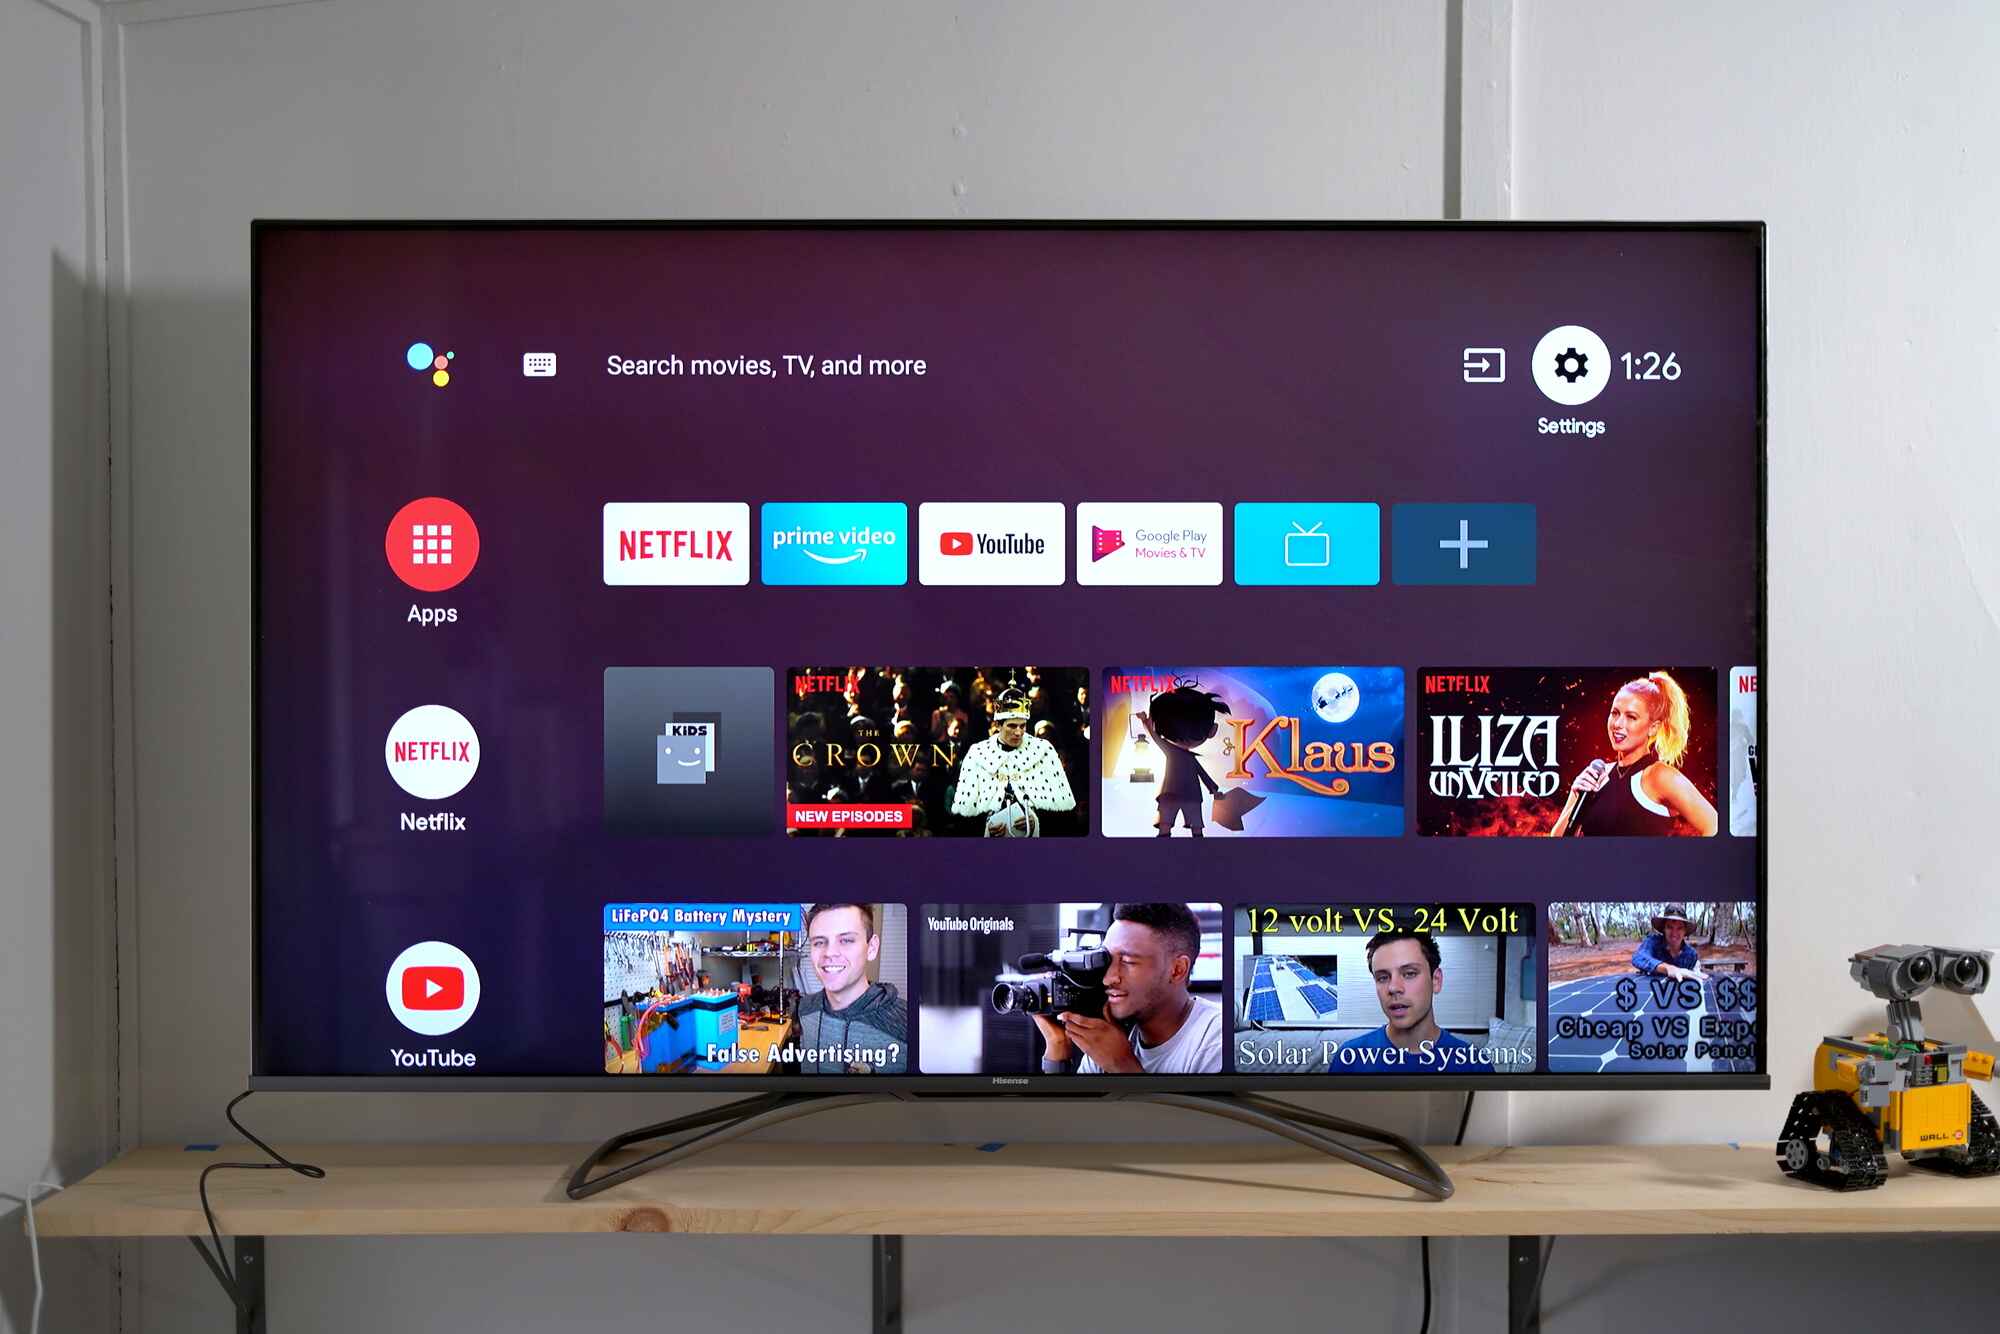
Navigate to the Home Screen: Upon turning on your Hisense TV, you will typically be presented with the home screen, which serves as the central hub for accessing various features and functionalities. Use the remote control to navigate to the home screen if it's not already displayed.
-
Locate the Settings Icon: Look for the settings icon, which is often represented by a gear or cogwheel symbol. This icon is the gateway to the TV's configuration menu, where you can adjust a multitude of settings, including network and internet-related options.
-
Access the Settings Menu: Using the remote control, navigate to the settings icon and press the designated button to enter the settings menu. Once inside the settings menu, you will be presented with a comprehensive array of options that allow you to customize and fine-tune various aspects of your Hisense TV's operation.
-
Navigate to Network Settings: Within the settings menu, locate and select the "Network" or "Network Settings" option. This will direct you to a sub-menu specifically dedicated to managing the TV's network connectivity, including Wi-Fi setup and configuration.
-
Prepare for Network Configuration: At this stage, you are on the brink of initiating the network configuration process. Ensure that your Wi-Fi hotspot is operational and that you have the necessary credentials, such as the network name (SSID) and password, readily available for the subsequent steps.
By following these steps, you can effectively access the TV settings on your Hisense TV, positioning yourself to seamlessly proceed with the setup of the network connection. Navigating to the settings menu is a fundamental preparatory step that sets the stage for configuring the network settings and initiating the process of connecting your Hisense TV to a Wi-Fi hotspot. With the settings menu within reach, you are now poised to delve into the subsequent steps, which will guide you through the seamless establishment of a wireless connection, unlocking a world of digital content and entertainment possibilities.
Step 3: Select Network Settings
Upon accessing the settings menu on your Hisense TV, the next crucial step in the process of connecting to a Wi-Fi hotspot is to select the network settings. This pivotal stage allows you to specifically configure the TV's network connectivity, enabling seamless access to your desired Wi-Fi hotspot. Here's a detailed guide on how to effectively navigate and select the network settings on your Hisense TV:
-
Navigate to the Network Settings Menu: Within the settings menu, locate and select the "Network" or "Network Settings" option. This action will direct you to a dedicated sub-menu that is specifically tailored to managing the TV's network connectivity. By entering this section, you gain access to a comprehensive array of options that facilitate the setup and configuration of your Hisense TV's wireless connection.
-
Choose Wireless Connection: Once inside the network settings menu, look for the option that pertains to wireless or Wi-Fi connectivity. This selection is instrumental in initiating the process of connecting your Hisense TV to a Wi-Fi hotspot. By choosing the wireless connection option, you signal your intent to establish a wireless network link, enabling the TV to detect and connect to available Wi-Fi networks.
-
Scan for Available Networks: Upon selecting the wireless connection option, your Hisense TV will initiate a scan to detect available Wi-Fi networks within range. This scanning process allows the TV to identify and display a list of accessible Wi-Fi hotspots, including your personal network and other nearby wireless connections.
-
Select Your Wi-Fi Hotspot: After the scan is complete, your Hisense TV will present a list of detected Wi-Fi networks. Navigate through the displayed options using the remote control and select your specific Wi-Fi hotspot from the list. This action signals the TV to establish a connection with the chosen network, paving the way for the subsequent configuration steps.
-
Prepare for Configuration: As you select your Wi-Fi hotspot, ensure that you have the necessary credentials at hand, including the network name (SSID) and password. Having these details readily available will streamline the configuration process, allowing for a seamless and uninterrupted establishment of the wireless connection.
By effectively navigating and selecting the network settings on your Hisense TV, you position yourself to seamlessly proceed with the setup of the wireless connection. This pivotal stage lays the groundwork for configuring the TV's network connectivity, setting the stage for a hassle-free and streamlined process of connecting your Hisense TV to your preferred Wi-Fi hotspot. With the network settings menu at your fingertips, you are now well-equipped to delve into the subsequent steps, which will guide you through the seamless establishment of a wireless connection, unlocking a world of digital content and entertainment possibilities.
Step 4: Choose Wi-Fi Hotspot
After navigating to the network settings and selecting the wireless connection option on your Hisense TV, the pivotal next step is to choose the specific Wi-Fi hotspot to which you intend to connect. This step marks a critical juncture in the process of configuring the TV's network connectivity, as it enables you to pinpoint and establish a direct link with your preferred wireless network. Here's a detailed guide on how to effectively choose the Wi-Fi hotspot on your Hisense TV:
-
Navigate to Available Networks: Upon initiating the wireless connection setup, your Hisense TV will conduct a scan to detect available Wi-Fi networks within range. This scanning process allows the TV to identify and display a list of accessible Wi-Fi hotspots, including your personal network and other nearby wireless connections.
-
Select Your Desired Wi-Fi Hotspot: Once the scan is complete, the TV will present a list of detected Wi-Fi networks on the screen. Using the remote control, navigate through the displayed options and select your specific Wi-Fi hotspot from the list. This action signals the TV to establish a connection with the chosen network, laying the foundation for the subsequent configuration steps.
-
Enter Network Credentials: Upon selecting your desired Wi-Fi hotspot, the TV will prompt you to enter the necessary network credentials, typically comprising the network name (SSID) and password. Use the remote control to input the required information accurately, ensuring that the details are entered correctly to facilitate a seamless and secure connection to the chosen Wi-Fi network.
-
Confirm Wi-Fi Selection: After entering the network credentials, confirm your selection to proceed with the establishment of the wireless connection. This confirmation step validates your choice of the Wi-Fi hotspot and initiates the process of configuring the TV to connect to the designated network, thereby enabling seamless access to online content and digital services.
-
Verification and Authentication: Following the confirmation of your Wi-Fi hotspot selection, the Hisense TV will proceed to verify and authenticate the entered network credentials. This validation process ensures that the provided information aligns with the chosen Wi-Fi network, validating the connectivity and paving the way for a stable and reliable wireless link.
By effectively choosing the Wi-Fi hotspot on your Hisense TV, you set the stage for a seamless and uninterrupted establishment of the wireless connection, unlocking a world of digital content and entertainment possibilities. This pivotal step allows you to pinpoint and connect to your preferred Wi-Fi network, laying the foundation for a hassle-free and immersive viewing experience that leverages the full potential of your smart TV capabilities. With the Wi-Fi hotspot selected and the network credentials entered, you are now poised to proceed with the final steps, which will guide you through the seamless establishment of the wireless connection, culminating in a seamless integration with your preferred Wi-Fi hotspot.
Step 5: Enter Hotspot Credentials
Upon selecting your desired Wi-Fi hotspot on your Hisense TV, the next critical step in the process of connecting to the wireless network is to enter the essential hotspot credentials. This pivotal stage requires the accurate input of the network name (SSID) and password, which are fundamental to establishing a secure and reliable connection with your chosen Wi-Fi network. Here's a comprehensive guide on how to effectively enter the hotspot credentials on your Hisense TV:
-
Input Network Name (SSID): The first piece of information required when entering the hotspot credentials is the network name, also known as the Service Set Identifier (SSID). Using the remote control, navigate to the designated input field on the TV screen and accurately enter the SSID of your Wi-Fi hotspot. It's crucial to input the network name precisely to ensure that the Hisense TV can identify and connect to the intended wireless network.
-
Enter Wi-Fi Password: Following the input of the network name, the next step is to enter the Wi-Fi password associated with your chosen hotspot. Navigate to the password input field using the remote control and carefully input the security key or passphrase for your Wi-Fi network. Take care to enter the password accurately, paying close attention to uppercase and lowercase characters, as well as any special symbols or numerical digits that form part of the password.
-
Verify Credentials: After inputting the network name and password, take a moment to verify the accuracy of the entered credentials. Double-check the SSID and password to ensure that they align with the details of your Wi-Fi hotspot. Verification is crucial in preventing connectivity issues and ensuring that the Hisense TV can seamlessly authenticate and establish a secure connection to the designated wireless network.
-
Proceed with Authentication: Once you have entered and verified the hotspot credentials, proceed to authenticate the network connection. This authentication step validates the entered credentials and enables the Hisense TV to establish a secure and encrypted link with your chosen Wi-Fi network. Authentication is essential in ensuring that the TV can securely communicate and access online content via the connected Wi-Fi hotspot.
-
Confirmation and Initialization: Upon successful authentication, the Hisense TV will confirm the acceptance of the entered hotspot credentials and proceed with the initialization of the wireless connection. This confirmation marks the culmination of the credential input process, signifying the establishment of a stable and secure link between your TV and the selected Wi-Fi network.
By effectively entering the hotspot credentials on your Hisense TV, you pave the way for a seamless and secure establishment of the wireless connection, unlocking a world of digital content and entertainment possibilities. This critical step ensures that the TV can securely connect to your chosen Wi-Fi hotspot, enabling uninterrupted access to streaming services, online content, and smart TV functionalities. With the hotspot credentials accurately entered and authenticated, you are now poised to seamlessly connect your Hisense TV to your preferred Wi-Fi network, setting the stage for an enriched and immersive viewing experience.
Step 6: Connect to Wi-Fi
After entering the essential hotspot credentials on your Hisense TV, the final and pivotal step in the process of connecting to a Wi-Fi hotspot is to initiate the seamless establishment of the wireless connection. This critical stage marks the culmination of the configuration process, enabling your Hisense TV to securely link with your preferred Wi-Fi network and access a myriad of digital content and entertainment options. Here's a comprehensive guide on how to effectively connect to Wi-Fi on your Hisense TV:
-
Initiate Connection Process: Upon confirming the entered hotspot credentials, the Hisense TV will proceed to initiate the connection process with the designated Wi-Fi network. This initiation signals the TV to establish a wireless link, enabling seamless access to online content, streaming services, and smart TV functionalities.
-
Network Detection and Configuration: The TV will actively detect and configure the wireless connection, leveraging the provided hotspot credentials to establish a secure and encrypted link with your chosen Wi-Fi network. This network detection and configuration process ensure that the Hisense TV can seamlessly communicate and interact with the connected Wi-Fi hotspot.
-
Establish Stable Connection: As the connection process unfolds, the Hisense TV will work diligently to establish a stable and reliable link with the designated Wi-Fi network. This stable connection is fundamental in ensuring uninterrupted access to streaming services, online content, and a wide array of digital entertainment options.
-
Verification and Validation: Following the establishment of the wireless connection, the TV will proceed to verify and validate the connectivity, ensuring that the link with the chosen Wi-Fi hotspot is secure and fully operational. This verification process is integral in confirming the successful connection and preparing the TV for seamless utilization of online services.
-
Confirmation of Connectivity: Upon successful verification and validation, the Hisense TV will confirm the establishment of the wireless connection, signaling that the TV is securely linked with your preferred Wi-Fi network. This confirmation marks the culmination of the connection process, indicating that the TV is ready to seamlessly access digital content and entertainment options.
By effectively connecting to Wi-Fi on your Hisense TV, you finalize the process of establishing a secure and reliable wireless link, unlocking a world of digital content and entertainment possibilities. This pivotal step ensures that the TV can seamlessly communicate with your chosen Wi-Fi hotspot, enabling uninterrupted access to streaming services, online content, and smart TV functionalities. With the wireless connection successfully established, you are now poised to immerse yourself in a seamless and enriched viewing experience, leveraging the full potential of your Hisense TV's smart capabilities.
Conclusion
In conclusion, the process of connecting your Hisense TV to a Wi-Fi hotspot is a straightforward and essential endeavor that unlocks a wealth of digital content and entertainment options. By following the step-by-step instructions outlined in this guide, you can seamlessly configure your Hisense TV to establish a secure and reliable wireless connection, enabling uninterrupted access to streaming services, on-demand content, and a plethora of smart TV functionalities.
Upon turning on your Hisense TV and accessing the settings menu, you gained the foundational knowledge required to initiate the process of connecting to a Wi-Fi hotspot. Navigating through the network settings and selecting your desired Wi-Fi hotspot set the stage for entering the essential hotspot credentials, including the network name (SSID) and password. This critical step ensured that your Hisense TV could securely authenticate and establish a stable link with your preferred wireless network.
The culmination of the process, as detailed in the final step, involved seamlessly connecting your Hisense TV to the chosen Wi-Fi hotspot, paving the way for an enriched viewing experience that leverages the full potential of your smart TV. With the wireless connection successfully established, you are now poised to immerse yourself in a seamless and uninterrupted world of digital content and entertainment options.
By connecting your Hisense TV to a Wi-Fi hotspot, you have unlocked the capability to stream your favorite shows, movies, and music without the constraints of traditional cable or satellite connections. This newfound freedom allows you to explore a myriad of online content, access live TV streaming apps, and seamlessly integrate your TV with smart home devices and voice assistants.
As you embark on this wireless journey with your Hisense TV, you are now equipped to embrace a seamless and immersive viewing experience, leveraging the full potential of your smart TV capabilities. Whether you are indulging in a binge-watching session, exploring the latest blockbuster movies, or immersing yourself in the world of streaming services, the connectivity to your Wi-Fi hotspot has unlocked a world of entertainment possibilities at your fingertips.
In essence, the process of connecting your Hisense TV to a Wi-Fi hotspot has empowered you to seamlessly access a diverse array of digital content, enriching your entertainment experiences and transforming the way you interact with your television. With the wireless connection firmly established, you are now primed to embark on a journey of endless entertainment possibilities, all at the touch of a button on your Hisense TV.


