Introduction
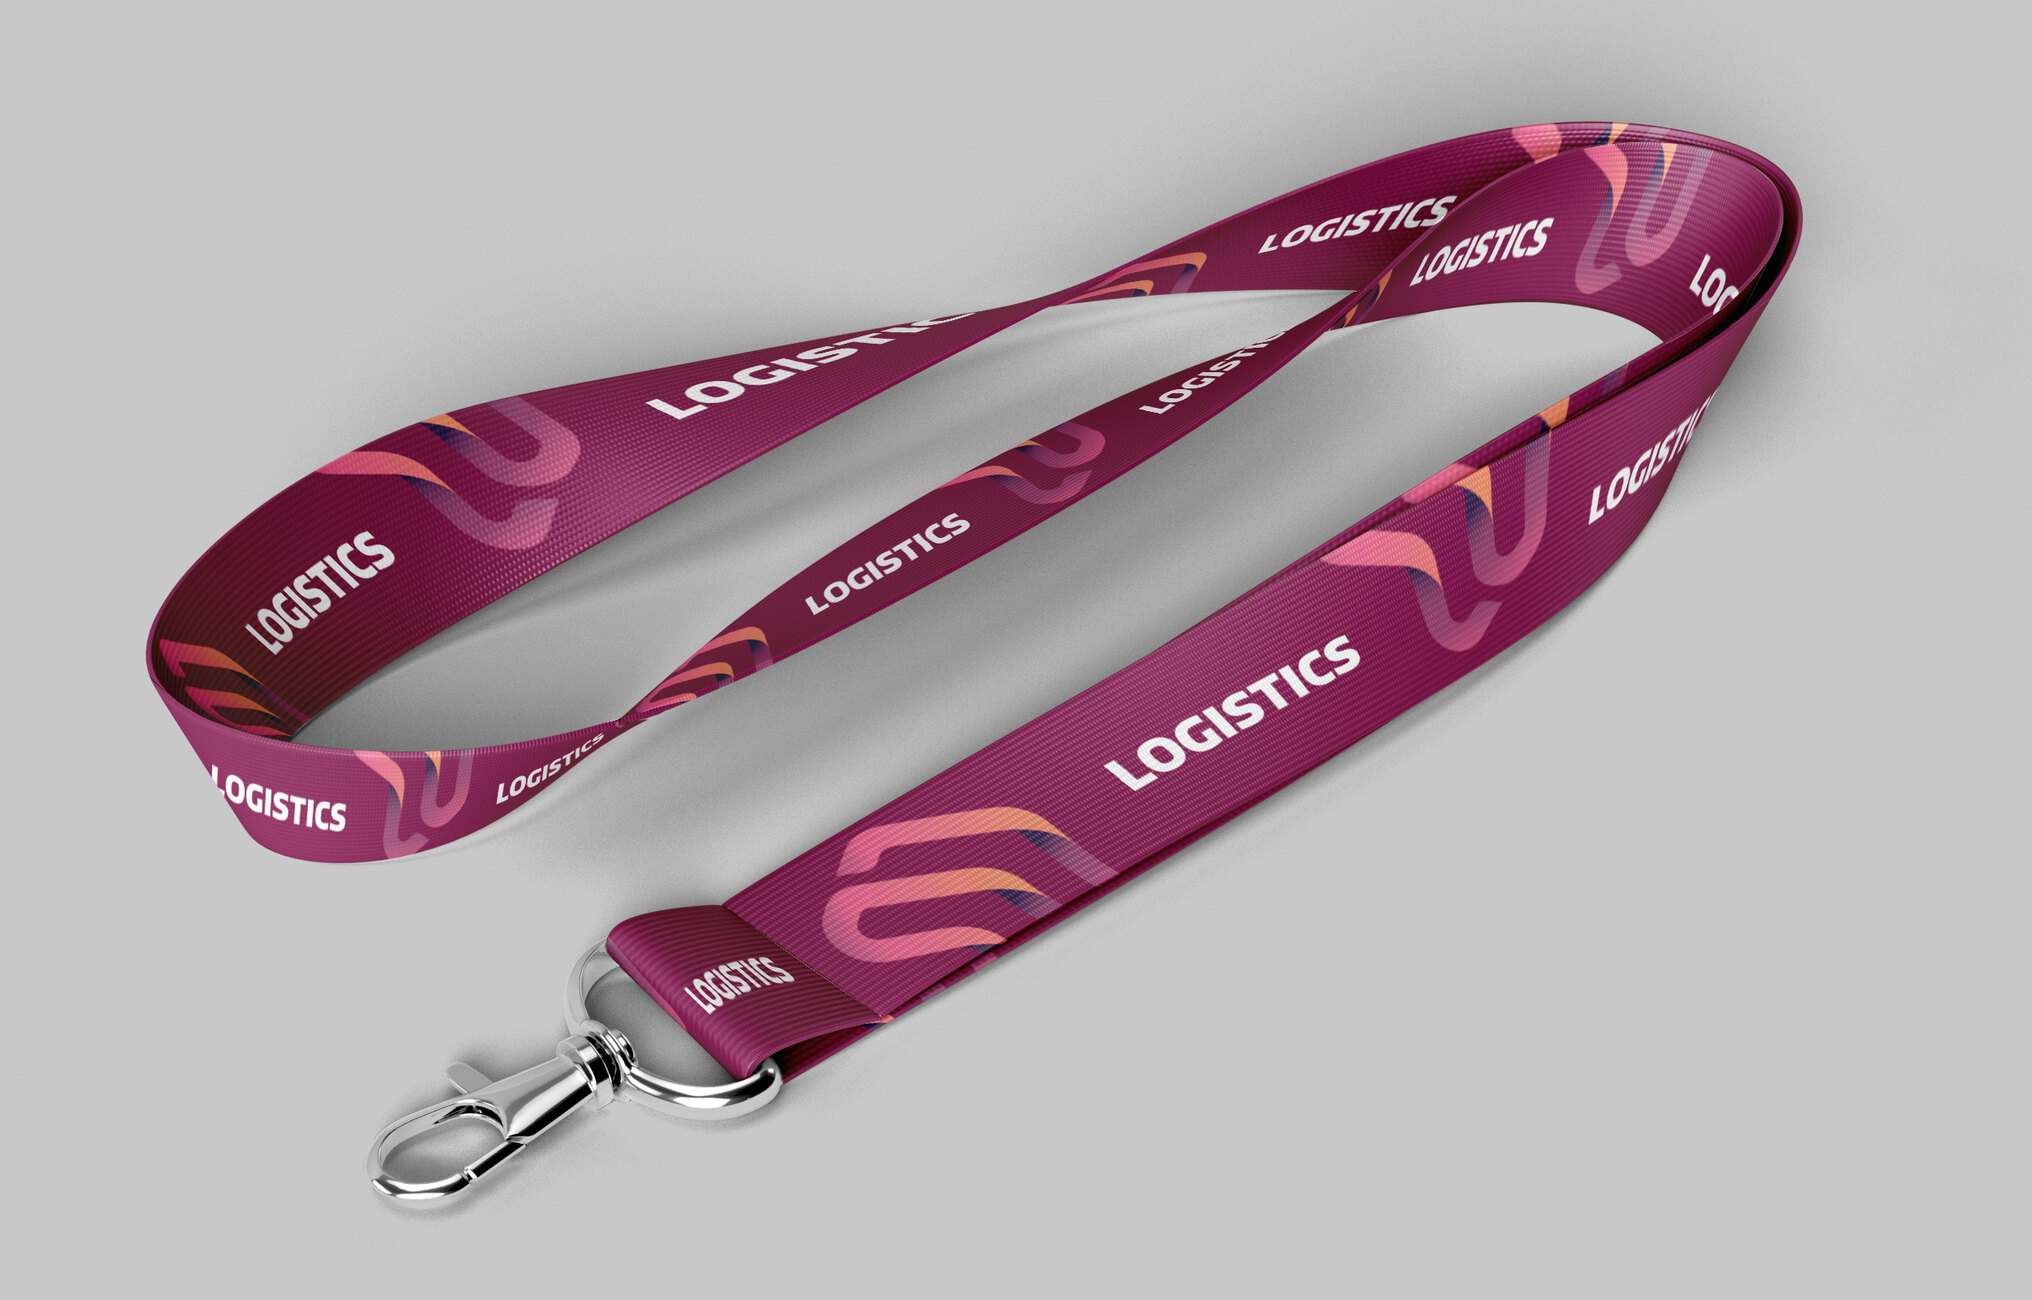
Lanyards are versatile accessories that serve a multitude of purposes, from holding ID badges and keys to enhancing the style of outfits. However, not all lanyards are created equal when it comes to length. Oftentimes, individuals find themselves grappling with lanyards that are either too long or too short for their specific needs. This is where the art of tailoring lanyard length comes into play.
Tailoring the length of a lanyard is a crucial skill that allows individuals to optimize the functionality and aesthetics of these practical accessories. Whether it's a lanyard for work, a special event, or personal use, having the ability to adjust or shorten its length can make a world of difference in terms of comfort and convenience.
In this comprehensive guide, we will delve into the intricacies of tailoring lanyard length, providing valuable insights and step-by-step instructions for both adjusting and shortening lanyards. By the end of this article, you will be equipped with the knowledge and expertise to customize lanyard length with ease, ensuring that your lanyards are perfectly tailored to your unique requirements.
So, let's embark on this journey of lanyard customization, where we will explore the importance of tailoring length, the essential tools and materials needed for the task, and two effective methods for adjusting and shortening lanyards. Get ready to elevate your lanyard game as we unravel the art of tailoring length!
Understanding the Importance of Tailoring Length
Tailoring the length of a lanyard is not merely a matter of aesthetics; it directly impacts the functionality and comfort of this ubiquitous accessory. A lanyard that is too long may dangle awkwardly, posing potential safety hazards and inconvenience. On the other hand, a lanyard that is too short can restrict movement and cause discomfort, defeating the purpose of wearing it in the first place.
Customizing the length of a lanyard is essential for ensuring that it serves its intended purpose effectively. For instance, in a professional setting, such as a workplace or event where identification is required, a properly tailored lanyard can contribute to a polished and professional appearance. It can also prevent the ID badge from swinging excessively or getting in the way during daily tasks, thereby enhancing workplace efficiency.
Moreover, in recreational or personal settings, such as concerts, outdoor activities, or everyday use, a well-fitted lanyard adds a touch of convenience and style. By tailoring the length to suit individual preferences, users can avoid the discomfort of an ill-fitting lanyard and confidently showcase their personal flair.
Furthermore, the importance of tailoring lanyard length extends to safety considerations. A lanyard that is too long poses the risk of getting caught in machinery or doors, while a lanyard that is too short may not allow for easy access to the attached items. By customizing the length to the ideal measurement, users can mitigate these potential safety hazards and ensure a secure and hassle-free experience.
In essence, understanding the importance of tailoring lanyard length is about recognizing the impact it has on functionality, comfort, style, and safety. By taking the time to adjust or shorten lanyards to the appropriate length, individuals can harness the full potential of these accessories, seamlessly integrating them into various aspects of their lives. This understanding sets the stage for the practical and aesthetic benefits that come with mastering the art of lanyard customization.
Tools and Materials Needed
Tailoring the length of a lanyard requires the use of specific tools and materials to ensure a precise and professional outcome. Before embarking on the journey of lanyard customization, it's essential to gather the following items:
Tools:
-
Scissors: A sharp pair of scissors is indispensable for cutting and trimming the lanyard material with accuracy and ease. Opt for a high-quality pair that can effortlessly handle various lanyard materials, such as nylon, polyester, or cotton.
-
Lighter or Heat Source: To prevent fraying and unraveling of the lanyard material after cutting, a lighter or heat source is necessary. This tool allows for carefully sealing the cut ends to maintain the integrity and durability of the lanyard.
-
Measuring Tape or Ruler: Accurate measurements are crucial when adjusting or shortening a lanyard. A measuring tape or ruler enables precise length adjustments, ensuring that the tailored lanyard meets the desired specifications.
Materials:
-
Lanyard: The lanyard itself is, of course, the primary material needed for customization. Whether it's a standard flat lanyard, a round cord lanyard, or a specialty lanyard with unique features, the material and design will dictate the specific techniques used for tailoring.
-
Lighter or Heat Source: In addition to being a tool, a lighter or heat source is also a material in the sense that it is used to treat the cut ends of the lanyard, preventing fraying and maintaining a clean, professional appearance.
-
Optional: Sewing Kit: For lanyards made of fabric or requiring more secure adjustments, a sewing kit with matching thread can be beneficial. This allows for additional reinforcement and customization, especially for lanyards subjected to heavy use or carrying substantial weight.
By having these tools and materials at your disposal, you will be well-equipped to embark on the process of tailoring lanyard length with confidence and precision. Each item plays a crucial role in ensuring that the customization process is smooth, efficient, and yields professional-looking results. With the right tools and materials in hand, you are ready to dive into the next steps of adjusting and shortening lanyards, unlocking the potential for personalized and perfectly tailored accessories.
Method 1: Adjusting Lanyard Length
Adjusting the length of a lanyard is a straightforward yet essential skill that allows individuals to customize their lanyards to the perfect fit. Whether the lanyard is too long or needs to be slightly shorter for optimal comfort and functionality, the following step-by-step method provides a clear and effective approach to adjusting lanyard length.
-
Assess the Desired Length: Begin by determining the ideal length for the lanyard. This can be done by wearing the lanyard and adjusting it to a comfortable position around the neck. Take note of the desired length, keeping in mind factors such as ease of use, aesthetics, and safety.
-
Measure and Mark: Once the desired length is established, use a measuring tape or ruler to measure the excess portion of the lanyard that needs to be removed. Mark this measurement with a pen or a small, discreet marker, ensuring that the marking is clearly visible and accurate.
-
Cut the Excess: With the marked measurement as a guide, carefully use a sharp pair of scissors to cut the excess length from the lanyard. Exercise caution to ensure a clean and straight cut, as precision is crucial for achieving a professional-looking result.
-
Seal the Cut End: After cutting the excess length, use a lighter or heat source to seal the cut end of the lanyard. Gently apply the heat to the cut edge, taking care to melt the material slightly to prevent fraying and unraveling. This step contributes to the durability and neat appearance of the adjusted lanyard.
-
Test and Adjust: Once the cut end is sealed, test the adjusted lanyard to ensure that it meets the desired length and maintains its functionality. Make any necessary adjustments to fine-tune the length, ensuring that the lanyard sits comfortably and functions effectively for its intended purpose.
By following this method for adjusting lanyard length, individuals can confidently tailor their lanyards to suit their specific needs and preferences. Whether it's for professional use, personal style, or safety considerations, the ability to adjust lanyard length empowers users to optimize the functionality and aesthetics of these versatile accessories. With the lanyard now perfectly tailored to the ideal length, individuals can enjoy the convenience and comfort of a customized accessory that seamlessly integrates into their daily activities and endeavors.
Method 2: Shortening Lanyard Length
Shortening the length of a lanyard is a valuable skill that allows individuals to adapt their lanyards to a more suitable and functional size. Whether the lanyard is excessively long or needs to be adjusted for a specific purpose, the following step-by-step method provides a clear and effective approach to shortening lanyard length.
-
Evaluate the Desired Length: Begin by assessing the ideal length for the lanyard. Consider the intended use and personal comfort preferences when determining the appropriate length for the lanyard. Whether it's for professional requirements or personal convenience, understanding the desired length is crucial to the shortening process.
-
Identify the Shortening Point: Once the desired length is established, identify the point on the lanyard where the shortening will take place. This can be marked with a pen or a discreet marker, ensuring that the marking is visible and accurately denotes the intended shortening point.
-
Secure the Lanyard: To facilitate the shortening process, secure the lanyard in a stable position, ensuring that it is taut and free from any twists or tangles. This provides a stable foundation for the subsequent steps and contributes to the precision of the shortening process.
-
Cut the Lanyard: Using a sharp pair of scissors, carefully cut the lanyard at the marked shortening point. Exercise caution to ensure a clean and straight cut, as precision is essential for achieving a professional-looking result. It's advisable to double-check the marked point before making the cut to avoid errors.
-
Seal the Cut End: After shortening the lanyard, use a lighter or heat source to seal the cut end. Applying gentle heat to the cut edge prevents fraying and ensures a neat and durable finish. This step is crucial for maintaining the integrity of the lanyard and preventing unraveling.
-
Test and Adjust: Once the cut end is sealed, test the shortened lanyard to ensure that it meets the desired length and maintains its functionality. Make any necessary adjustments to fine-tune the length, ensuring that the lanyard is comfortable and serves its intended purpose effectively.
By following this method for shortening lanyard length, individuals can confidently customize their lanyards to align with their specific needs and preferences. Whether it's for professional use, personal style, or safety considerations, the ability to shorten lanyard length empowers users to optimize the functionality and aesthetics of these versatile accessories. With the lanyard now perfectly tailored to the ideal length, individuals can enjoy the convenience and comfort of a customized accessory that seamlessly integrates into their daily activities and endeavors.
Conclusion
In conclusion, the art of tailoring lanyard length is a valuable skill that empowers individuals to customize their accessories to align with their specific needs and preferences. By understanding the importance of tailoring length and mastering the methods for adjusting and shortening lanyards, users can elevate the functionality, comfort, and style of these versatile accessories.
The process of tailoring lanyard length goes beyond mere customization; it embodies the essence of personalization and practicality. Whether it's optimizing the length for professional use, enhancing comfort and convenience for personal activities, or addressing safety considerations, the ability to tailor lanyard length ensures that these accessories seamlessly integrate into various aspects of daily life.
By delving into the intricacies of adjusting and shortening lanyards, individuals can take control of their accessories, transforming them from standard pieces into personalized essentials. The methods outlined in this guide provide clear and effective approaches to tailoring lanyard length, offering a blend of precision, creativity, and practicality.
Furthermore, the tools and materials required for the customization process play a crucial role in ensuring that the results are professional, durable, and tailored to perfection. From sharp scissors and heat sources to lanyards of various materials and designs, each item contributes to a seamless and efficient customization experience.
Ultimately, the ability to tailor lanyard length is a testament to the adaptability and versatility of these accessories. Whether it's adjusting the length to enhance workplace efficiency, shortening it for recreational activities, or customizing it to reflect personal style, the tailored lanyard becomes an extension of individual expression and functionality.
In essence, the journey of tailoring lanyard length is a transformative process that empowers individuals to take ownership of their accessories, shaping them to suit their unique preferences and requirements. By mastering the art of lanyard customization, users can enjoy the convenience, comfort, and style of accessories that are perfectly tailored to their individuality, enhancing their everyday experiences and endeavors.


