Introduction
Removing a waterproof case from an iPhone 6 may seem like a daunting task, especially if you're concerned about damaging the device. However, with the right tools and a methodical approach, this process can be straightforward and stress-free. Whether you're looking to clean your iPhone 6 or simply switch to a different case, this step-by-step guide will walk you through the process, ensuring that your device remains safe and functional throughout.
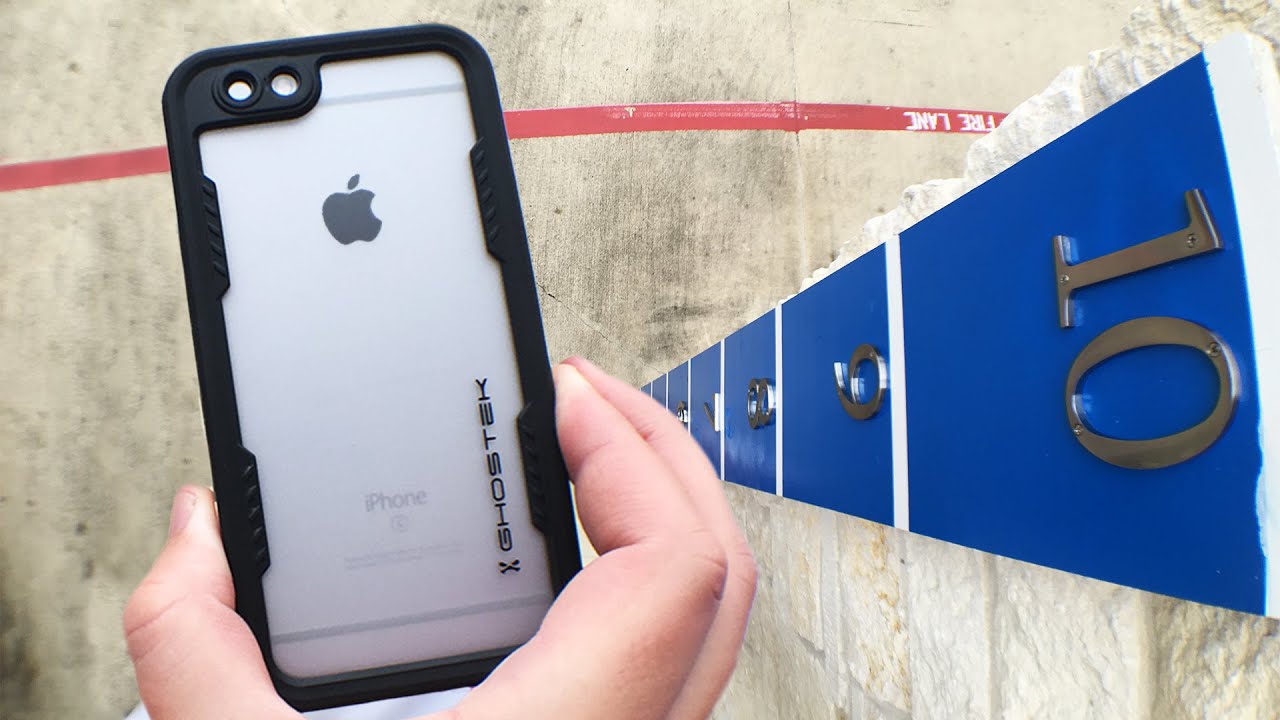
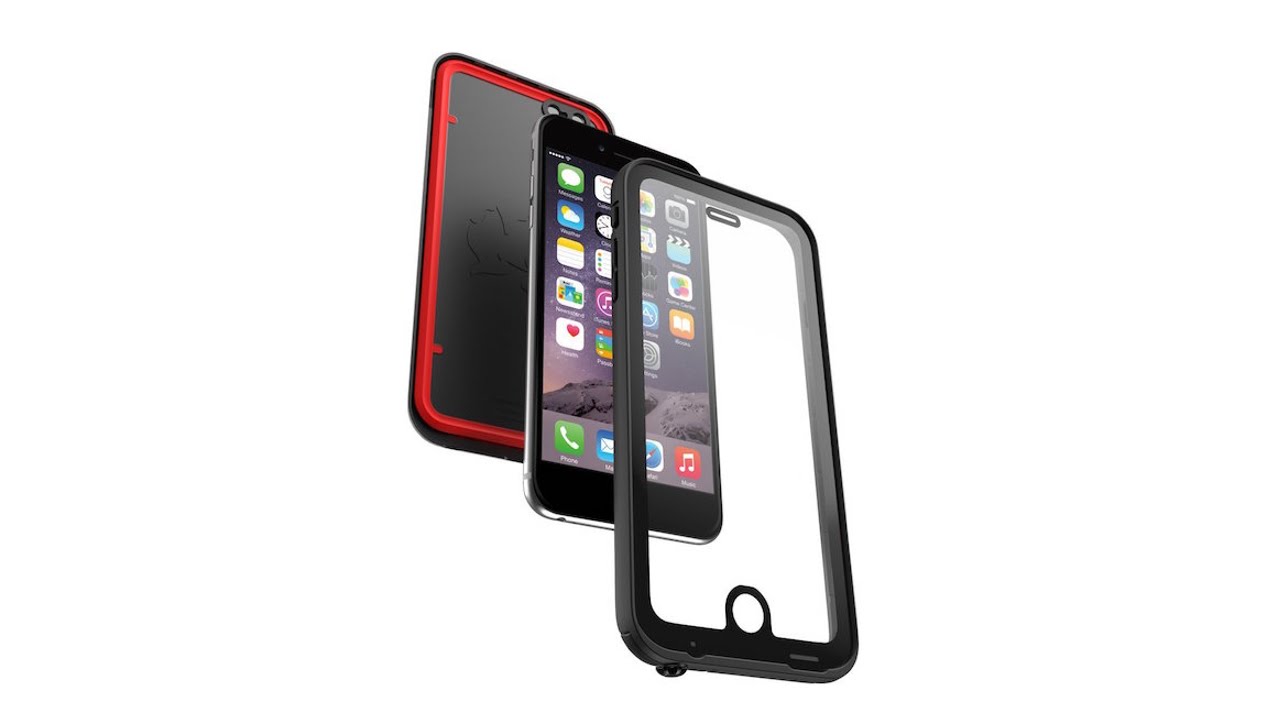
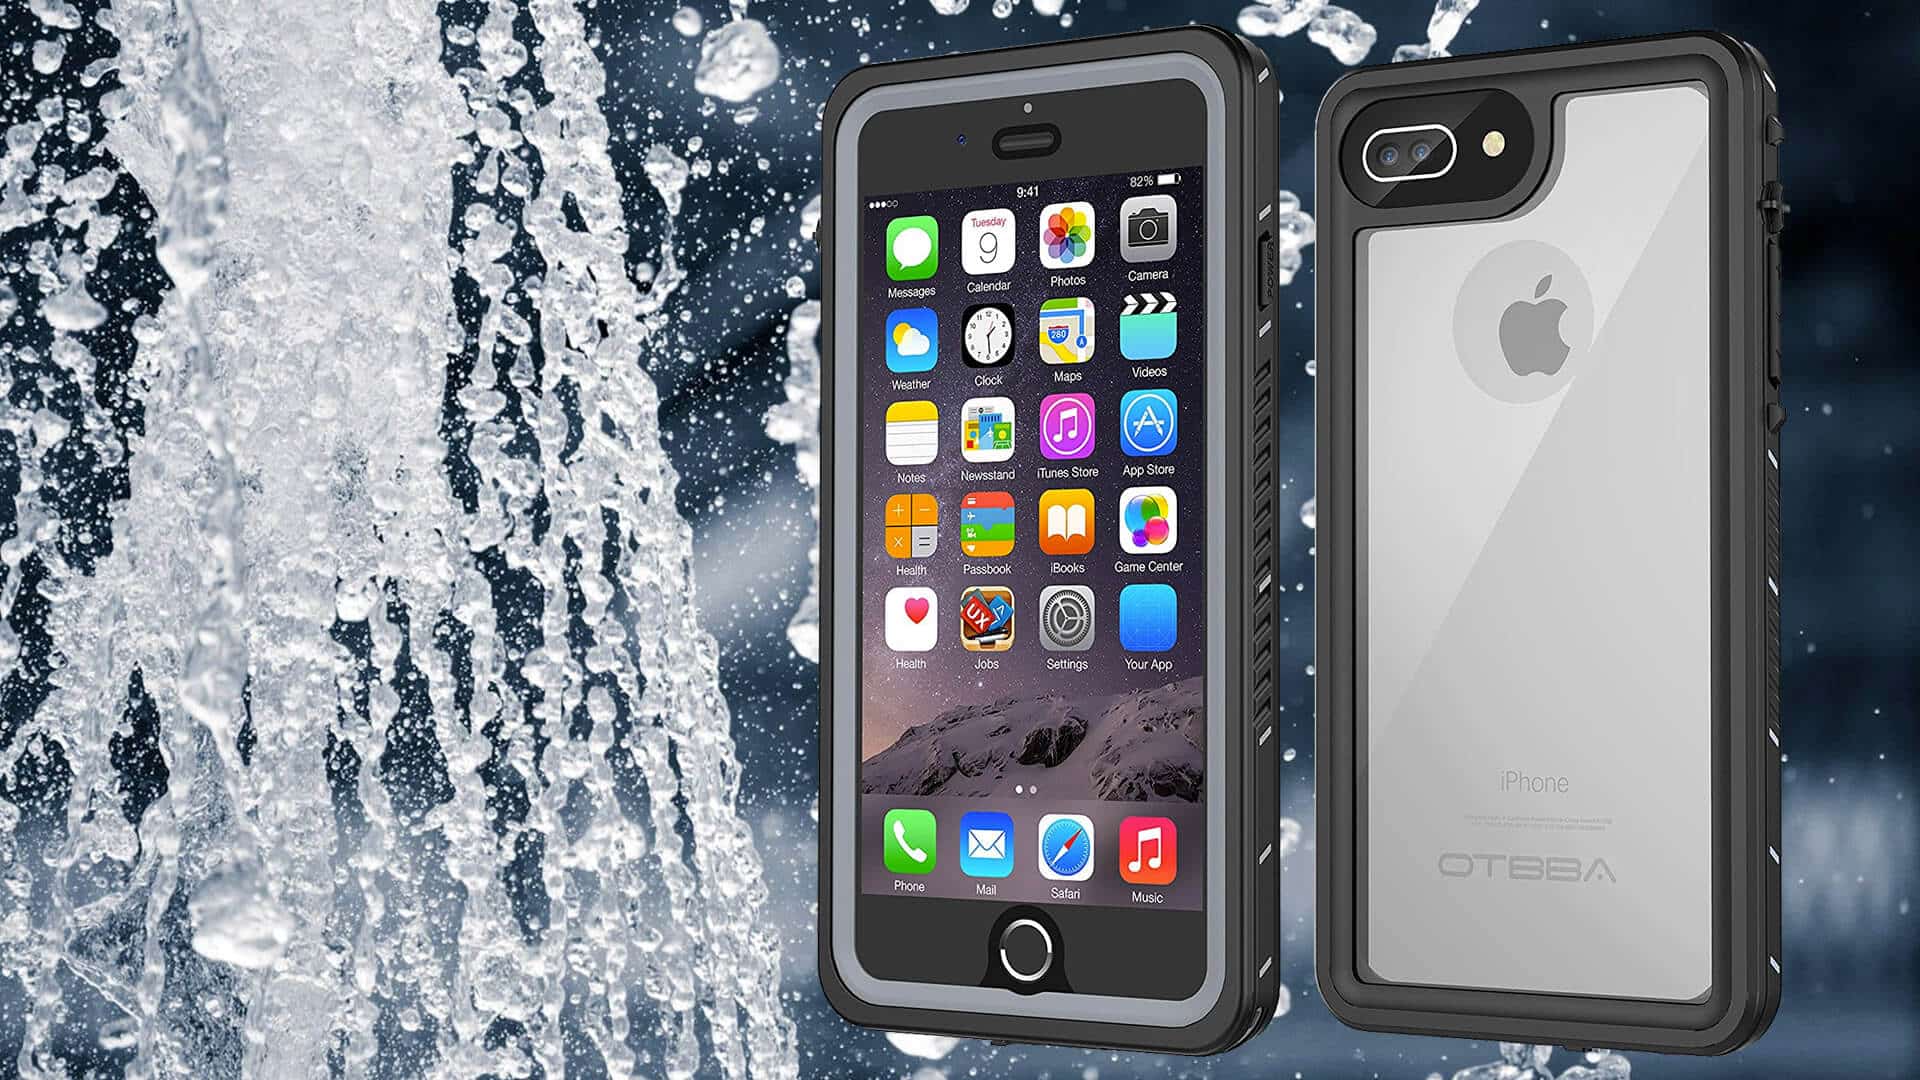
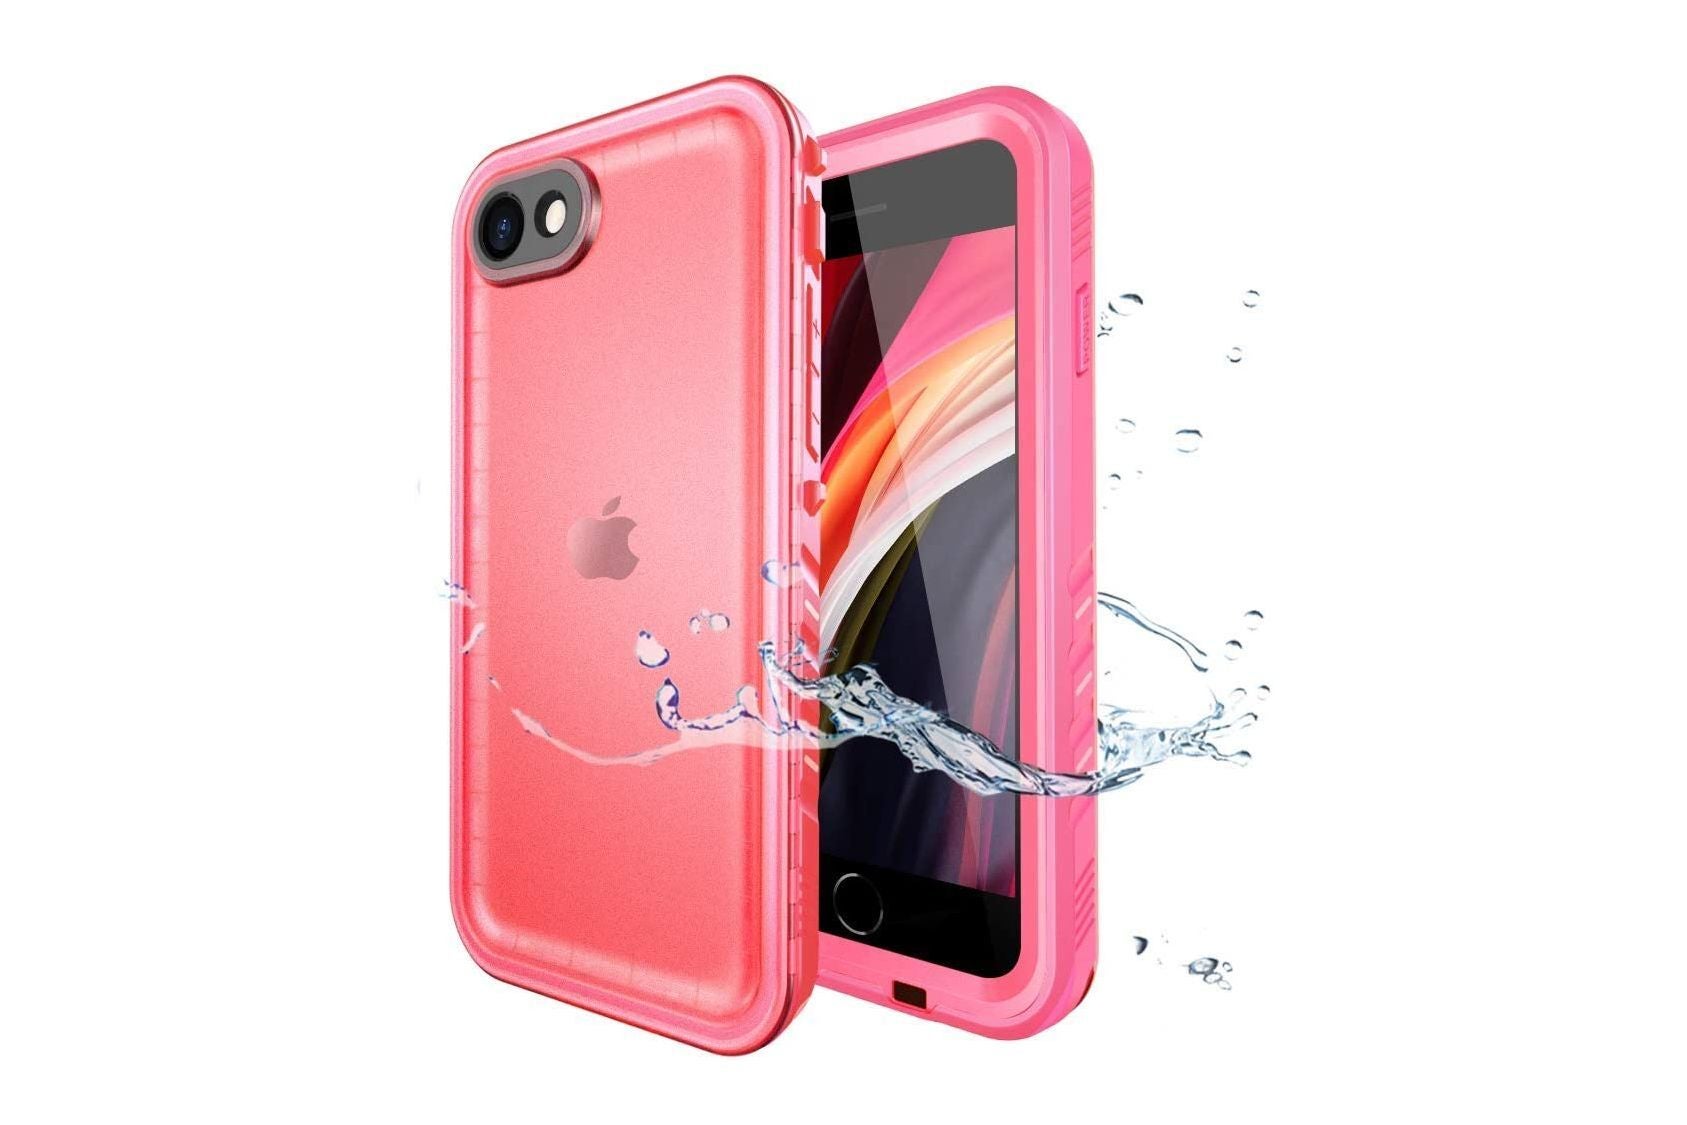
Waterproof cases are designed to provide a protective barrier for your iPhone 6, shielding it from water, dust, and impact. While these cases offer valuable protection, they can also be challenging to remove without the proper technique. By following the steps outlined in this guide, you'll learn how to safely and effectively remove a waterproof case from your iPhone 6 without causing any harm to the device.
This guide is designed for iPhone 6 users who want to remove their waterproof cases without encountering any complications. Whether you're a tech-savvy individual or a novice when it comes to gadgets, this step-by-step tutorial will provide you with the knowledge and confidence to successfully remove the waterproof case from your iPhone 6.
So, gather your tools, power off your iPhone 6, and get ready to embark on this journey of safely removing the waterproof case from your beloved device. With a clear understanding of each step and a methodical approach, you'll be able to complete this process with ease, ensuring that your iPhone 6 remains in pristine condition throughout. Let's dive into the details and get started on this rewarding endeavor.
Step 1: Gather necessary tools
Before embarking on the task of removing the waterproof case from your iPhone 6, it's essential to gather the necessary tools to ensure a smooth and efficient process. Here's a comprehensive list of tools that you'll need:
-
Microfiber Cloth: This soft and gentle cloth is perfect for wiping down the iPhone 6 and ensuring that it's free from any dust or debris before and after removing the case.
-
Opening Tool: An opening tool, such as a plastic spudger or a specialized case opening tool, is crucial for safely prying the waterproof case from the iPhone 6 without causing any damage to the device.
-
Compressed Air Canister: This canister is useful for blowing away any lingering dust or particles that may have accumulated within the case or around the edges of the iPhone 6.
-
Rubbing Alcohol: A small amount of rubbing alcohol, ideally 70% isopropyl, can be used to clean the iPhone 6 and the waterproof case, ensuring that both surfaces are free from any residue or grime.
-
Patience: While not a tangible tool, patience is a valuable asset during this process. Taking your time and proceeding with caution will help prevent any accidental damage to your iPhone 6.
By gathering these essential tools, you'll be well-prepared to tackle the task of removing the waterproof case from your iPhone 6. Each of these items plays a crucial role in ensuring that the process is carried out smoothly and that your device remains in optimal condition throughout. So, gather your tools and get ready to move on to the next step in this comprehensive guide.
Step 2: Power off the iPhone 6
Before proceeding with the removal of the waterproof case from your iPhone 6, it's crucial to power off the device to prevent any potential damage or interference during the process. Powering off the iPhone 6 ensures that all its functions are temporarily disabled, reducing the risk of accidental input or disruption while removing the case.
To power off your iPhone 6, follow these simple steps:
-
Locate the Power Button: The power button on the iPhone 6 is situated on the right side of the device. It's essential to familiarize yourself with the location of this button to ensure a smooth power-off process.
-
Press and Hold the Power Button: With your iPhone 6 in hand, press and hold the power button located on the right side of the device. Hold it down until the "slide to power off" slider appears on the screen.
-
Slide to Power Off: Once the "slide to power off" slider is displayed, use your finger to slide it from left to right across the screen. This action prompts the iPhone 6 to initiate the power-off sequence.
-
Wait for the Device to Power Off: After sliding the on-screen control, wait for a few seconds as the iPhone 6 completes the power-off process. The screen will turn black, indicating that the device is powered off and ready for the next step.
By following these steps, you'll effectively power off your iPhone 6, preparing it for the safe removal of the waterproof case. This simple yet crucial action ensures that the device is in a secure state, minimizing the risk of any mishaps while handling the case. With the iPhone 6 powered off, you can confidently proceed to the next steps in this comprehensive guide, knowing that the device is in a safe and controlled state.
Step 3: Locate the opening mechanism
Once your iPhone 6 is safely powered off, the next step in removing the waterproof case is to locate the opening mechanism on the case itself. The opening mechanism may vary depending on the specific design of the waterproof case you're using, but most cases feature a designated area where the two halves of the case can be separated. Here's how to effectively locate the opening mechanism on your waterproof case:
-
Examine the Case Edges: Carefully inspect the edges of the waterproof case, paying close attention to any subtle indentations, notches, or grooves. Manufacturers often design waterproof cases with discreet openings to facilitate the removal process while maintaining a secure seal when the case is in use.
-
Refer to the User Manual: If you're having difficulty identifying the opening mechanism, refer to the user manual or any accompanying documentation that came with the waterproof case. Manufacturers often provide clear instructions or diagrams detailing the location of the opening mechanism, ensuring that users can easily access it when needed.
-
Inspect for Seams or Latches: Some waterproof cases feature visible seams or latches that indicate the separation point between the two halves of the case. These seams or latches are strategically positioned to allow for easy access to the interior of the case, enabling you to remove your iPhone 6 without hassle.
-
Utilize a Bright Light Source: In cases where the opening mechanism is not immediately apparent, using a bright light source, such as a flashlight or desk lamp, can help illuminate the edges of the case, making it easier to spot any hidden opening mechanisms or release points.
-
Exercise Caution and Patience: Throughout this process, it's important to exercise caution and patience. Avoid using excessive force or sharp objects to pry open the case, as this can lead to damage to both the case and your iPhone 6. Instead, take your time and carefully explore the edges and surfaces of the case to locate the opening mechanism.
By meticulously examining the waterproof case and identifying the opening mechanism, you'll be one step closer to safely removing the case from your iPhone 6. Once you've successfully located the opening mechanism, you'll be ready to proceed to the next step of using the appropriate tool to carefully separate the two halves of the case without causing any harm to your device.
Step 4: Use the opening tool
With the opening mechanism of the waterproof case identified, the next crucial step is to utilize the opening tool to carefully separate the two halves of the case. The opening tool serves as a gentle yet effective instrument for prying the case apart without causing any damage to the iPhone 6. Here's a detailed guide on how to use the opening tool in this delicate process:
-
Select the Appropriate Opening Tool: Depending on the design of the waterproof case and the specific instructions provided by the manufacturer, choose the most suitable opening tool for the task. Common options include plastic spudgers, specialized case opening tools, or any other non-metallic, non-abrasive implement that can safely navigate the edges of the case.
-
Position the Opening Tool: With the selected opening tool in hand, carefully position it at the identified opening mechanism of the waterproof case. Ensure that the tool is inserted gently and securely, allowing you to exert controlled pressure to separate the two halves of the case.
-
Apply Gentle Pressure: Using the opening tool, apply gentle and consistent pressure to the designated opening mechanism of the case. It's essential to exercise patience and caution during this step, as forcing the case open or using excessive pressure can lead to unintended damage to both the case and the iPhone 6.
-
Work Around the Edges: As you apply pressure with the opening tool, work your way around the edges of the waterproof case, gradually separating the two halves. Be attentive to any resistance or areas that require additional attention, adjusting your approach to ensure a uniform and controlled separation of the case.
-
Avoid Sharp or Metallic Objects: It's crucial to emphasize the avoidance of sharp or metallic objects when using the opening tool. Opting for non-metallic tools minimizes the risk of scratches, dents, or other forms of damage to the case or the iPhone 6 during the removal process.
-
Exercise Patience and Precision: Throughout the utilization of the opening tool, maintain a steady and patient approach. Precision and attention to detail are vital, ensuring that the case is gradually and evenly separated without compromising the integrity of the iPhone 6.
By following these detailed steps and exercising care and precision, you'll effectively utilize the opening tool to safely separate the waterproof case from your iPhone 6. With the two halves of the case gently disengaged, you'll be ready to proceed to the next step of carefully removing the case from your device, ensuring that both the case and the iPhone 6 remain unharmed throughout the process.
Step 5: Carefully remove the case
With the two halves of the waterproof case gently separated, it's time to carefully remove the case from your iPhone 6. This step requires a delicate touch and a methodical approach to ensure that the device remains unscathed throughout the process. Here's a detailed guide on how to effectively and safely remove the case from your iPhone 6:
-
Inspect for Adhesion or Seal: Before proceeding, carefully inspect the interior of the case and the edges of your iPhone 6 for any signs of adhesion or seal. Some waterproof cases may feature a snug fit or adhesive elements to enhance the seal, requiring careful attention during removal.
-
Gently Lift the Case: Using your fingertips, gently lift the separated halves of the case away from your iPhone 6. It's essential to exert minimal force and proceed gradually, allowing the case to detach from the device without any abrupt movements.
-
Check for Snug Areas: As you lift the case, pay close attention to any areas where the case may be snug or tightly fitted around the iPhone 6. If you encounter resistance, pause and assess the situation before proceeding.
-
Employ Controlled Maneuvers: Employ controlled maneuvers to coax the case away from the device, ensuring that each movement is deliberate and cautious. Avoid sudden jerks or pulls, as these actions can potentially damage the iPhone 6 or the case itself.
-
Utilize the Opening Tool if Necessary: If certain sections of the case remain firmly attached to the iPhone 6, you can gently use the opening tool to create additional separation. Exercise patience and precision, guiding the tool along the edges to release any areas of resistance.
-
Verify Full Disengagement: Once the case has been partially lifted, verify that it is fully disengaged from the iPhone 6 before proceeding further. This verification step is crucial in preventing accidental damage to the device during the removal process.
-
Lift the Case Completely: With careful maneuvering and attention to detail, continue to lift the case until it is completely separated from your iPhone 6. Take your time and ensure that the process is carried out smoothly, prioritizing the safety and integrity of your device.
By following these detailed steps, you'll successfully and carefully remove the waterproof case from your iPhone 6, preserving the device's condition and functionality. With the case removed, you can proceed to the next step of cleaning and drying your iPhone 6, ensuring that it remains in optimal condition for future use.
Step 6: Clean and dry the iPhone 6
After successfully removing the waterproof case from your iPhone 6, the next critical step involves cleaning and thoroughly drying the device to ensure that it remains in pristine condition. This meticulous process is essential for removing any accumulated debris, moisture, or residue that may have been present within the case or on the surface of the iPhone 6. By following these detailed steps, you can effectively clean and dry your iPhone 6, preparing it for future use or the application of a new protective case.
Cleaning the iPhone 6
-
Use a Microfiber Cloth: Begin by gently wiping down the exterior of the iPhone 6 with a clean microfiber cloth. This soft and non-abrasive material effectively removes dust, fingerprints, and other surface impurities without causing any scratches or damage to the device.
-
Inspect the Ports and Openings: Carefully examine the ports, speakers, and other openings of the iPhone 6 for any debris or moisture. If necessary, use a small, soft-bristled brush or compressed air to dislodge and remove any particles from these areas.
-
Clean with Rubbing Alcohol: Dampen a corner of the microfiber cloth with a small amount of rubbing alcohol, preferably 70% isopropyl, and gently wipe down the exterior surfaces of the iPhone 6. This helps to eliminate any lingering grime or residue, leaving the device clean and refreshed.
-
Allow for Air Drying: After cleaning the iPhone 6, allow it to air dry for a few minutes to ensure that any residual moisture evaporates. Avoid using excessive heat or direct airflow, as these can potentially damage the device.
Drying the iPhone 6
-
Inspect for Moisture: Carefully inspect the interior and exterior of the iPhone 6 to ensure that it is free from any moisture. Pay particular attention to the areas around the buttons, camera lens, and speakers.
-
Utilize Compressed Air: If there are any stubborn areas where moisture may be trapped, gently use a canister of compressed air to blow away any remaining moisture or particles. Ensure that the canister is held at a safe distance to prevent excessive pressure on the device.
-
Allow for Complete Drying: Give the iPhone 6 ample time to completely dry before reassembling or applying a new case. This ensures that the device is free from any moisture, reducing the risk of potential damage or malfunctions.
By meticulously cleaning and drying your iPhone 6, you can maintain its optimal condition and ensure that it is ready for future use. This thorough process not only safeguards the device but also sets the stage for the application of a new protective case, if desired. With the iPhone 6 now clean and dry, you can proceed with confidence, knowing that your device is well-prepared for its next adventure.
Conclusion
In conclusion, successfully removing a waterproof case from an iPhone 6 requires a methodical approach, the right tools, and a keen eye for detail. By following the step-by-step guide outlined in this comprehensive tutorial, you've gained valuable insights into the process of safely and effectively removing a waterproof case without compromising the integrity of your device.
Throughout this journey, you've learned the importance of gathering the necessary tools, powering off the iPhone 6, locating the opening mechanism, utilizing the opening tool, and carefully removing the case. Each step was designed to prioritize the safety and well-being of your iPhone 6, ensuring that the removal process was carried out with precision and care.
Furthermore, the subsequent cleaning and drying of the iPhone 6 served as a crucial aspect of this endeavor, underscoring the significance of maintaining the device in optimal condition after the removal of the waterproof case. By meticulously cleaning and drying the iPhone 6, you've taken proactive measures to safeguard its functionality and appearance, setting the stage for future use or the application of a new protective case.
As you reflect on this journey, it's important to acknowledge the patience, attention to detail, and cautious approach that were instrumental in achieving a successful outcome. The careful utilization of the opening tool, the gentle removal of the case, and the thorough cleaning and drying process exemplify the dedication to preserving the integrity of your iPhone 6 throughout this endeavor.
Moving forward, armed with the knowledge and confidence gained from this guide, you're well-equipped to navigate the process of removing a waterproof case from your iPhone 6 with ease and assurance. Whether you're looking to switch cases, clean your device, or explore alternative protective measures, the insights gleaned from this tutorial will serve as a valuable resource in your ongoing journey with your iPhone 6.
In essence, the successful removal of a waterproof case from an iPhone 6 is not merely a technical task but a testament to your commitment to preserving and caring for your beloved device. With each step executed with precision and care, you've demonstrated a deep understanding of the importance of safeguarding your iPhone 6, ensuring that it remains a reliable companion in your daily endeavors.
As you embark on future adventures with your iPhone 6, may the knowledge and skills acquired from this guide continue to empower you, allowing you to navigate the world of protective cases and device maintenance with confidence and proficiency. Your dedication to the well-being of your iPhone 6 is a testament to your commitment to preserving its functionality and longevity, ensuring that it remains a steadfast companion in your digital journey.