Introduction
When you’re eagerly waiting to download a file or stream a video, slow download speeds can be frustrating. Luckily, there are several steps you can take to speed up your download speeds and make the process much smoother. In this article, we will explore some effective strategies to optimize your download speeds and save you valuable time.
In the age of high-speed internet, slow download speeds can be caused by various factors, such as a weak internet connection, background processes, or outdated firmware. By following the steps outlined in this guide, you will be able to pinpoint the source of the issue and take appropriate measures to improve your download speeds.
Before diving into specific methods, it’s important to note that download speeds can vary for each individual depending on their internet service provider (ISP) and the available bandwidth. However, implementing the following tips will generally lead to noticeable improvements regardless of your circumstances.
So, if you’re tired of waiting for downloads to complete, let’s get started with some practical solutions to speed up your download speeds and ensure a smooth experience.
Check Your Internet Connection
One of the first steps to take when experiencing slow download speeds is to check your internet connection. A weak or unstable connection can significantly impact the speed at which you can download files. Here’s what you can do:
- Restart your modem and router: Sometimes, a simple restart can refresh your internet connection and resolve any temporary issues. Power off your modem and router, wait for a few seconds, then turn them back on.
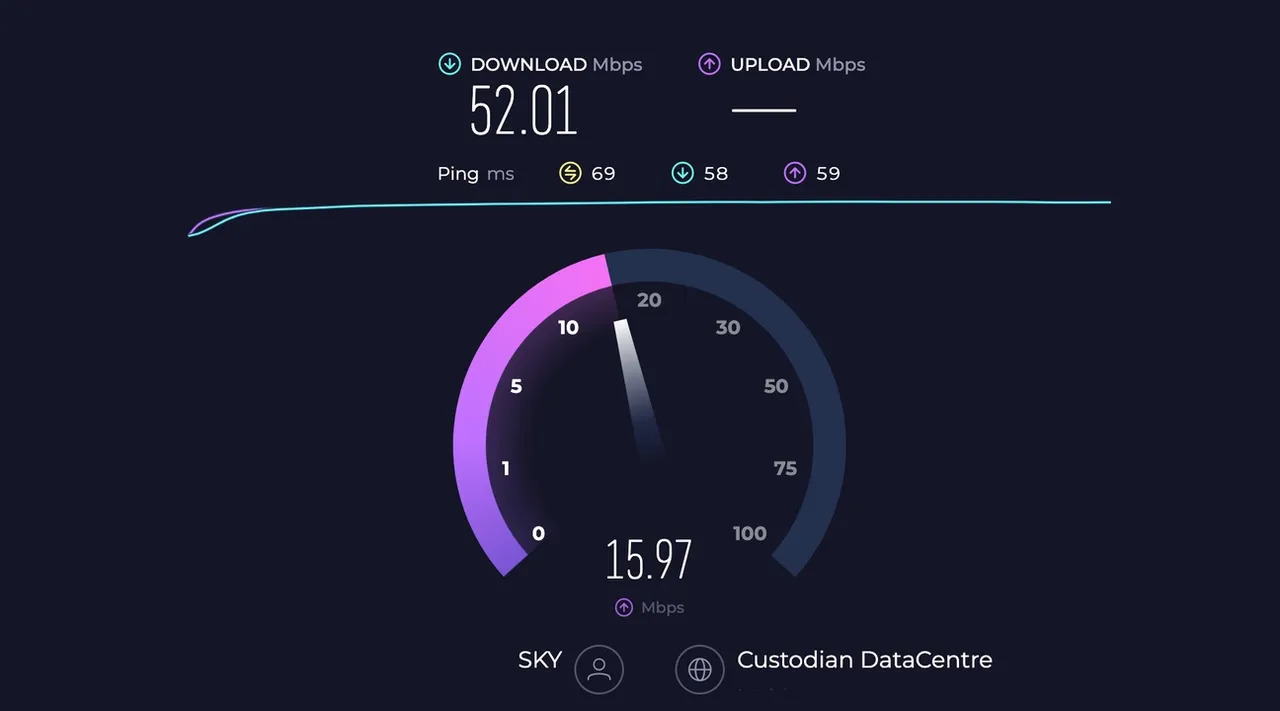
- Run a speed test: Use an online speed test tool to check your internet speed. Compare the results with the plan you have subscribed to. If the download speed is significantly lower than what you are paying for, contact your ISP to address the issue.
- Check for physical obstructions: Physical obstructions, such as walls or objects, can weaken your Wi-Fi signal. Make sure that your modem and router are in a central location and free from any obstacles that may obstruct the signal.
- Switch to a different Wi-Fi channel: If you live in a densely populated area with multiple Wi-Fi networks, interference can affect your connection. Access your router’s settings and switch to a less congested Wi-Fi channel. This can improve your download speeds.
- Use an Ethernet connection: If possible, connect your device directly to the router using an Ethernet cable. Wired connections typically offer faster and more stable speeds than Wi-Fi connections.
By checking your internet connection and implementing these steps, you can address any issues that may be hampering your download speeds and ensure a more reliable and efficient connection.
Pause or Cancel Any Other Downloads or Uploads
If you’re experiencing slow download speeds, it’s essential to check if there are any other ongoing downloads or uploads on your device. These processes can consume bandwidth and affect the speed of your current download. Here are some steps to take:
- Pause or cancel other downloads: If you have multiple downloads ongoing, pause or cancel the ones that are less important or can wait. This will free up bandwidth for your desired download, potentially improving its speed.
- Stop any ongoing uploads: If you’re uploading files while trying to download something, pause or cancel the uploads. Uploading files consumes upload bandwidth, which can impact your download speeds.
- Check cloud storage services: Many cloud storage services automatically sync files in the background. Check if any uploads or syncing processes are active and pause them temporarily to prioritize your download.
- Turn off automatic updates: Operating systems and apps often have automatic update settings that can consume bandwidth. Disable automatic updates temporarily to prevent them from interfering with your download speed.
By pausing or canceling any other downloads or uploads, you can allocate more bandwidth to your desired download and potentially speed up the process. However, remember to resume or re-enable these processes once your download is complete.
Close Unnecessary Programs or Tabs
When you’re seeking to maximize your download speeds, it is important to minimize the amount of bandwidth being utilized by other programs and browser tabs. Here are some steps you can take to close unnecessary programs or tabs:
- Close unused applications: Take a look at your taskbar or system tray and identify any applications that are currently running but not actively being used. Close them to free up system resources and reduce bandwidth usage.
- End background processes: Use your computer’s Task Manager (Ctrl+Shift+Esc on Windows or Command+Option+Esc on macOS) to identify any unnecessary background processes. End those processes to prioritize the bandwidth for your download.
- Close unused browser tabs: If you have multiple browser tabs open, especially ones that are running resource-intensive websites or streaming content, close the ones that are not needed. This will free up memory and network resources, potentially boosting your download speeds.
- Use a separate browser for downloads: If you frequently download large files, consider using a separate browser solely dedicated to downloading. This way, you can avoid any conflicts or slowdowns caused by other open tabs or extensions in your primary browser.
By closing unnecessary programs and tabs, you can redirect your device’s resources towards your download, allowing it to utilize more bandwidth and potentially increase the speed of the process. This simple step can make a notable difference in your overall download experience.
Connect to a Wired Internet Connection
One of the most effective ways to ensure fast and stable download speeds is to connect your device directly to your internet router using an Ethernet cable. Here are the benefits and steps for establishing a wired internet connection:
- Increase stability and reduce interference: Wi-Fi signals can be susceptible to interference from other electronic devices or physical obstructions. By using a wired connection, you eliminate these potential obstacles, resulting in a more stable and reliable connection.
- Minimize latency: Wired connections typically offer lower latency compared to wireless connections. This is especially crucial for online gaming or streaming services that require real-time data transmission without delay.
- Connect the Ethernet cable: Locate the Ethernet port on your device (usually found on the side or back of your computer/laptop) and plug one end of the Ethernet cable into the port.
- Connect the other end to the router: Locate an available Ethernet port on your internet router and plug the other end of the Ethernet cable into it.
- Disable Wi-Fi: To ensure that your device prioritizes the wired connection, disable the Wi-Fi connection on your device. This prevents any potential automatic switching between the two connections.
By connecting your device to a wired internet connection, you can experience faster and more consistent download speeds. However, keep in mind that this method may require physical proximity to your router and may not be feasible if you need to move around with your device.
Update Your Router Firmware
Outdated router firmware can often be a culprit for slow download speeds. Firmware updates not only bring new features but also address security vulnerabilities and improve network performance. Here’s how you can update your router firmware:
- Access your router’s settings: Open a web browser and enter your router’s IP address in the address bar. Typically, this is “192.168.0.1” or “192.168.1.1”. Consult your router’s documentation or check the label on the router itself for the correct IP address.
- Login to the router admin panel: Enter the username and password for your router. If you haven’t changed these credentials, check the documentation provided by your ISP or the router manufacturer for the default login details.
- Check for firmware updates: Once logged in, navigate to the firmware or update section in your router’s settings. Look for an option to check for updates or download the latest firmware version.
- Download and install the firmware: If a new version is available, follow the instructions provided by the router’s firmware update utility to download and install the update. Do not disconnect or power off the router during the update process, as this can cause irreparable damage to the device.
- Reboot the router: After the firmware update is complete, restart your router to ensure that the changes take effect.
By keeping your router firmware up to date, you can benefit from improved performance and potentially resolve any compatibility issues that may be affecting your download speeds. Regularly checking for firmware updates is a good practice to ensure that your router is running optimally.
Change Your DNS Server
Your DNS (Domain Name System) server plays a vital role in translating website addresses into IP addresses and facilitating internet connectivity. Changing your DNS server can sometimes improve download speeds and overall browsing performance. Here’s how to do it:
- Identify your current DNS server: Open the command prompt (Windows) or terminal (MacOS/Linux), and type the command “ipconfig /all” (Windows) or “ifconfig -a” (Mac/Linux) to view your current DNS server settings.
- Research and select a faster DNS server: There are several public DNS servers available, such as Google DNS (8.8.8.8, 8.8.4.4) or Cloudflare DNS (1.1.1.1, 1.0.0.1). Research different options and select a DNS server known for its reliability and speed.
- Change your DNS server settings: Access your network settings and locate the DNS settings section. Replace the current DNS server addresses with the IP addresses of the new DNS server you have chosen.
- Flush DNS cache: After changing the DNS server, flush your DNS cache to ensure that your device uses the updated settings. In the command prompt or terminal, type the command “ipconfig /flushdns” (Windows) or “sudo dscacheutil -flushcache” (Mac).
- Test download speeds: Once the DNS server change has been made, test your download speeds to see if there is any improvement. You can use online speed test tools or download large files to compare the results.
Changing your DNS server can potentially enhance your internet connection speed by improving DNS lookup times. However, the extent of improvement may vary depending on your location and the specific DNS server you choose.
Disable Background Apps and Updates
Background apps and automatic updates can consume valuable bandwidth, slowing down your download speeds. Disabling unnecessary background processes and updates can help optimize your network resources. Here’s how you can do it:
- Disable automatic app updates: In your device settings, disable automatic updates for apps. This prevents them from consuming bandwidth while you are downloading files.
- Manage system updates: Configure your system update settings to download updates at a convenient time or manually. This way, you prevent updates from running in the background and affecting your download speeds.
- Close unwanted background apps: Check your task manager or system monitor to identify any resource-intensive background apps. Close them to free up system resources and bandwidth.
- Disable cloud syncing: Cloud storage services often automatically sync files in the background. Temporarily disable this feature to prevent unnecessary bandwidth usage during your download.
- Pause or limit file syncing services: If you use file syncing services like Dropbox or Google Drive, pause or limit the syncing of large files or folders while downloading to reduce bandwidth congestion.
By disabling or managing background apps and updates, you can allocate more bandwidth to your download, resulting in faster speeds and a smoother experience. Remember to re-enable these processes after your download is complete to ensure your system remains up to date.
Clear Your Browser Cache
Your browser’s cache stores temporary data from websites you visit, including images, scripts, and other resources. Over time, this cache can become bloated and slow down your browsing and download speeds. Clearing your browser cache can help improve performance. Here’s how to do it:
- Access browser settings: Open your browser’s settings menu. The location may vary depending on the browser you’re using.
- Navigate to the cache settings: Look for options like “Privacy,” “Settings,” or “History.” In these settings, you’ll often find a section dedicated to clearing your browsing data.
- Choose what to clear: Select the option to clear the cache or browsing data. You can usually choose to clear the cache only or include other data like cookies and browsing history.
- Confirm the deletion: Once you’ve made your selection, confirm the action to clear the cache. Be aware that clearing the cache will log you out of websites you’re currently signed in to, so make sure you’re prepared for that if necessary.
- Restart your browser: After clearing the cache, close and reopen your browser to allow the changes to take effect.
Clearing your browser cache regularly can free up space and remove outdated or corrupted files, resulting in a faster and more efficient browsing experience. This, in turn, can positively impact your download speeds by eliminating any potential performance bottlenecks caused by a cluttered cache.
Use a Download Manager
When it comes to downloading large files, using a dedicated download manager can significantly improve download speeds, reliability, and control over your downloads. Download managers offer features that optimize the downloading process and make it more efficient. Here’s why you should consider using one:
- Increased download speed: Download managers use multiple connections to download files, which can result in faster download speeds compared to regular browser downloads.
- Pause and resume downloads: Download managers allow you to pause and resume downloads at any time. This is especially useful when your internet connection is unstable or when you want to prioritize other internet activities.
- Broken download recovery: If a download gets interrupted due to a network issue or sudden loss of connection, download managers can resume the download from where it left off, saving you time and hassle.
- Download scheduling: Download managers often allow you to schedule downloads to occur during off-peak hours or when you have better internet connectivity. This means you can set your downloads to start overnight or when you’re less likely to use your internet connection heavily.
- Bandwidth allocation: Some download managers enable you to allocate bandwidth for specific downloads, ensuring that other online activities, such as streaming or browsing, aren’t affected during the download process.
To use a download manager, simply download and install one of the many available options that are compatible with your operating system. Once installed, the manager will integrate with your web browser, allowing you to easily initiate downloads using its features and benefits.
By using a download manager, you can optimize your download speeds, have more control over the downloading process, and enjoy improved reliability. This can be particularly beneficial when downloading large files or when you have a slower or fluctuating internet connection.
Disable Antivirus or Firewall Software
While antivirus and firewall software are crucial for protecting your computer and network, they can sometimes interfere with download speeds. Temporarily disabling these software programs can help determine if they are the cause of slow download speeds. Here’s how to do it:
- Open your antivirus or firewall software: Locate the icon for your antivirus or firewall software in the system tray or taskbar. Right-click on the icon to access the main control panel or settings.
- Disable real-time scanning: In the antivirus software settings, find the real-time scanning or on-access scanning option and turn it off temporarily. This will prevent the software from continuously scanning downloads, potentially affecting download speeds.
- Temporarily disable firewall: In your firewall software, find the option to disable or turn off the firewall temporarily. Disabling the firewall allows your computer to receive data without any restrictions or interference.
- Test download speeds: After disabling the antivirus or firewall software, test your download speeds to see if there is any noticeable improvement. Download a large file or use a speed test tool to compare the results before and after disabling the software.
- Re-enable antivirus and firewall: Once you’ve completed the speed test or finished downloading your files, remember to re-enable your antivirus and firewall software to resume the protection they provide.
While it’s recommended to have antivirus and firewall protection enabled at all times, temporarily disabling them can help diagnose if they are impacting your download speeds. If disabling these software programs results in significant speed improvements, consider adjusting their settings to allow downloads without compromising security.