Introduction:
Windows 8.1 is a widely-used operating system that offers improved features and functionality compared to its predecessor, Windows 8. Whether you’re upgrading from an older version of Windows or starting fresh, downloading Windows 8.1 is the first step towards enjoying the benefits of this operating system.
In this article, we will guide you through the process of downloading Windows 8.1, ensuring a smooth and hassle-free experience. From checking system requirements to creating a bootable USB or DVD, we will provide step-by-step instructions to help you successfully install Windows 8.1.
Before you dive into the installation process, it’s important to note that Windows 8.1 is available in two different versions: 32-bit and 64-bit. You’ll need to determine which version is compatible with your device to ensure a seamless installation.
Additionally, it’s always a good practice to backup your data before making any major changes to your operating system. This will help you avoid any loss of important files and ensure that you have a safety net in case something goes wrong during the installation process.
Once you have checked system requirements, determined the appropriate version, and backed up your data, you’re ready to begin the process of downloading Windows 8.1. In the next steps, we will guide you through the process of choosing a reliable download source, obtaining the Windows 8.1 ISO file, and creating a bootable USB or DVD for installation.
By following our comprehensive guide, you’ll be equipped with the necessary knowledge and steps to successfully download and install Windows 8.1. Let’s get started!
Step 1: Check System Requirements:
Before downloading Windows 8.1, it’s crucial to ensure that your device meets the necessary system requirements. This will help guarantee a smooth installation and optimal performance of the operating system. Here are the steps to check your system requirements:
- Start by reviewing the minimum hardware requirements for Windows 8.1. These include a 1 GHz or faster processor, 1 GB of RAM for the 32-bit version or 2 GB for the 64-bit version, and at least 16 GB of free disk space. It’s important to note that these are the minimum requirements, and for a better experience, it’s recommended to have higher specifications.
- Check the compatibility of your device’s graphics card. Windows 8.1 requires a DirectX 9 graphics device with a WDDM driver in order to enable visually pleasing features. Visit the website of your graphics card manufacturer to ensure that you have the necessary driver updates.
- Verify that your device’s display meets the minimum resolution requirements. Windows 8.1 requires a display with a minimum resolution of 1024 x 768 pixels. It’s worth noting that a higher resolution will allow you to take full advantage of the operating system’s advanced features.
- Ensure that your device has a stable internet connection. This is important as you will be downloading the Windows 8.1 ISO file from an online source. A fast and reliable internet connection will facilitate a quicker download process.
- Take note of any additional hardware requirements specific to your device, such as a DVD drive if you plan to create a bootable DVD, or a USB port if you prefer to create a bootable USB.
Checking and confirming that your device meets the system requirements will help prevent any potential issues during the installation process. It also ensures that you can fully utilize the features and functionalities of Windows 8.1.
Once you have confirmed that your device meets the necessary system requirements, you are ready to move on to the next step: deciding between the 32-bit and 64-bit version of Windows 8.1. This decision will depend on the capabilities of your device and the amount of memory it can support.
Step 2: Decide Between 32-bit or 64-bit Version:
When downloading Windows 8.1, it’s important to choose the correct version – either the 32-bit or 64-bit – that is compatible with your device. The version you select depends on your computer’s hardware capabilities and the amount of memory it can support. Here’s how to make the right choice:
- First, determine if your device’s processor supports a 64-bit operating system. Most modern processors, such as Intel Core i5, i7, or AMD Ryzen processors, support 64-bit. To find out the specifications of your processor, follow these steps:
- Press the Windows key + R on your keyboard to open the Run dialog box.
- Type “msinfo32” (without quotes) and press Enter.
- In the System Information window, look for the System Type field. If it says “x64-based processor,” your device is capable of running the 64-bit version of Windows 8.1. If it shows “x86-based processor,” your device is limited to the 32-bit version only.
- Consider the amount of memory (RAM) installed on your device. The 32-bit version of Windows 8.1 can only utilize a maximum of 4 GB of RAM, while the 64-bit version can support larger amounts. If your device has 4 GB or less of RAM, the 32-bit version is sufficient. If you have more than 4 GB of RAM, it is recommended to opt for the 64-bit version for optimal performance.
Making the decision between the 32-bit and 64-bit version is crucial as it determines the compatibility and performance of your operating system. Once you have determined which version to choose, you can proceed with confidence to the next steps of the Windows 8.1 installation process.
In the next step, we will discuss the importance of backing up your data before downloading and installing Windows 8.1. This precautionary measure ensures the safety of your important files and provides peace of mind during the installation process.
Step 3: Backup Your Data:
Before proceeding with the installation of Windows 8.1, it is essential to back up your data to protect it from any potential loss or damage. This step ensures that even if something goes wrong during the installation process, your important files and documents will remain safe. Follow these guidelines to back up your data:
- Identify the files and folders on your device that you consider crucial and cannot afford to lose. These may include documents, photos, videos, music, and any other personal files.
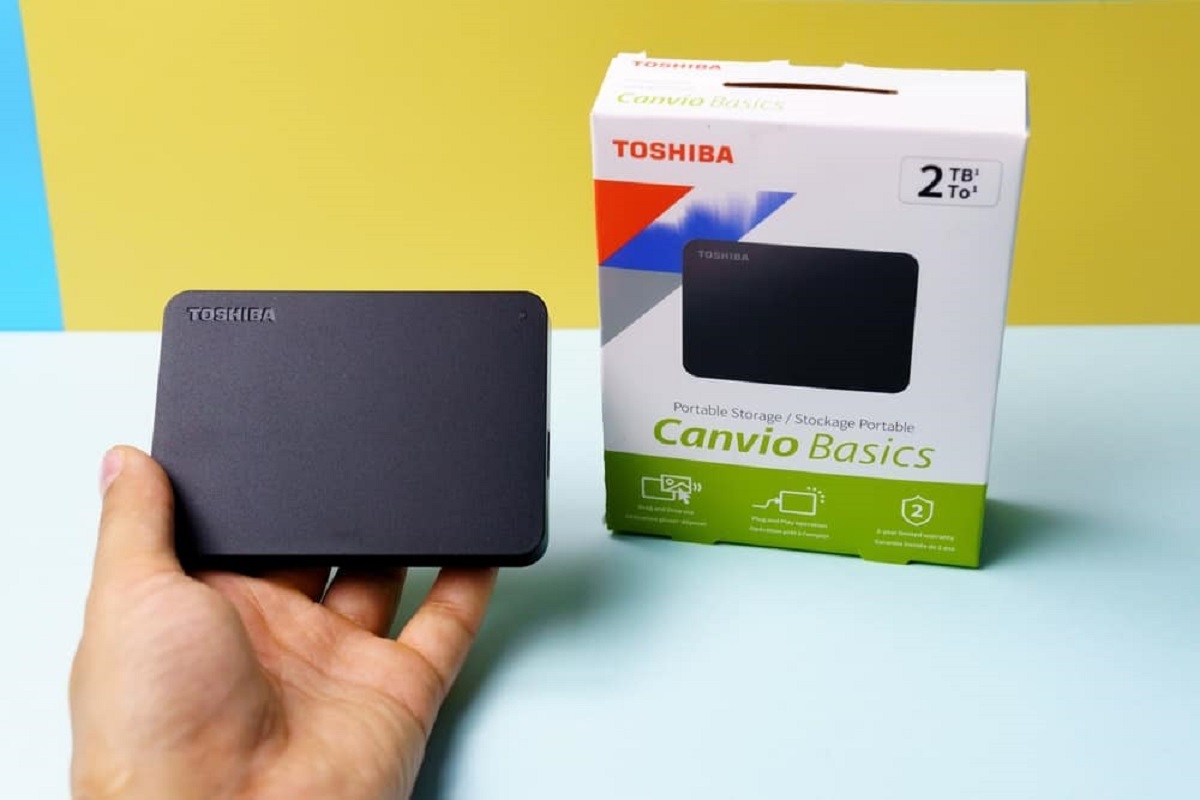
- Consider using an external hard drive, USB flash drive, or cloud storage service to create a backup of your data. External drives provide an additional layer of protection in case of a system failure.
- Create a separate folder or directory on your backup storage device to organize and store your files systematically. This will make it easier to restore your files once the Windows 8.1 installation is complete.
- Use a reliable backup solution or software to automate the process and ensure that all your important files are successfully backed up. Numerous backup tools are available online, and choosing the right one depends on your specific needs and preferences.
- Perform a test restore of a few files from your backup storage device to verify that the backup process was successful. This will give you peace of mind and confirmation that your data can be restored if needed.
By taking the time to back up your data before installing Windows 8.1, you are safeguarding your important files and ensuring that any potential mishaps during the installation process won’t result in permanent data loss. It is a crucial step that cannot be overlooked.
Now that you have taken the necessary precautions to secure your data, you are ready to move forward with the next steps of downloading and installing Windows 8.1. In the following step, we will guide you through the process of choosing a reliable download source for the Windows 8.1 ISO file.
Step 4: Choose a Reliable Download Source:
When downloading Windows 8.1, it’s crucial to select a reliable and trustworthy download source to ensure that you’re getting a legitimate copy of the operating system. Here are the steps to help you choose a reliable download source:
- Consider downloading Windows 8.1 directly from the official Microsoft website. This guarantees that you are obtaining a genuine copy of the operating system and decreases the risk of downloading malware or compromised versions.
- If you prefer to download from third-party websites, research the reputation and credibility of the website before proceeding. Look for user reviews, ratings, and recommendations from trusted sources to ensure that the website is legitimate and secure.
- Verify that the download source provides the original ISO file of Windows 8.1. An ISO file is an exact replica of the installation media and ensures a clean and unmodified installation. Avoid sources that provide modified or pre-activated versions of the operating system, as they may contain malware or other security risks.
- Double-check the file size of the ISO file you are downloading. The official file size for the 32-bit version of Windows 8.1 should be around 2.6GB, while the 64-bit version should be around 3.5GB. If the file size significantly differs from these values, there may be cause for concern regarding the authenticity of the download source.
- Ensure that the download source provides a secure connection using HTTPS. Look for the padlock symbol in the browser’s address bar, indicating that the connection is encrypted and secure.
Choosing a reliable download source is crucial to protect your computer from potential security threats and ensure that you’re installing a genuine copy of Windows 8.1. It’s recommended to take the necessary precautions and opt for trusted sources to mitigate any risks associated with downloading from unknown or unverified websites.
In the following step, we will guide you through the process of actually downloading the Windows 8.1 ISO file, either from the official Microsoft website or from a reputable third-party source.
Step 5: Download the Windows 8.1 ISO File:
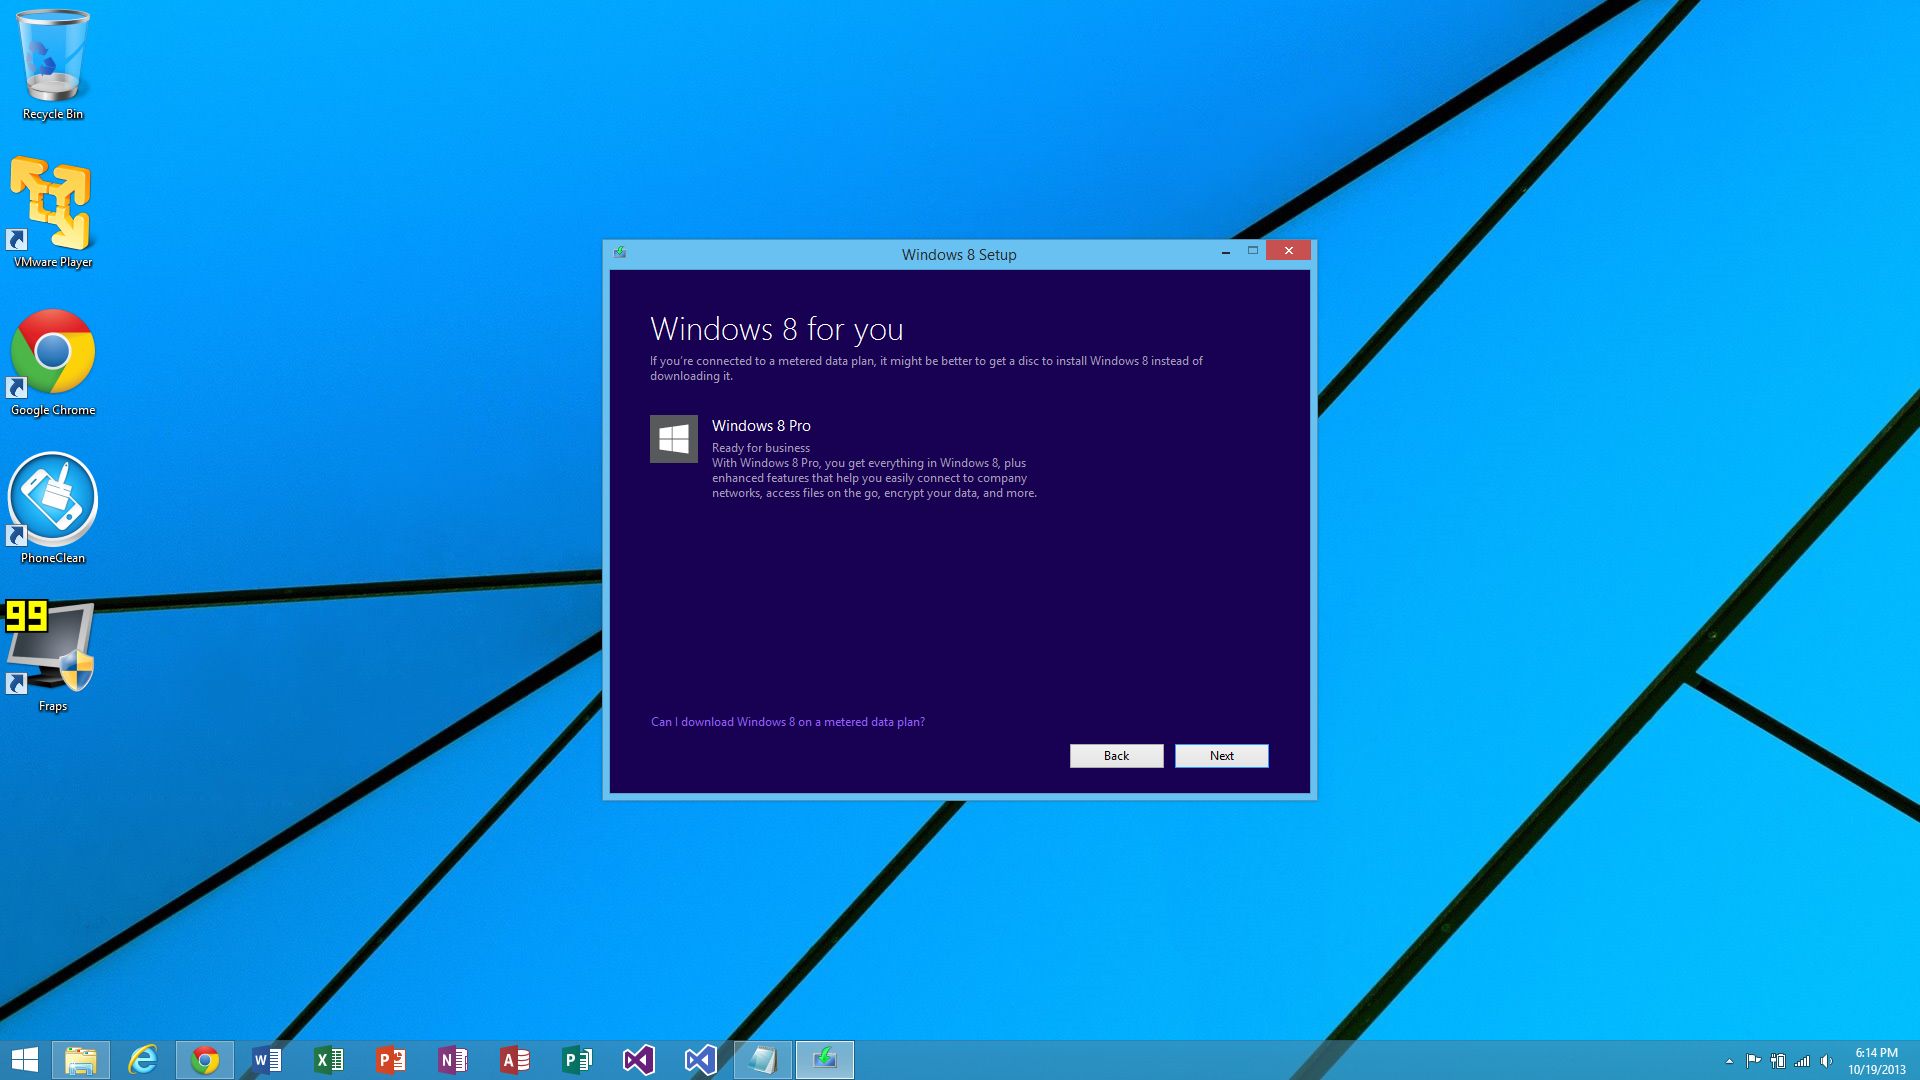
Once you have chosen a reliable download source for Windows 8.1, it’s time to download the ISO file of the operating system. The ISO file contains all the necessary files and data needed to install Windows 8.1. Follow these steps to download the Windows 8.1 ISO file:
- Visit the official Microsoft website or the trusted third-party website you have chosen and navigate to the Windows 8.1 download page.
- Make sure to select the correct version of Windows 8.1 based on your earlier decision of choosing between the 32-bit or 64-bit version.
- Click on the download link provided for the Windows 8.1 ISO file. The download may take some time, depending on your internet connection speed.
- During the download process, ensure that you have sufficient free disk space on your computer to accommodate the ISO file, which is approximately 2.6GB for the 32-bit version and 3.5GB for the 64-bit version.
- While the file is downloading, avoid interrupting the process or navigating away from the download page to prevent any data corruption or issues with the file.
- Once the download is complete, verify the integrity of the ISO file. You can do this by comparing the file’s checksum or using a utility that calculates and checks the file’s hash value, such as MD5 or SHA-256. This ensures that the downloaded file is error-free and has not been tampered with.
By following these steps, you will successfully download the Windows 8.1 ISO file onto your computer. This file serves as the foundation for the installation process, and its integrity is crucial for a smooth installation and optimal performance of Windows 8.1.
In the next step, we will guide you through the process of creating a bootable USB or DVD using the Windows 8.1 ISO file. This will enable you to install Windows 8.1 on your device.
Step 6: Create a Bootable USB or DVD:
Now that you have downloaded the Windows 8.1 ISO file, the next step is to create a bootable USB or DVD. This will allow you to install Windows 8.1 on your device. Follow these steps to create a bootable USB or DVD:
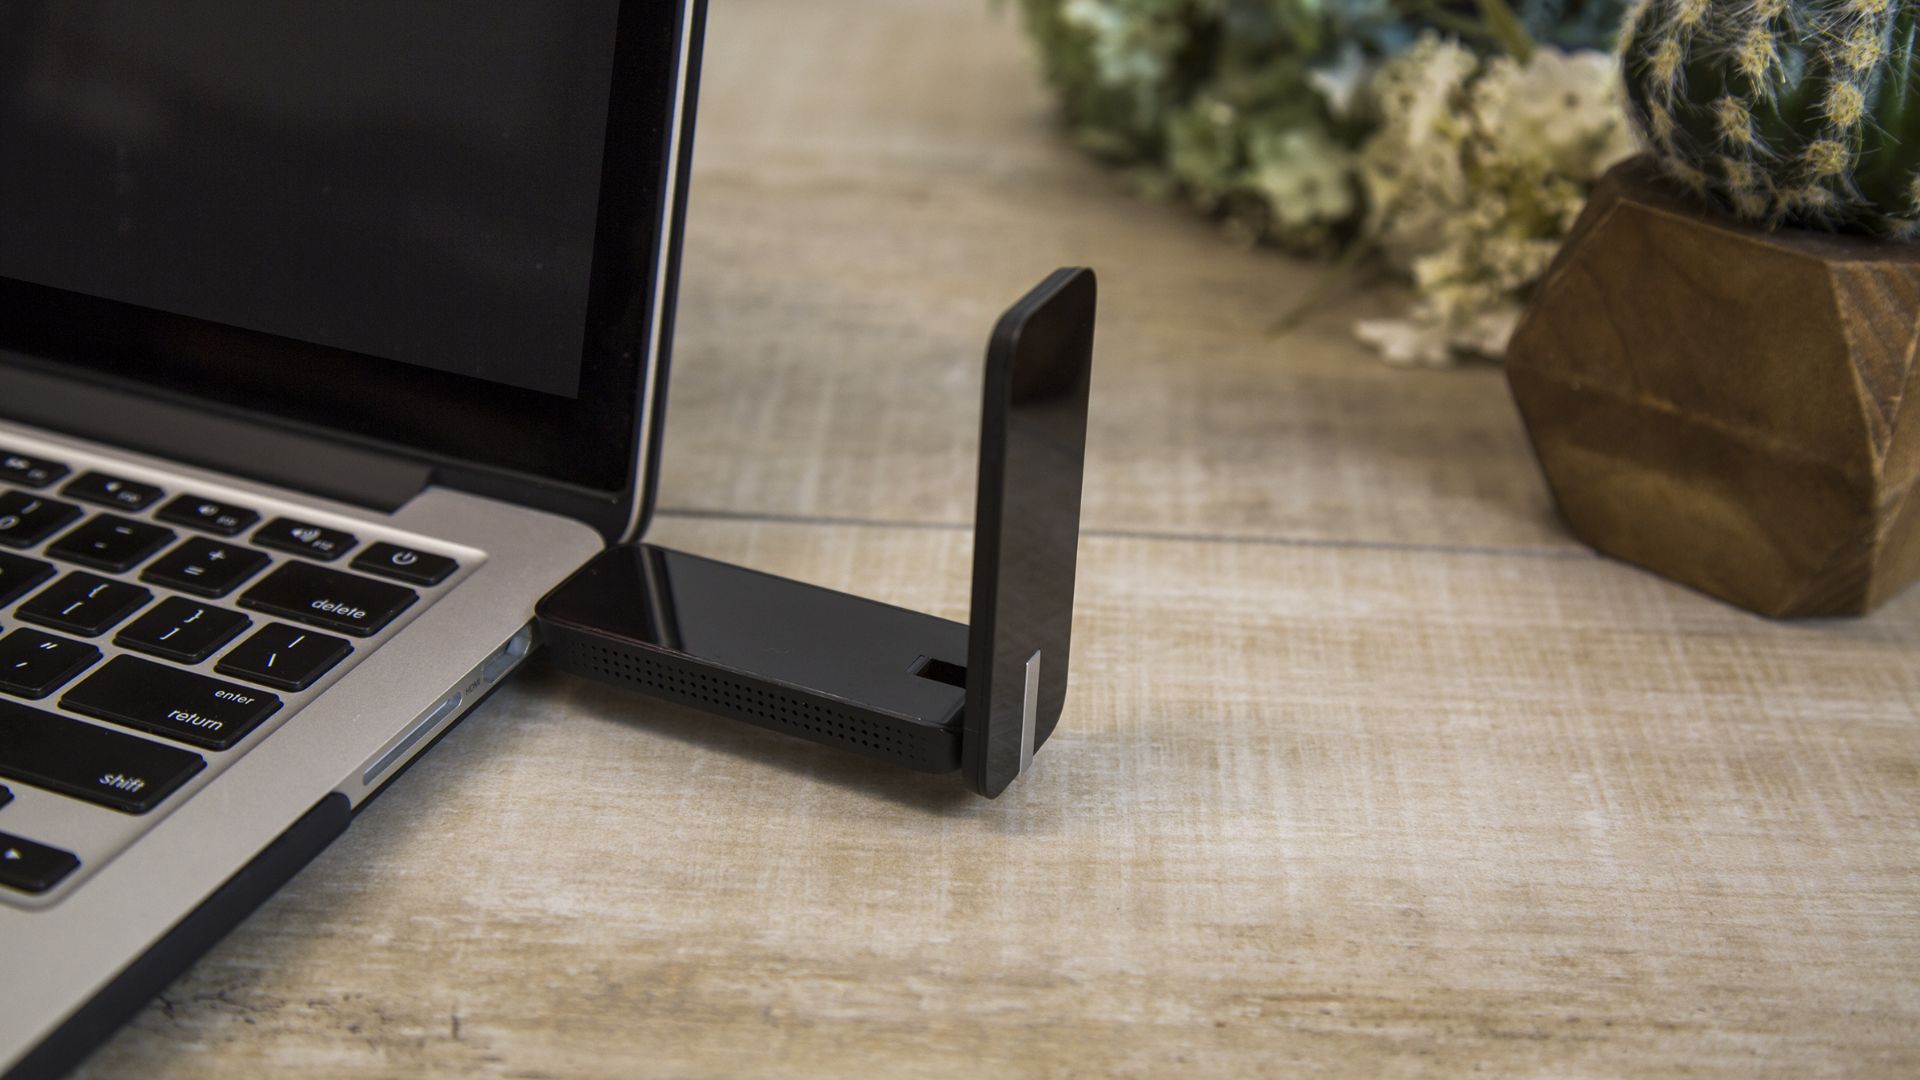
- If you prefer using a USB drive, connect it to your computer. Make sure it has a sufficient storage capacity (at least 8GB) and is formatted properly.
- If you prefer using a DVD, insert a blank DVD into your computer’s DVD drive.
- Download and install a reliable tool to create a bootable USB or DVD, such as Rufus for USB or ImgBurn for DVD.
- Launch the tool and select the Windows 8.1 ISO file you downloaded earlier as the source file.
- Choose the appropriate destination for your bootable USB or DVD. If creating a bootable USB, select the USB drive. If creating a bootable DVD, choose the DVD drive.
- Adjust any additional settings as required by the tool, such as the file system and partition scheme for the USB drive.
- Click on the “Start” or “Burn” button to initiate the process. This may take a few minutes depending on your computer’s speed and the size of the ISO file.
- Once the process is complete, the tool will notify you that the bootable USB or DVD has been created successfully.
Now you have a bootable USB or DVD containing the Windows 8.1 installation files. It is important to keep it in a safe place as you will need it for the next step – the installation of Windows 8.1 on your device.
In the next step, we will guide you through the installation of Windows 8.1, allowing you to enjoy the new features and improved functionality of the operating system.
Step 7: Install Windows 8.1:
With the bootable USB or DVD created, you’re ready to install Windows 8.1 on your device. Follow these steps to install Windows 8.1:
- Insert the bootable USB or DVD into your computer’s USB port or DVD drive.
- Restart your computer and enter the boot menu. The key to access the boot menu may vary depending on your computer’s manufacturer. Common keys include F12, Esc, or Del. Consult your computer’s documentation or perform a quick online search to find the correct key for your device.
- From the boot menu, select the bootable USB or DVD as the primary boot device.
- Save the changes and exit the boot menu. Your computer will now boot from the USB or DVD.
- Follow the on-screen instructions to begin the installation process. You will be prompted to choose your language, time zone, and keyboard layout.
- Next, enter the product key for Windows 8.1. This key should have been provided to you when you purchased or downloaded the operating system.
- Read and accept the license terms before proceeding with the installation.
- Select the installation type. You can choose to perform a clean installation, which erases all data on your device and installs Windows 8.1 from scratch, or an upgrade installation, which preserves your files and settings from a previous version of Windows.
- Choose the drive or partition where you want to install Windows 8.1. If necessary, you can format or delete existing partitions to create a new one.
- Wait for the installation process to complete. Your computer may restart multiple times during the installation. This is normal, so do not interrupt the process.
- Once the installation is finished, you will be prompted to set up your user account and personalize Windows 8.1 according to your preferences.
- Congratulations! You have successfully installed Windows 8.1 on your device. Take some time to explore the new features and enjoy the improved functionality of the operating system.
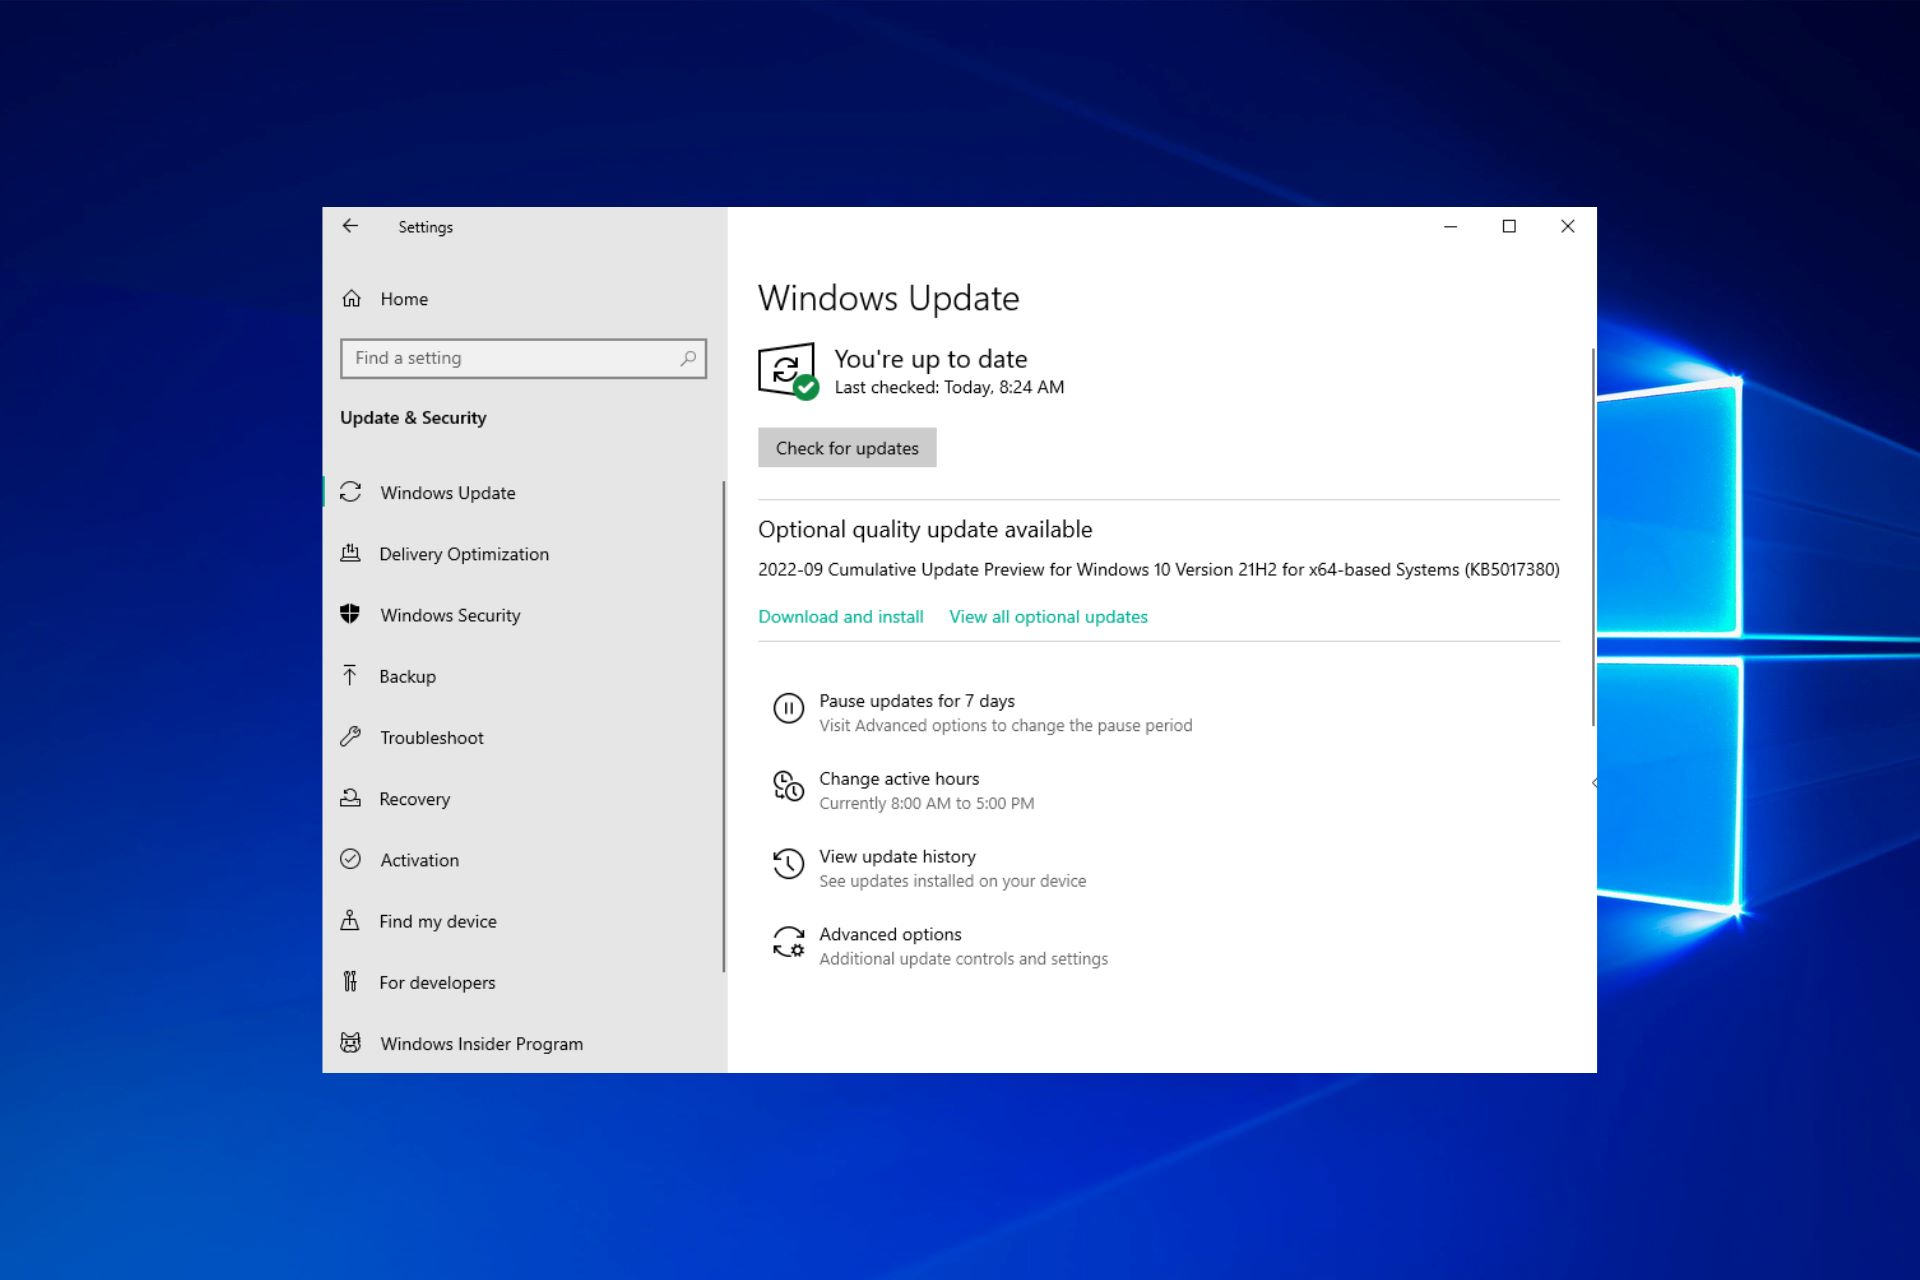
With Windows 8.1 installed, you can now take advantage of its enhanced performance, security, and features. Make sure to check for any available updates after installation to ensure that your operating system is up to date.
Thank you for following this step-by-step guide. We hope it has provided you with a clear understanding of how to download and install Windows 8.1 on your device.
Conclusion:
Downloading and installing Windows 8.1 can greatly enhance the performance and functionality of your device. By following the step-by-step guide outlined in this article, you can successfully navigate the process and enjoy the benefits of this operating system.
We started by emphasizing the importance of checking system requirements to ensure your device is compatible with Windows 8.1. Then, we discussed the decision between the 32-bit and 64-bit versions, taking into consideration your device’s hardware capabilities. We also highlighted the significance of backing up your data, reducing the risk of data loss during the installation process.
Choosing a reliable download source is crucial to ensure you have a genuine and secure copy of Windows 8.1. We provided guidance on verifying the authenticity of the download source and the importance of a secure connection.
After downloading the Windows 8.1 ISO file, we explained how to create a bootable USB or DVD using reliable tools. This step allows you to install Windows 8.1 on your device and ensures a smooth installation process.
Finally, we walked you through the installation of Windows 8.1, from accessing the boot menu to completing the setup process. We emphasized the importance of following the on-screen instructions and making choices that align with your preferences.
Now that you have successfully installed Windows 8.1, take some time to explore its new features and improved functionality. Stay proactive by regularly updating your operating system and safeguarding your device against potential security threats.
We hope that this comprehensive guide has provided you with the knowledge and confidence to download and install Windows 8.1 on your device. Enjoy the benefits of Windows 8.1 and make the most out of your computing experience!


