Introduction
Welcome to the world of Prime Music! With a Prime membership, you have access to a vast library of songs and albums that you can stream or download to your computer. Whether you’re an avid music lover or want to enjoy your favorite tunes offline, downloading Prime Music to your computer allows you to listen to your favorite tracks anytime, anywhere.
In this guide, we will walk you through the step-by-step process of how to download Prime Music to your computer, so you can enjoy your favorite songs without an internet connection. Whether you want to create a personalized playlist for a road trip or simply prefer to have your music library readily available offline, this guide will show you exactly how to do it.
Before we dive into the steps, it’s important to note that downloading Prime Music is only available for Prime members. If you’re not a Prime member yet, you can simply sign up for a membership to unlock all the benefits, including Prime Music.
Now, let’s get started and learn how you can download Prime Music to your computer in just a few simple steps!
Step 1: Sign in to your Amazon account
The first step to downloading Prime Music to your computer is to ensure that you are signed in to your Amazon account. If you don’t have an Amazon account, you can easily create one by visiting the Amazon website and clicking on the “Account & Lists” option at the top of the page. From there, click on “Create your Amazon account” and follow the prompts to set up your account.
Once you have your Amazon account set up, go to the Amazon website and sign in using your email address and password. Make sure to use the same account that you have your Prime membership tied to.
If you already have the Amazon app installed on your computer, you can also sign in directly through the app. Simply open the app and click on the “Sign In” option at the top-right corner of the screen. Enter your Amazon account credentials and click “Sign In.”
Once you are signed in to your Amazon account, you are ready to proceed to the next step and access the Prime Music section.
Step 2: Go to the Prime Music section
After signing in to your Amazon account, the next step is to navigate to the Prime Music section. To do this, go to the Amazon website and hover your mouse over the “Prime” option in the top-left corner of the page. A drop-down menu will appear.
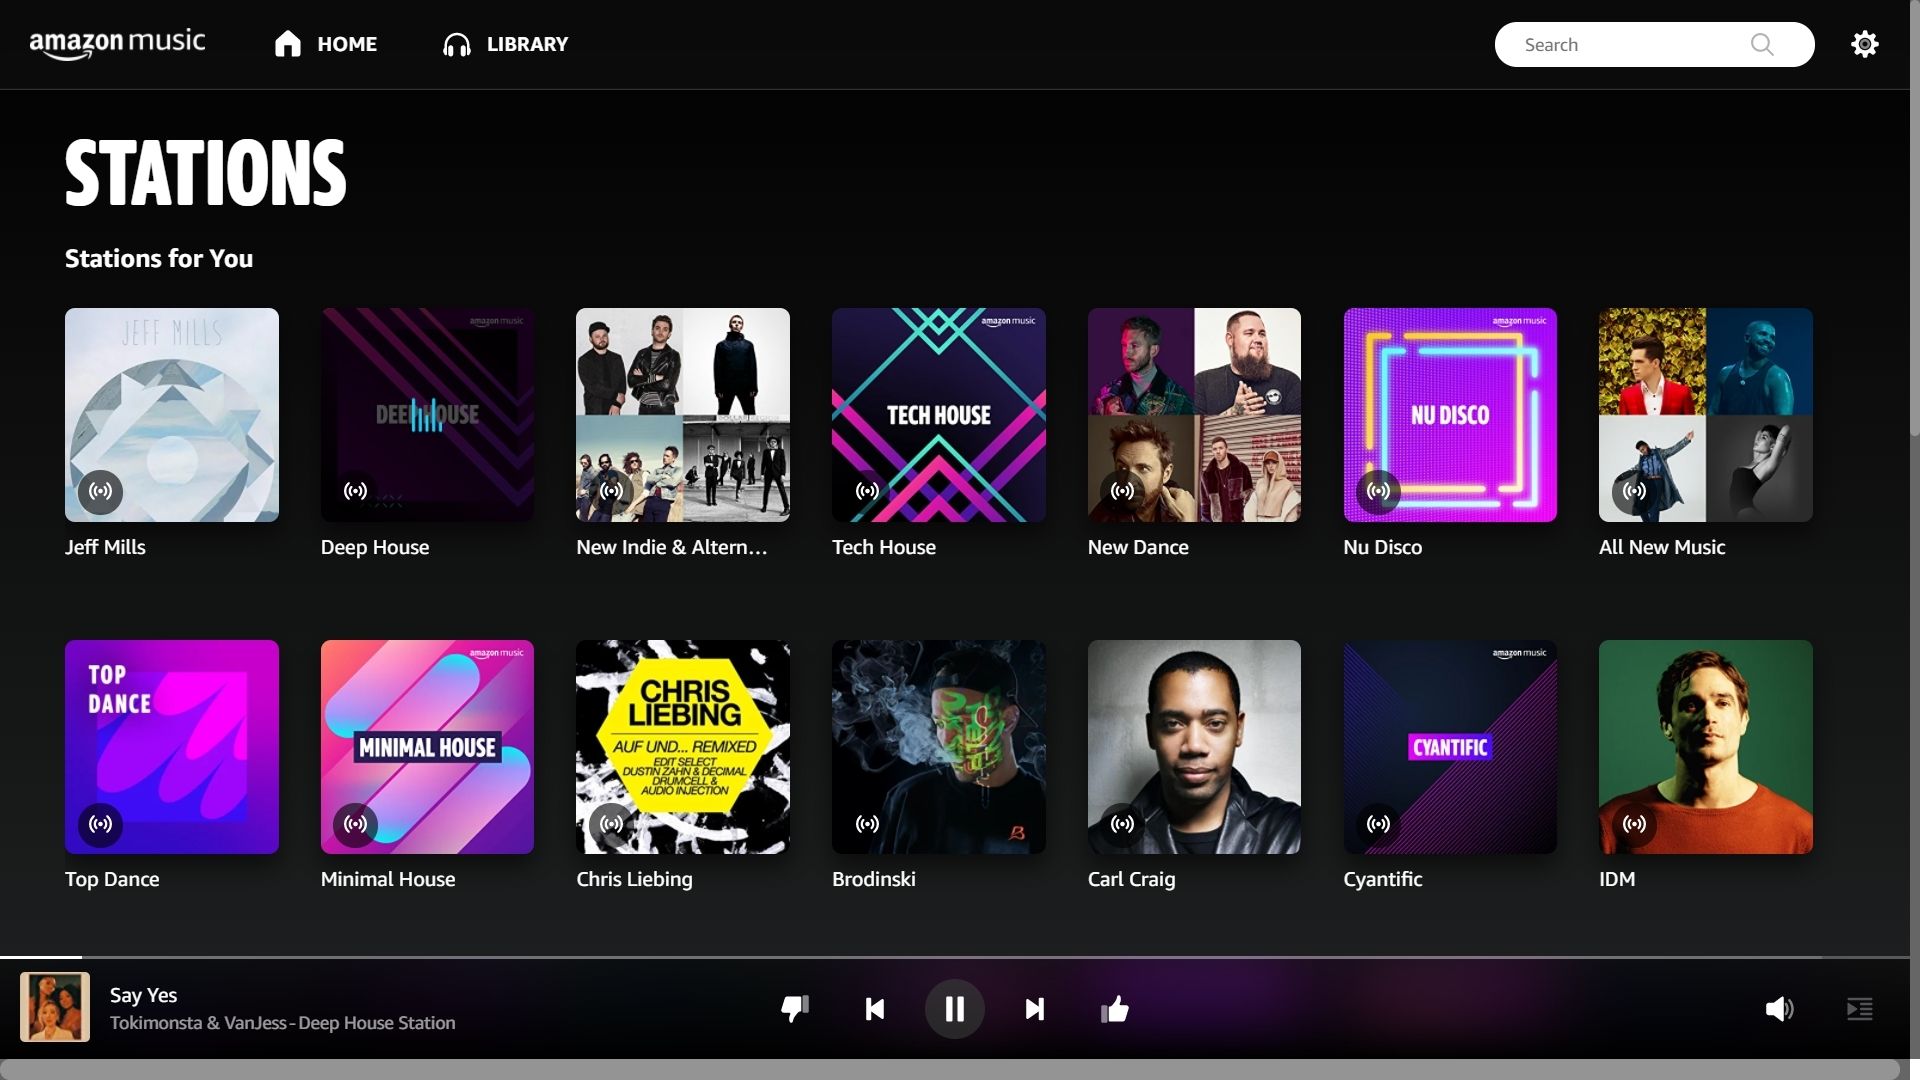
In the drop-down menu, click on the “Prime Music” option. This will take you to the Prime Music section, where you can explore and discover a vast collection of songs and albums.
If you are using the Amazon app, you can also access the Prime Music section by clicking on the “Prime” option at the top of the app’s interface. From there, click on “Prime Music” to be redirected to the music selection.
Once you are on the Prime Music section, you will have access to a variety of features and options to enhance your music listening experience. You can browse through different genres, search for specific songs or artists, create and manage playlists, and much more.
Now that you have reached the Prime Music section, you are ready to move on to the next step and select the songs or albums that you want to download.
Step 3: Select the songs or albums you want to download
Now that you have navigated to the Prime Music section, it’s time to select the songs or albums that you want to download to your computer. This step allows you to curate your own personalized collection of music that you can access offline.
Browse through the different categories, genres, or use the search bar to find specific songs, artists, or albums. As you find the songs or albums that you want to download, click on them to open the individual track or album page.
On the track or album page, you will see an option to download the music. Look for the download icon, which is usually represented by a downward arrow or a cloud with a downward arrow inside. Click on this download icon to start the downloading process for the selected song or album.
If you want to download an entire album, simply click on the download icon on the album page. This will initiate the download for all the songs included in the album. If you prefer to download only specific tracks from an album, you can go to the album’s page and individually select the songs you want to download.
Keep in mind that the availability of certain songs or albums for download may vary depending on your location and licensing restrictions. If you encounter any limitations or restrictions when trying to download a specific song or album, Amazon will provide you with alternative options or recommendations to enjoy the music.
Once you have selected the songs or albums you want to download, it’s time to proceed to the next step and initiate the download process.
Step 4: Click on the download button
After selecting the songs or albums you want to download from the Prime Music section, the next step is to click on the download button to initiate the downloading process. This step allows you to start downloading your chosen music files to your computer for offline listening.
Once you have chosen a specific song or album to download, locate the download button on the respective track or album page. The download button is typically represented by an icon such as a downward arrow or a cloud with an arrow pointing downwards.
Click on the download button, and the download process will begin. You may be prompted to confirm the download or choose a download location on your computer, depending on your web browser or operating system settings.
Amazon will begin transferring the selected songs or albums from the Prime Music library to your computer. The download speed may vary depending on your internet connection speed and the size of the music files you are downloading.
While the files are being downloaded, it’s important to ensure that you do not interrupt or cancel the process to avoid any potential issues. You may also monitor the progress of the download, which is usually displayed in the form of a progress bar or percentage.
Once the download is complete, the music files will be saved to your computer, ready for offline playback. Now that you have successfully downloaded the Prime Music files to your computer, it’s time to move on to the next step and choose a location to save the downloaded music files.
Step 5: Choose where to save the downloaded music on your computer
Once you have clicked on the download button and the Prime Music files are successfully downloaded to your computer, the next step is to choose a location to save the downloaded music. This step allows you to designate a specific folder or directory on your computer where you want the music files to be stored.
When the download is complete, you will typically be prompted to choose a location to save the downloaded music. The prompt may vary depending on your web browser or operating system.
To choose a location,click on the “Browse” or “Choose Folder” button. This will open a window where you can navigate to the desired folder or directory on your computer. You can create a new folder specifically for your downloaded Prime Music files or select an existing folder where you want to save them.
Browse through your computer’s directory structure and navigate to the desired folder. Once you have selected the appropriate folder, click on the “Select” or “Save” button to confirm the location.
It is important to choose a location that is easily accessible and well-organized so that you can locate and play your downloaded Prime Music files conveniently.
After choosing the location to save the downloaded music, your web browser or operating system will begin moving the files to the designated folder on your computer. The transfer process may take a few moments, depending on the size of the downloaded files and the speed of your computer’s storage system.
Once the transferred files are successfully saved to the chosen location, you are ready to proceed to the next step and wait for the download process to complete.
Step 6: Wait for the download to complete
After selecting the location to save the downloaded music files, the next step is to patiently wait for the download process to complete. This step is crucial to ensure that all the selected songs or albums are successfully transferred from the Prime Music library to your computer.
The time required for the download to complete will vary depending on factors such as the size of the music files, your internet connection speed, and the performance of your computer. Larger files or slower internet speeds may result in a longer download time.
While the download is in progress, it is important not to interrupt the process or close the browser window or application. Doing so may result in an incomplete download or corrupted files.
You may see a progress bar indicating the status of the download or a percentage tracker showing how much of the download has been completed. This can give you an idea of how much longer the process will take.
During the download, you can utilize this time to prepare your music library, organize playlists, or even explore other features of the Prime Music section. Utilizing this waiting period effectively can help you make the most of your music downloading experience.
Once the download is complete, you will receive a notification or confirmation message indicating that the files have been successfully downloaded and saved to the designated location on your computer.
Now that you have patiently waited for the download to complete, you are ready to move on to the next step and access your downloaded Prime Music on your computer.
Step 7: Access your downloaded Prime Music on your computer
After the download is complete and all your selected Prime Music files are successfully saved to your computer, the final step is to access and enjoy your downloaded music. This step allows you to listen to your favorite tracks or albums offline, at your convenience, without relying on an internet connection.
To access your downloaded Prime Music, navigate to the location where you chose to save the files on your computer. Open the folder or directory that contains your downloaded music. You will see the individual song files or folders containing the downloaded albums.
To listen to a specific song, simply double-click on the song file, and it will start playing using your default media player. Alternatively, you can right-click on the song file and choose the media player of your choice from the context menu.
If you downloaded an entire album, navigate to the respective album folder and open it. Inside, you will find the individual song files saved in the folder. You can either double-click on a specific song to play it or right-click on the album folder and choose the media player to play all the songs in the album.
Once the music starts playing, you can control the playback using the media player’s interface. This allows you to pause, play, skip tracks, adjust the volume, and utilize other features to enhance your listening experience.
By accessing your downloaded Prime Music on your computer, you can enjoy your favorite songs and albums without an internet connection. This is especially useful when you are traveling, in areas with limited internet access, or simply prefer to have your music library available offline.
Remember to organize your downloaded music in a way that suits your preferences. You can create playlists, categorize your songs by genre or artist, and make the most of your personalized music library.
Now that you have successfully accessed your downloaded Prime Music on your computer, you can sit back, relax, and enjoy your favorite tunes whenever and wherever you like!
Conclusion
Downloading Prime Music to your computer opens up a world of possibilities for enjoying your favorite songs and albums offline. With just a few simple steps, you can curate your own personalized music library and listen to your favorite tunes anytime, anywhere.
In this guide, we walked you through the step-by-step process of downloading Prime Music to your computer. From signing in to your Amazon account to choosing the location to save your downloaded music, each step was designed to ensure a seamless and enjoyable downloading experience.
By following these steps, you can easily download Prime Music to your computer and access it offline. Whether you’re a music enthusiast who loves creating playlists for different moods or simply someone who wants to have their favorite songs readily available on their computer, this guide has provided you with the necessary information.
Remember, Prime Music is just one of the many benefits of being an Amazon Prime member. Along with Prime Music, you also have access to Prime Video, exclusive deals, free two-day shipping, and much more. So, make the most out of your Prime membership and unlock all the amazing features and benefits it offers.
Now that you have the knowledge and know-how to download Prime Music to your computer, you can start building your own offline music library. Say goodbye to relying on an internet connection and hello to enjoying your favorite songs anytime, anywhere.
So, what are you waiting for? Start downloading and immerse yourself in the world of Prime Music on your computer today!