Introduction
Welcome to the article on how to download contacts from Verizon Cloud to your phone. Verizon Cloud is a convenient and secure storage service that allows you to back up and sync your contacts, photos, videos, and more. If you’ve been using Verizon Cloud to store your contacts and want to transfer them to your phone, you’re in the right place.
In this guide, we will walk you through the step-by-step process of accessing Verizon Cloud, exporting your contacts, and importing them to your phone. Whether you own an iPhone or an Android device, we have got you covered.
Having your contacts readily available on your phone is essential for staying connected with family, friends, and colleagues. By following the instructions in this article, you can ensure that your contacts are safely transferred from Verizon Cloud to your phone, allowing you to easily make calls, send text messages, and stay organized.
So, if you’re ready to retrieve your contacts from Verizon Cloud and have them at your fingertips, let’s get started with the first step: accessing Verizon Cloud.
Step 1: Accessing Verizon Cloud
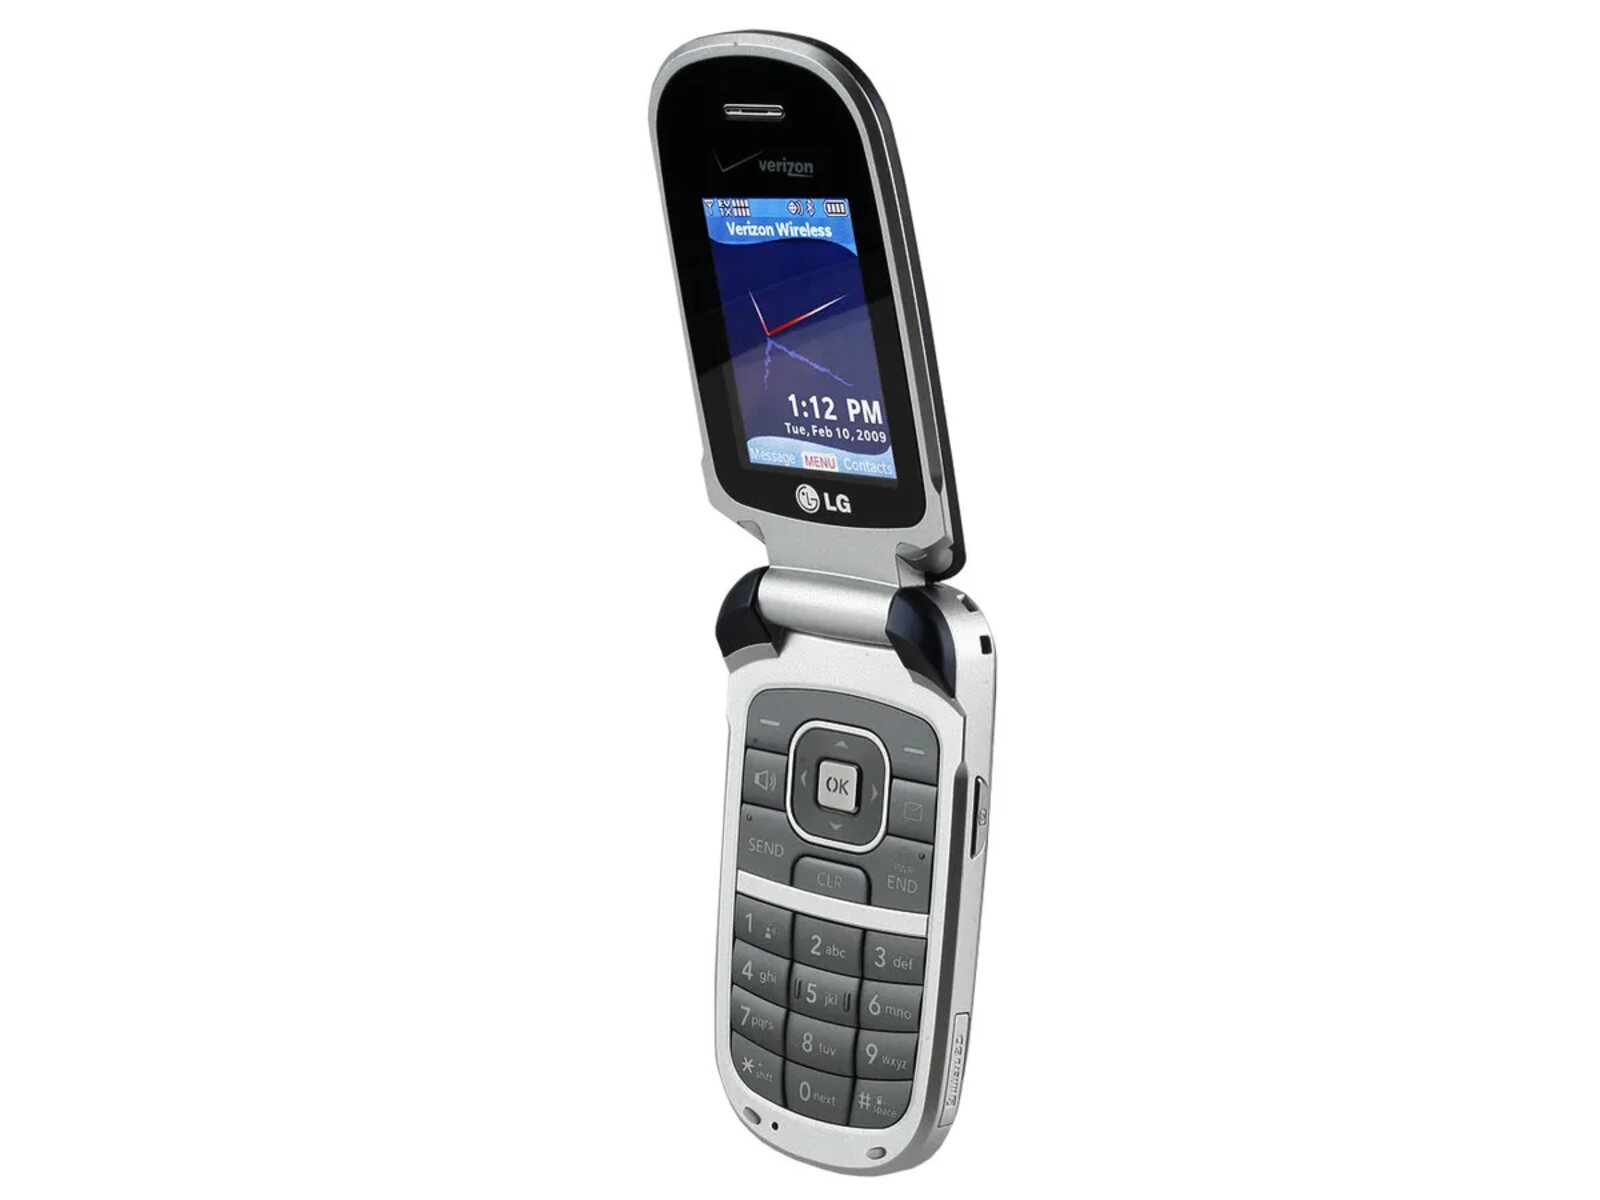
The first step in downloading your contacts from Verizon Cloud is to access the Verizon Cloud service. To do this, you will need to have an active Verizon Cloud account.
If you already have the Verizon Cloud app installed on your phone, you can simply open the app and log in using your Verizon Cloud credentials. If you don’t have the app installed, you can download it from the App Store (for iPhone users) or the Google Play Store (for Android users).
Once you have logged in to the Verizon Cloud app, you will be able to see all the files and data that you have backed up. To proceed with downloading your contacts, locate the section where your contacts are stored.
If you are using the Verizon Cloud website on your computer, you can access it by visiting the Verizon Cloud website and logging in with your Verizon Cloud account details. Once logged in, you will be able to navigate to the contacts section.
In some cases, Verizon Cloud may have undergone updates or changes, and the steps to access the service may vary slightly. If you are unable to locate the contacts section or encounter any issues while accessing Verizon Cloud, it is recommended to reach out to Verizon customer support for further assistance.
Now that you have successfully accessed Verizon Cloud, you are ready to move on to the next step: exporting your contacts from Verizon Cloud. This will allow you to save a copy of your contacts and transfer them to your phone or another device.
Step 2: Exporting Contacts from Verizon Cloud
Once you have accessed Verizon Cloud, the next step is to export your contacts so that you can download them to your device.
Verizon Cloud provides multiple options for exporting your contacts, including exporting to a phone, exporting to a computer, or exporting to an email account. Let’s explore each option:
Option 1: Exporting Contacts to a Phone
If you want to directly transfer your contacts to your phone, follow these steps:
- Open the Verizon Cloud app on your device and log in using your Verizon Cloud account details.
- Navigate to the contacts section.
- Select the contacts you want to export. You may have the option to select all contacts or choose specific ones.
- Once you have selected the contacts, look for the export option, usually represented by a share or download icon.
- Choose the export to phone option and follow the on-screen instructions to complete the process. The contacts will be saved to your device’s local storage or synced with your phone’s contacts app.
Option 2: Exporting Contacts to a Computer
If you prefer to save your contacts on a computer, here is how you can do it:
- Access the Verizon Cloud website on your computer and log in using your Verizon Cloud account credentials.
- Navigate to the contacts section.
- Select the contacts you want to export.
- Look for the export option, usually located in the settings or actions menu.
- Choose the export to computer option and follow the on-screen instructions to save the contacts to your computer. You can save them as a CSV, VCF, or other compatible file formats.
Option 3: Exporting Contacts to an Email Account
If you prefer to have your contacts stored in your email account, follow these steps:
- Open the Verizon Cloud app or access the Verizon Cloud website.
- Navigate to the contacts section and select the contacts you want to export.
- Find the export option and choose the export to email option.
- Enter the email address where you want to send the contacts and follow the instructions to complete the export process.
By following one of these export options, you will be able to save your contacts from Verizon Cloud onto your preferred device or storage location. Once you have successfully exported your contacts, you can proceed to the next step: importing them to your phone or device.
Option 1: Exporting Contacts to a Phone
If you prefer to directly transfer your contacts to your phone, Verizon Cloud offers a simple and convenient option for exporting your contacts. Follow these steps to export your contacts from Verizon Cloud to your phone:
- Open the Verizon Cloud app on your device and log in using your Verizon Cloud account details.
- Navigate to the contacts section to view your stored contacts.
- Select the specific contacts you want to export or choose the option to select all contacts.
- Look for the export option, which is usually indicated by a share or download icon.
- Choose the export to phone option from the available export methods.
- Follow the on-screen instructions to complete the export process.
During the export process, Verizon Cloud may prompt you to grant permissions or confirm the transfer. Make sure to review and authorize any necessary steps to ensure a successful export.
Once the contacts are exported to your phone, they will be saved in your device’s local storage or synced with your phone’s contacts app. You can access them through your contacts app or phone’s address book.
This option is especially useful if you want quick and direct access to your contacts without the need for additional devices or storage. It allows you to have your contacts readily available on your phone whenever you need them.
Now that you have exported your contacts from Verizon Cloud to your phone, you can proceed to the next step: importing them to your specific phone operating system.
Option 2: Exporting Contacts to a Computer
If you prefer to save your contacts on a computer, Verizon Cloud provides an option to export your contacts. Follow these steps to export your contacts from Verizon Cloud to your computer:
- Access the Verizon Cloud website on your computer and log in using your Verizon Cloud account credentials.
- Navigate to the contacts section to view your stored contacts.
- Select the specific contacts you want to export or choose the option to select all contacts.
- Look for the export option, usually located in the settings or actions menu.
- Choose the export to computer option from the available export methods.
- Follow the on-screen instructions to complete the export process.
Verizon Cloud allows you to export your contacts in various file formats, such as CSV (Comma-Separated Values) or VCF (Virtual Contact File). These file formats are compatible with most contact management software or can be easily imported into other devices or platforms.
Once the export is complete, the contacts will be saved to your computer’s specified location. You can choose to save the contacts on your desktop, in a dedicated contacts folder, or any other preferred location.
By exporting your contacts to a computer, you can have a backup copy stored locally and easily manage them using contact management software or import them into other devices or platforms as needed.
Now that you have successfully exported your contacts from Verizon Cloud to your computer, you can proceed to the next step: importing them to your specific computer or contacts management software.
Option 3: Exporting Contacts to an Email Account
If you prefer to have your contacts stored in your email account, Verizon Cloud offers an option to export your contacts directly to an email account. Follow these steps to export your contacts from Verizon Cloud to your email account:
- Open the Verizon Cloud app on your device or access the Verizon Cloud website on your computer.
- Navigate to the contacts section to view your stored contacts.
- Select the specific contacts you want to export or choose the option to select all contacts.
- Look for the export option, typically indicated by a share or download icon.
- Choose the export to email option from the available export methods.
- Enter the email address where you want to send the contacts.
- Follow the on-screen instructions to complete the export process.
Once you have initiated the export to email option, Verizon Cloud will generate a file containing your contacts and attach it to an email. You will need to provide the recipient email address and send the email containing the contact file.
When you receive the email, open it and download the attached contact file. The file may be in the form of a CSV (Comma-Separated Values), VCF (Virtual Contact File), or other compatible formats. These file formats allow for easy importing into various email clients or contact management software.
After downloading the contact file, you can import it into your preferred email client or contact management software and have your contacts readily available in your email account. This way, you can access and manage your contacts alongside your emails and have them easily synced with other devices connected to the same email account.
Now that you have successfully exported your contacts from Verizon Cloud to your email account, you can proceed to the next step: importing them into your specific email client or contact management software.
Step 3: Importing Contacts to your Phone
After exporting your contacts from Verizon Cloud, the final step is to import them into your phone’s contact list. Whether you have an iPhone or an Android phone, we have provided steps for both options below:
Option 1: Importing Contacts to an iPhone
- Ensure that you have downloaded the contact file from Verizon Cloud to your iPhone.
- Open the Contacts app on your iPhone.
- Tap the “Menu” or “Settings” icon within the Contacts app.
- Choose the option to import contacts or import from a file.
- Select the contact file you downloaded from Verizon Cloud.
- Follow the on-screen instructions to import the contacts.
After the import process is complete, your contacts from Verizon Cloud will be added to your iPhone’s contact list, and you can now access them from the Contacts app or through your phone’s dialer.
Option 2: Importing Contacts to an Android Phone
- Make sure that you have downloaded the contact file from Verizon Cloud to your Android phone.
- Open the Contacts app on your Android phone.
- Tap the “Menu” or “Settings” icon within the Contacts app.
- Choose the option to import contacts or import from a file.
- Select the contact file you downloaded from Verizon Cloud.
- Follow the on-screen instructions to import the contacts.
Once the import is complete, the contacts from Verizon Cloud will be added to your Android phone’s contact list. You can access them through the Contacts app or dialer, or sync them with your Google account to have them available across your devices.
After successfully importing the contacts to your phone, you can now enjoy the convenience of having your Verizon Cloud contacts readily available on your device. You can make calls, send text messages, or use any contact-related features on your phone with ease.
With this step complete, you have successfully downloaded and imported your contacts from Verizon Cloud to your phone. From here, you can continue managing and organizing your contacts to stay connected with your network effectively.
Option 1: Importing Contacts to an iPhone
If you are an iPhone user, importing your contacts from Verizon Cloud is a straightforward process. Follow these steps to import your contacts to an iPhone:
- Ensure that you have downloaded the contact file from Verizon Cloud to your iPhone.
- Open the Contacts app on your iPhone. It is a default app and typically can be found on the home screen.
- Tap the “Menu” or “Settings” icon within the Contacts app. This can usually be found in the top left or lower right corner of the screen.
- Choose the option to import contacts or import from a file. This may be listed as “Import/Export” or “Add Contacts.”
- Select the contact file you downloaded from Verizon Cloud. It may be in the form of a CSV (Comma-Separated Values) or VCF (Virtual Contact File).
- Follow the on-screen instructions to import the contacts. You may be asked to confirm the import or choose which contacts to import.
After following these steps, the contacts from Verizon Cloud will be added to your iPhone’s contact list. You can access them by opening the Contacts app or through your phone’s dialer when making calls. The imported contacts will be seamlessly integrated with your existing contacts on the iPhone.
In addition to importing contacts directly to the Contacts app, you can also choose to sync your contacts with your iCloud account. This allows you to access the contacts on multiple devices associated with the same iCloud account.
By importing your contacts to your iPhone, you can easily access and manage your Verizon Cloud contacts, ensuring that you have all your important connections within reach whenever you need them.
Now that you have successfully imported your contacts to your iPhone, you can seamlessly communicate and stay connected with your network. Feel free to customize and organize your contacts using the features provided by the Contacts app on your iPhone.
Option 2: Importing Contacts to an Android Phone
If you are an Android phone user, you can easily import your contacts from Verizon Cloud. Follow these steps to import your contacts to an Android phone:
- Make sure that you have downloaded the contact file from Verizon Cloud to your Android phone. The file may be in the form of a CSV (Comma-Separated Values) or VCF (Virtual Contact File).
- Open the Contacts app on your Android phone. The app icon usually resembles an address book.
- Tap the “Menu” or “Settings” icon within the Contacts app. This is typically represented by three vertical dots.
- Choose the option to import contacts or import from a file. It may be listed as “Import/Export” or “Manage Contacts.”
- Select the contact file you downloaded from Verizon Cloud.
- Follow the on-screen instructions to import the contacts. The app may ask you to confirm the import or specify where to save the contacts.
After following these steps, the contacts from Verizon Cloud will be added to your Android phone’s contact list. You can access them by opening the Contacts app or through your phone’s dialer when making calls or sending text messages.
Furthermore, if your Android phone is synced with your Google account, the imported contacts will be automatically uploaded to your Google account, allowing you to access them on other devices associated with the same Google account.
With the import complete, your Verizon Cloud contacts are now seamlessly integrated with your existing contacts on your Android phone. You can easily manage and communicate with your contacts using the various features of the Contacts app.
By importing your contacts to your Android phone, you ensure that you always have your important connections within reach and can effortlessly stay connected with your network.
Now that you have successfully imported your contacts to your Android phone, feel free to explore the various features and capabilities of the Contacts app to further enhance your contact management experience.
Conclusion
In this article, we have explored the process of downloading contacts from Verizon Cloud to your phone. Whether you are using an iPhone or an Android phone, Verizon Cloud provides a seamless way to export and import your contacts.
We began by accessing Verizon Cloud, either through the app on your phone or the website on your computer. From there, we discussed three options for exporting your contacts: exporting to a phone, exporting to a computer, and exporting to an email account.
If you chose to export to a phone, we provided step-by-step instructions for both iPhones and Android phones. For iPhones, you can import the contacts directly through the Contacts app, while Android users can import them using the Contacts app as well.
If you prefer to export to a computer, we explained the process of exporting your contacts from Verizon Cloud to your computer and saving them in compatible file formats such as CSV or VCF.
For those who prefer to have their contacts stored in their email account, we discussed how to export contacts from Verizon Cloud and send them to an email address, allowing for easy importing into your email client or contact management software.
By following these steps, you can ensure that your contacts from Verizon Cloud are safely transferred to your preferred device, giving you immediate access to your important connections.
Remember, having your contacts readily available on your phone is essential for staying connected with family, friends, and colleagues. By following the instructions outlined in this article, you can easily download and manage your Verizon Cloud contacts while staying organized.
Whether you choose to export to a phone, computer, or email account, the process is designed to be user-friendly and efficient. The flexibility of Verizon Cloud allows you to seamlessly transfer your contacts in a way that suits your preferences and needs.
With this knowledge, you are now equipped to confidently download your contacts from Verizon Cloud to your phone. Stay connected and make the most of your contacts, as they play a crucial role in your personal and professional relationships.